Right before Earth Day this year I wanted to do something with the Earth Day theme for an art lesson. The first thing that pops to mind when you think about Earth Day is recycling, so I decided to make some recycled art portfolios for the kids to paint on with Earth themes. It made a great recycled canvas, however in the past I have made these to organize my kids’ drawings. I would make one per year, and put the year and name on them. Then we’d just add the drawings as they drew them. Makes it easy to go back and see who drew what and when.
Here is how I made them using two brown shopping bags, two pieces of cardboard, some tape, glue, a bit of inexpensive ribbon or twine, cardstock paper, regular printing paper, a regular hole punch, and a box of round head fasteners.
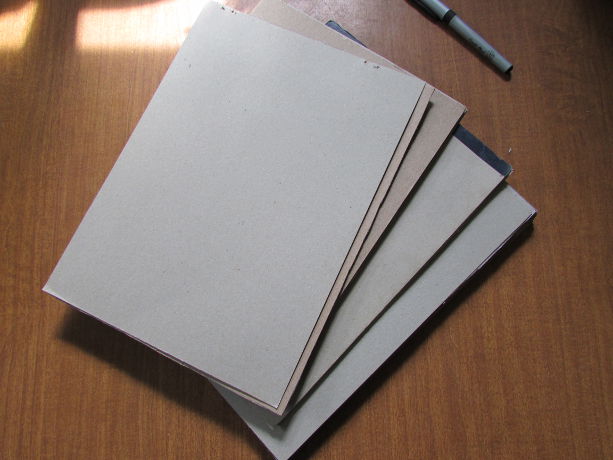
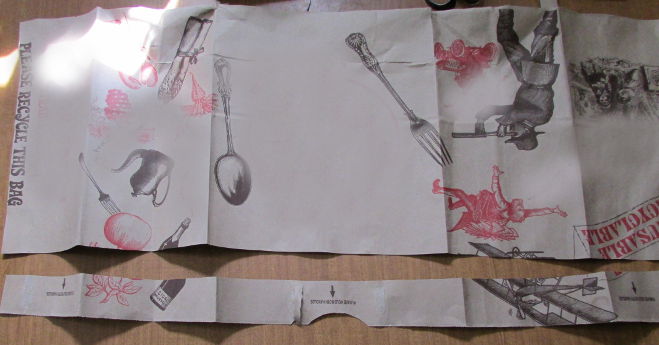
My brown shopping bags came from my favorite store: Trader Joes. My cardboard came from the backs of notebooks and legal paper. I knew I was saving all of those hard cardboard backings for something. Of course I needed 20 of them for the 10 portfolios that I was making, so now some of my notebooks and sketchbooks are missing the backs prematurely. I used regular see through tape, though it doesn’t matter what kind of tape you use, you won’t be able to see it when the portfolio is done, and plain white school glue.
Start by prepping your cardboard. Mine were all slightly different, so I trimmed them to be the same size.
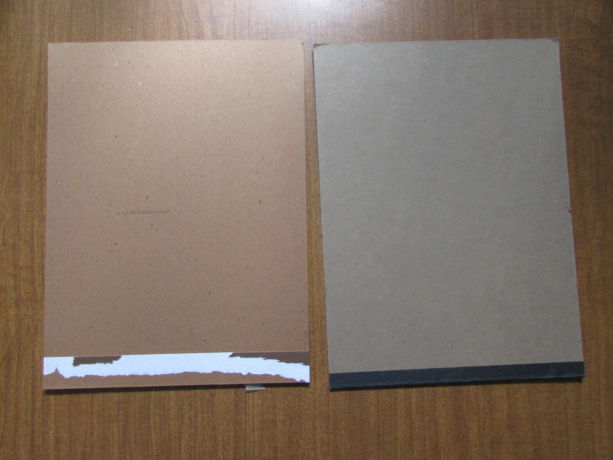
Some where harder, and some softer. I sorted them, so that each portfolio would get one hard and one soft surface. Even though it’s not necessary, I wanted to use the harder ones for the bottom, so that when the kid draws a picture they can use the harder surface to lean on. The softer ones are for the flap that closes and doesn’t need to provide any real support.
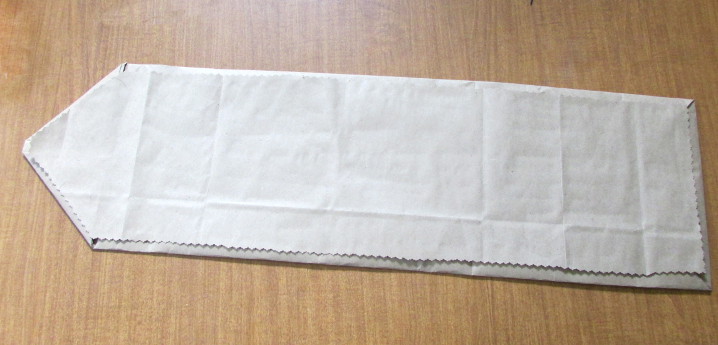
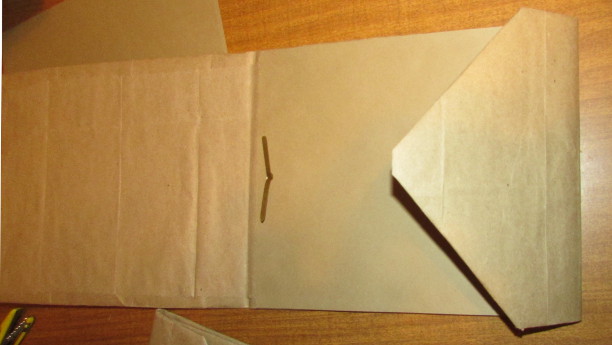
Next, I prepared the bags. Two for each portfolio. I cut them from top to bottom at the spot where the bag was originally glued together, then I cut the glued seam off entirely (it’s that long thin strip in the photo). I gently cut the handles off, and cut around the bottom to uncurl the bag into a flat sheet.

I cut off a few inches off the side where the handles were attached, and an inch or so from the bottom side, where it was much more crumbled.
Place the cardboard on the opened bag as in the photo above, leaving a few inches on each side, and a wider space on the bottom, fold over the cardboard and tape it to stay in place. Just a few pieces of tape should be enough. A few things to note: First, make sure the bag is turned picture in, if there is a picture on it. The brown side will be the outside of the portfolio, so any printed picture the bag might have you want hidden. Second thing is the cardboard on the right is the softer one, and on the left (in the middle of the bag) is the harder one, that will be the base. Make sure to leave a small gap between the two cardboards for easy folding
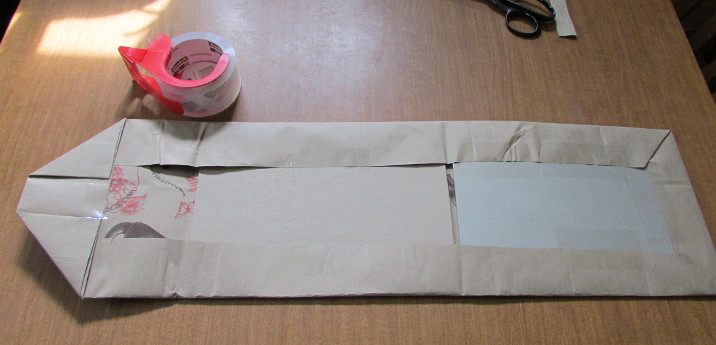
When done, it should fold like in the photo below.

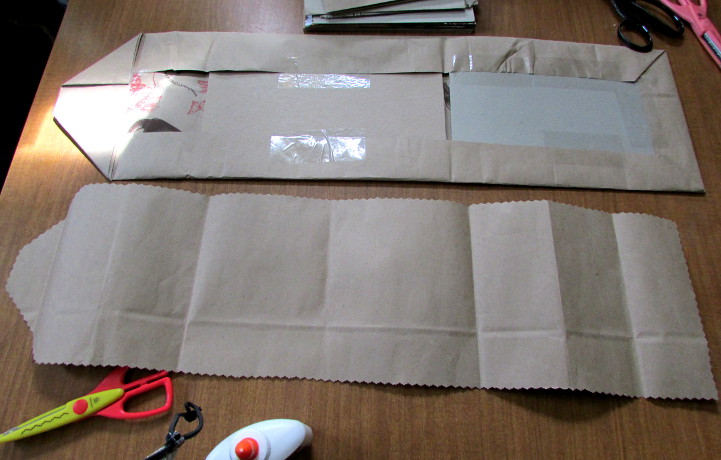
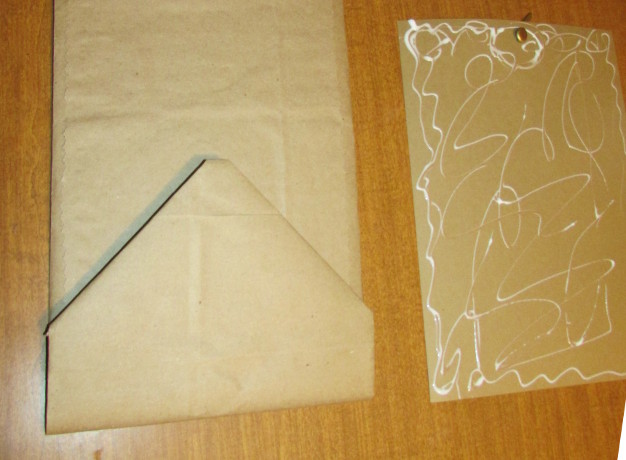
Prepare a second bag, and trace the portfolio you made on it.
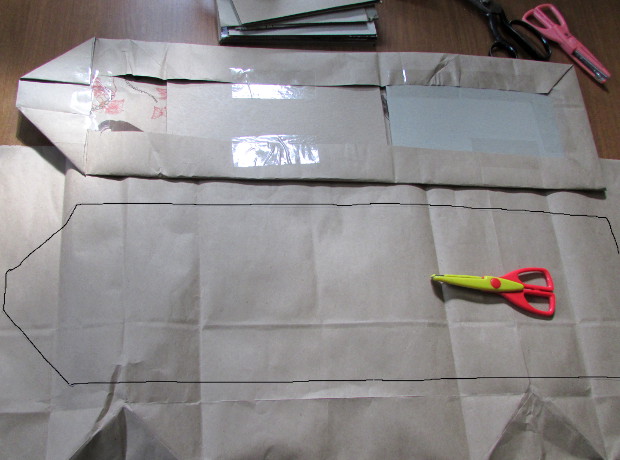
I used edger scissors to cut out the second part of the portfolio.
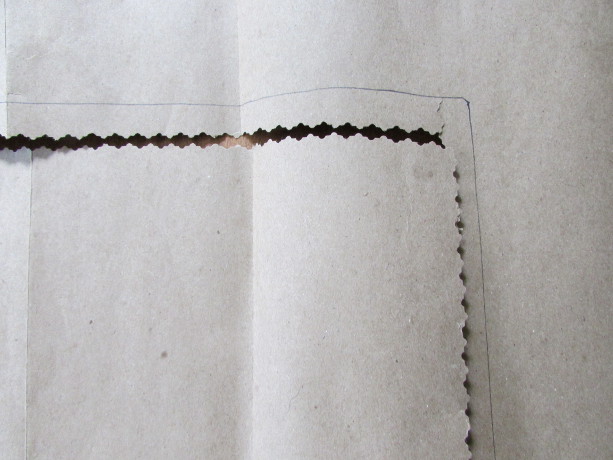
This part should be just a bit smaller then the original shape, so I roughly cut about half an inch in from the trace line.
Put white glue on the side of the bag with pictures on it. I put the glue in long thin lines going all over the place, but especially the edges. Place it on the inside of the portfolio, over the tape and the cardboard, press down with a few books and allow to dry for a short time. Make sure it can be folded well before it dries, and adjust the paper as necessary.
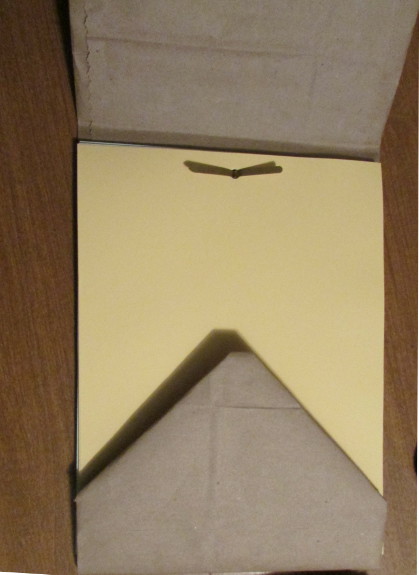
Now is the time to use the cardstock paper. You will only need one for each portfolio. The color I had was almost exactly like the bag color, and the size was 8 1/2 by 11, which was just a bit smaller then the portfolio and the perfect size for it. Besides, to fill each portfolio with paper, I would use regular print paper, so 8 1/2 by 11 was the size I was aiming for from the beginning.
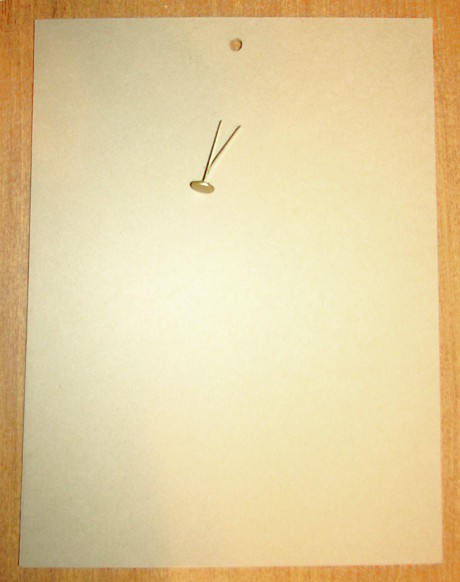
I punched a hole on the top, like in the photo below, and put in a fastener.
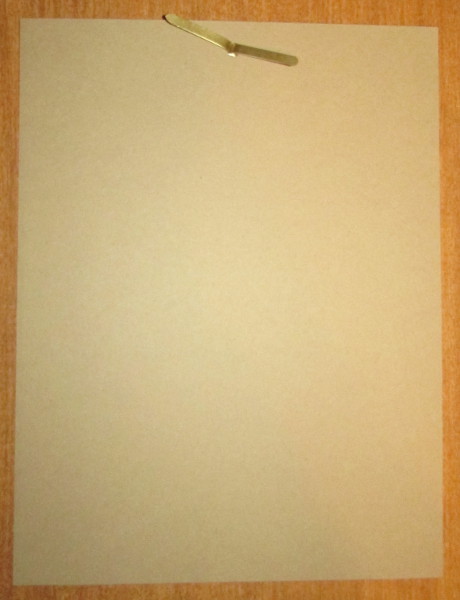
Put glue on the cardstock paper, the glue goes on the side with the fastener head.
Glue the cardstock to the portfolio as in the picture above. The fastener should be in the middle.
I took a decent amount of printing paper. I had a whole bunch of paper in different colors, so I mixed them all together. Punched a hole through them, and put them on the fastener.
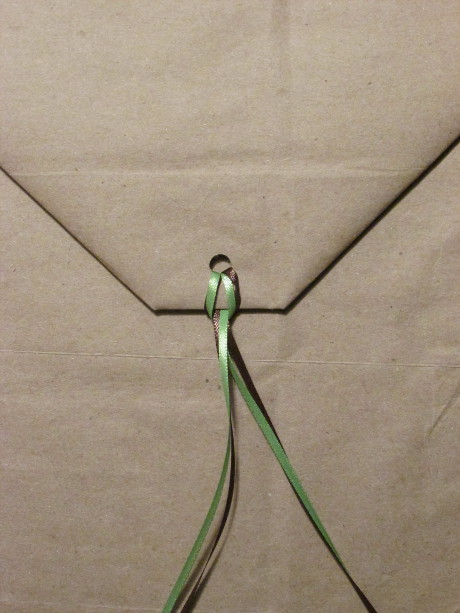
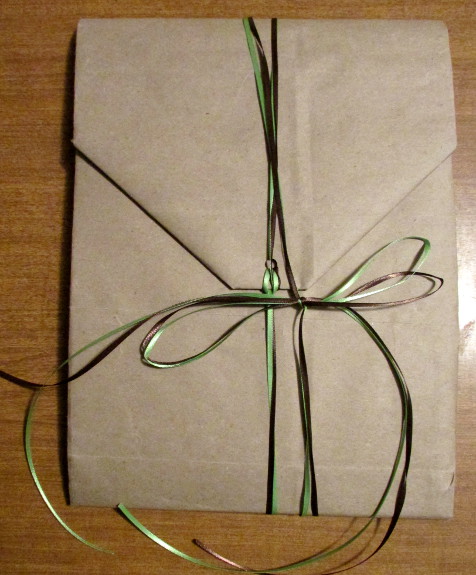
I punched another hole in the triangle flap. Put two small ribbons together through it, forming a loop. Just make sure the ribbons are long enough to tie around the portfolio.
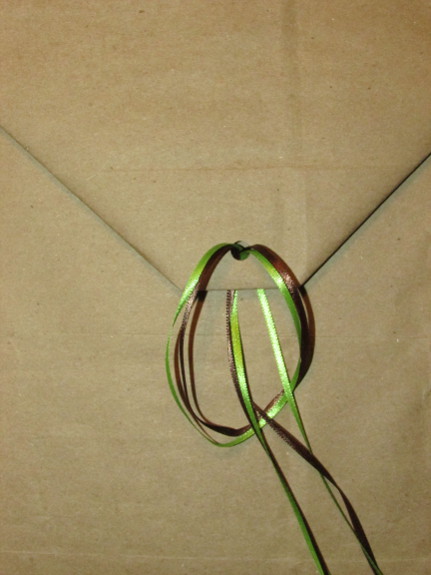
Tighten the loop, spread the ribbon into two and tie around the portfolio.
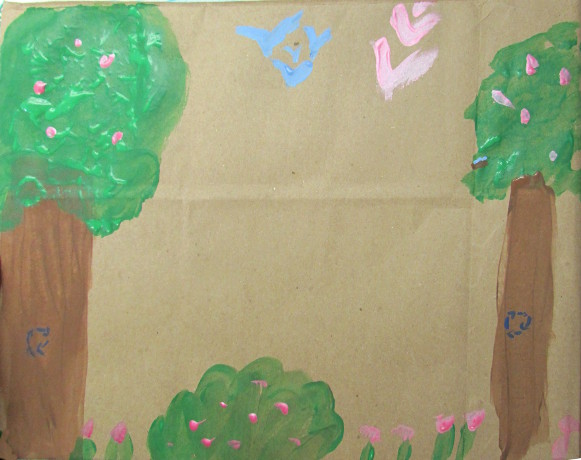
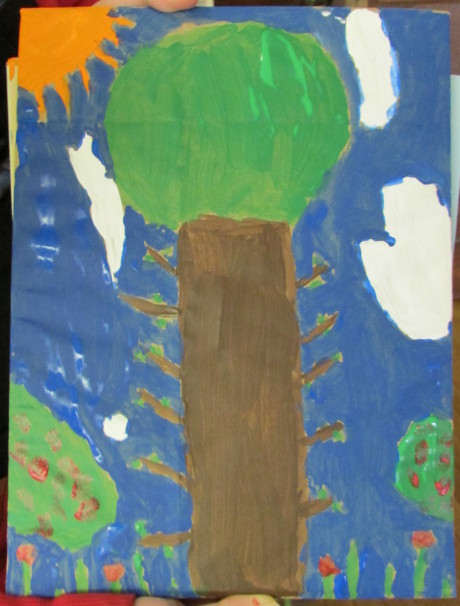
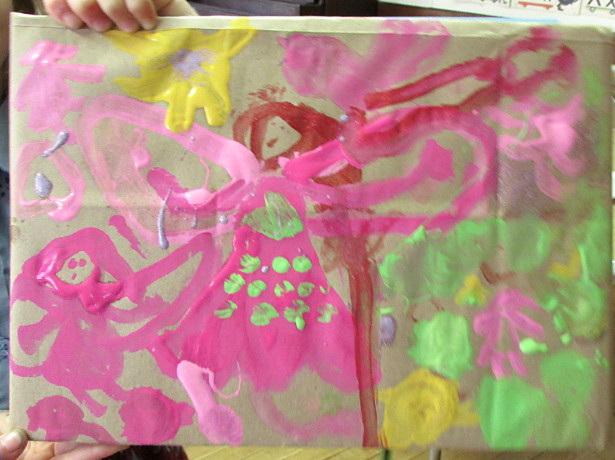
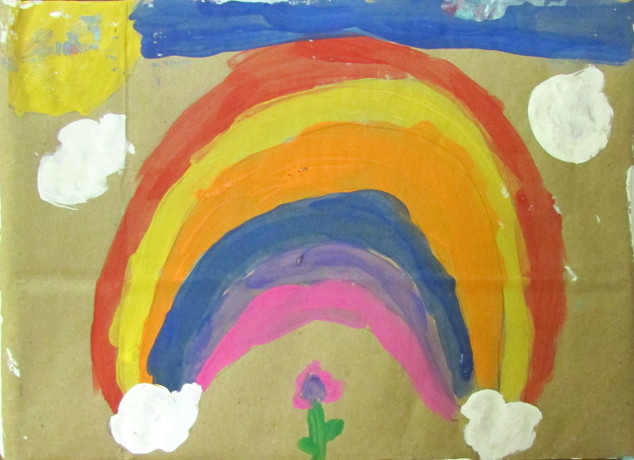
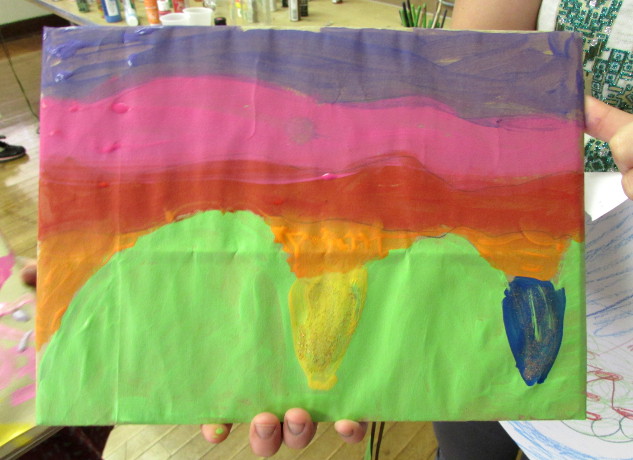
My part was all done. Now it is the kids’ turn to paint them. Take a look below to see how some of them turned out. We used acrylic paint, and the theme was nature, Mother Earth, recycling or anything that they could think of when thinking of Earth Day.
Here are some of the paintings: