Many wonderful artists have painted water lilies, Claude Monet probably the most well known. It is what I chose to paint for my first oil painting ever, one I am currently working on. It is quite an adventure, and I think I made every mistake that I could make while trying oil painting for the first time. I will write more about it later, when I finish the painting. In the meantime, I decided to diverge a bit and do this quick watercolor painting of water lilies. Of course I took photos along the way, and I also did a few quick drawings to show how I like to draw water lilies. There are so many ways and techniques to draw and paint water lilies. This is just one of mine.
I am going to post the painting step by step first. Then, towards the end, I will include the quick sketches for the individual water lilies.

At first I prep my watercolor paper by taping it with masking tape to a board. This way when the paper gets wet it won’t wrinkle, but stay straight. I also used watercolor pencils to do the sketch with, this way when I started painting it in, most of those lines dissolved into the painting.
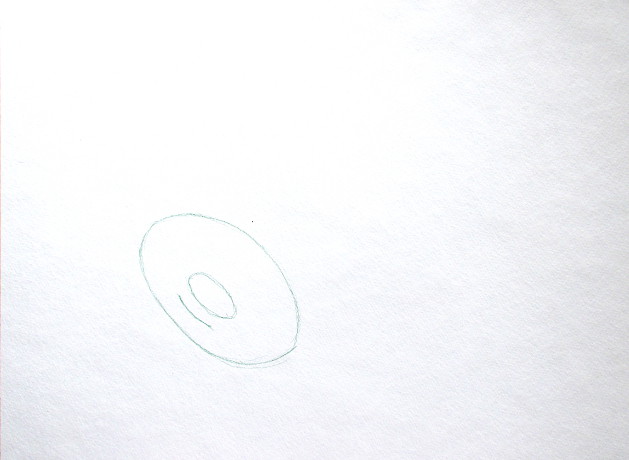
I start with a few ovals and a curvy line. In this flower the curvy line is the base, where the stem begins. That’s where the petals will start.
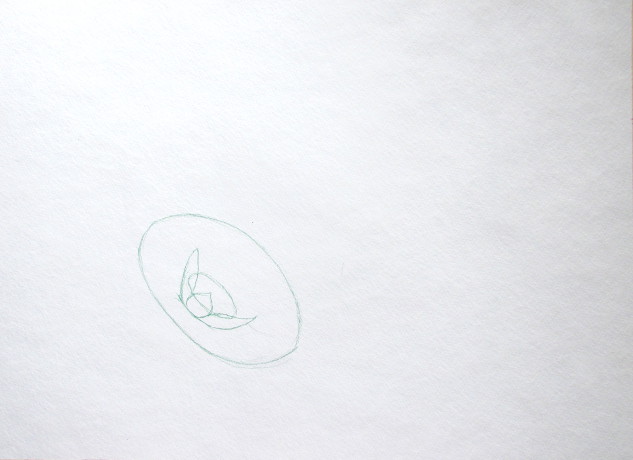
Next, draw the petals as in the photo below.
Keep adding more and more petals around the center.
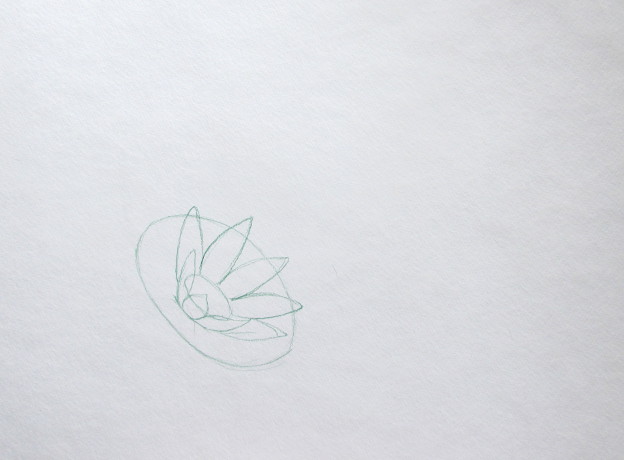
Go around the circle, adding more and more petals. I use the large oval to help guide the petals along. Add the stem, and ta-da, first lily is ready.
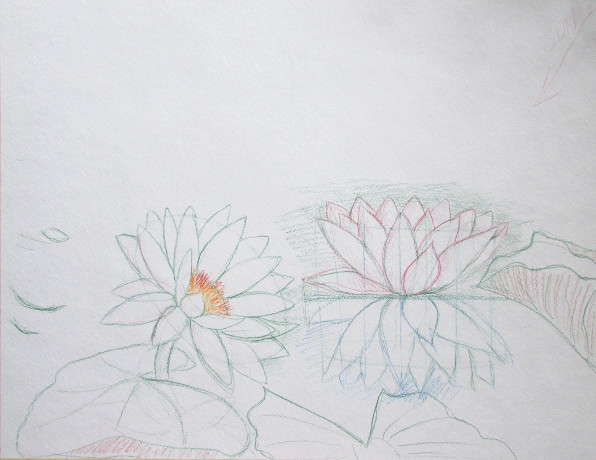
The second flower is resting on water, so you wouldn’t be able to see the stem. I start by drawing two curved lines: one to show the bottom of the flower and one to show the approximate top.
Start drawing the petals: water drop shapes going from the bottom to top.
Finish the petals of the second flower.
Draw the reflection on the water, using the vertical lines to help guide you along.
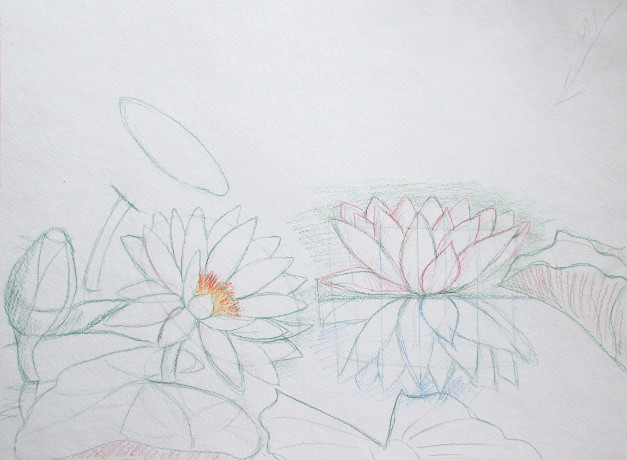
I drew a few more lily pads, some sticking out of the water and curling up. Then I started on a bud all the way on the left. It is just an oval for the tip, and two little curved lines, one for the middle that will be the widest part, and one for the bottom, where the stem will start.
I finish up the flower bud, and begin on the next flower: first the curvy line at the stem, then the oval, and then the stem.
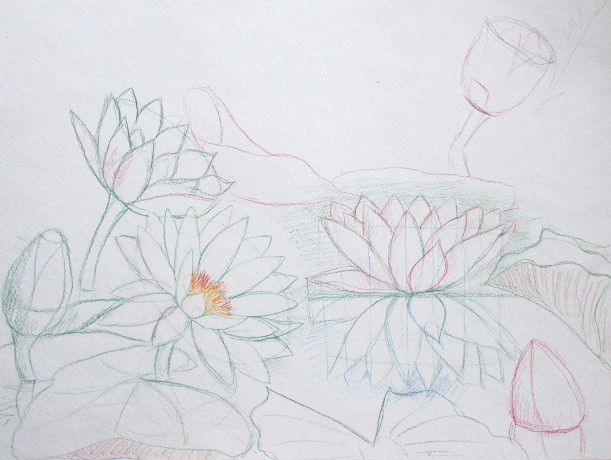
After I finish this flower I add more leaves, pods and buds in the background. As I draw them higher and higher on the paper, I make them smaller and smaller, because they are farther away than the ones at the bottom.
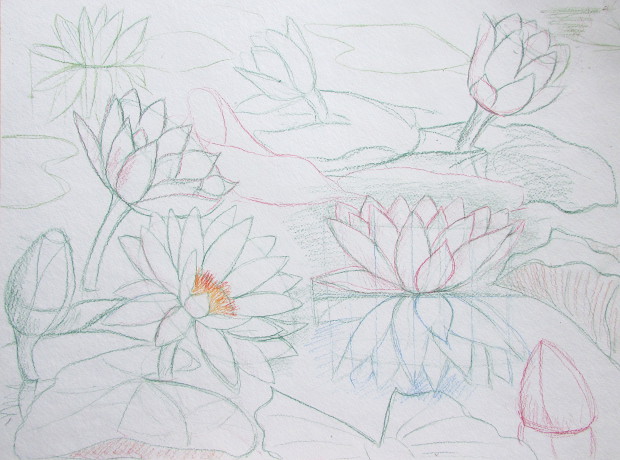
Add even more flowers and leaves further and further away.
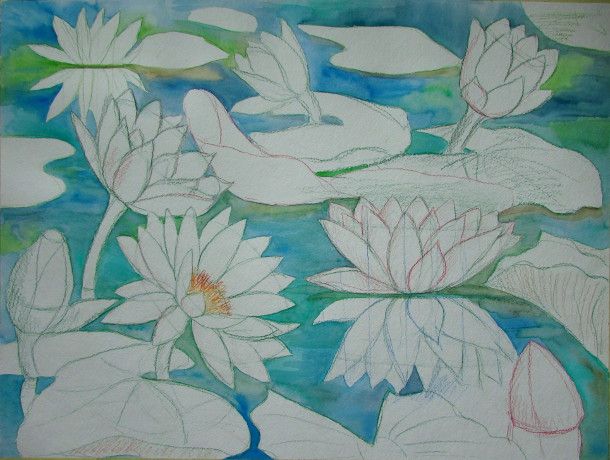
Once I am done with all the lily pads, flowers and buds, I start painting it in. I begin by painting the background color of the water: mostly blues and greens, some brown as well.
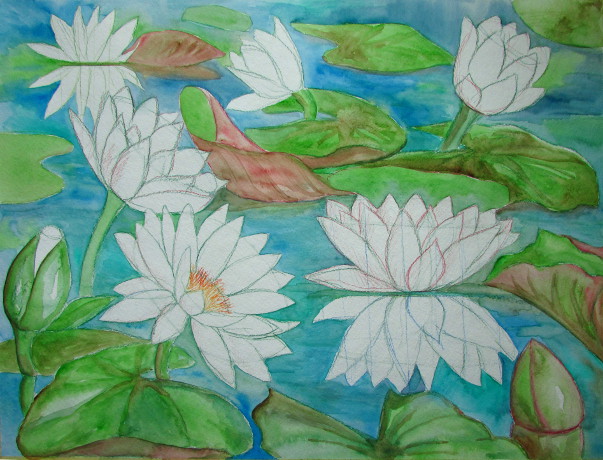
Then I paint in the lovely green leaves.
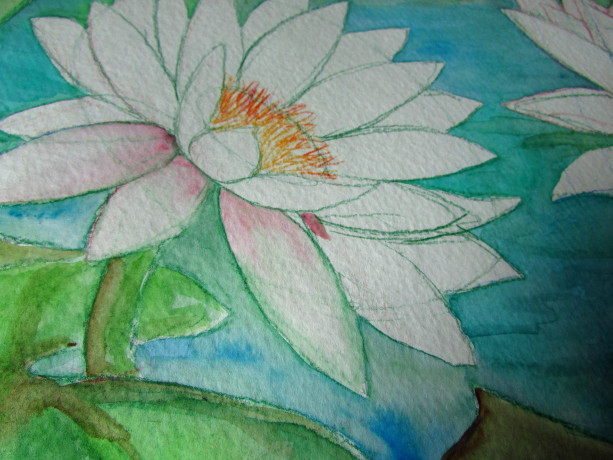
At first I painted in the petals as in the photos above. First I put a dab of pink paint, and then used water on the brush to dilute it out to the end of the petal. However, I realized later that I would want the petals to be a bit darker and more pink, so in hindsight I would want more paint.

Here are the flowers painted with light pink. Definitely not bright enough!
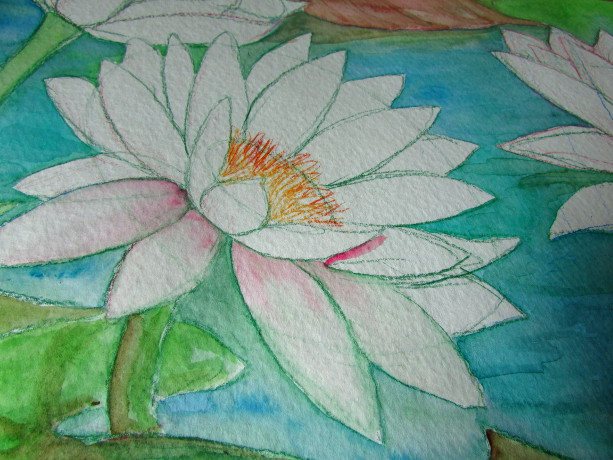
Here is the painting after I added much more pink. Personally, I think it could be even darker.
************************************
Here is an easy way to draw water lilies for your painting:
Water Lily # 1
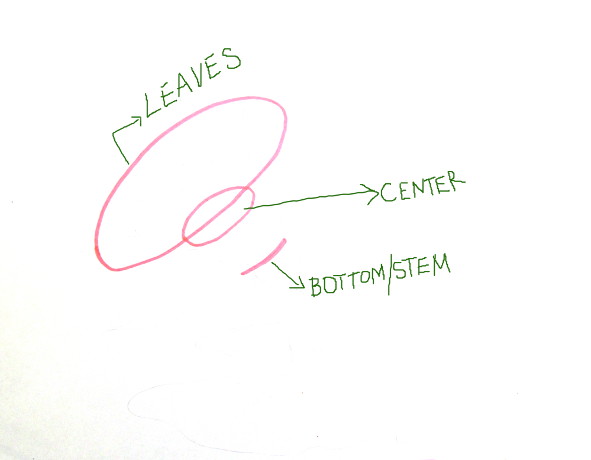
I started with drawing a few ovals. One for the center of the flower, the bigger one is to help guide the leaves of the flower, and the little line on the bottom is to indicate where the bottom will, and the stem will begin.
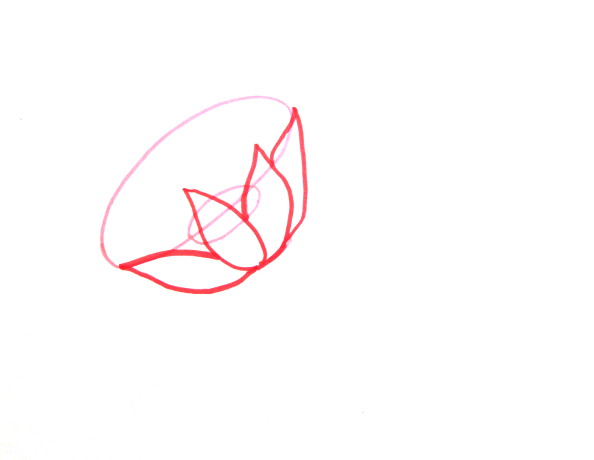
Next are a few petals. They are tear shaped, and start at the bottom of the flower. I used the large oval to help me guide the petals. This particular flower is turned so that you can’t really see the center, so the petals go right over it.
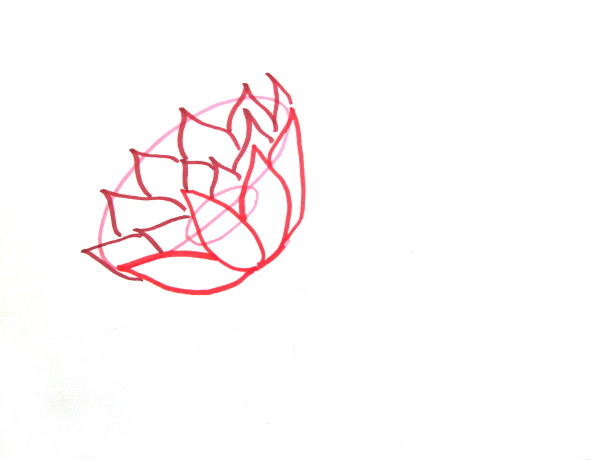
Add more petals for the other side of the flower.
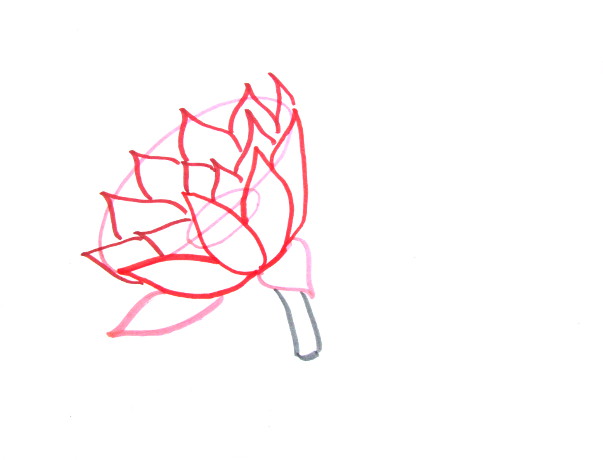
A few more petals on the bottom, and a stem.
Finish up with the lily pad. All done!
Water Lily # 2
This water lily is facing away from the viewer, so can’t see the center. I indicate where the petals will begin at the stem with a little curved line, and where they will end with a line and cured shape.

Then I draw some tear shaped petals. Starting with the ones upfront, and then moving on to the ones behind them.
Add a stem and a lily pad and you are all done! Also don’t forget that the stem would reflect in the water!
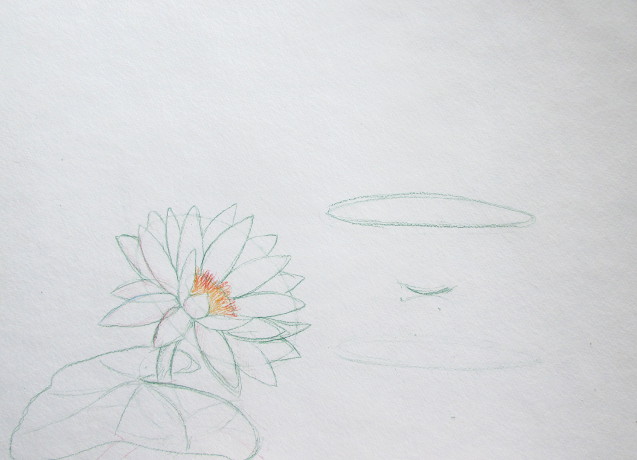
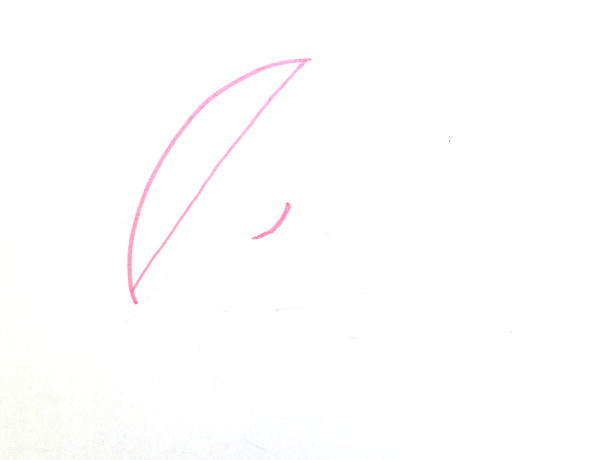
Water Lily # 3

Same as in the previous two flowers, I use a small curved line to indicate the bottom, and an oval to help me with the petals.
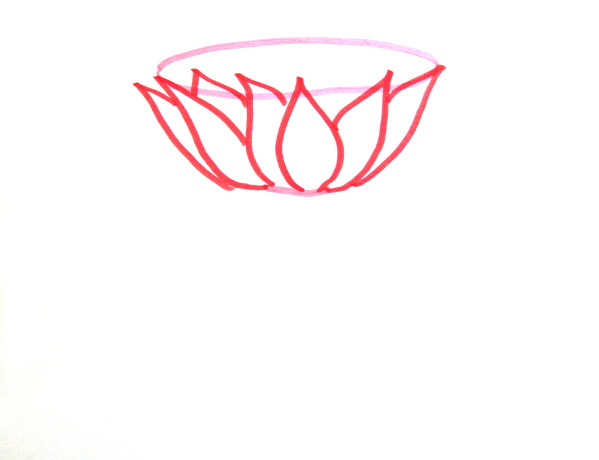
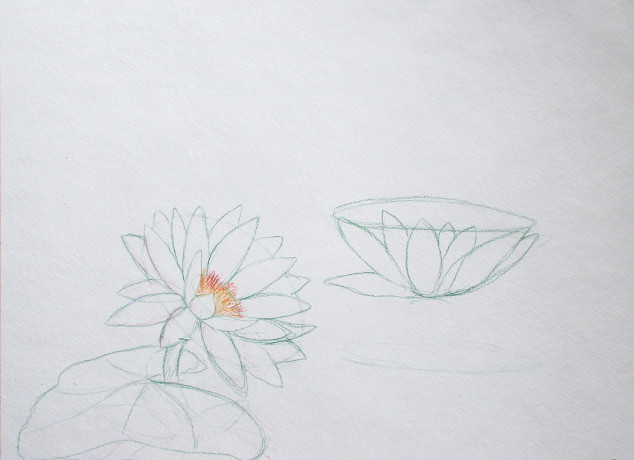
This flower will be resting on water, and while the viewer can’t see the center, you can see the petals all around the flower. Start drawing the petals that are up front.
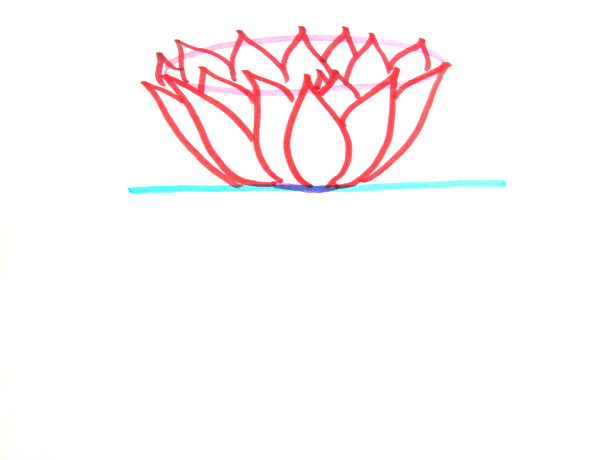
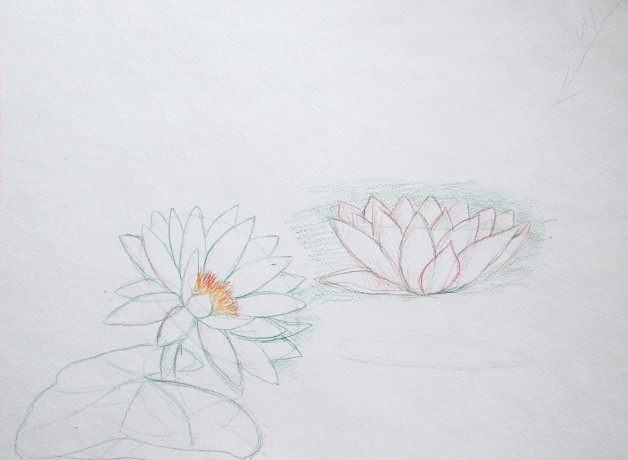
Finish up the rest of the petals and draw the water line for the reflection of the flower.

To draw the reflection I first make some lines to help guide me. The idea is that the lines from the tip of each up front petal will extend an equal distance down to the water, and that will help tremendously with placing the petals in the reflection.
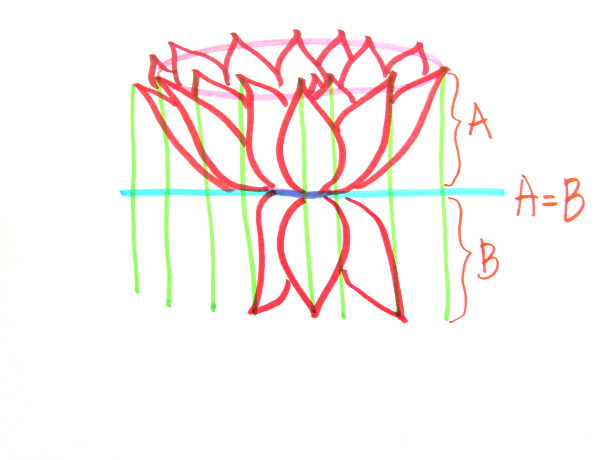
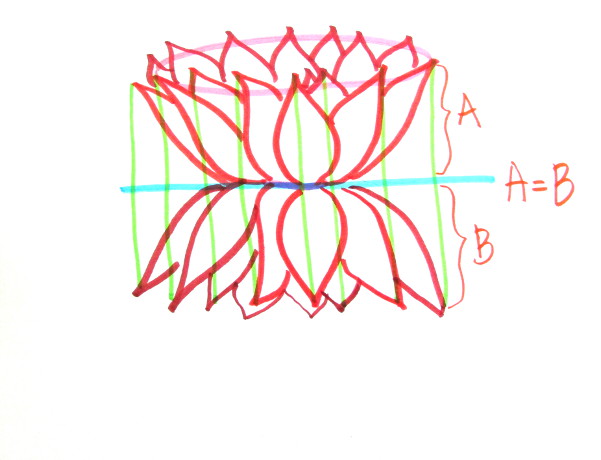
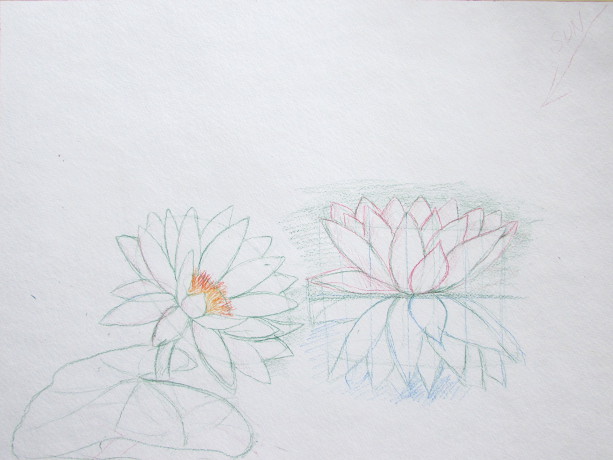
Now, using the light green vertical lines as guides I start drawing the petals on the reflection. The lines make it so much easier! All done!!!
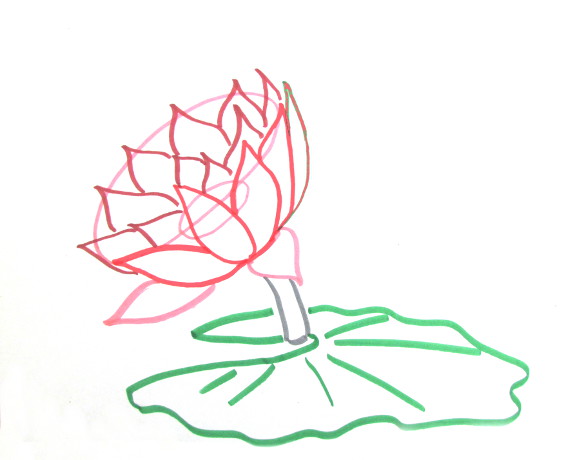
Water Lily # 4
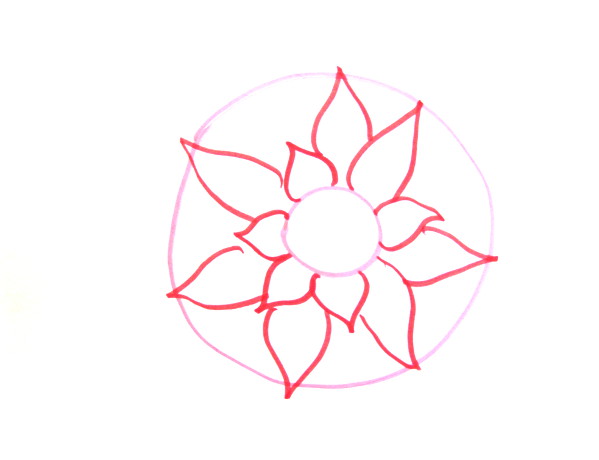
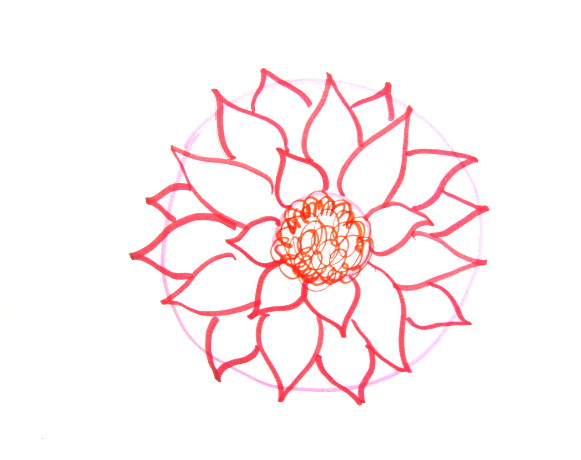
For this one, I used a small circle for the center and a big one to help with the petals. It is pretty easy to do. One thing to keep in mind is that I would do all of these sketches in pencil, so most of the extra lines eventually would be erased. I drew them in marker to make it easier to see on the photograph.
One reply on “Watercolor Water Lilies Painting”
[…] https://www.happyfamilyart.com […]