Have you ever wanted to make coloring pages from photographs? Every so once in a while I love to color in a pets fuzzy face or a smiling loved one. While there are many ways to do it, and lots of different software to help you along the way, here is two tutorials on making coloring pages from photographs using Gimp.
Making Coloring Pages From Photographs Using Gimp
Gimp is a wonderful open source software that has worked great for me in the past. In fact, I personally prefer to use Gimp to Adobe Photoshop. You can download Gimp 2.8 from their website: Gimp.org (of course you are downloading it at your own risk, as anything else from an external website). If you are unable to download Gimp, you can try using Pixlr, a free online photo editor.
***This page contains affiliate links.***
If all else fails, you can always get a simple and inexpensive Light Up Tracing Pad and a print out of your photo, and trace it by hand. I have done so on several occasions, and the results can’t be beat.
Here is a gallery of all the resulting coloring pages from this tutorial. Have fun coloring them, just click to enlarge:
Alright, here we go! As mentioned before, for this tutorial I am using Gimp, and Windows 8.1 as my OS. Once it’s downloaded and open, Gimp needs a bit of tweaking to be ready, so here is a little bit on getting started.
Also, before we start, I have two different ways to making coloring pages from photographs using Gimp. I will call them Method 1 and Method 2.
Step 1: Setting Up Gimp and Getting Started.
The pictures are the screenshots of how I worked. It is hard to see small details, and to see each photo better, just click on it.
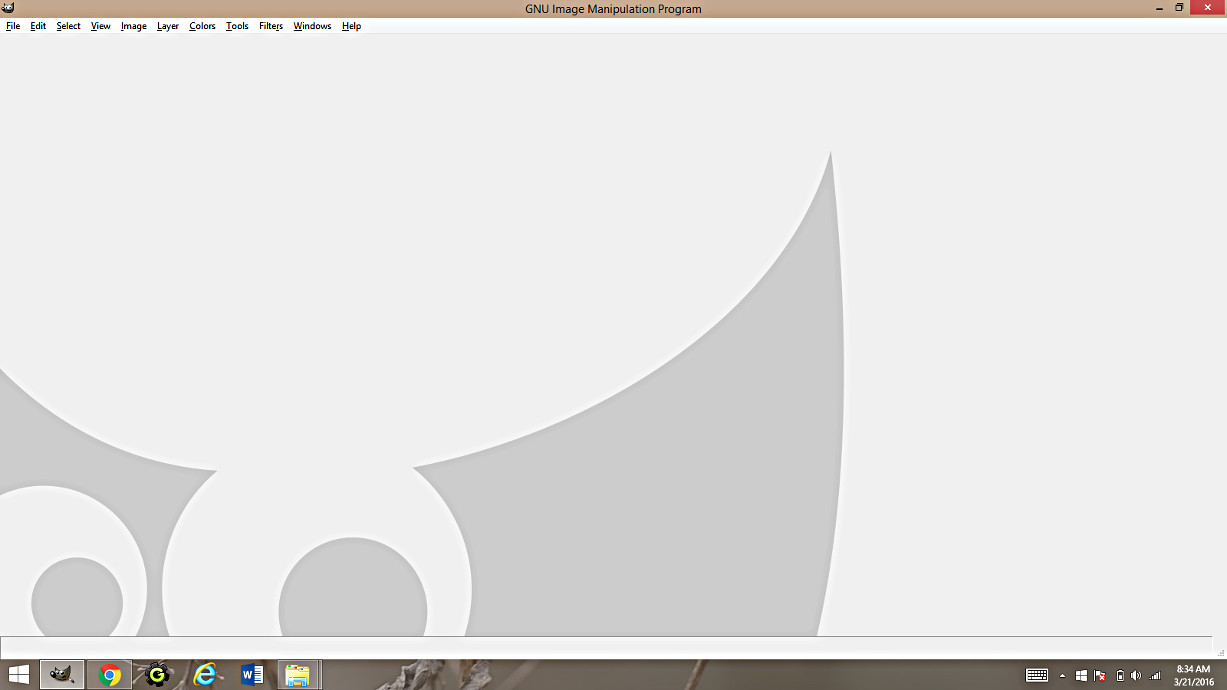
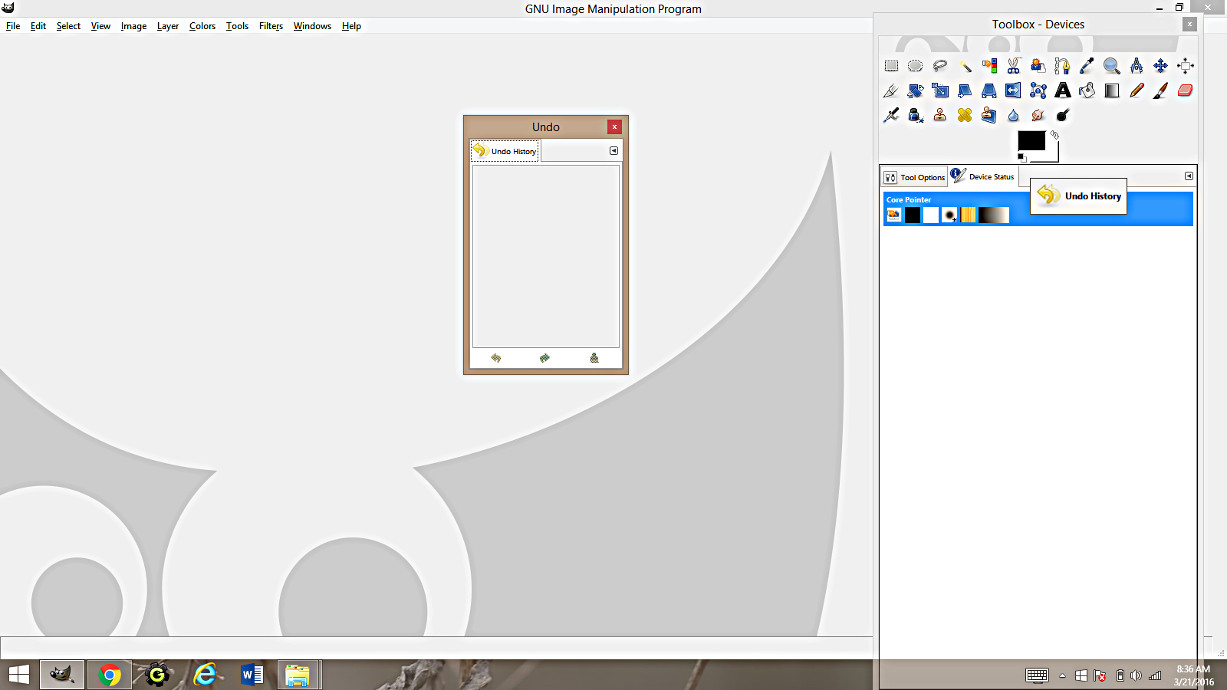
1. This is what gimp looks like when you just open it. Each time you open an option, it creates a small separate window. You can group all the windows together by dragging and dropping the window where you want it to go.
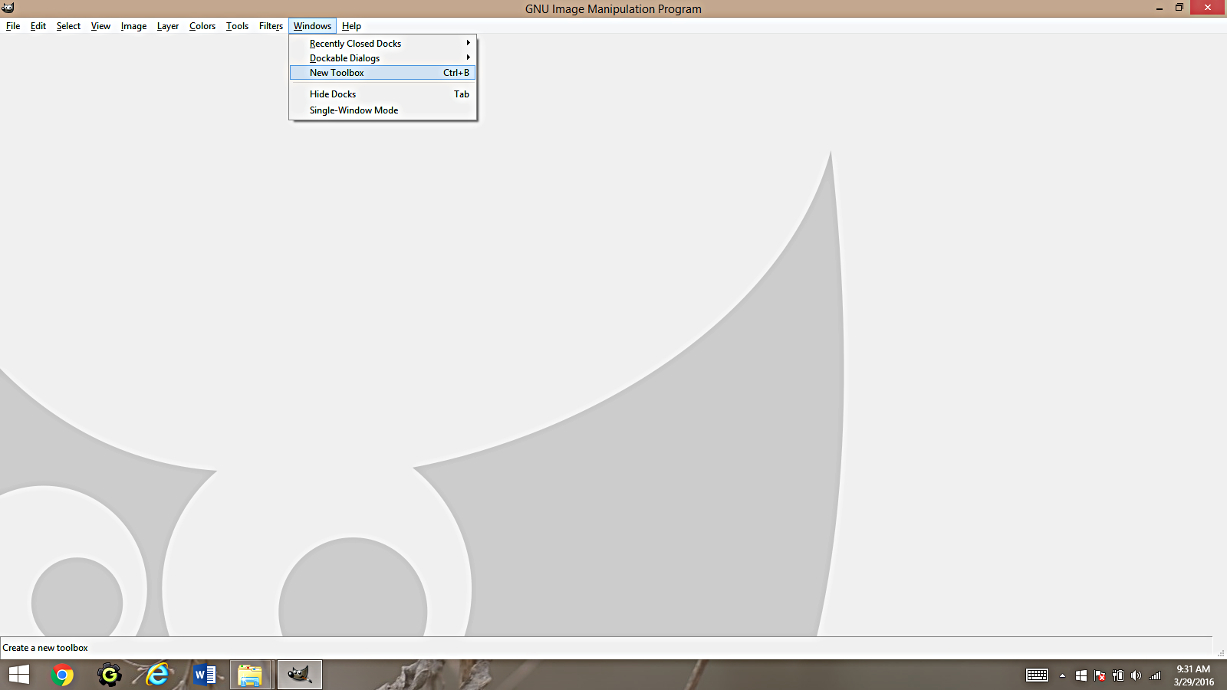
2. Open Windows Tab ->New Toolbox to add a toolbox to your work space. Follow with click Windows->Dockable Dialogues-> Tool Options. Drag the tool options tab and drop it right into your Toolbox.
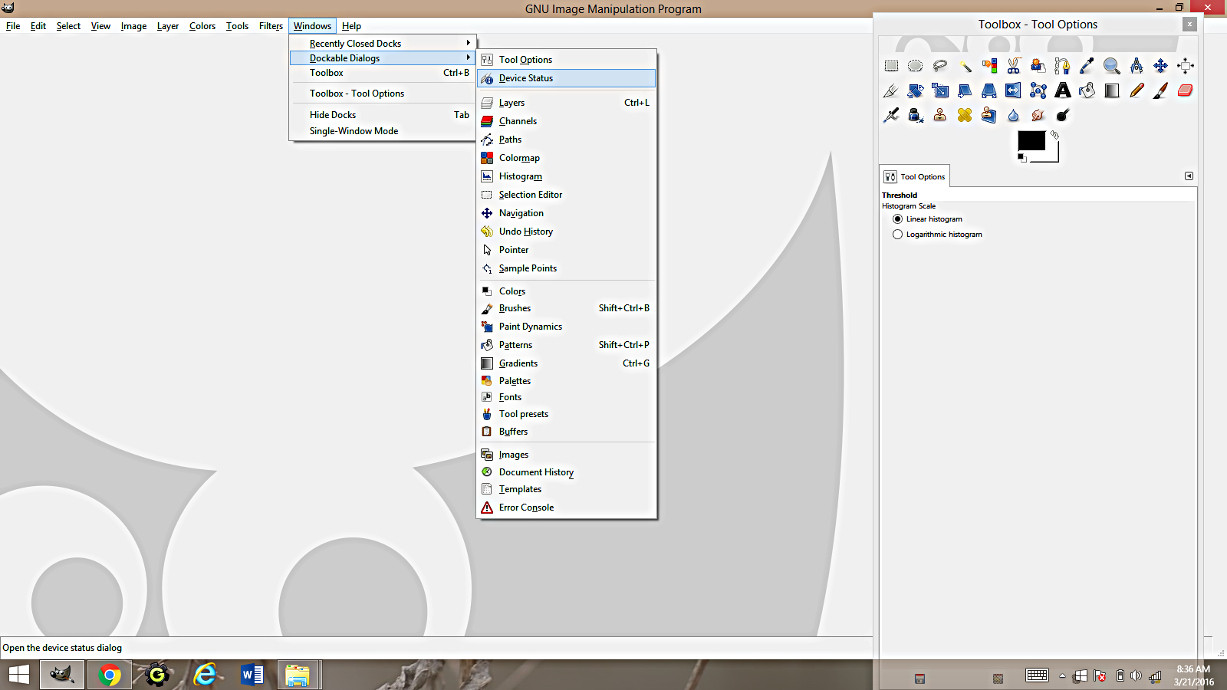
3. Next click Windows Tab->Dockable Dialogues-> Device Status. Drag and drop to the toolbox.
4. Repeat the steps with Windows Tab->Dockable Dialogues-> Undo History and Windows Tab ->Dockable Dialogues-> Layers
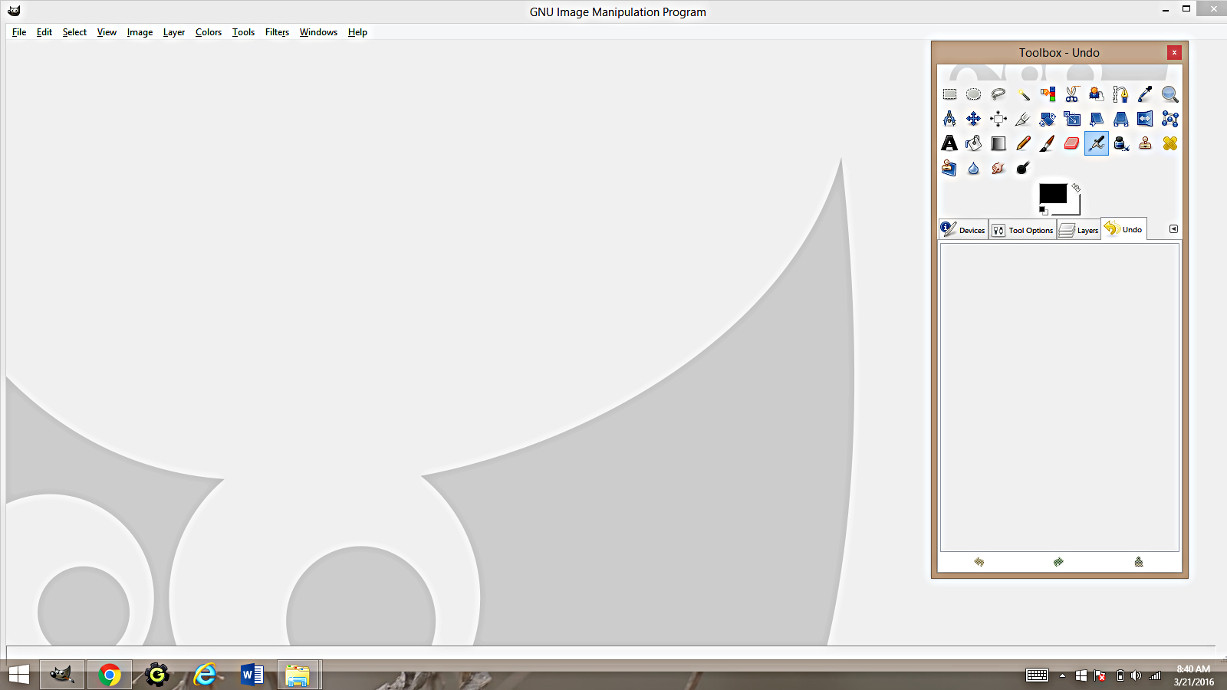
5. Drag them all together under your toolbox. You are all set to get started.
Step 2: Picking the right photo.
First lets talk about the kind of photo you will need. You need that photo to be in focus, with the main subject you will want to color to be relatively centered. You want the background to be not too busy. If your background is too busy it will result in a coloring page that is confusing. Take a look at these:
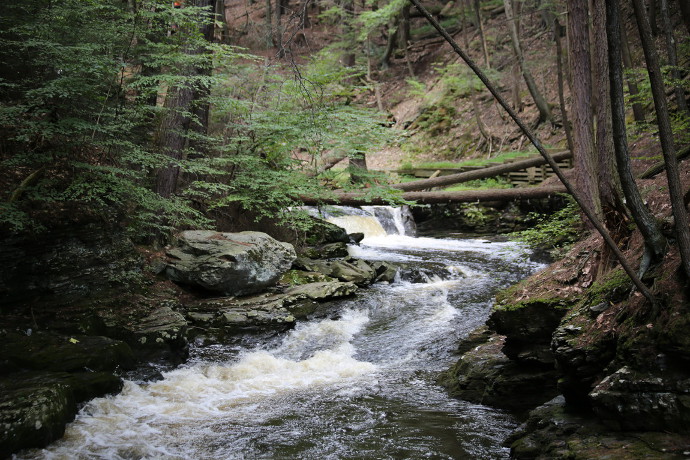
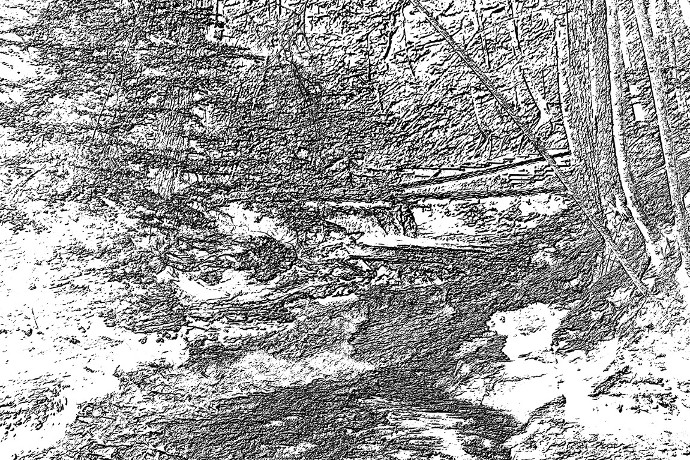
This photo is not a good candidate for a coloring page. When taken through the first method this is what came out. Can’t be very easy to color, can it.
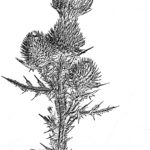
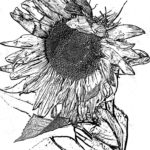
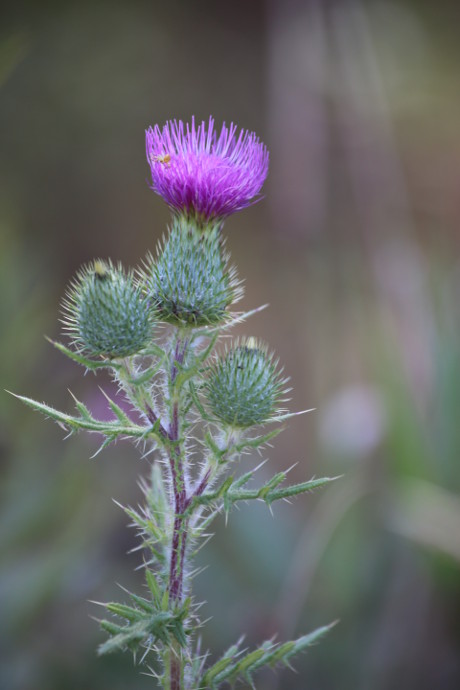
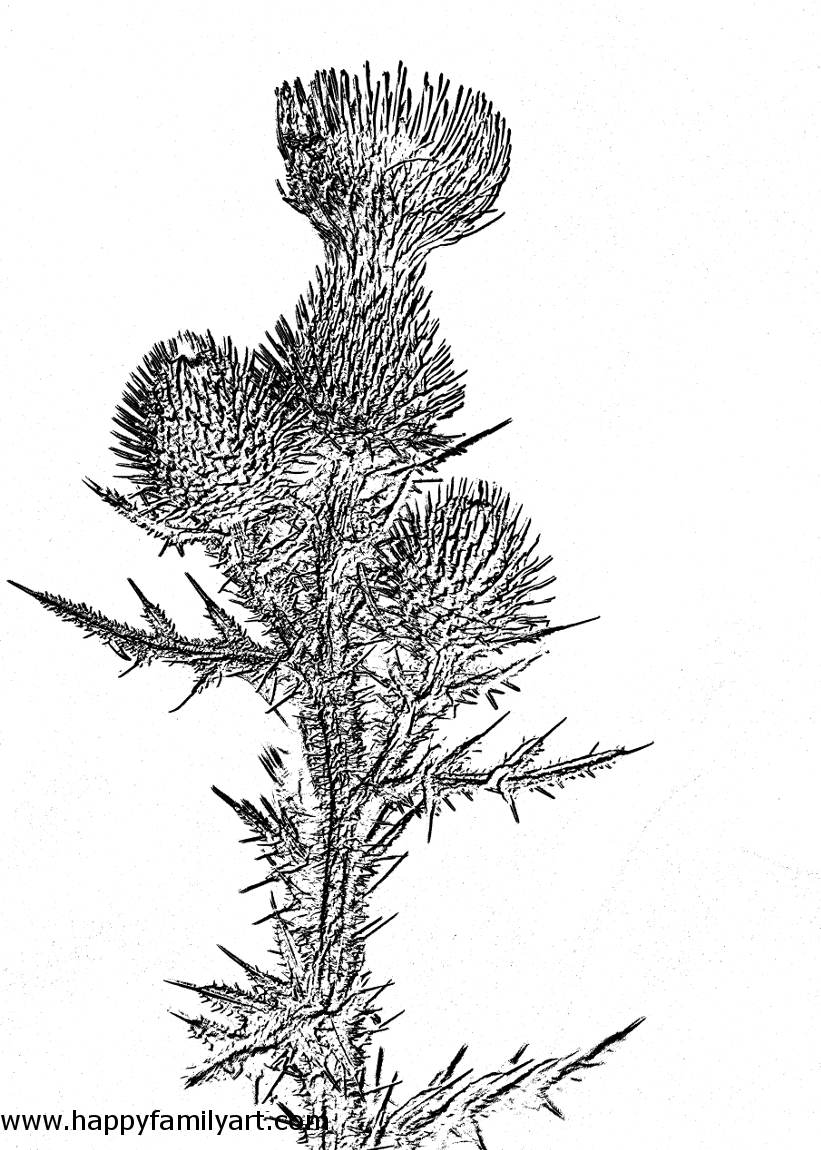
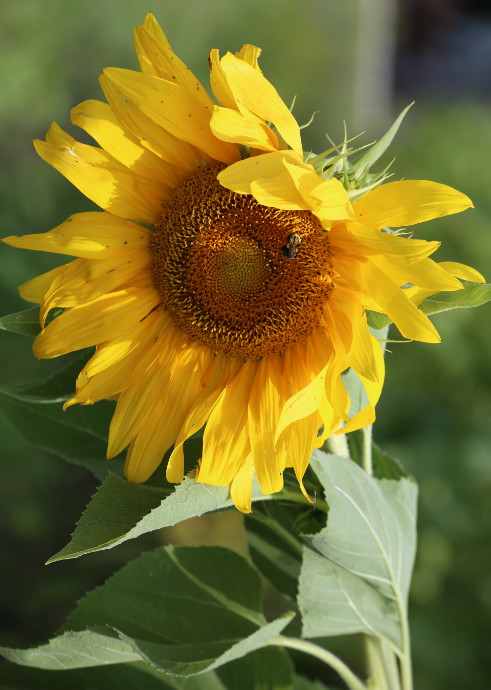
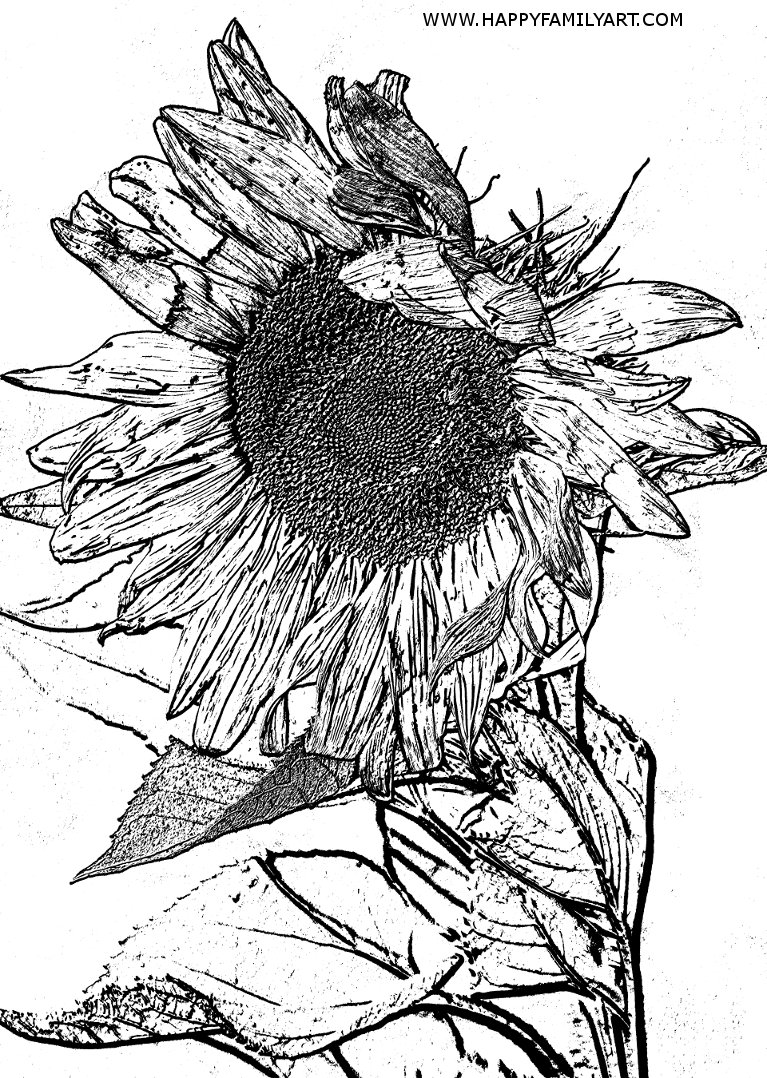
Here is a good choice. If you would like to color the Thistle or any other coloring page in this tutorial, just click on the photo to enlarge and color! As you can see, the background is not busy, and the thistle flower is clearly visible against it. That resulted in a great coloring page!
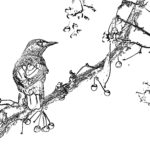
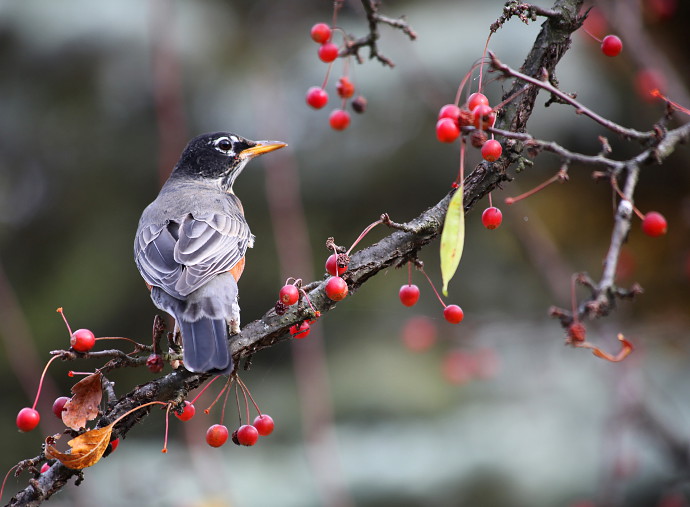
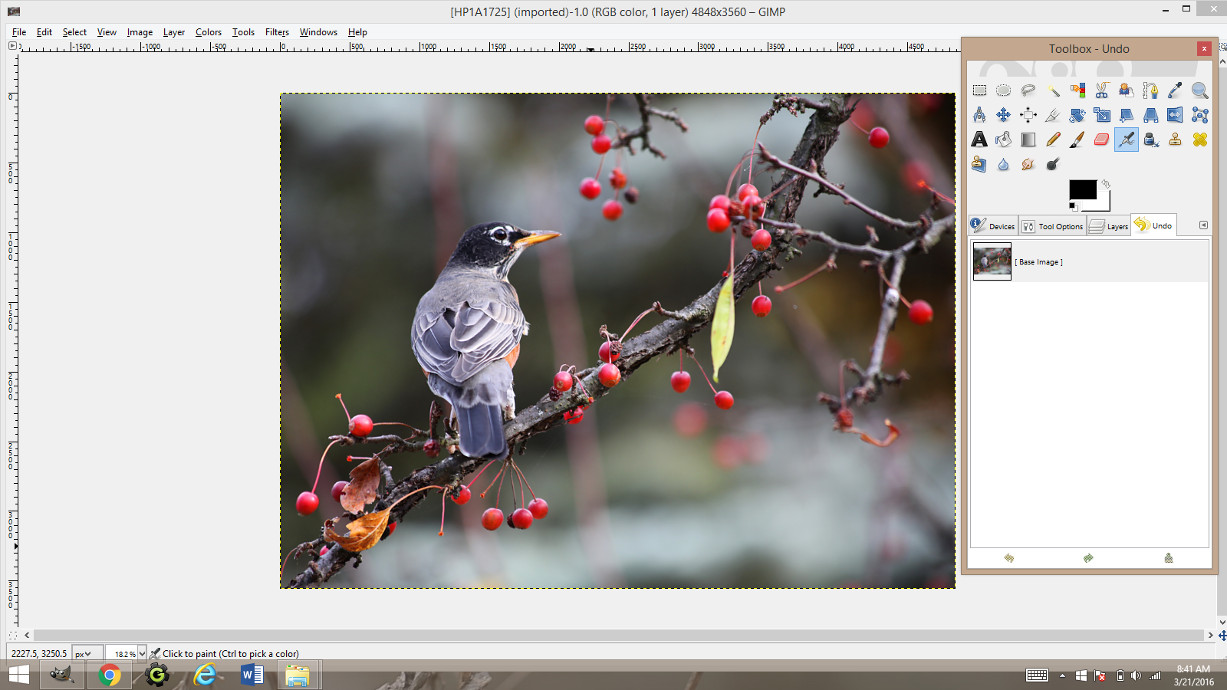
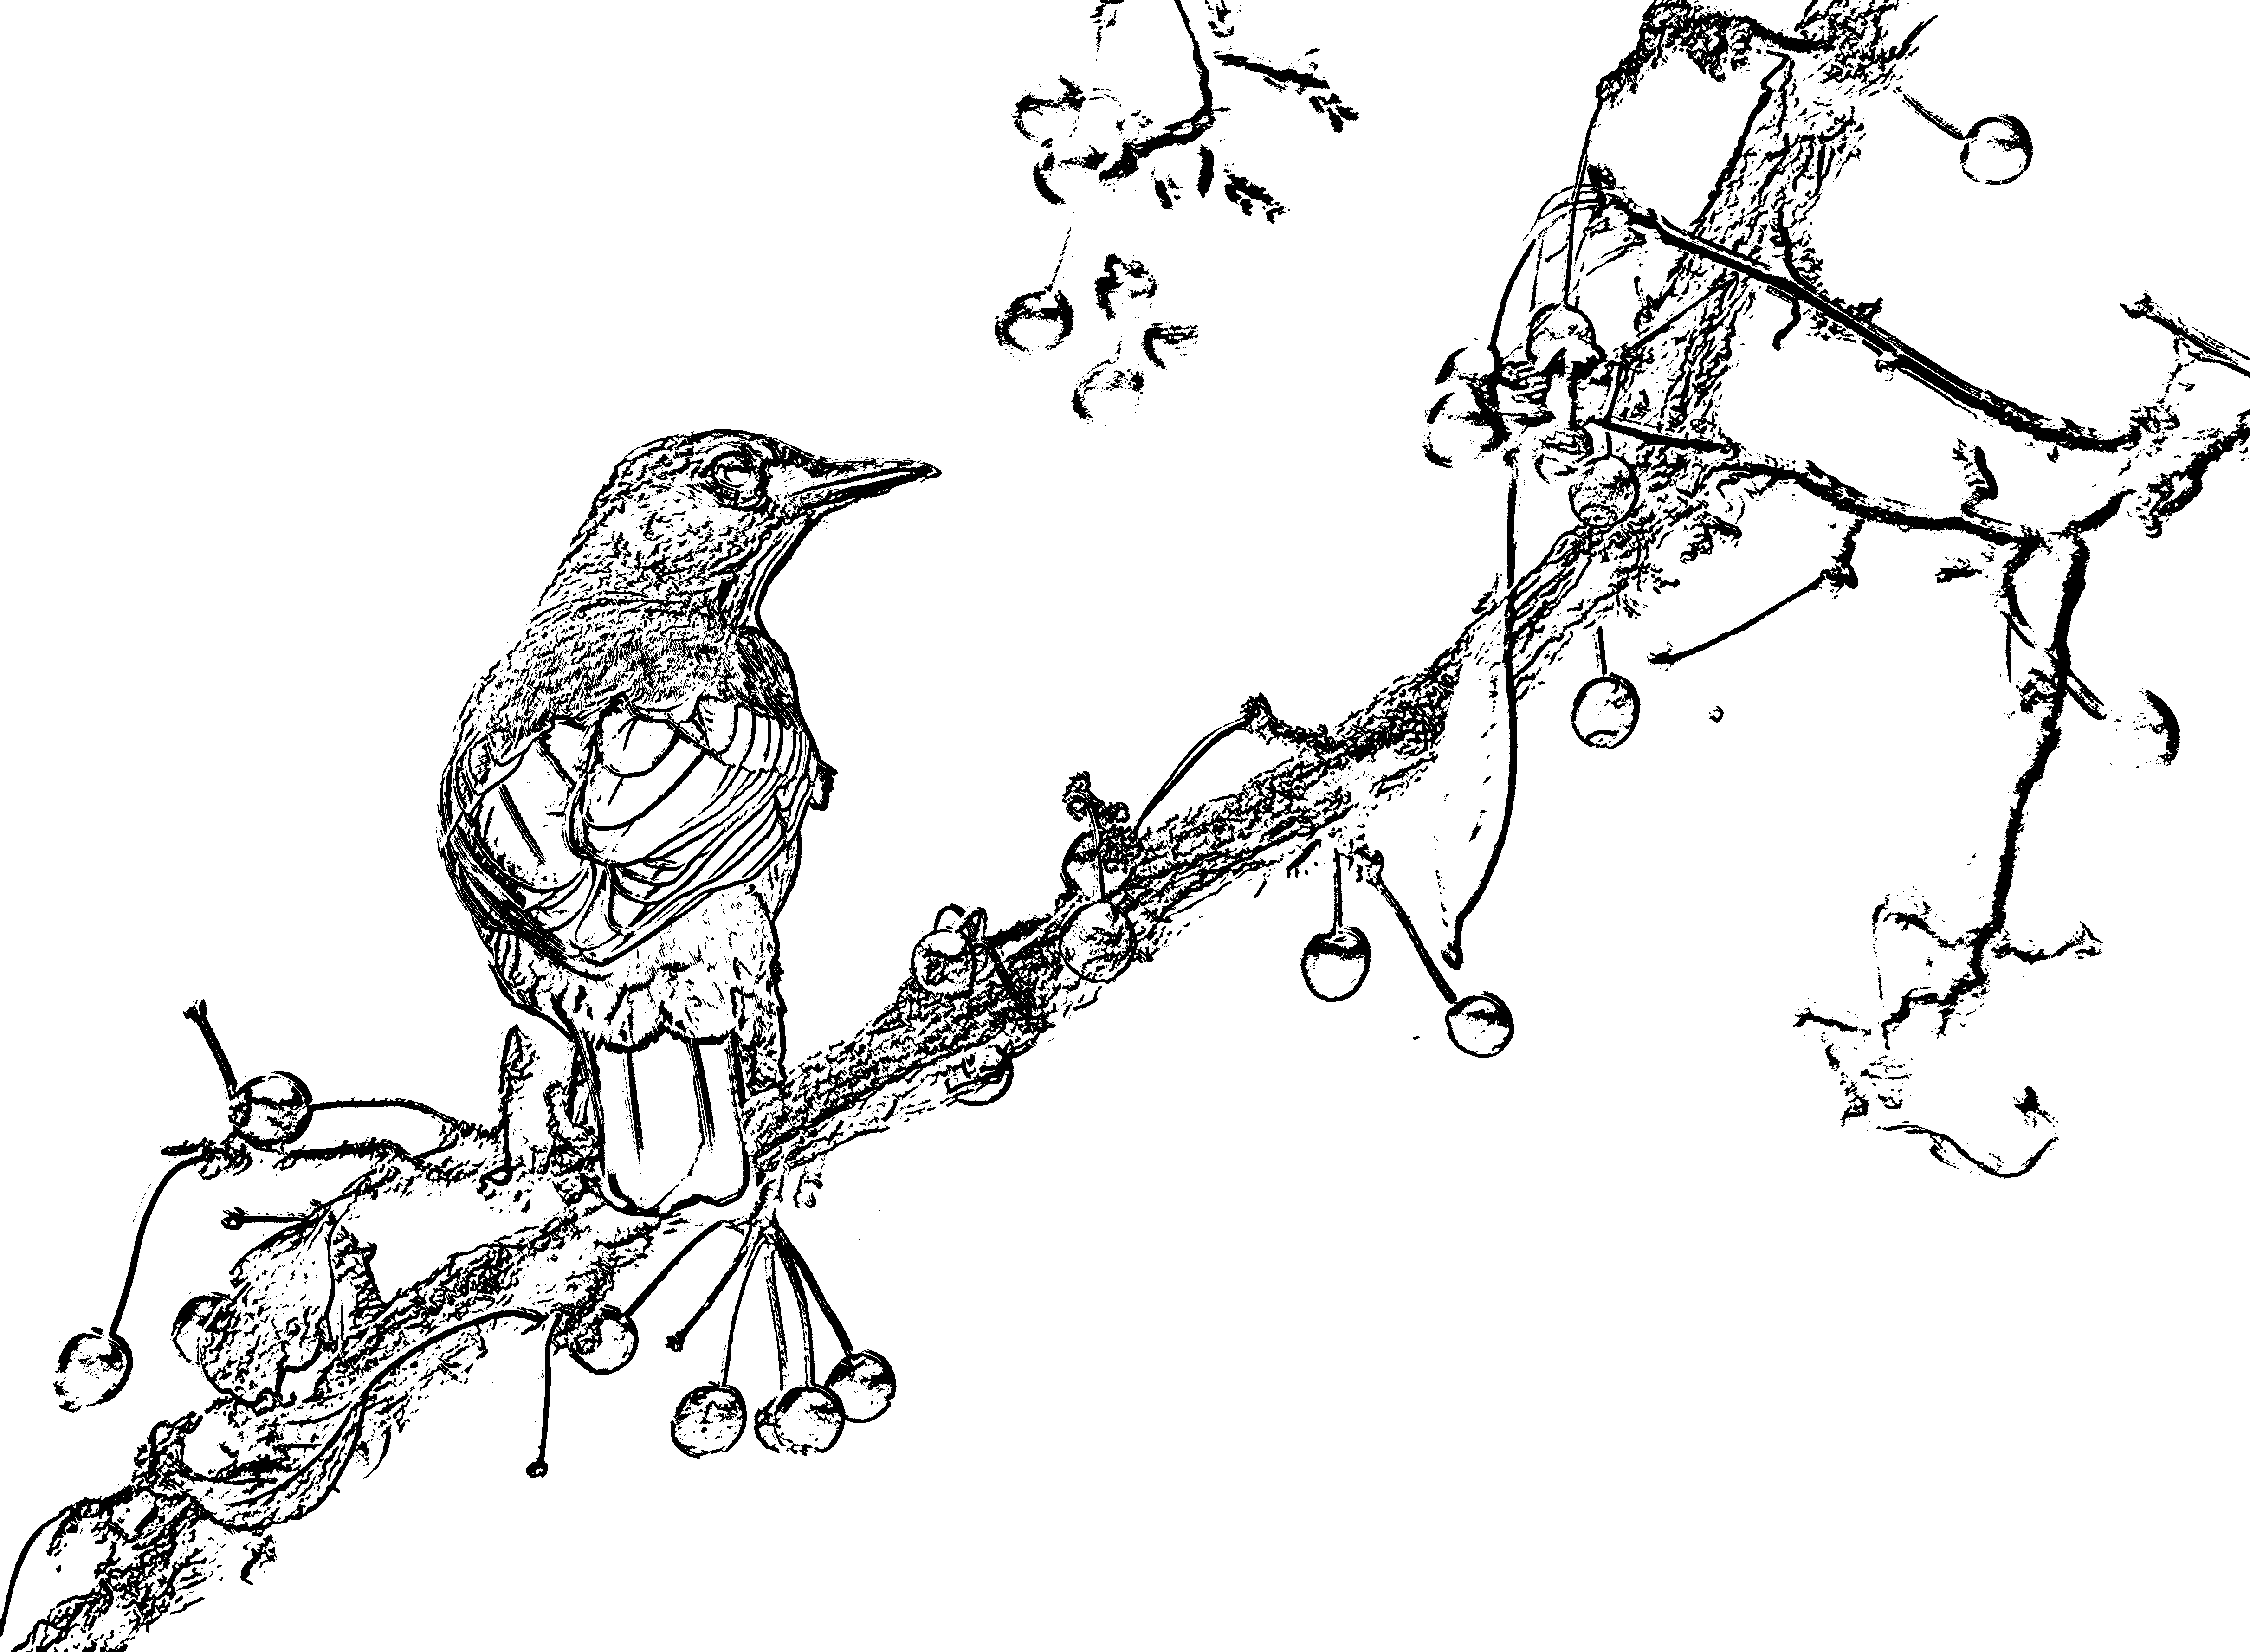
For this tutorial I will be using this photo of a bird:
Step 3: Opening a file in Gimp.
To open a file in Gimp, just open the location of your file and then pull the file into the open gimp window.
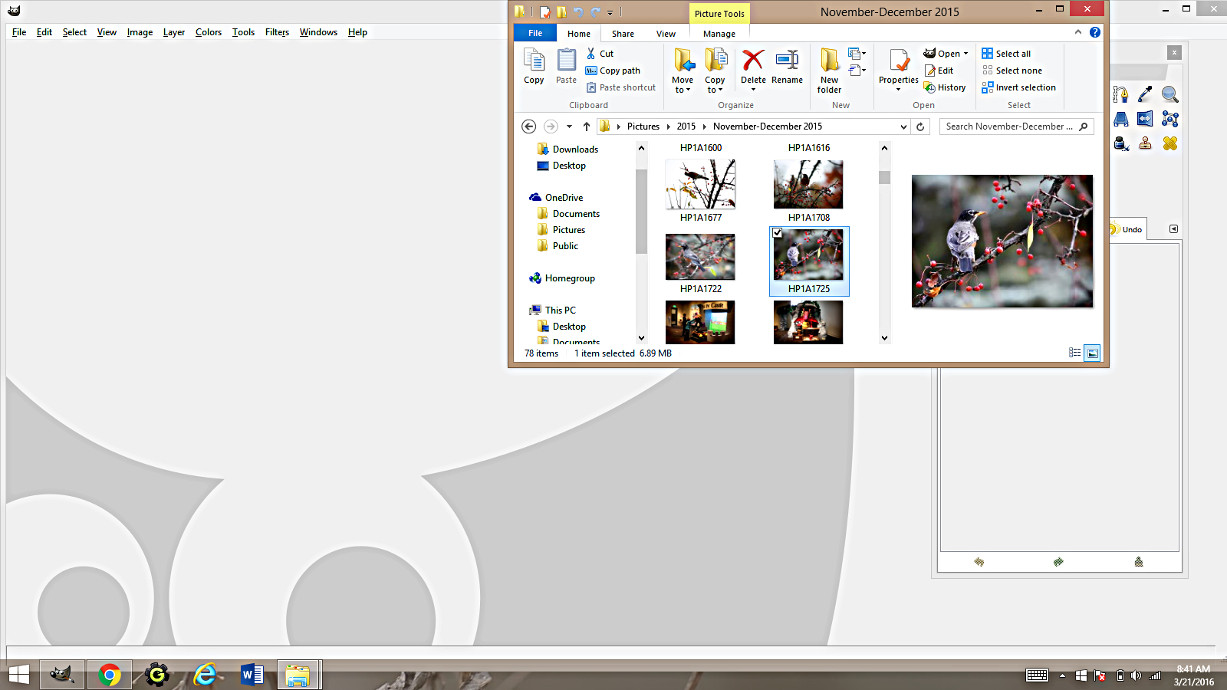
Ta-da! File is open.
Step 4: Method 1 to making a coloring page from photo.
Once you have your photo open, here are the steps for the first way of making a coloring page from photo.
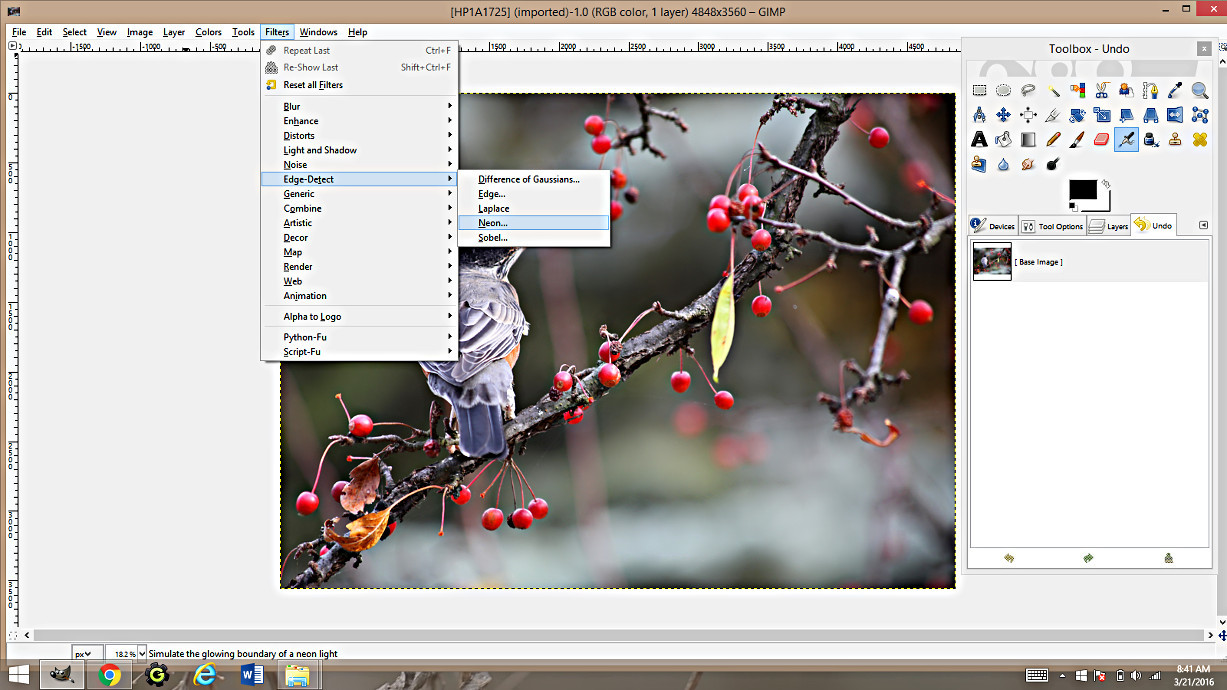
On tabs go to Filters->Edge-Detect->Neon. Click on that filter, and a window will pop up with different settings.
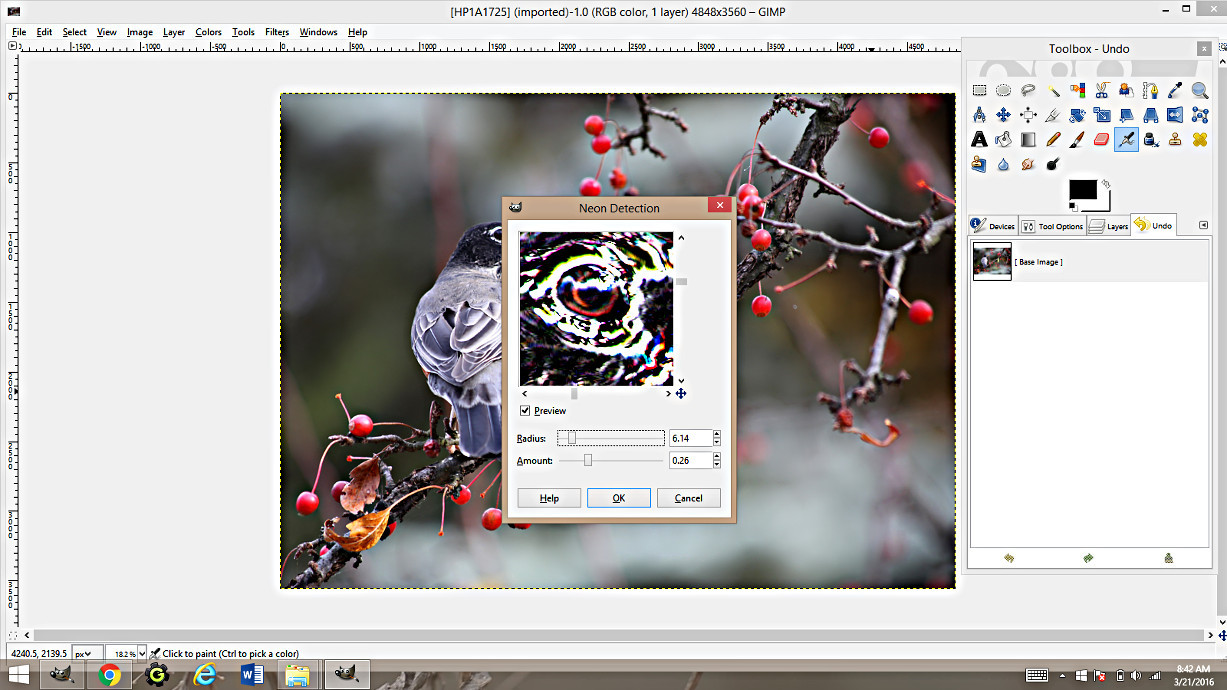
Take a look at that window (Let me remind you to click on each photo to enlarge and see the details better!). You have two values: radius and amount, plus a little preview window. I like to scroll the preview window to an important part of the photo, like the eye, and judge by that. Adjust the value amounts until you have a clear view of the edges. Then click “OK”.
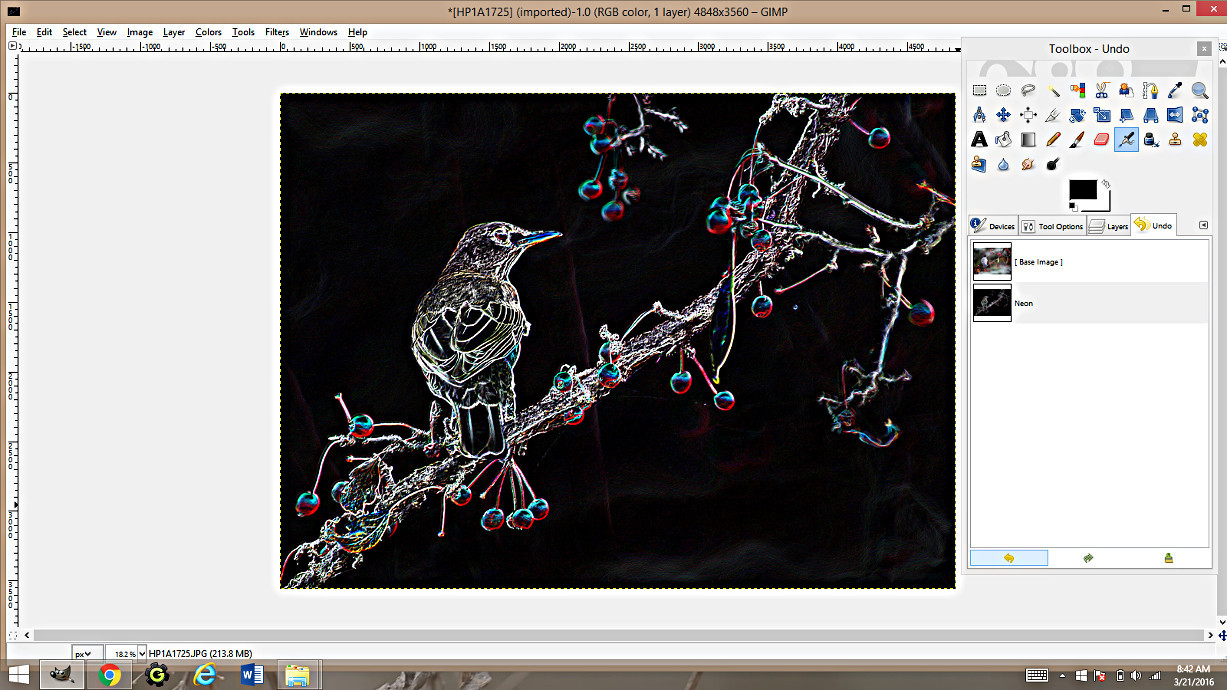
This is what should happen once you apply the Neon Edge Detect Filter.
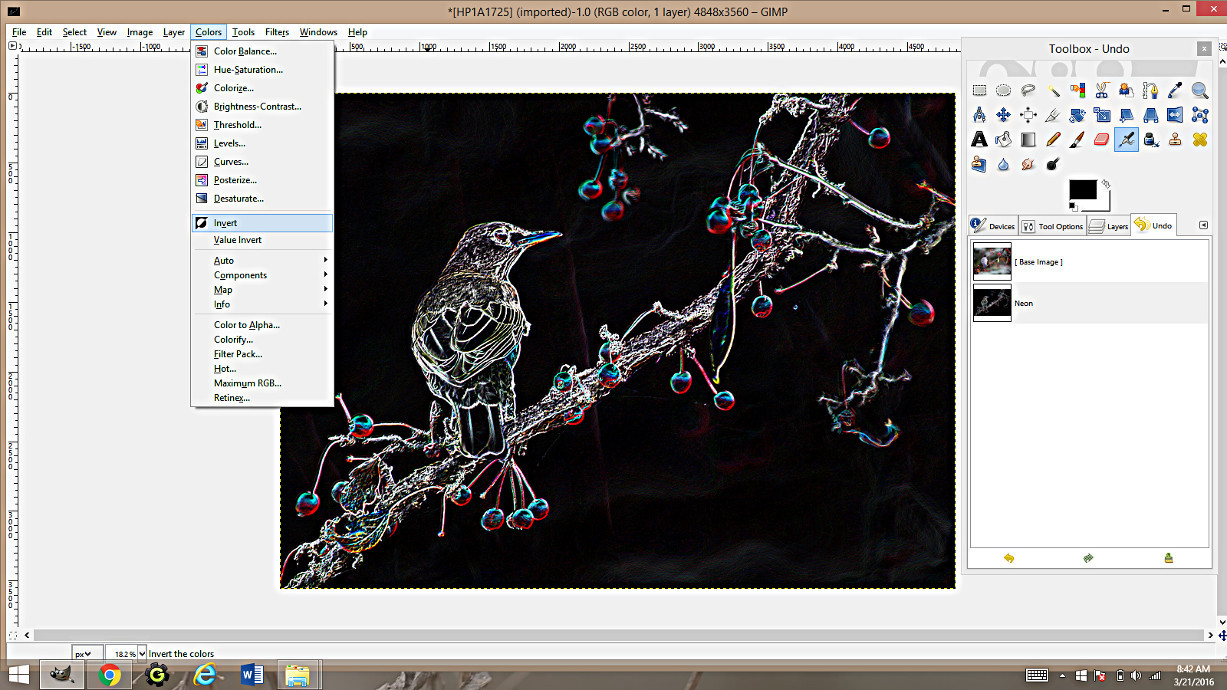
Go to Colors->Invert. Click on it, and…
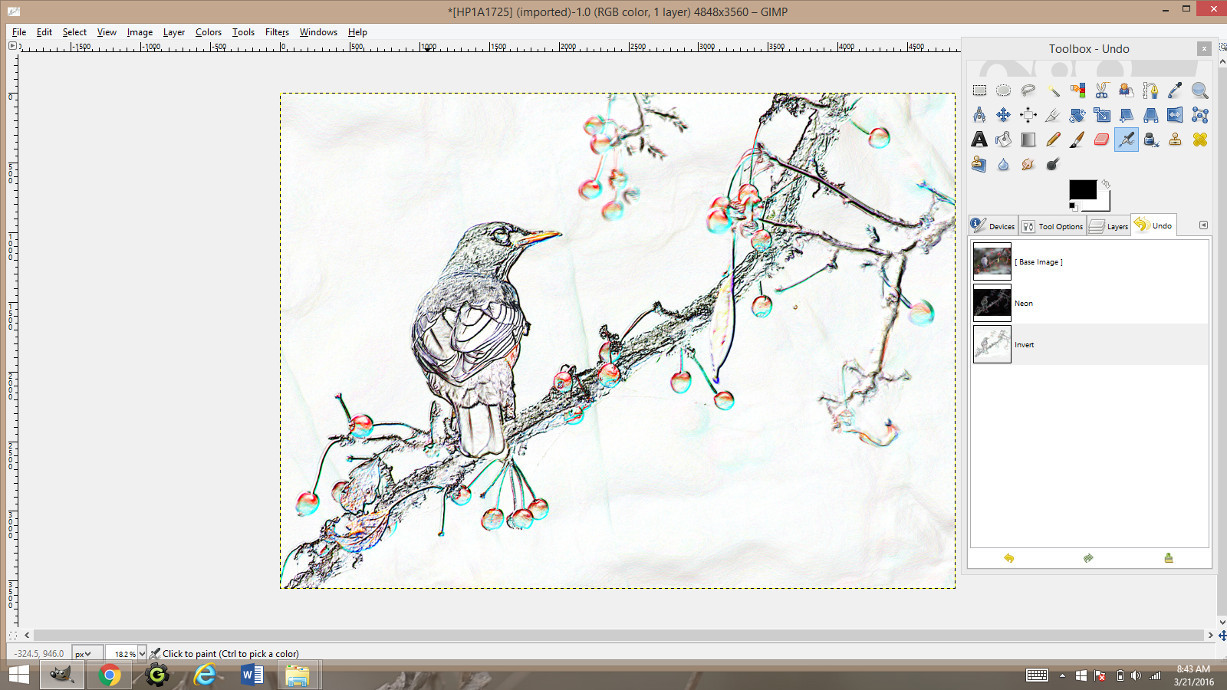
Get this wonderful result. It’s almost there.
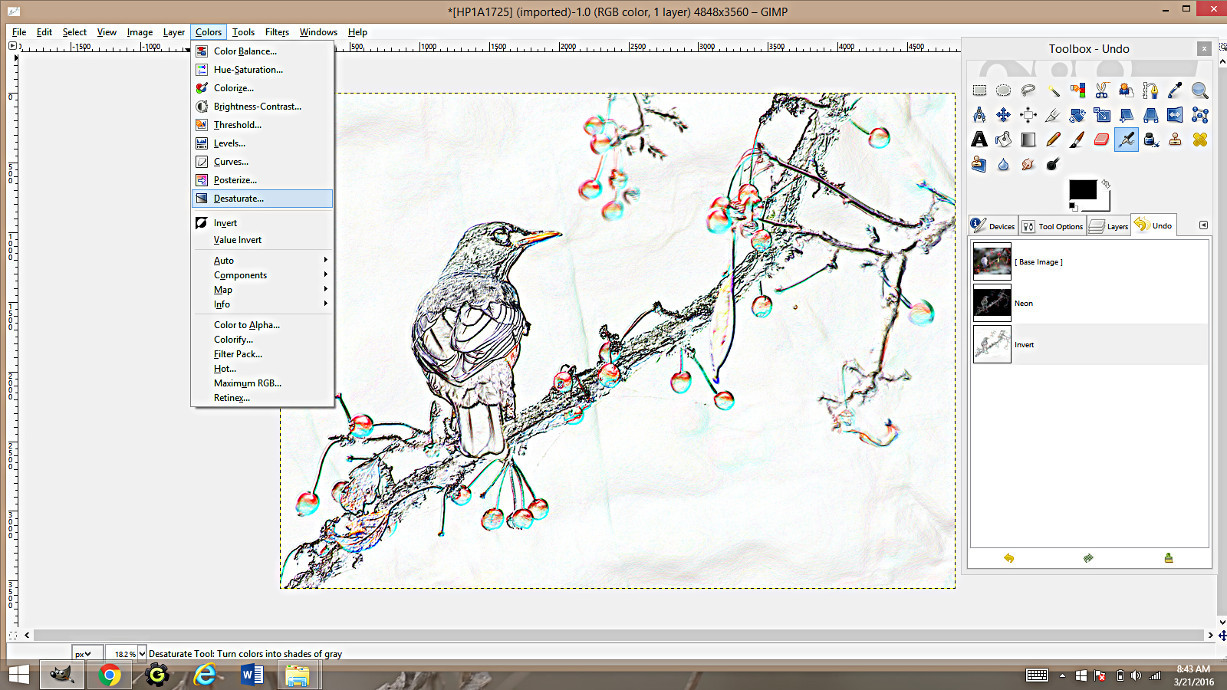
Go to Color->Desaturate. That will make the coloring page black and white.
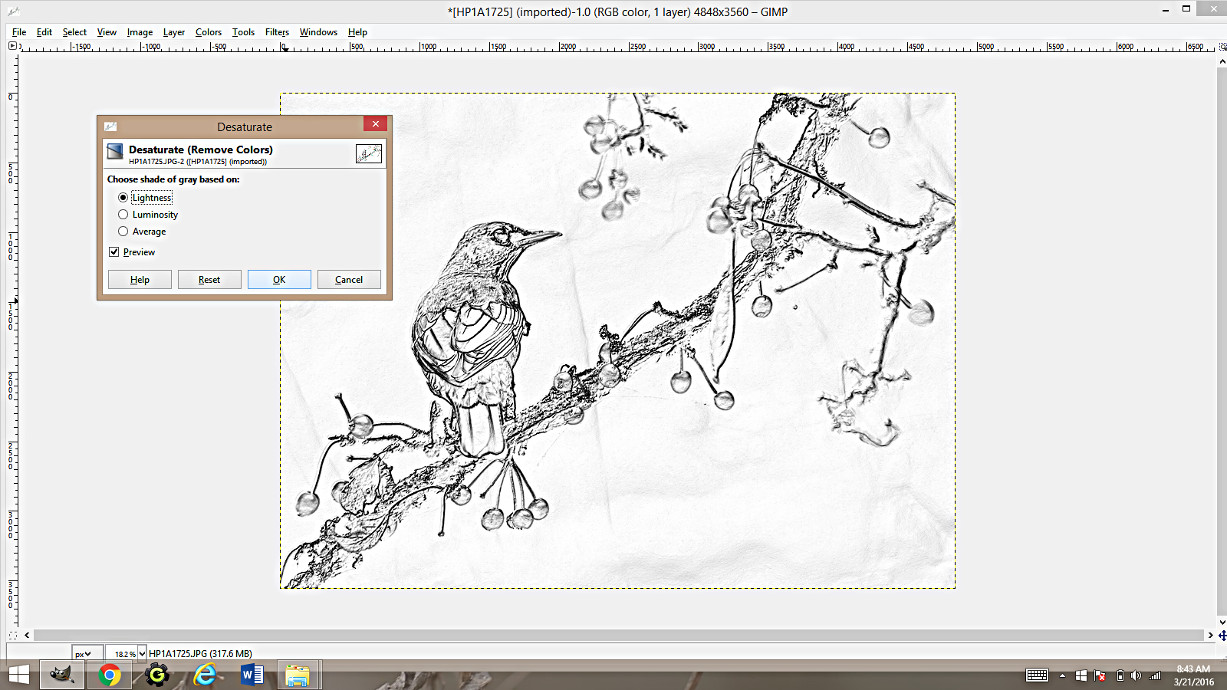
When you click on Desaturate, a window will pop up. There are three options there: lightness, luminosity, and average. I usually play around to see which option I like best. Click OK.
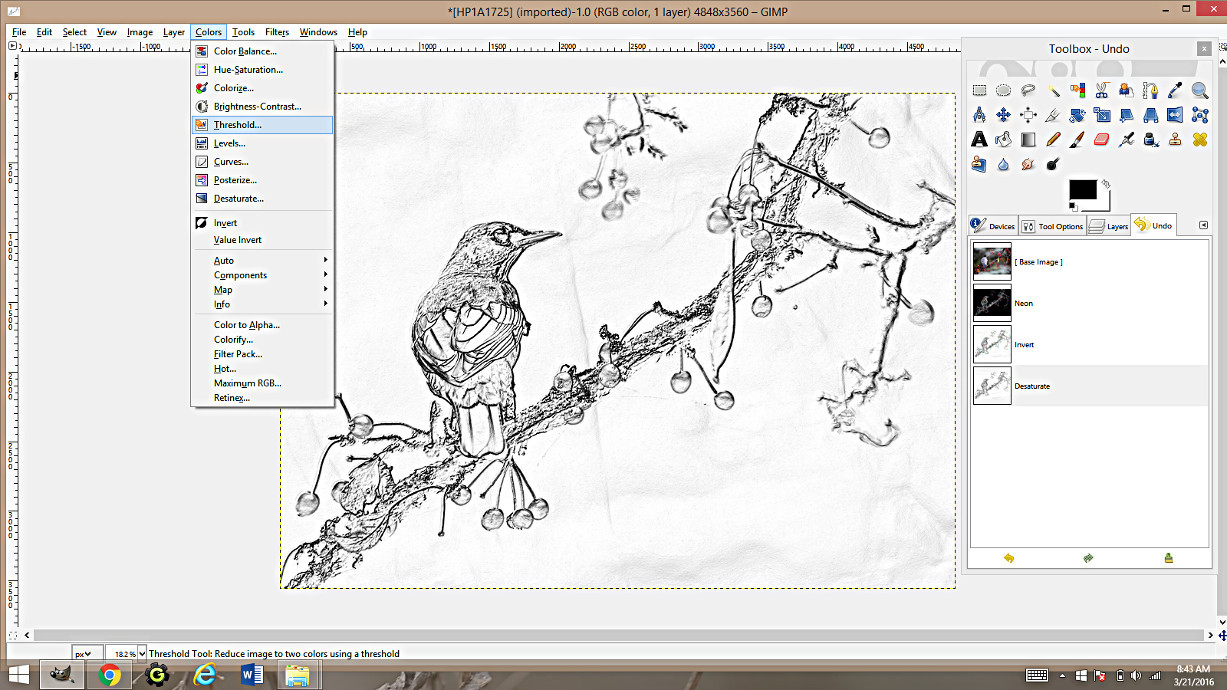
Go to Colors->Threshold.
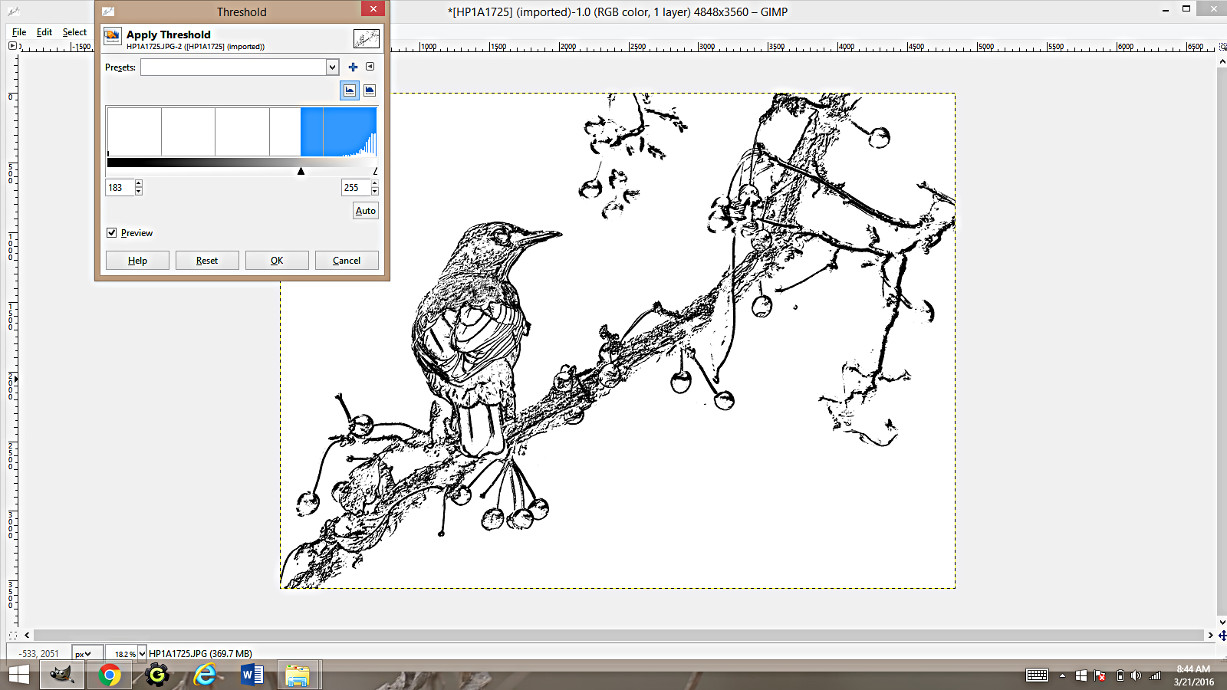
Once you open it, a window will come up. You will see two arrows. Move them around until you are happy with the result. Each picture will have a different optimal position for the arrows. That’s all, this bird coloring page is all done! You are welcome to color it in now, and I would love to see the results!
Here is another coloring page done using Method 1:
Step 5: Method 2.
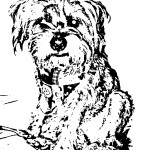
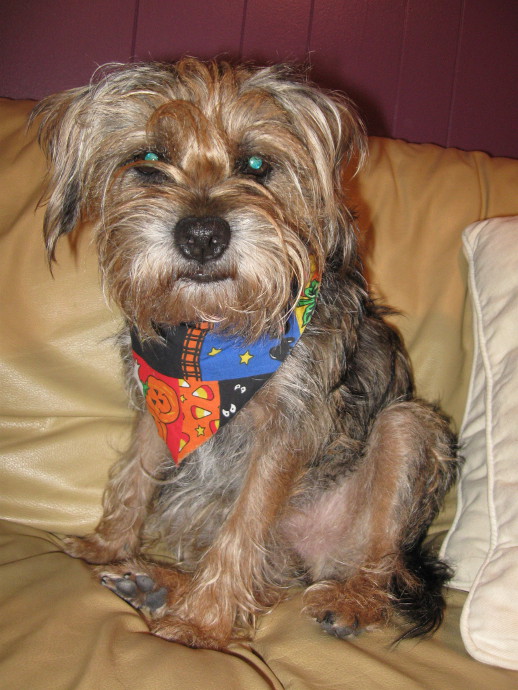
The second method works great as well. It is a little different and has a slightly different result. Here is an example. Here is a photo of my friend’s dog.
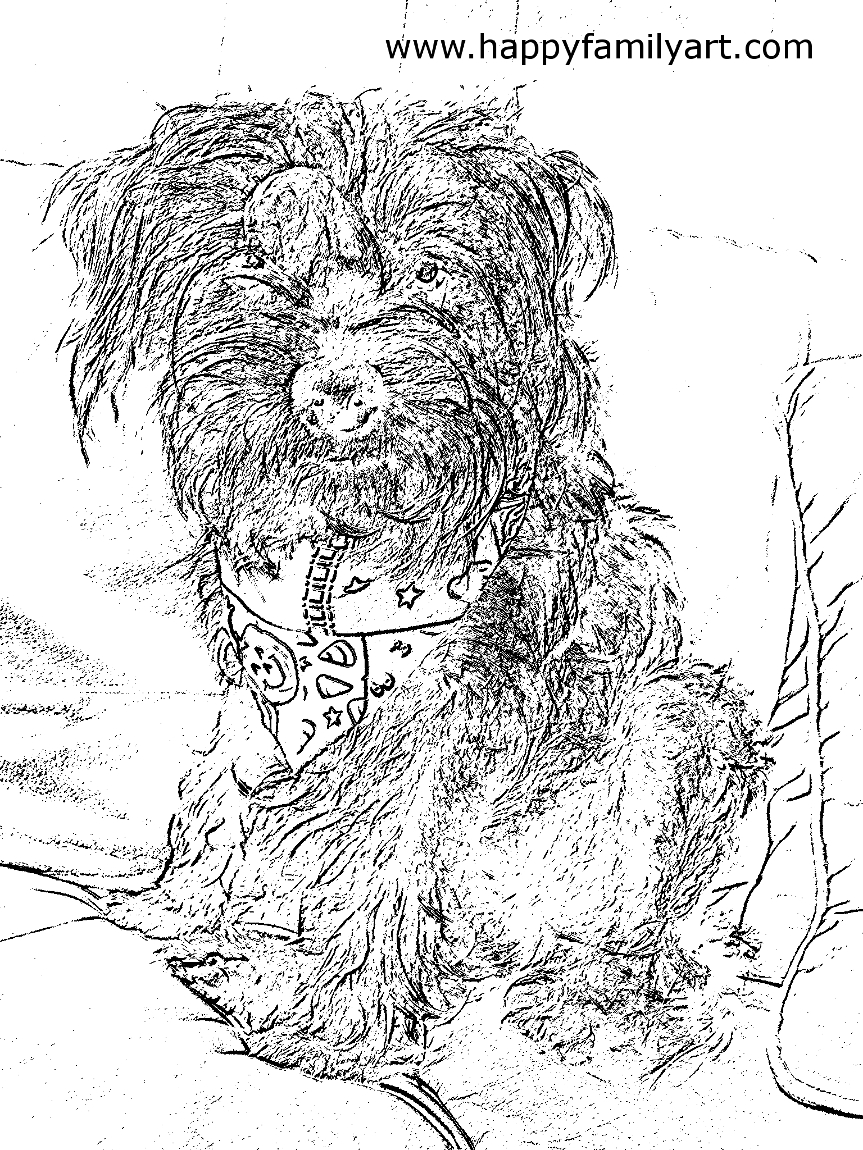
Here is the coloring page done with Method 1:
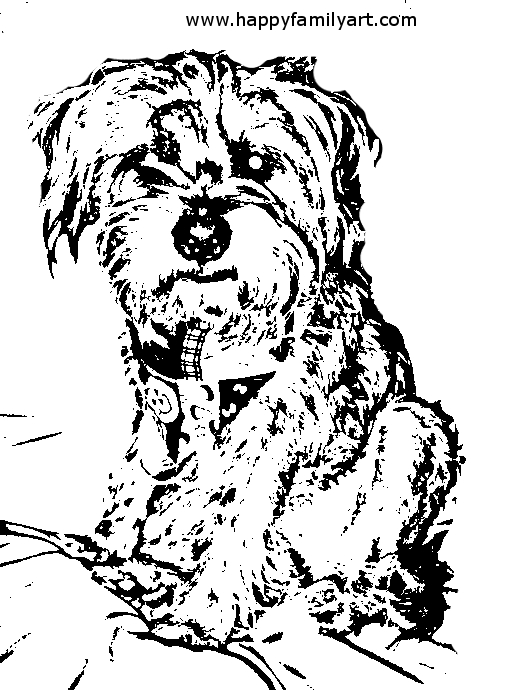
Here is the coloring page done with Method 2:
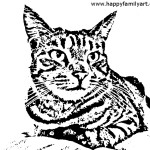
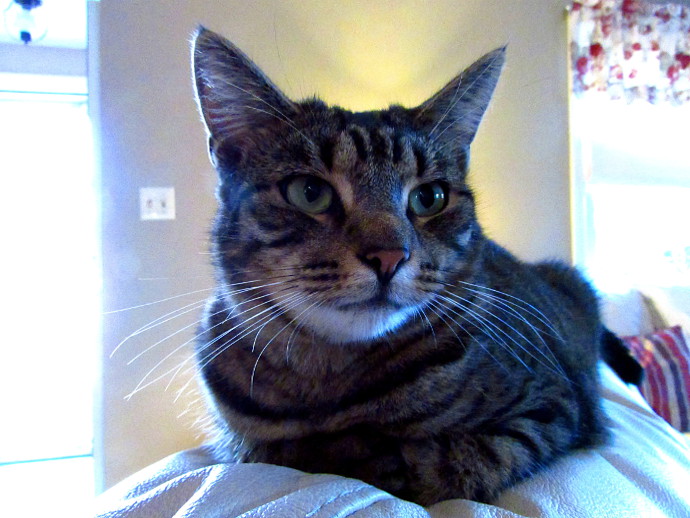
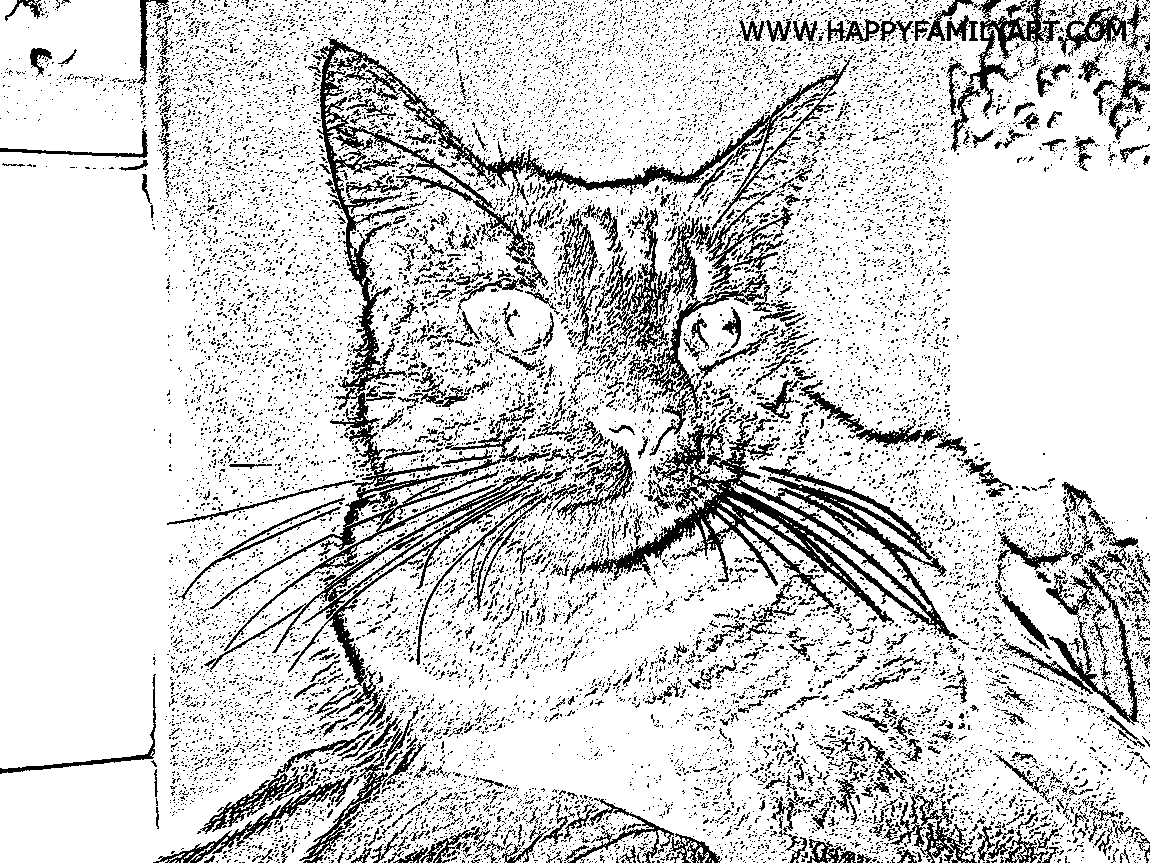
For demonstration purposes I am using this picture of the cat:
Let’s get started:
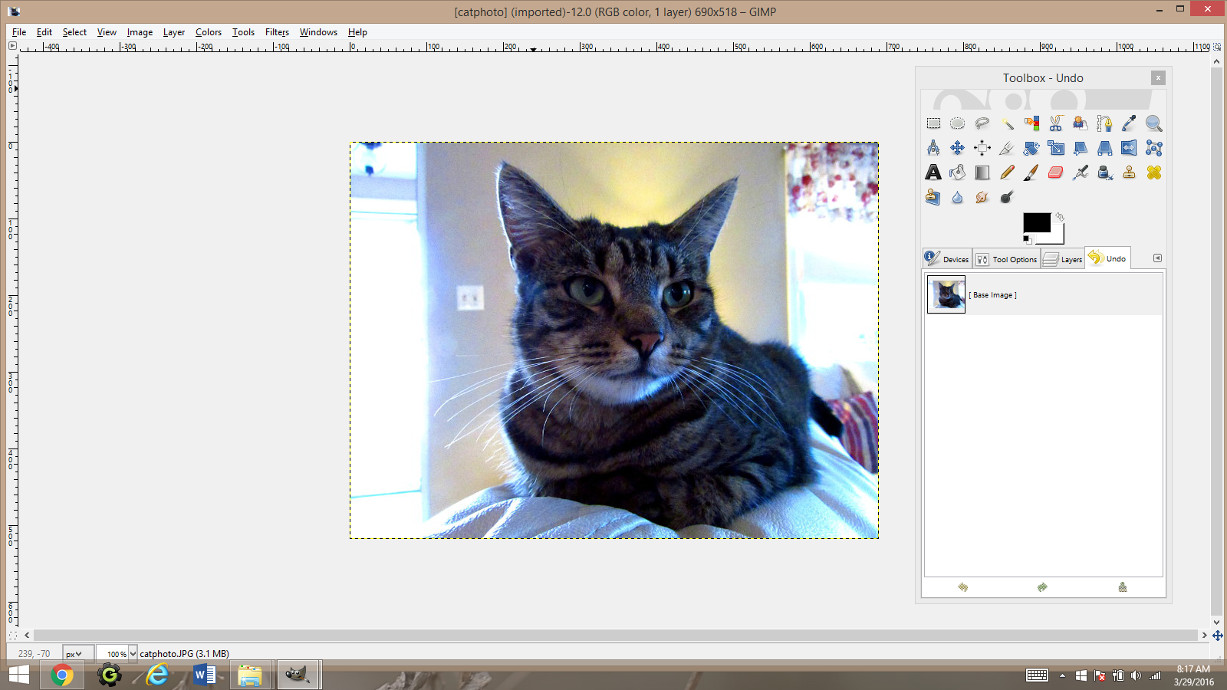
First, open the image in Gimp.
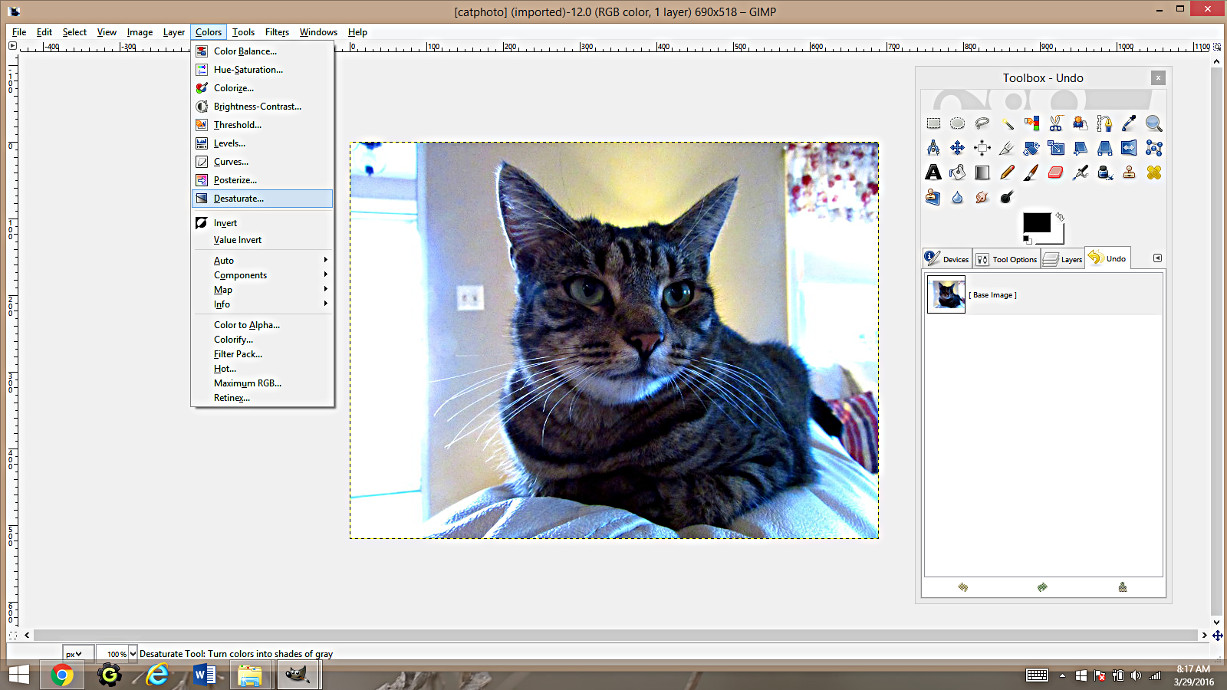
Now go to Colors->Desaturate, to make your photo black and white.
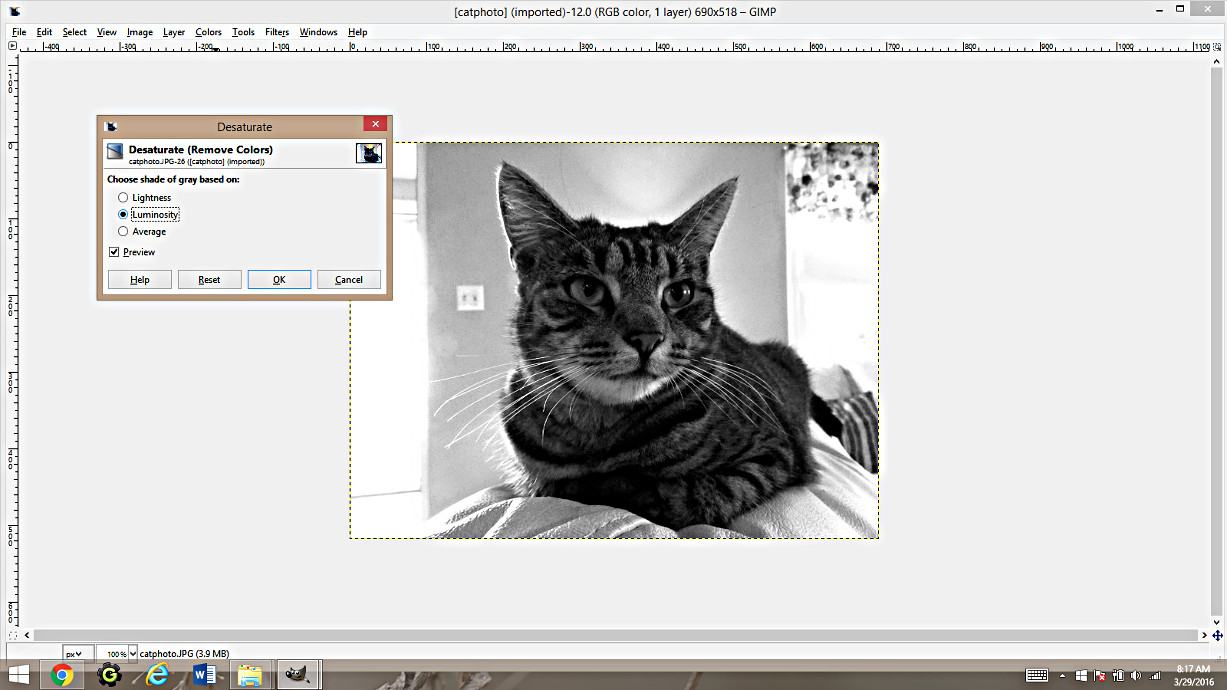
When you click on Desaturate, a little window pops up with the three options: lightness, luminosity, and average. I picked luminosity because it provided the most lovely result in terms on contrast and values.

Go to Colors-> Levels.
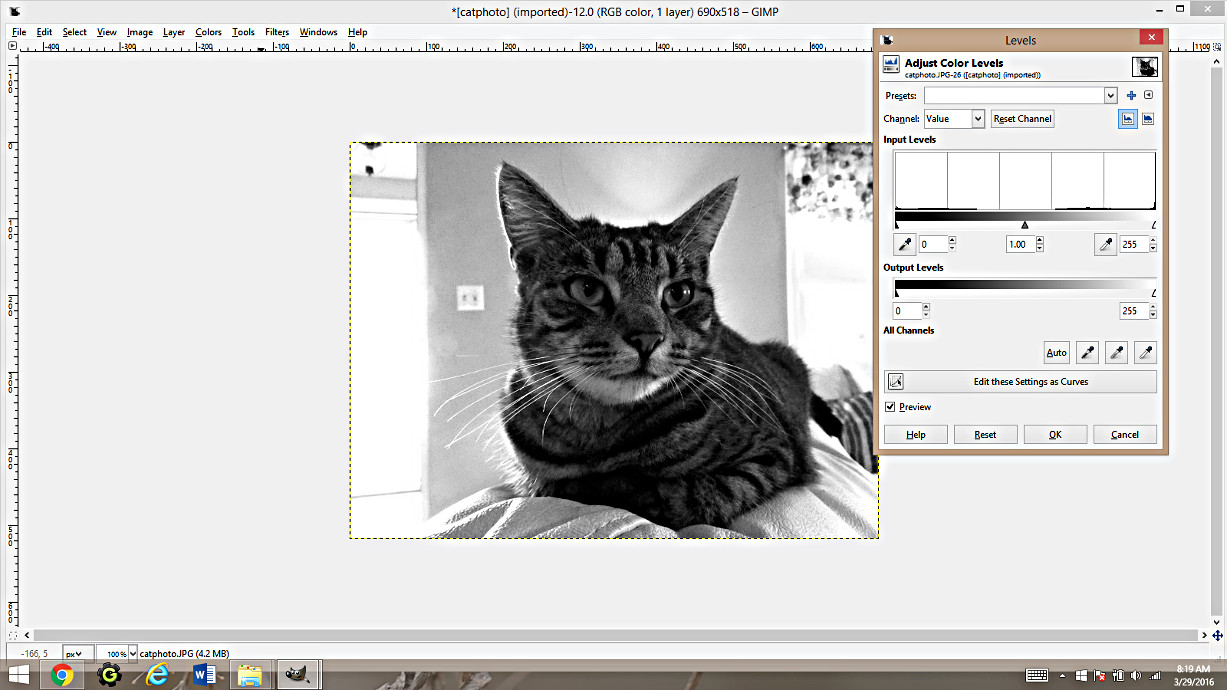
You will get a window with two scales: input levels and output levels. The input levels has three arrows. These are the arrows you want to play with.
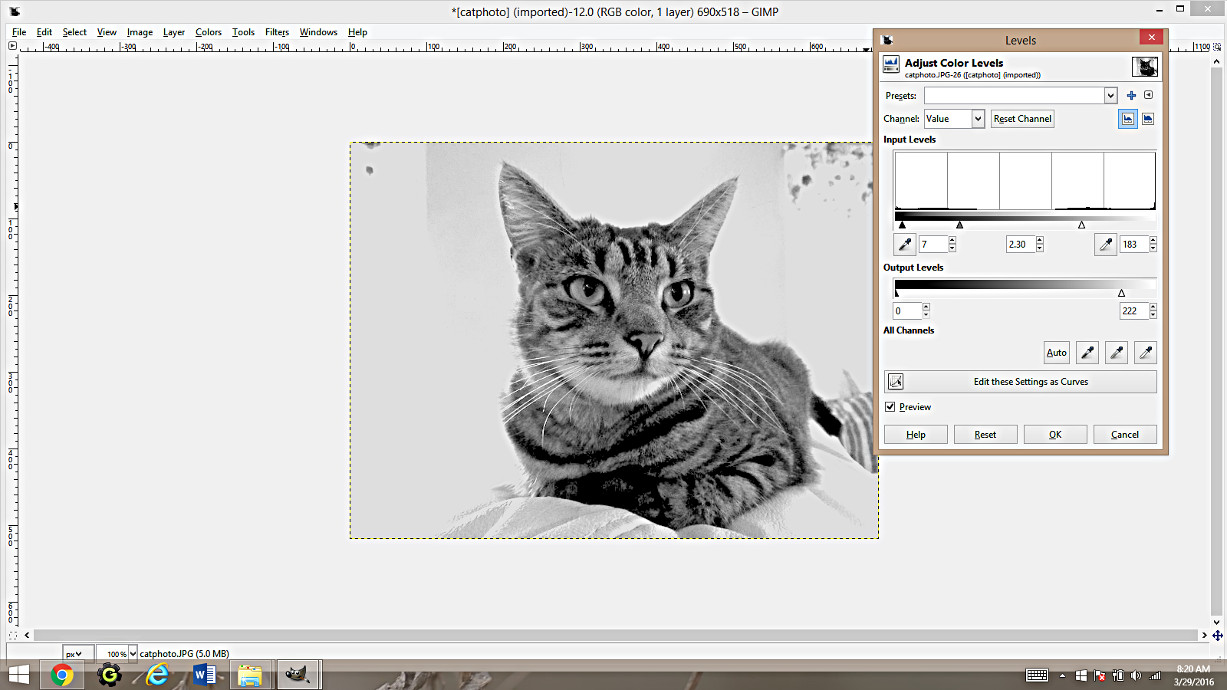
You want to make the background lighter, while making sure all the important lines remain darker. If you look at the photo above, you will see where I positioned the input levels for the cat photo.
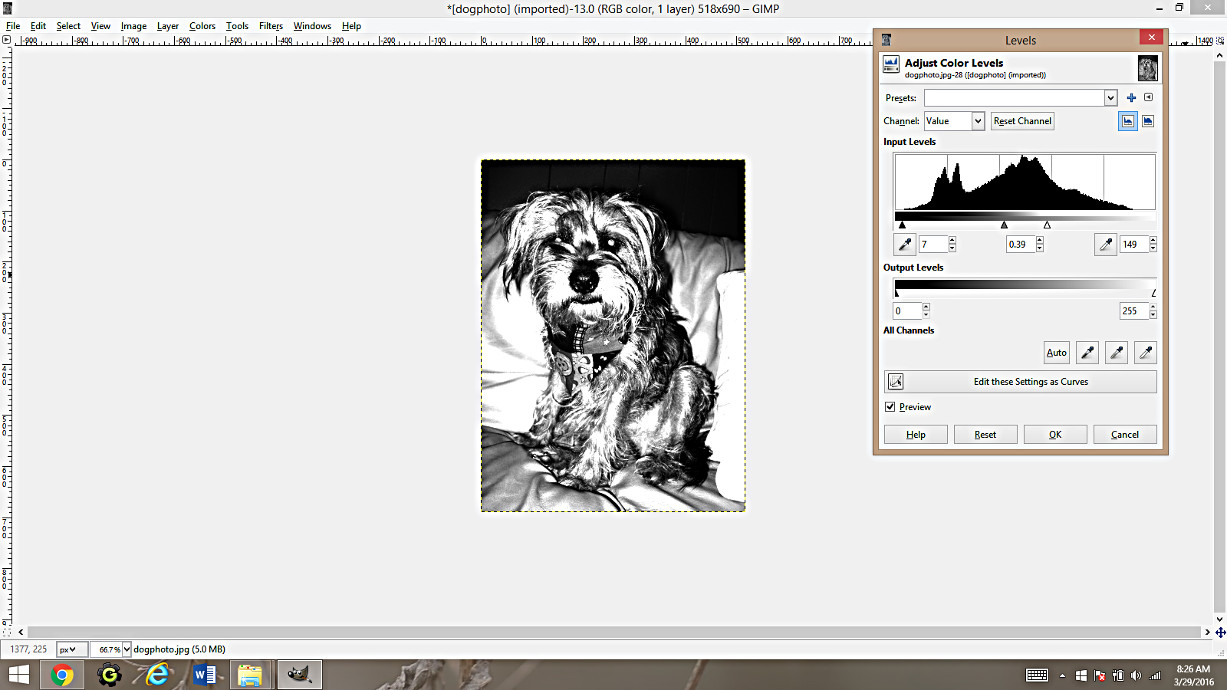
Each photo will have a different optimal levels. For example, check out the dog photo above.
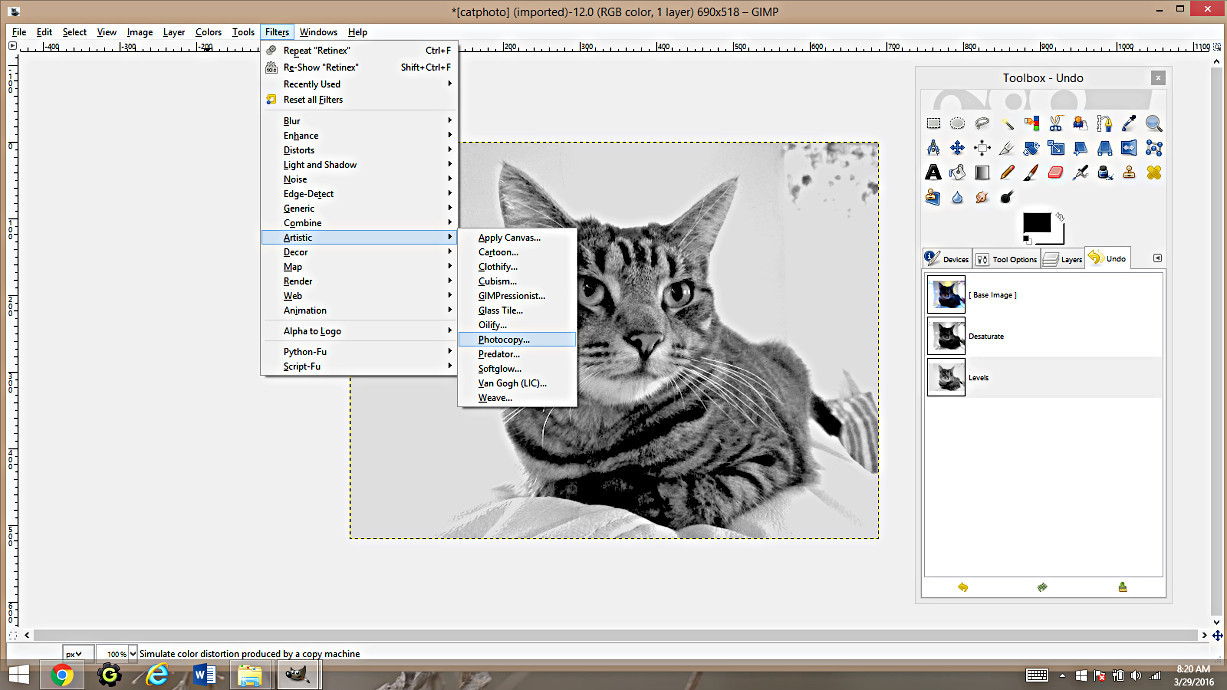
Next, go to Filters->Artistic->Photocopy.
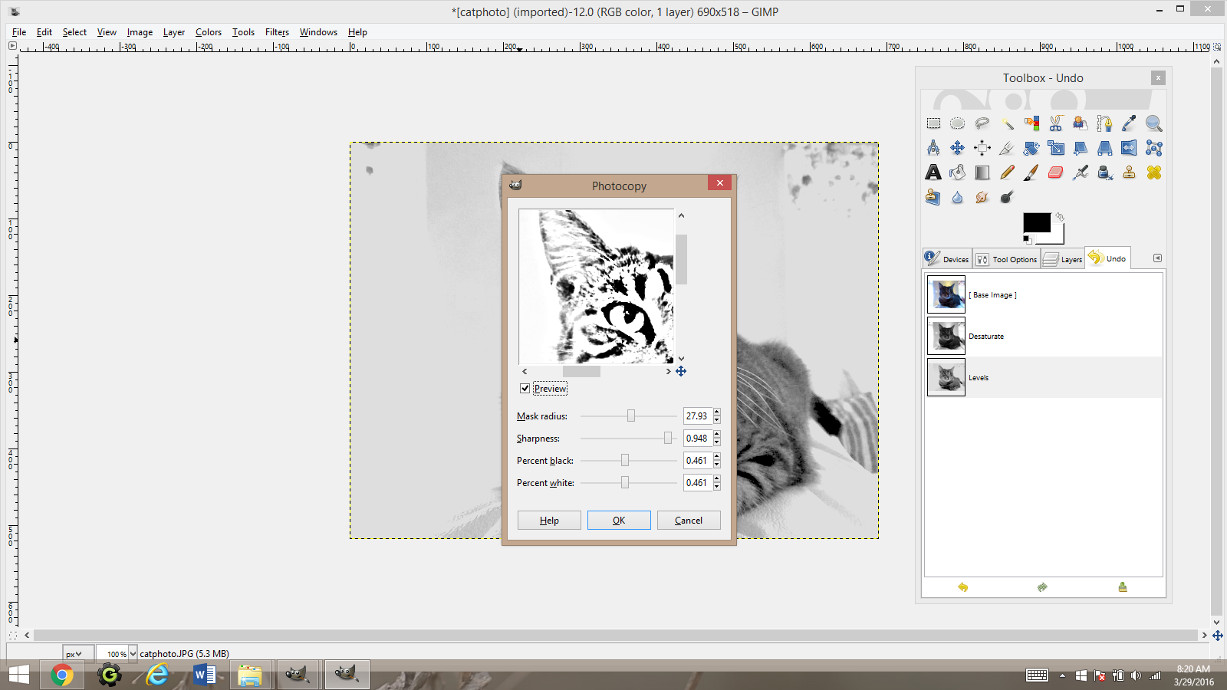
You will get a pop up window with four options: mass radius, sharpness, percent black and percent white. Focus on an important part of your picture, like the eye, and adjust all the options accordingly. Of course, it will vary from picture to picture.
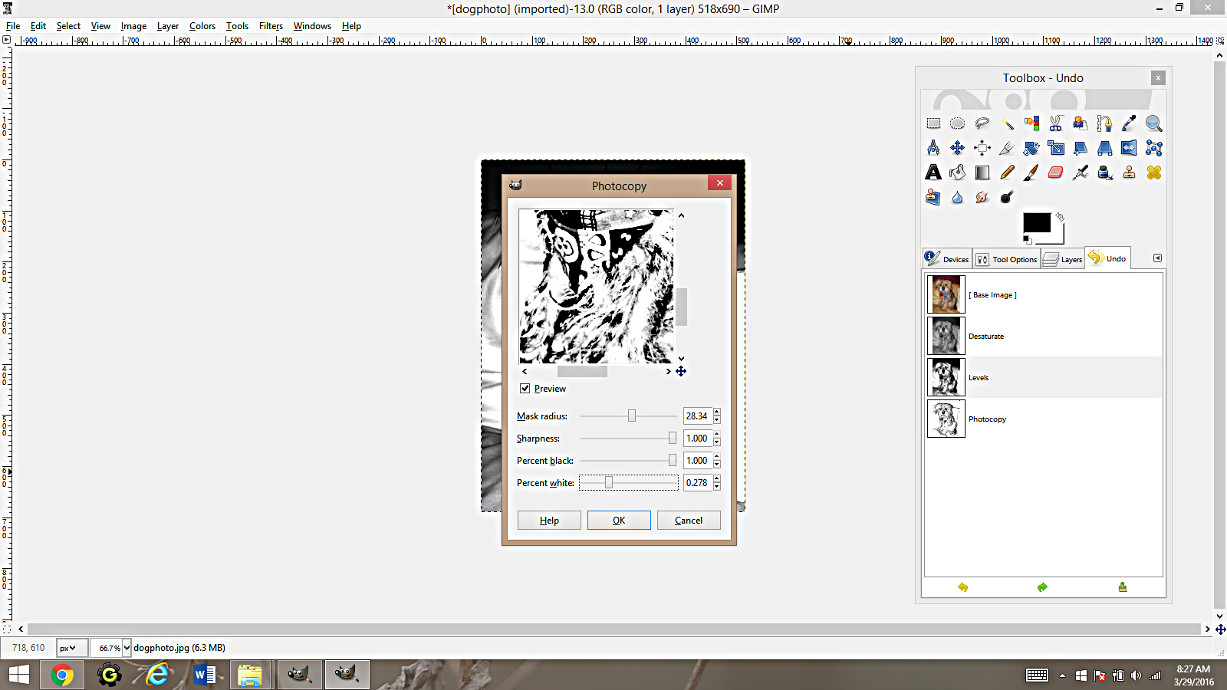
As a matter of fact, my dog picture levels were completely different from the cat picture levels!
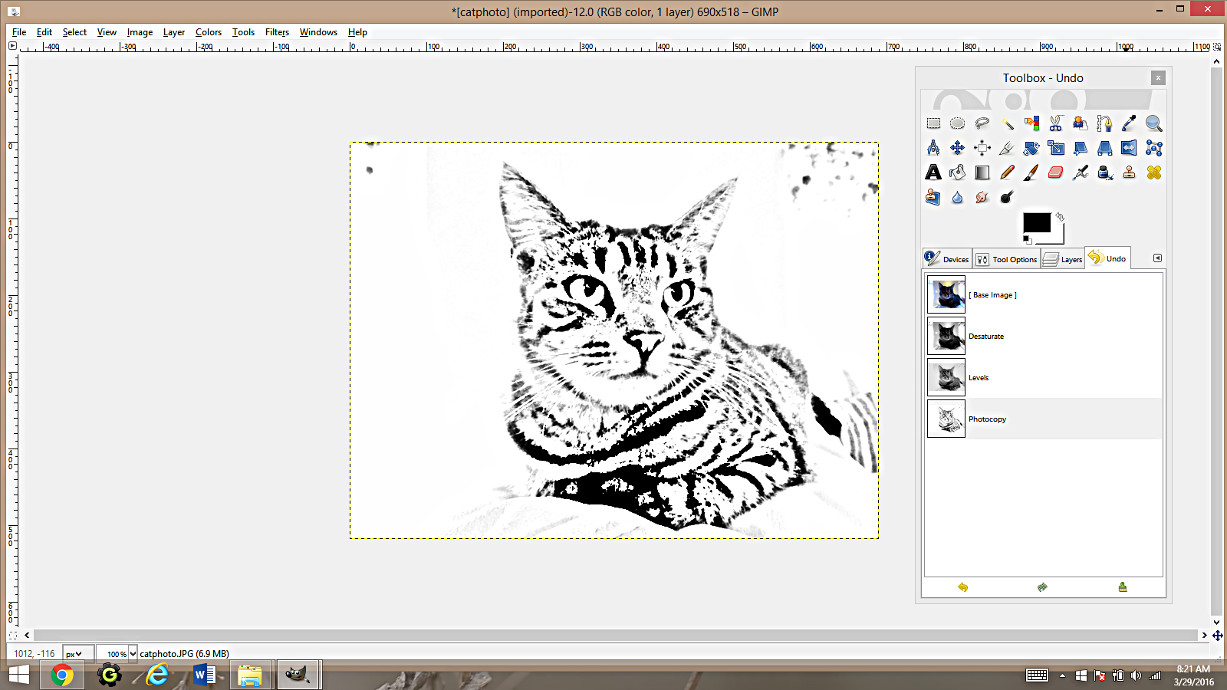
Apply the Photocopy filter.
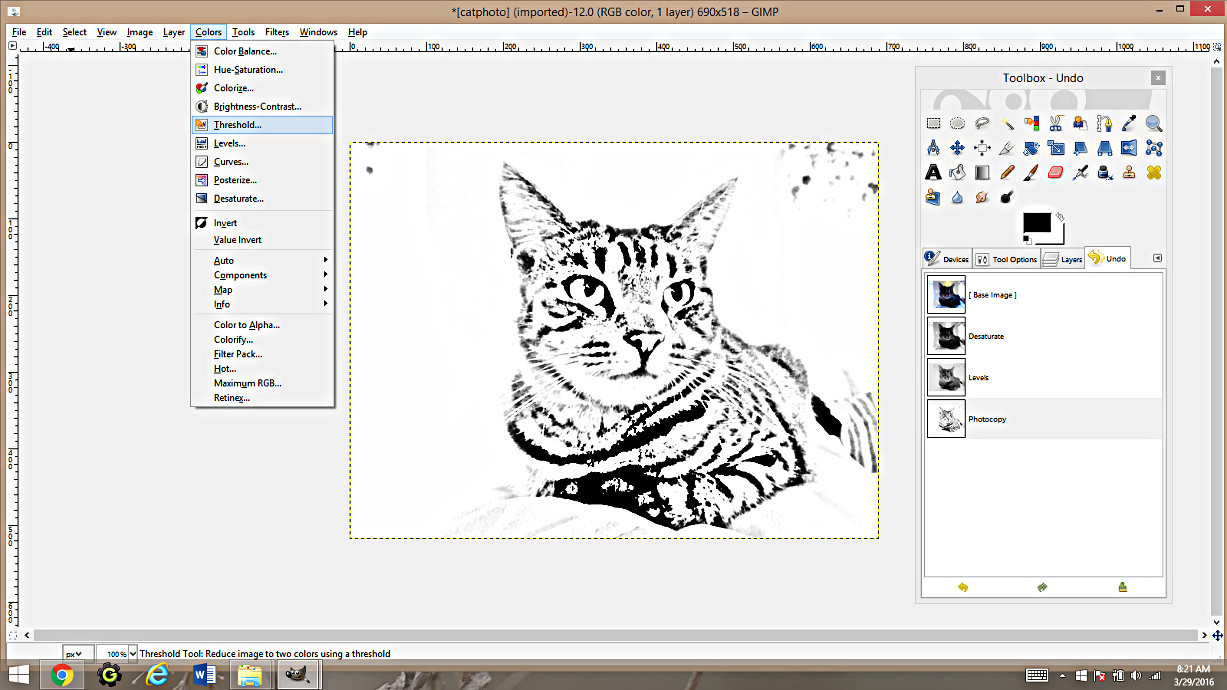
Go to Colors->Threshold.
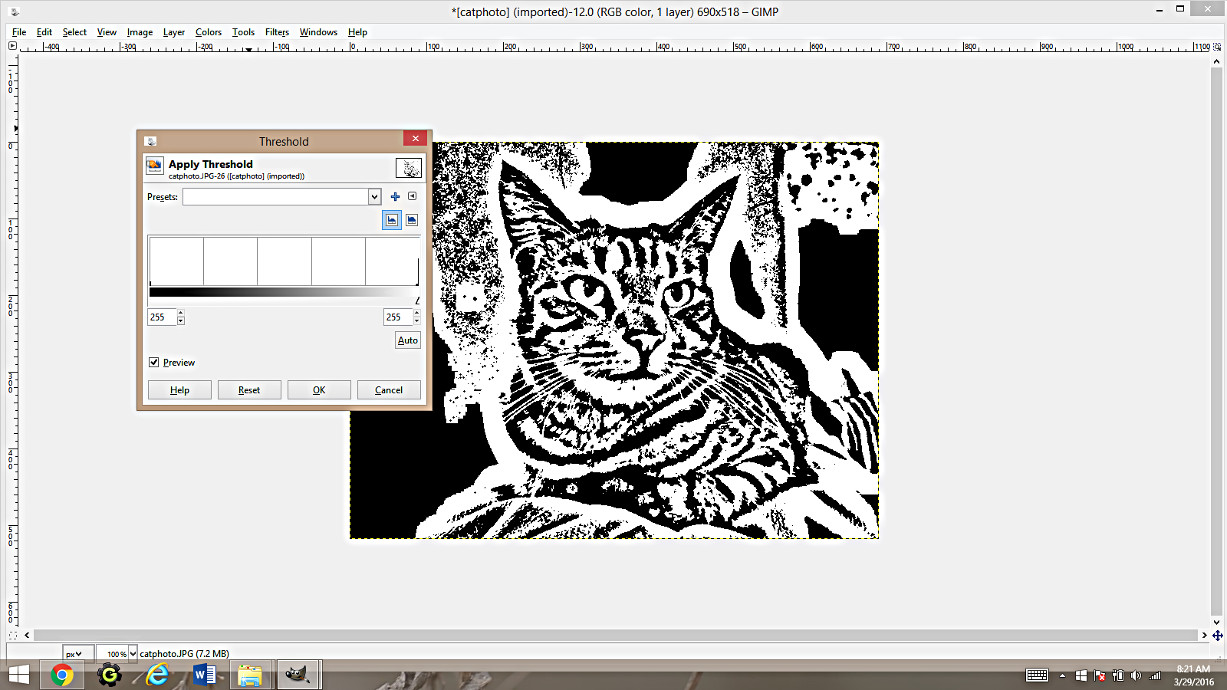
Play around with the Threshold scale. Above picture is way too dark, but…
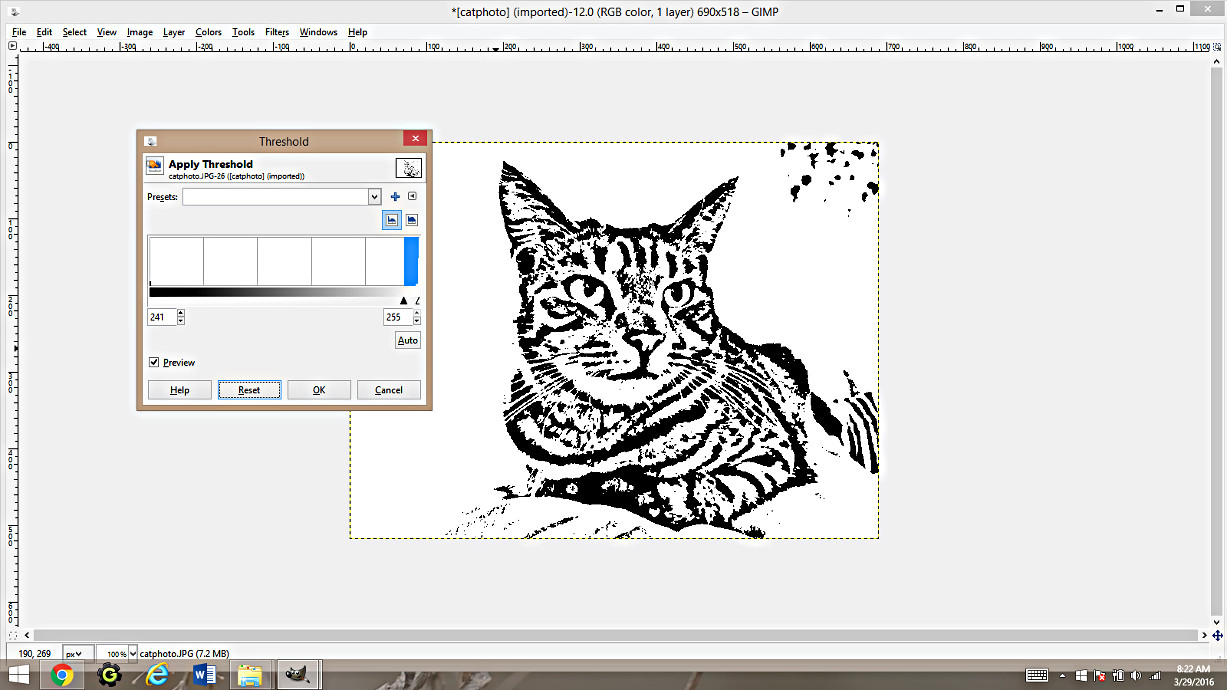
…if the scale is a little bit moved over, the picture starts to look much better!

Again, the Threshold for the dog is completely different.
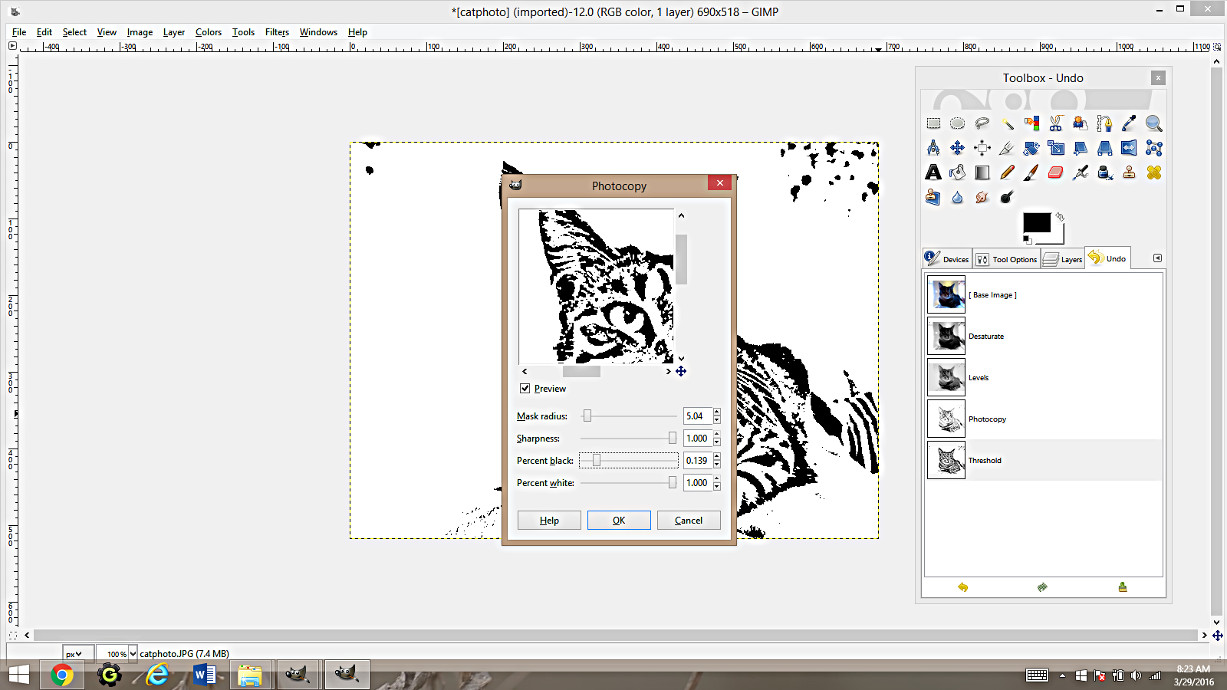
I actually went back and applied the Photocopy filter one more time.
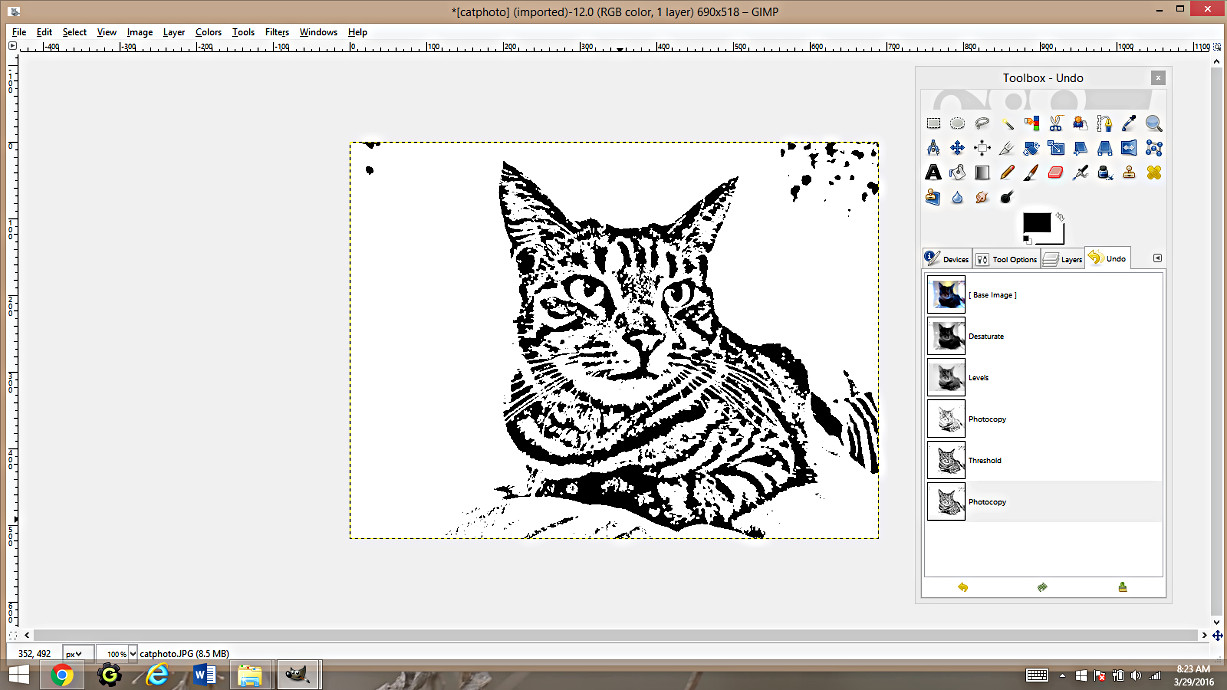
The second Photocopy filter helped clean up the picture a bit.
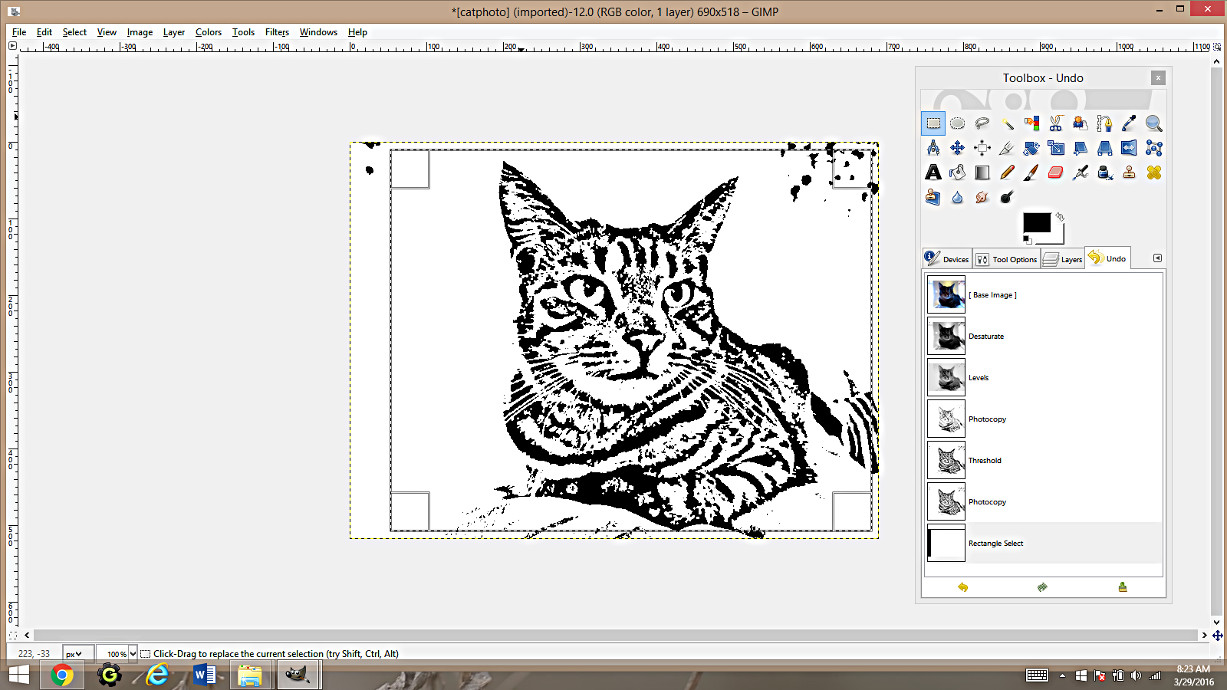
Using the little square select tool in the upper left corner of your toolbox, select the area you want to be in your coloring page. I am choosing to get rid of some of the extra white space on the left.
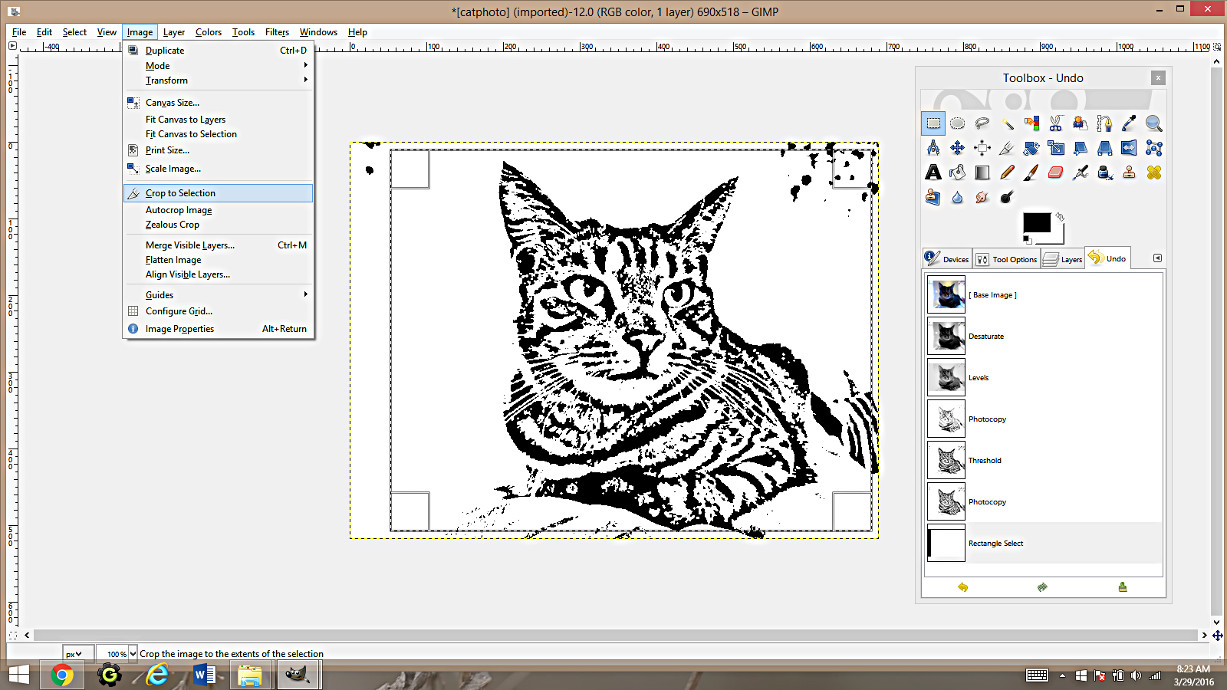
Go to Image->Crop To Selection to only keep the selected area.

Using the eraser tool from the Toolbox, I erased the spots on the upper right.

Now, the page is done and it’s time to save. Take a look at the next step to see how to save your coloring page if you are working in Gimp.
Here is the result of Method 2:
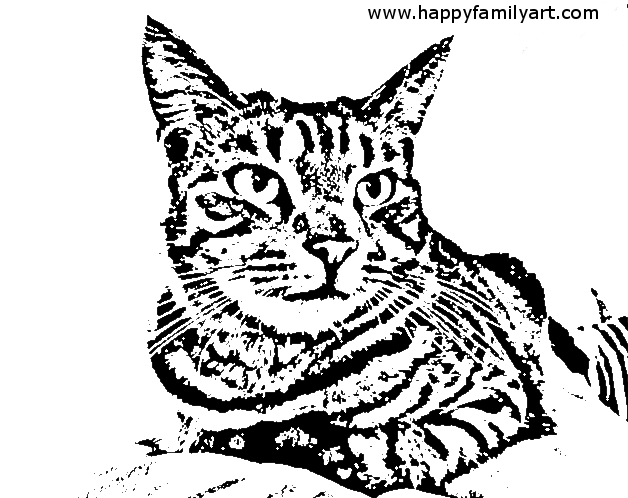
I like how this photo worked out with Method 2 way more then the way it looks with Method 1:
Final Step: Saving your coloring page from Gimp.
In Gimp, to save a picture as a Jpeg file you need to follow the following steps.
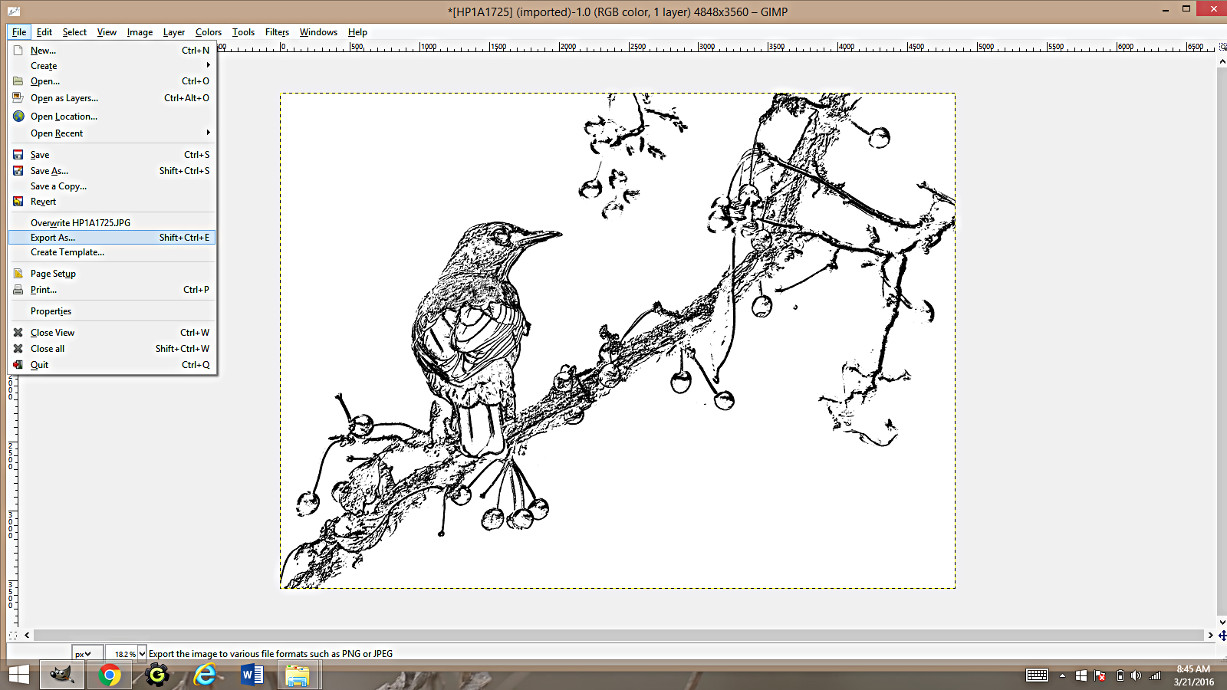
Go to File->Export As
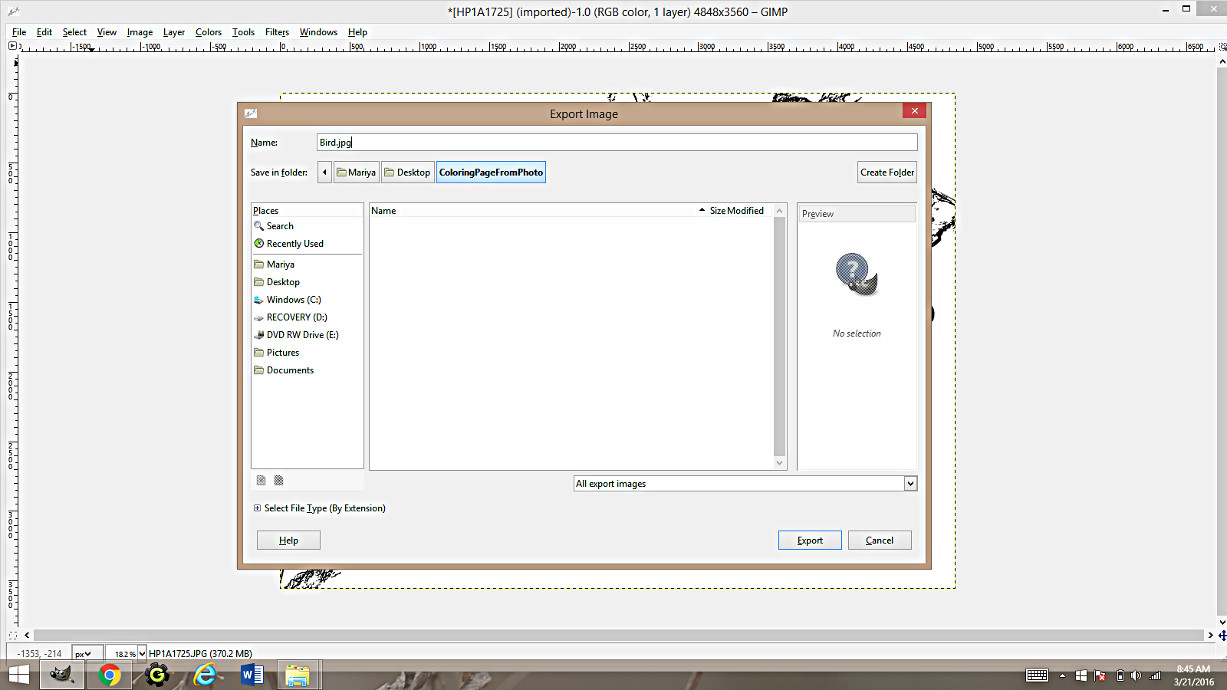
A window will open with locations. Type in YourFileName.jpg in the “Name” line. Pick where you want your file to be. Click “Export”
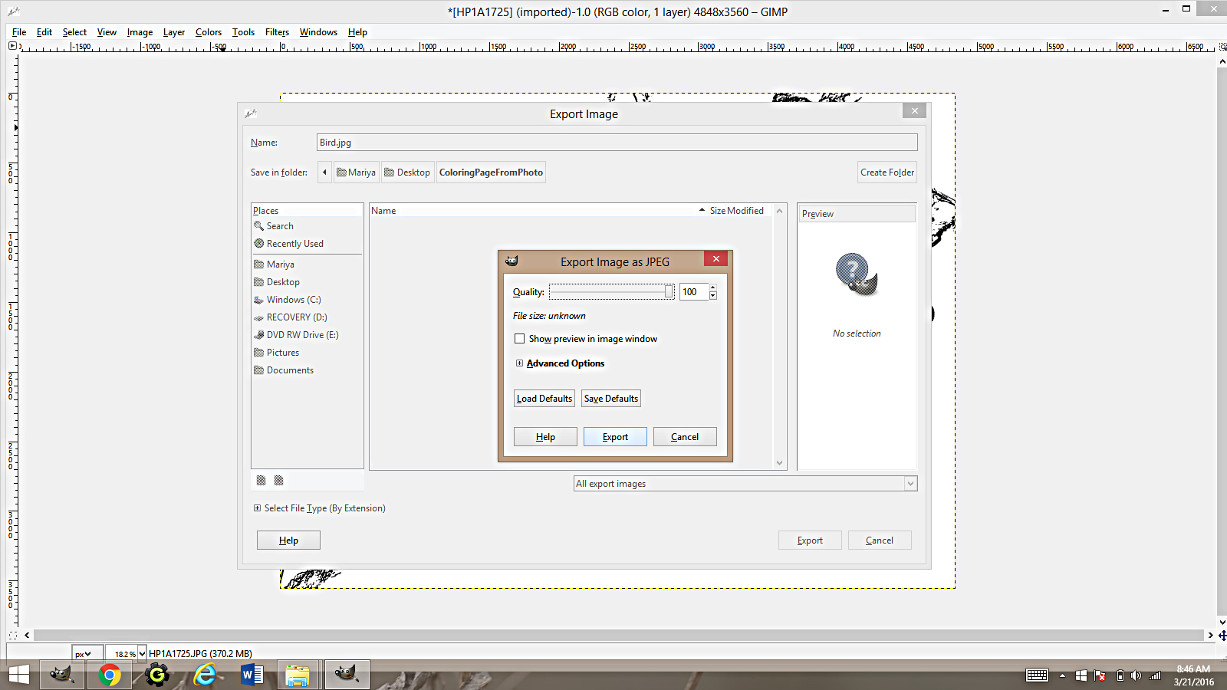
Another small window will pop up. This one has to do with the image quality. You can leave it at 100%, but decreasing it even by 10% makes the file much much smaller. Click “Export”. This will save your file in the location of your choice.