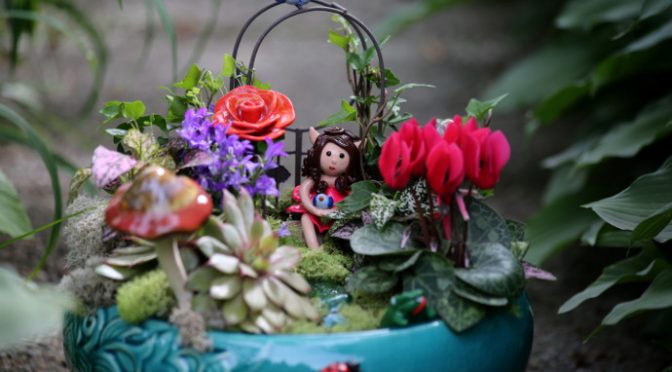
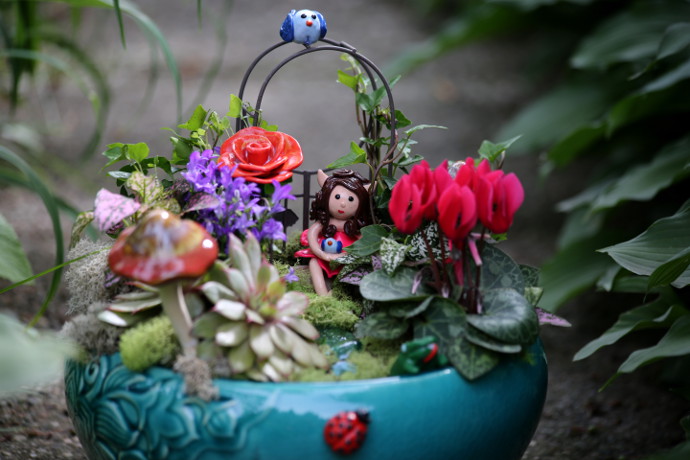
This summer, I surprised a friend by populating her house with oven  baked clay fairy garden creations. Doesn’t everyone like it when a whole bunch of fairies descend upon your living space? My poor friend did not get to decide whether she wants them or not. I sneaked them in for her to find at a later time. My only hope is that she liked them. I planted an entire fairy garden for them and left it there. Of course, like with everything else, this even span into me making fairies and other fairy garden related things for most of the summer.
As with much of everything else I make, this span into a tutorial for some lovely fairy garden items out of oven bake clay. Here you will find a tutorial on how to make a garden gate, mushrooms, giant flowers, and more.
***This page contains affiliate links.***
On this page you will find a tutorial for the gate, the rose, the sunflower, the basket of flowers and the mushrooms.If you are interested in checking out the tutorials for the fairies, the mermaid, the gnome and the dragon, you can do so in my Etsy store. I have made a book, aptly titled Clay Magical Creatures for a Fairy Garden. I hope you like it!
Let’s talk about supplies for a minute. What you will need!
- Oven bake clay: I used Sculpey. I know a lot of people that do this much more seriously than I say that there is better clay out there, like Fimo. I liked using Sculpey. As long as I followed directions as written on the wrapper, it worked well, didn’t crack, and held up just fine. The colors are entirely up to you! I mixed a lot of my colors. Sculpey sells large blocks of brown, which was very useful.
- Simple set of clay tools, such as this one.
- Armature wire: I used 16 gauge aluminum wire for this.
- Fine sand paper
- Mod Podge
- Oven safe baking sheet to bake them on (I like glass Pyrex ones for this), and, of course, an oven.
- If you would like to plant a fairy garden: plants, ground, and pot to put it all into.
A quick note! Please follow the instructions, and remember that the oven is hot!!!
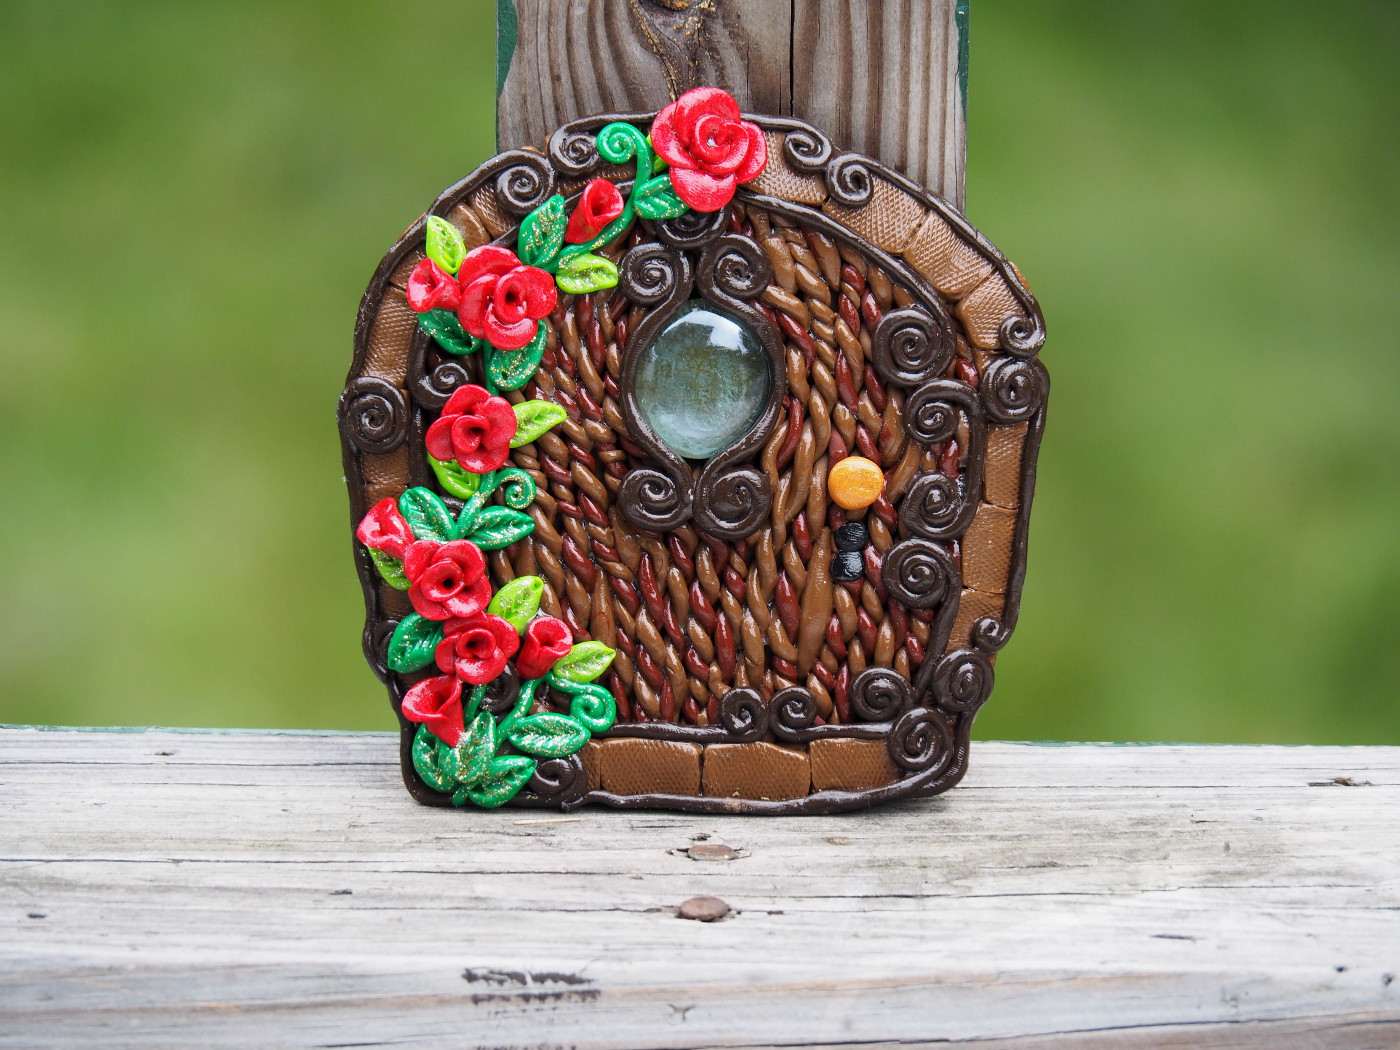
Clay Fairy Garden Creations: The Gate
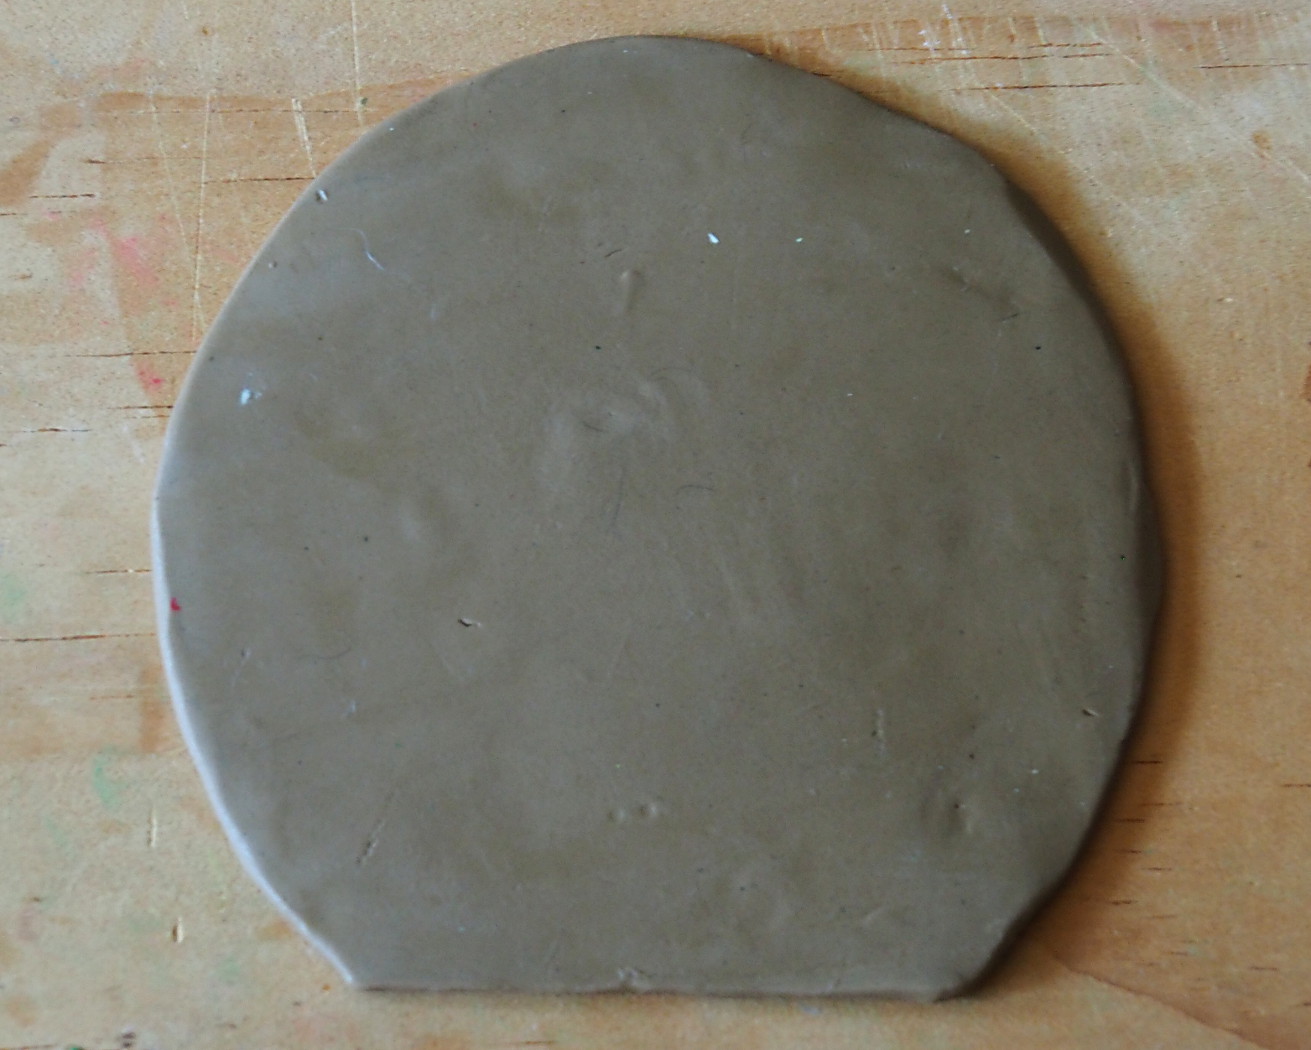
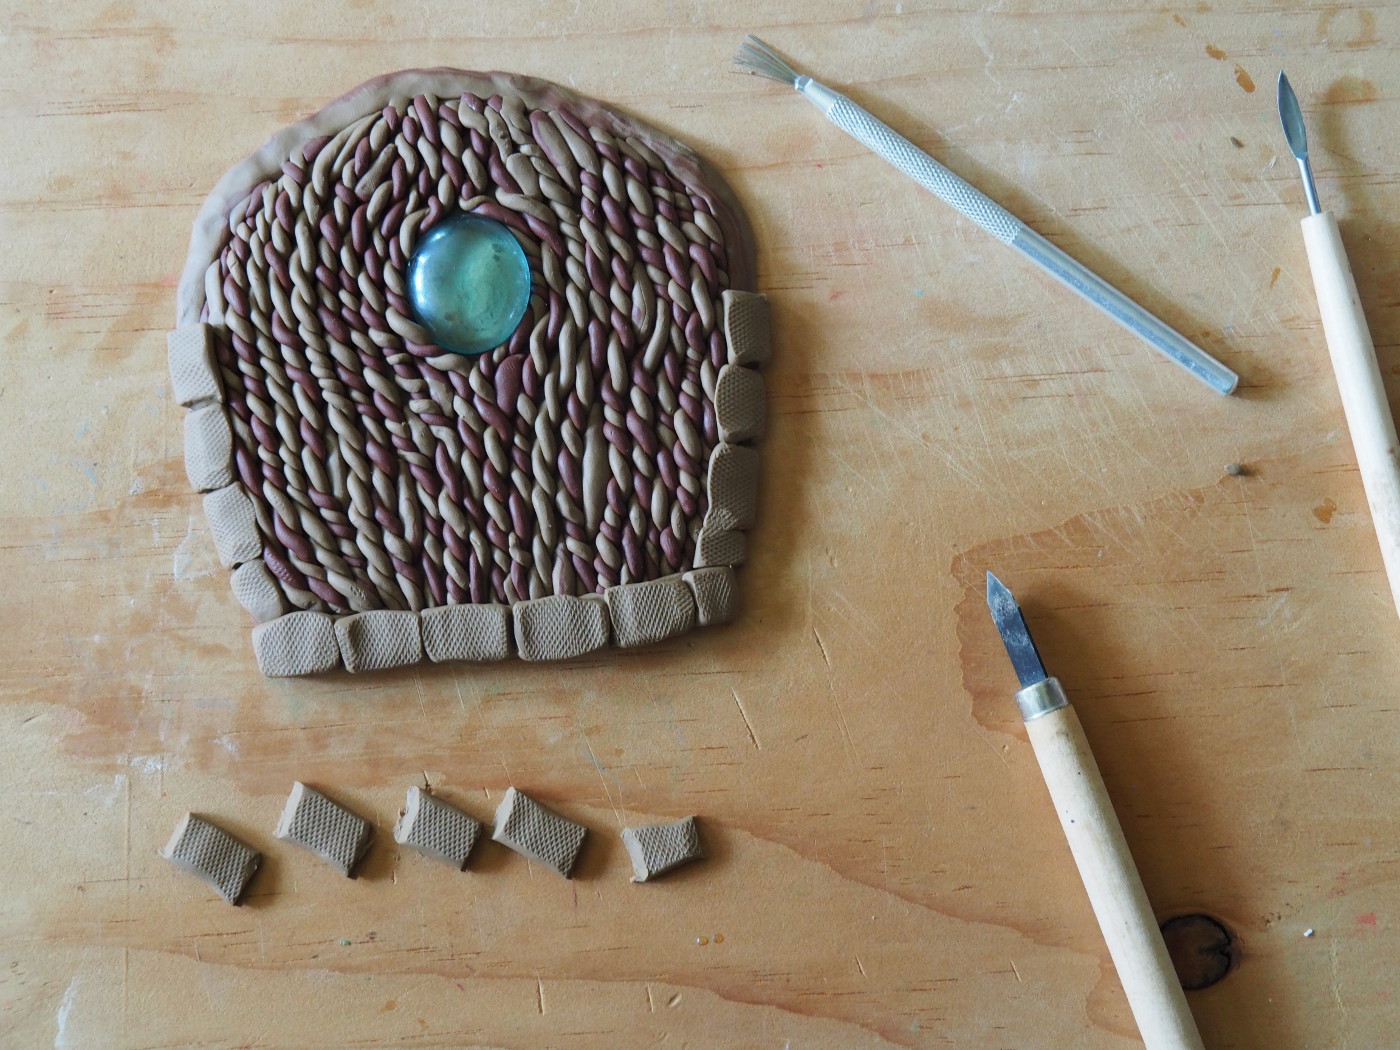
For the gate, the first thing to do is to roll out some lovely brown clay, and make a base for the gate.
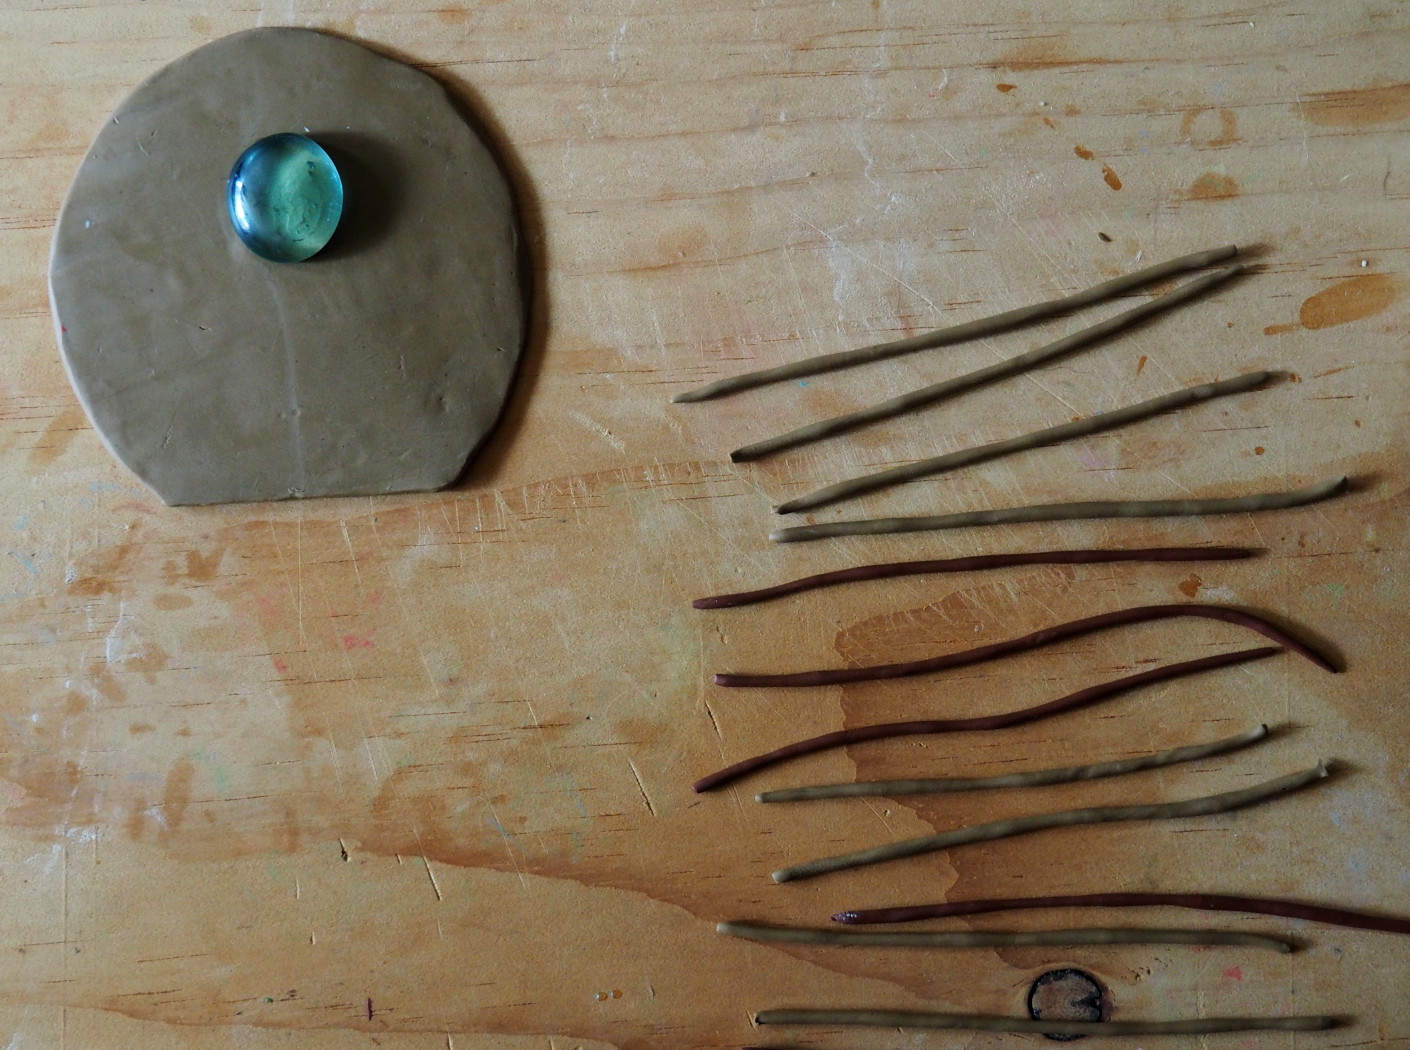
Using several shades of brown roll out a whole lot of thin strands of clay. I am using a large glass piece for the window.
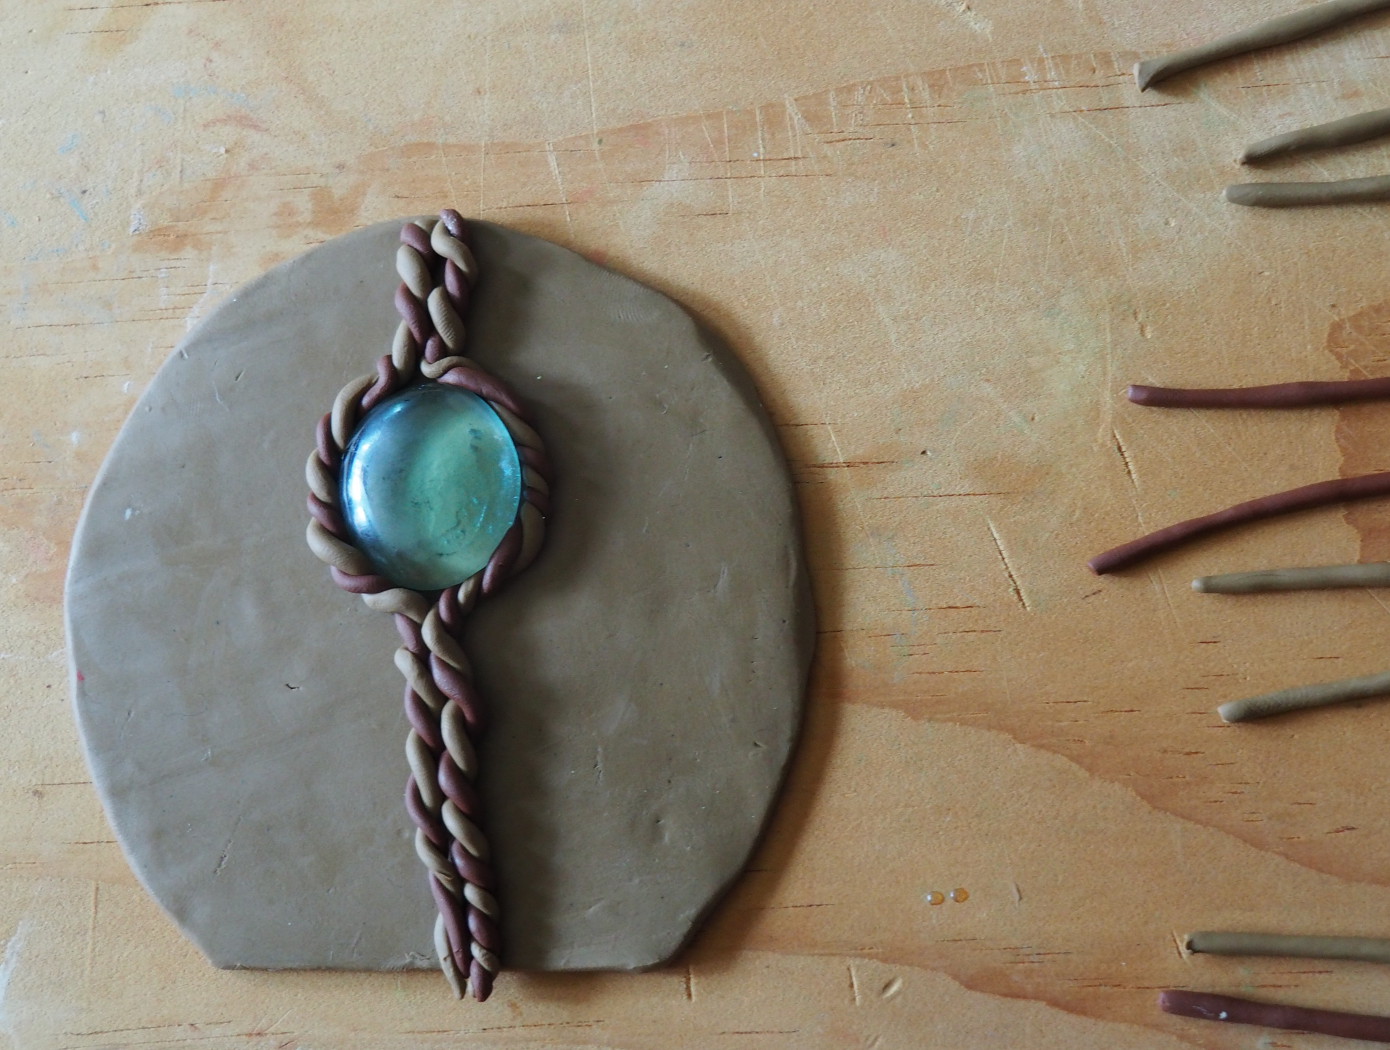
Twist two strands together at a time, and start to lay them out on to the base of the gate.
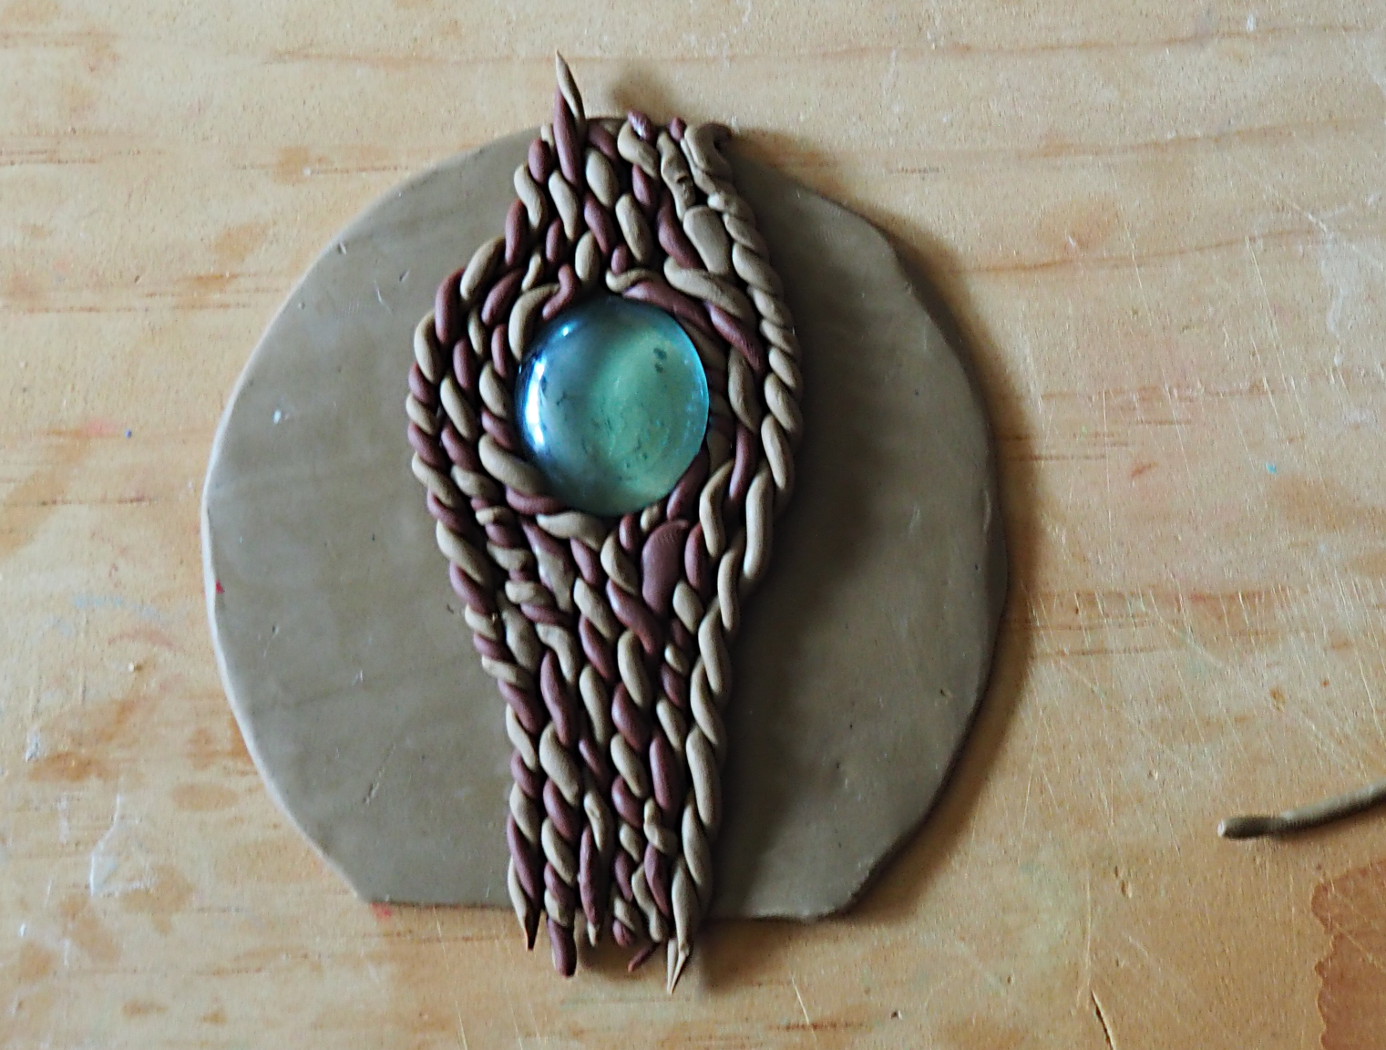
Keep adding the twisted strands to make the texture. Keep at it until the entire gate is covered.
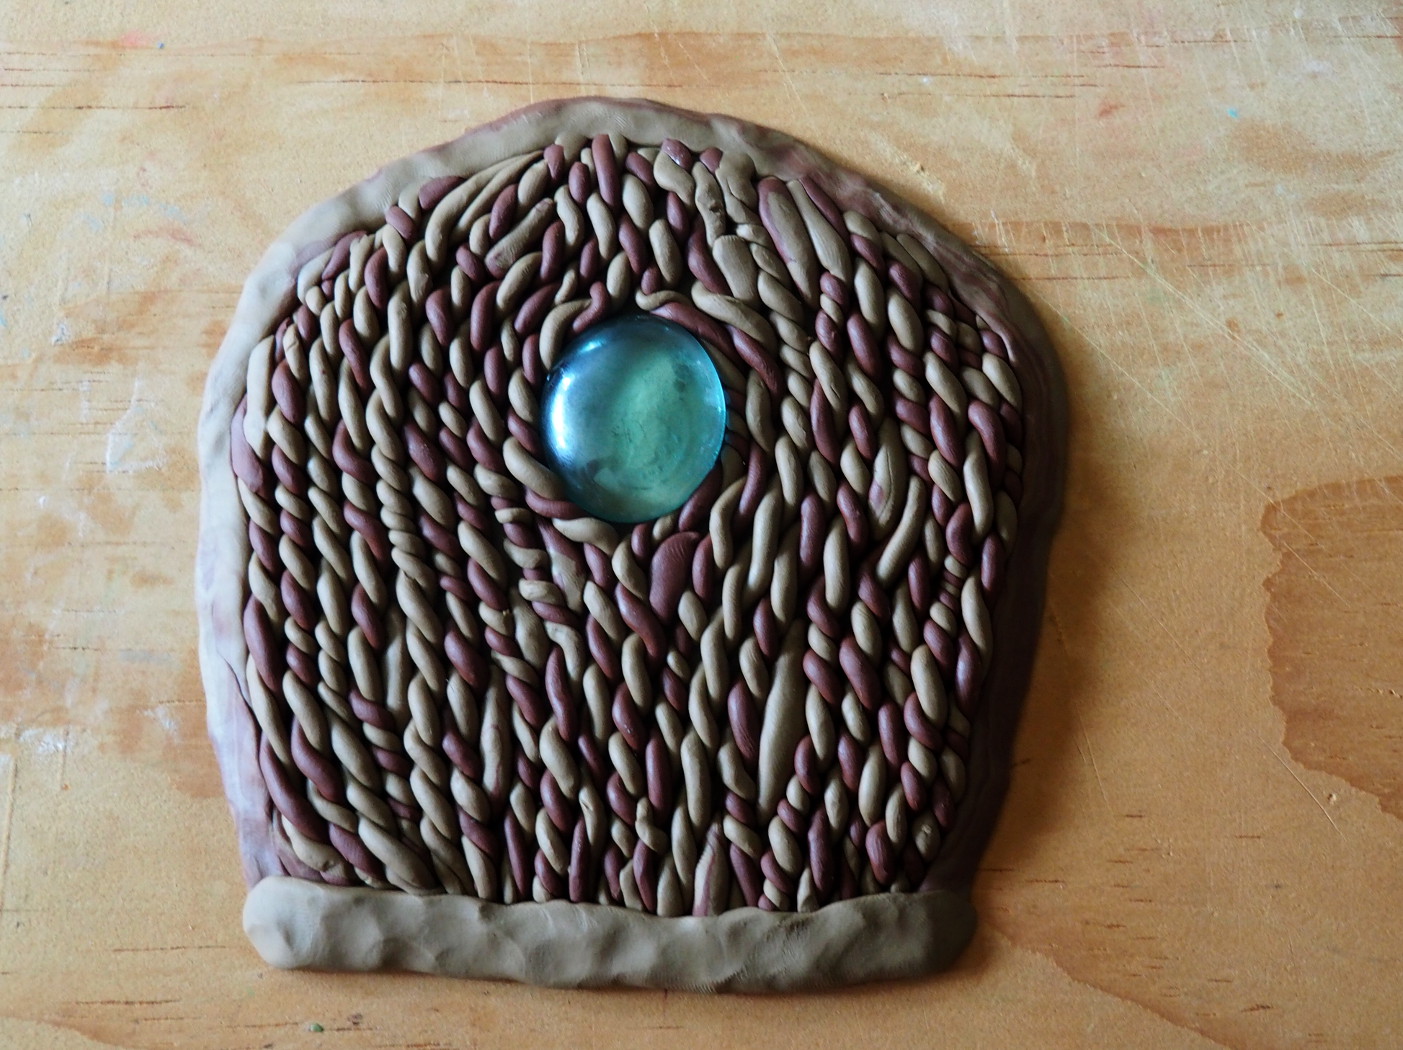
Once the gate is completely covered with the little twists, flatten several rolled out clay pieces, and attach them around the edges of the gate.
Now make some bricks:
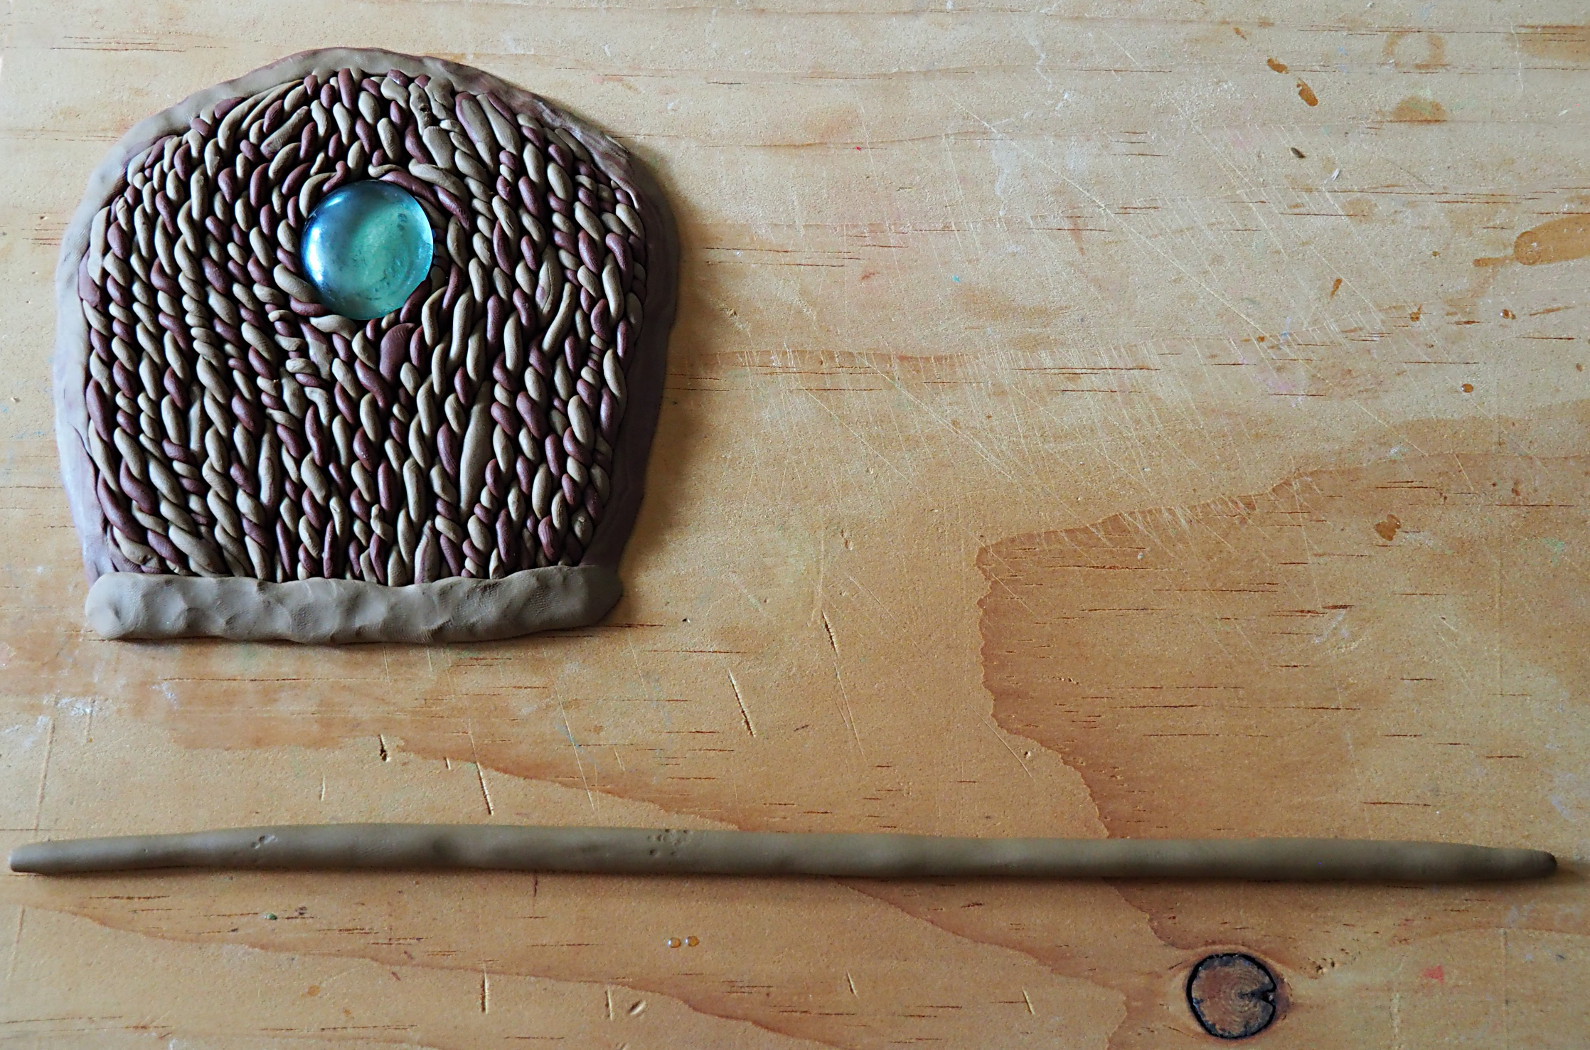
Make a roll of brown clay.
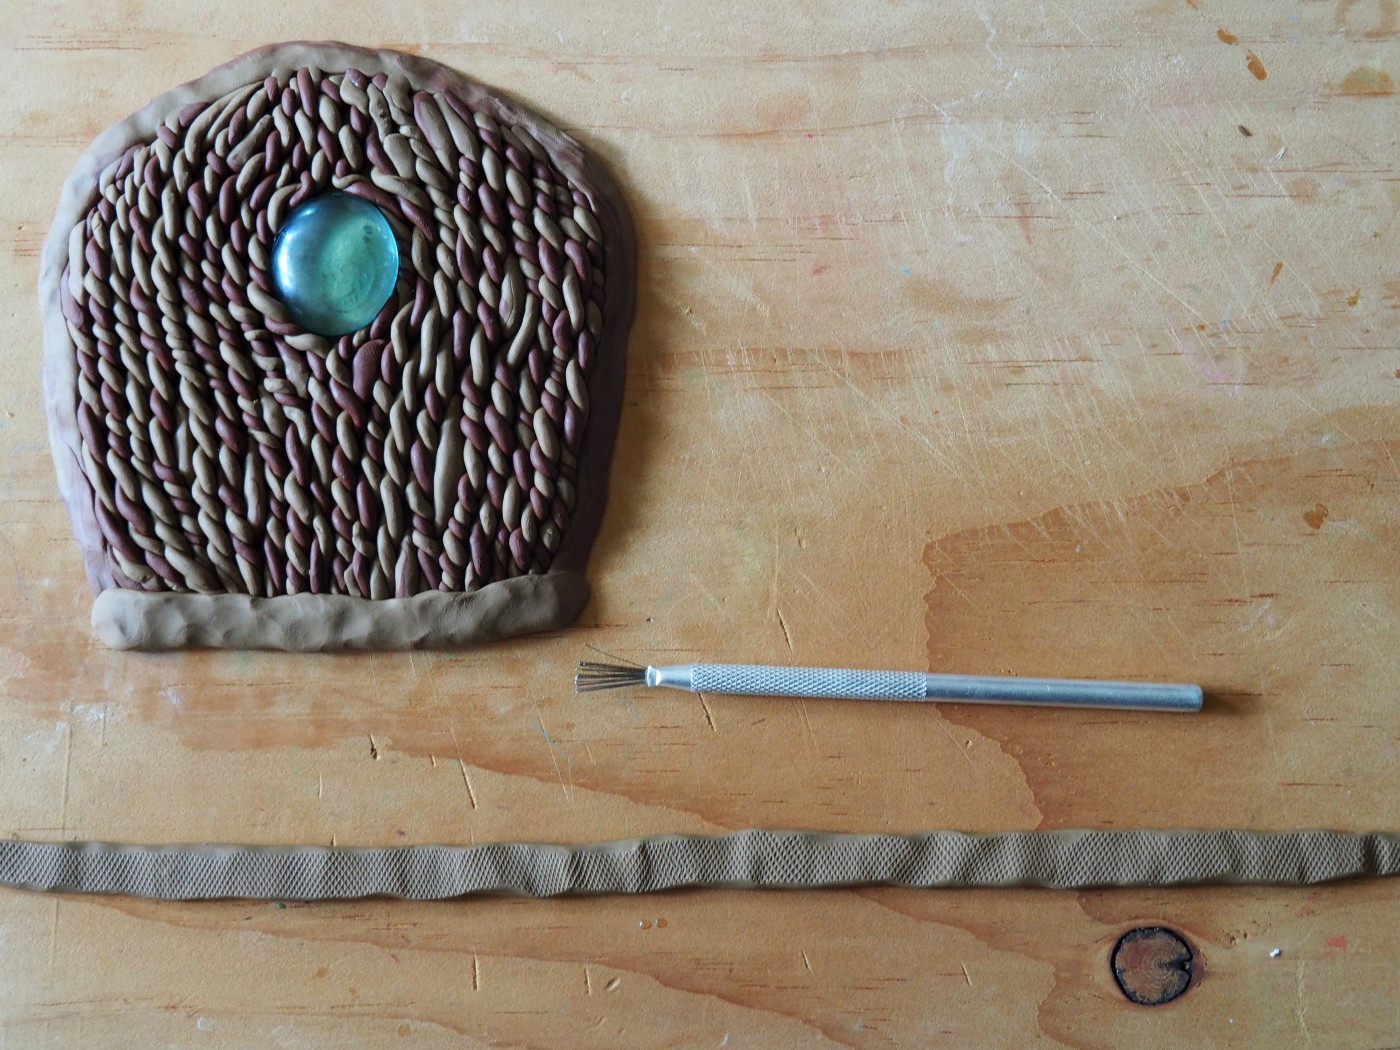
Flatten it by rolling a textured tool over it.
Cut it into little bricks.
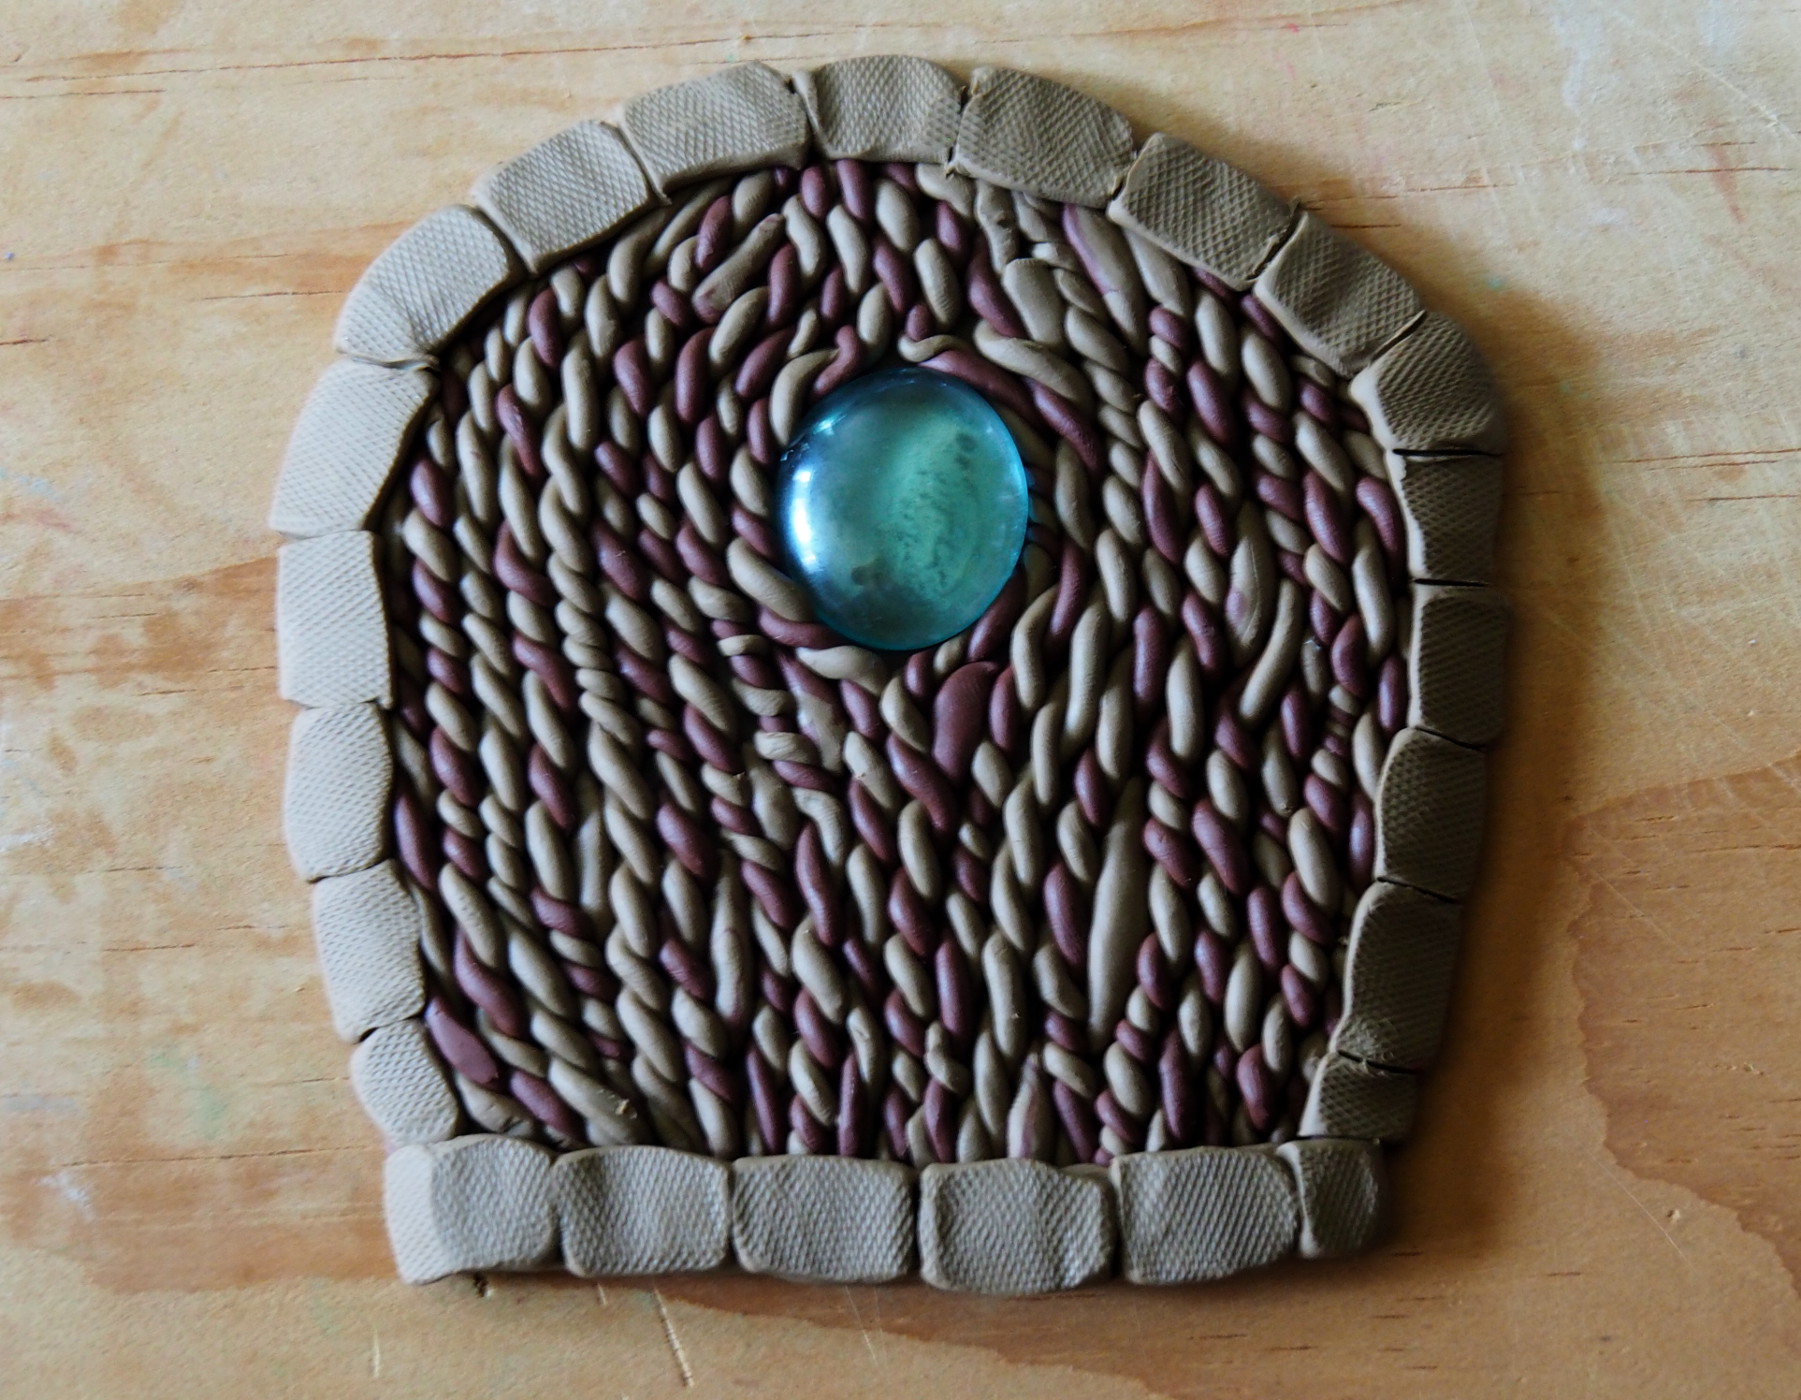
Lay the bricks out over the edges of the gate.
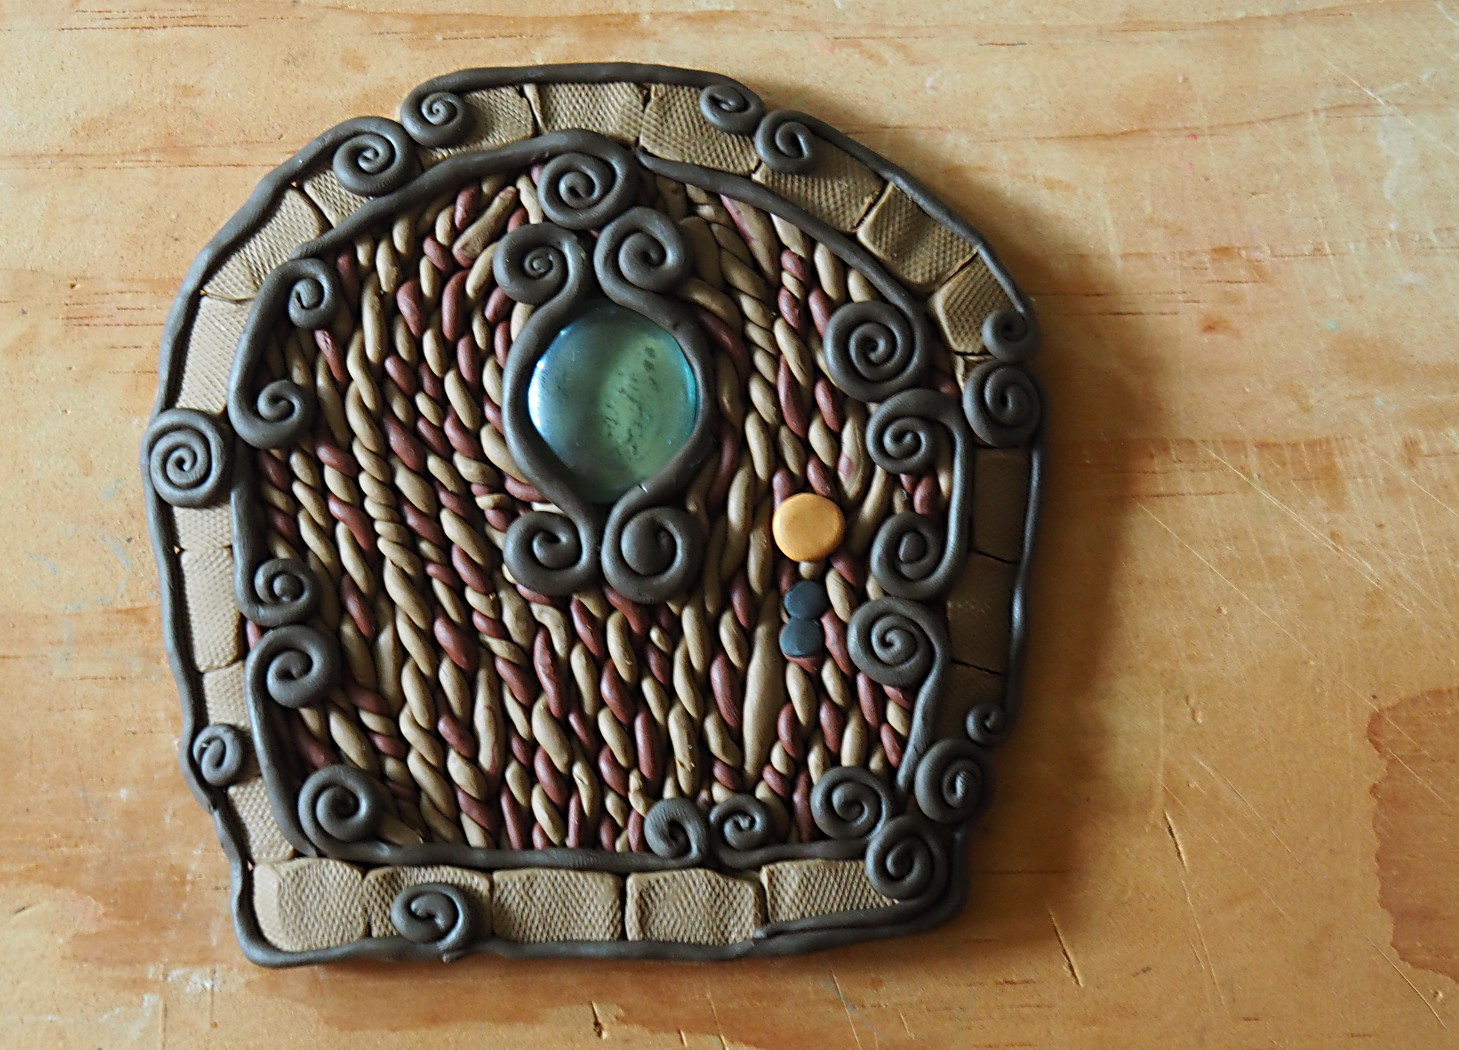
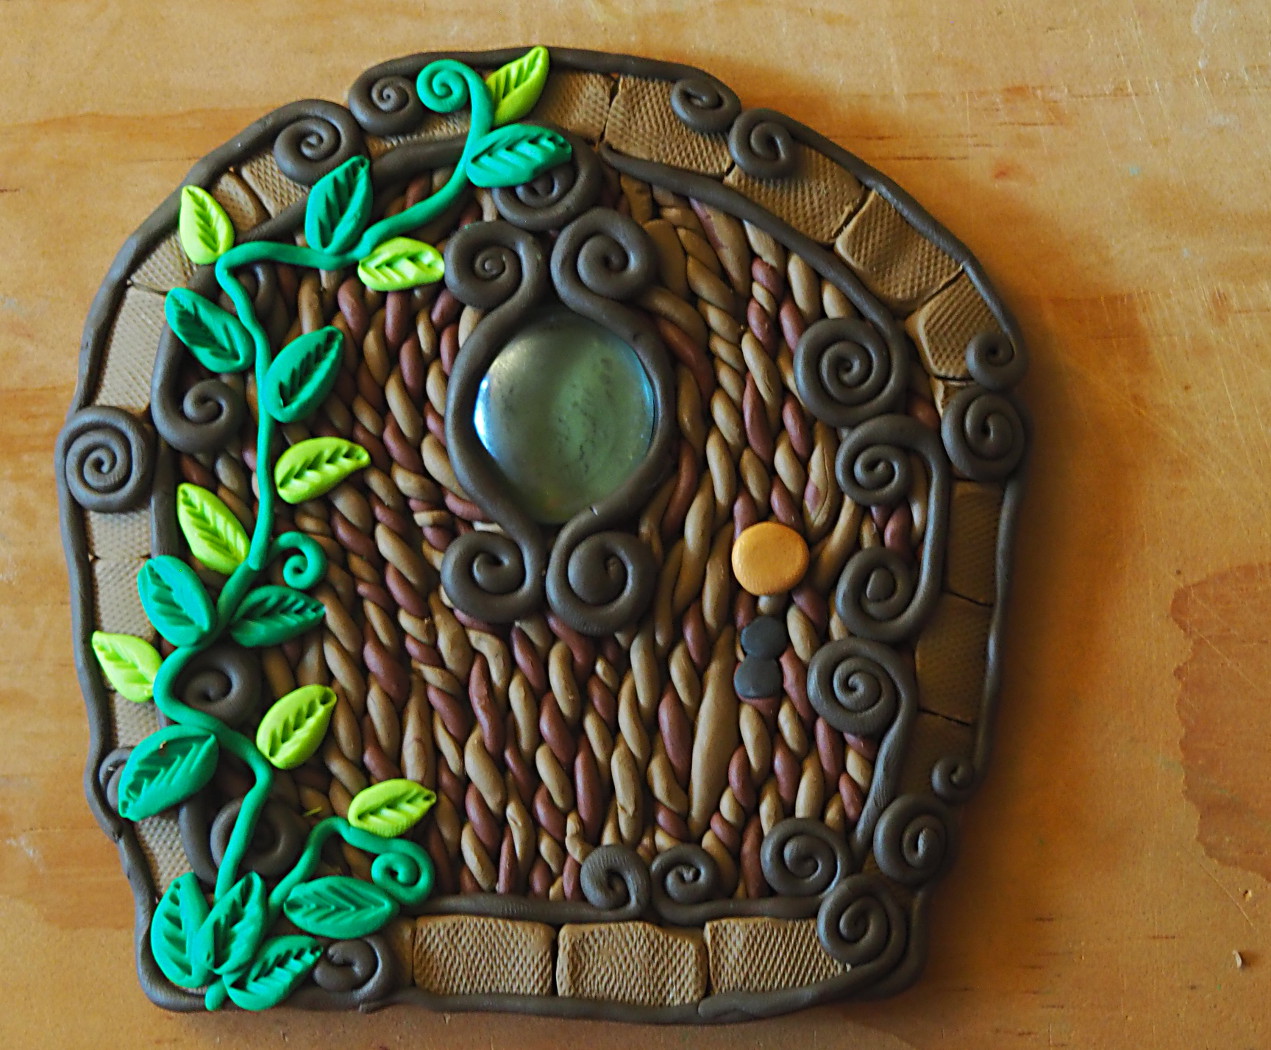
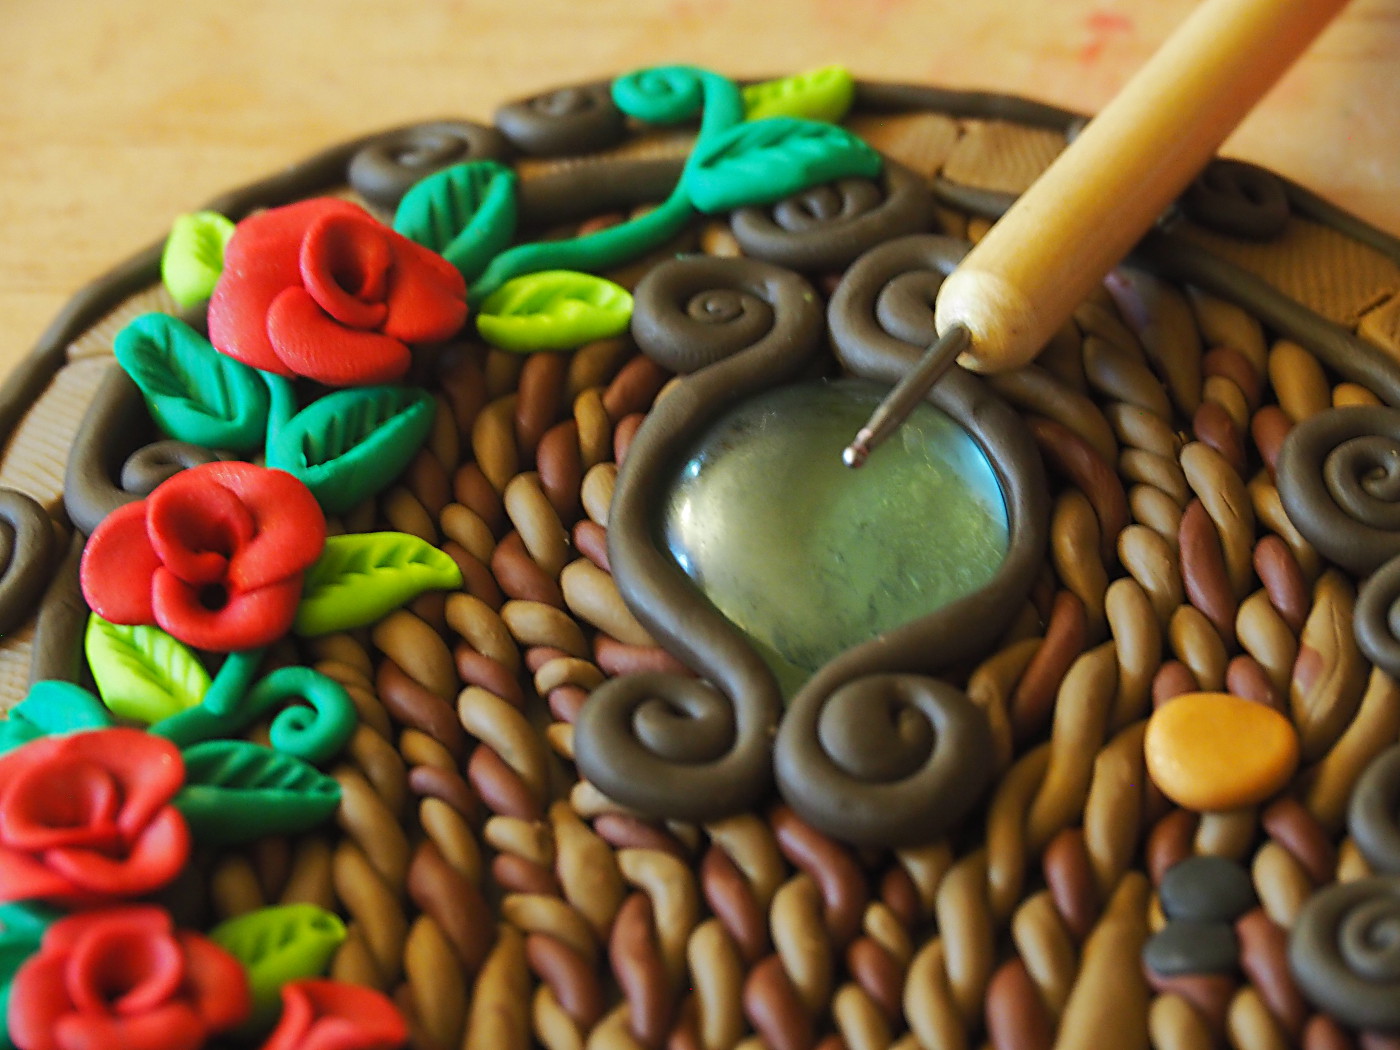
Roll out some clay in yet another shade of brown, and lay down some curly decorations all over the gate. Don’t forget the doorknob!
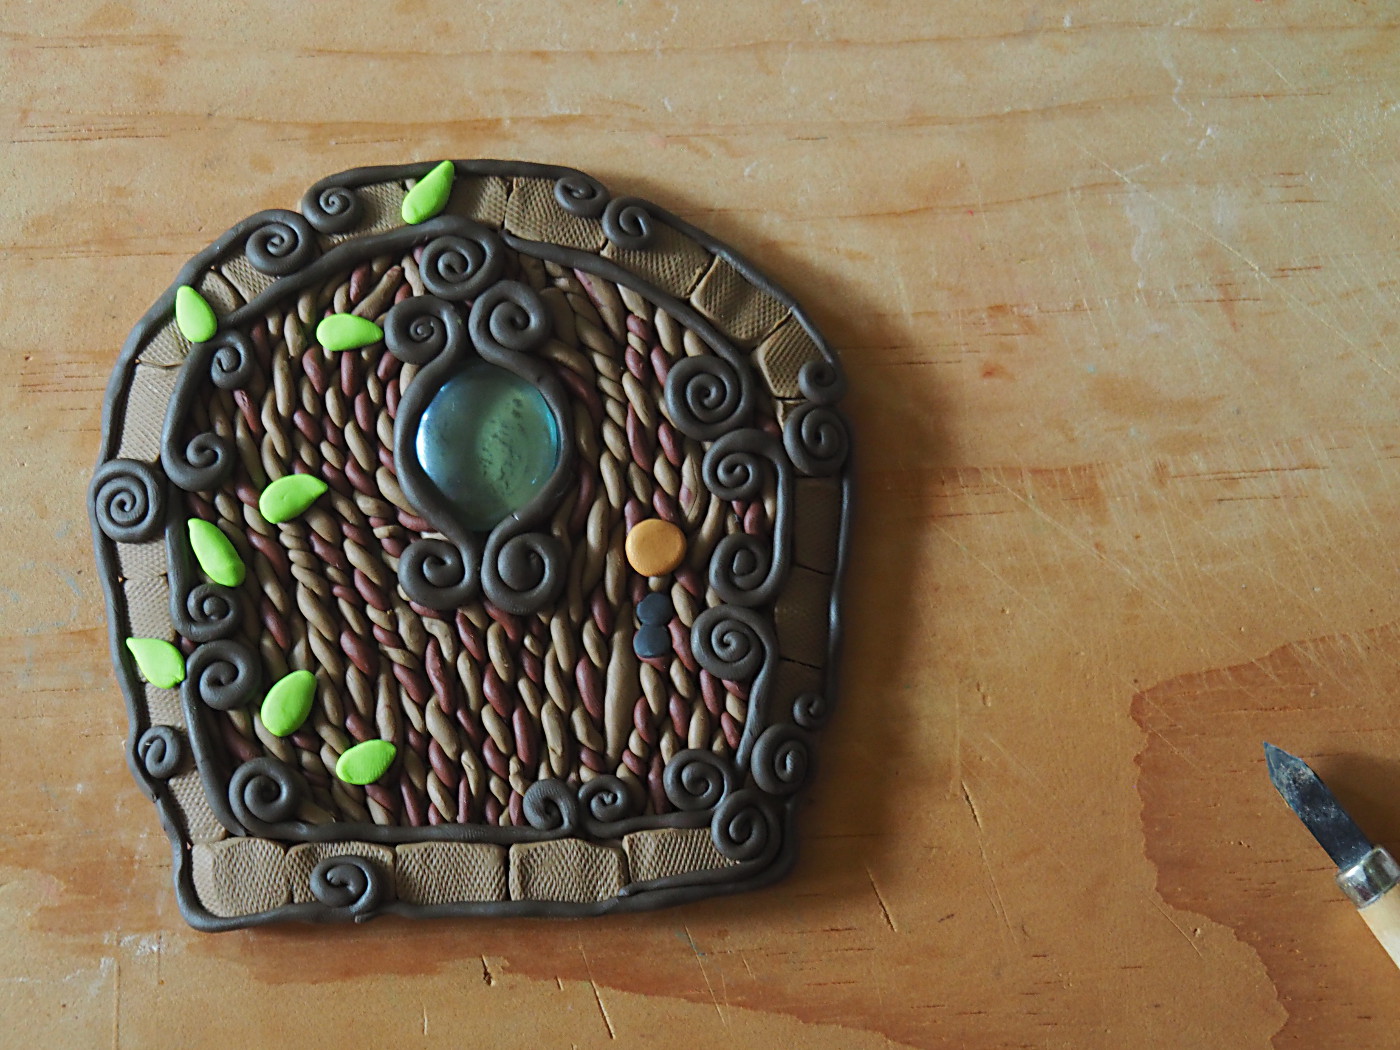
Time to attach a plant: a blooming rose bush to the gate. Start by putting on some leaves.
More leaves and branches.
Make roses:
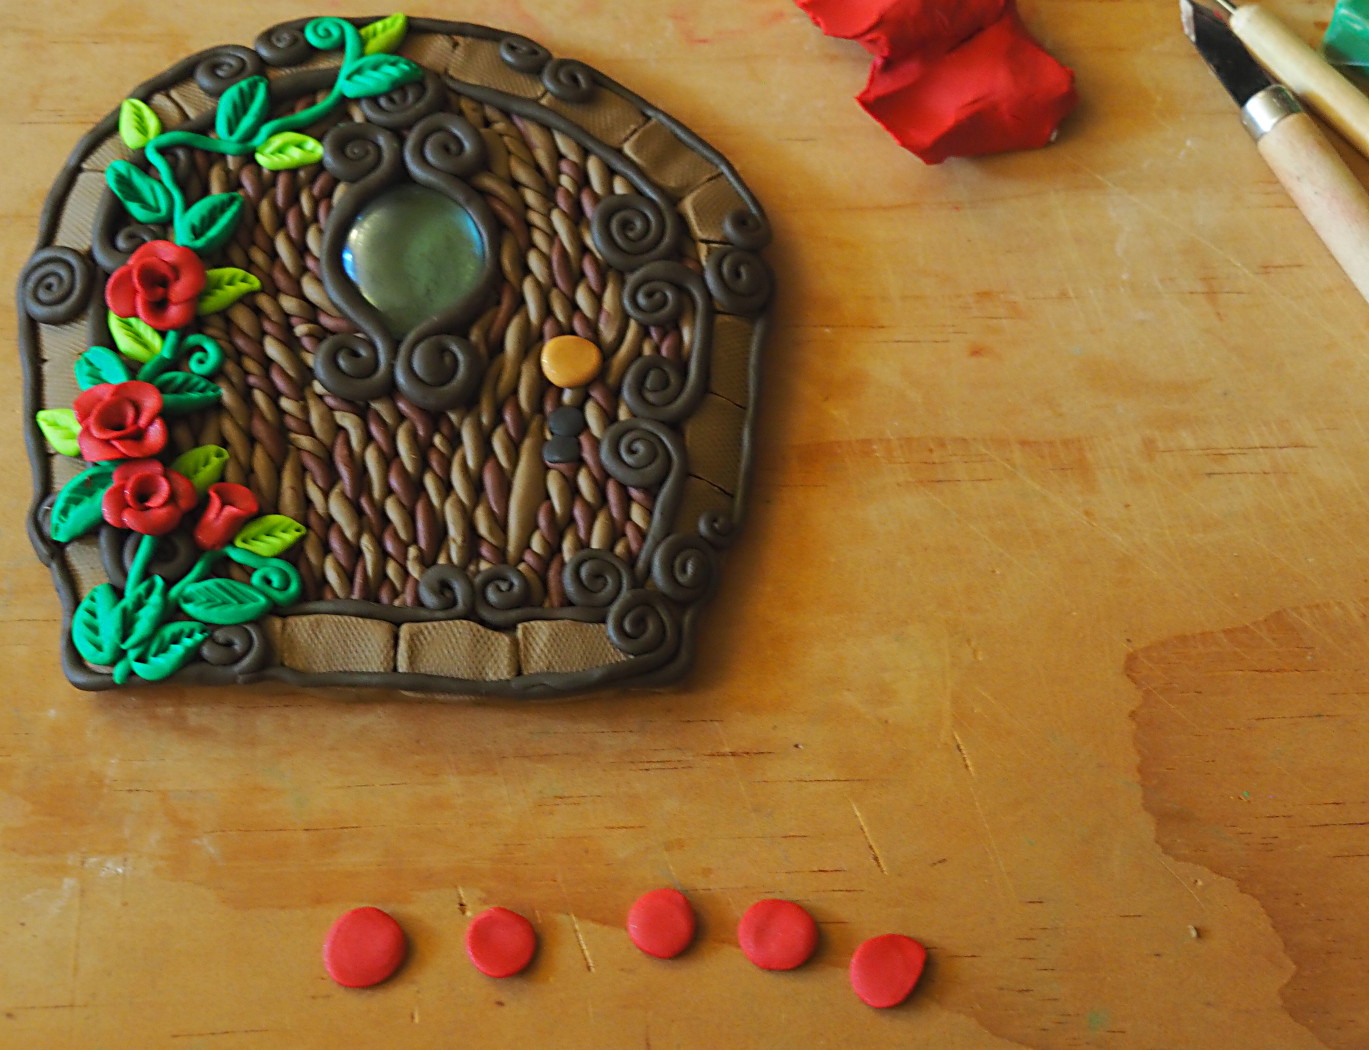
To make tiny roses, make five small ball shapes and flatten them.
Roll one up to be the center of the flower.
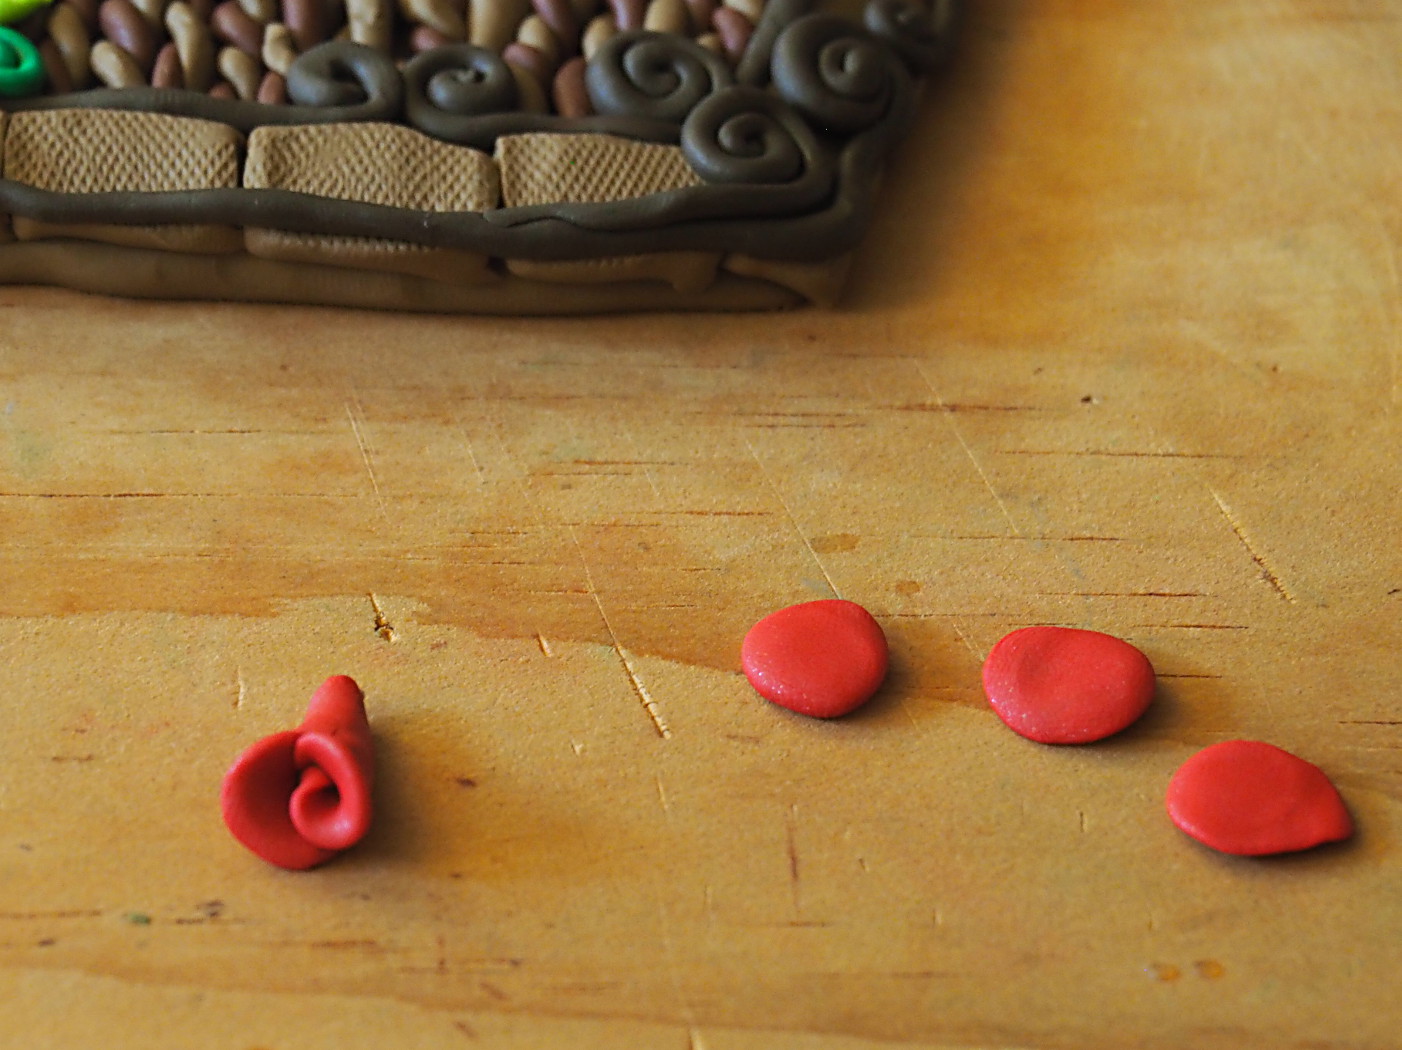
Attach the next one as a petal.

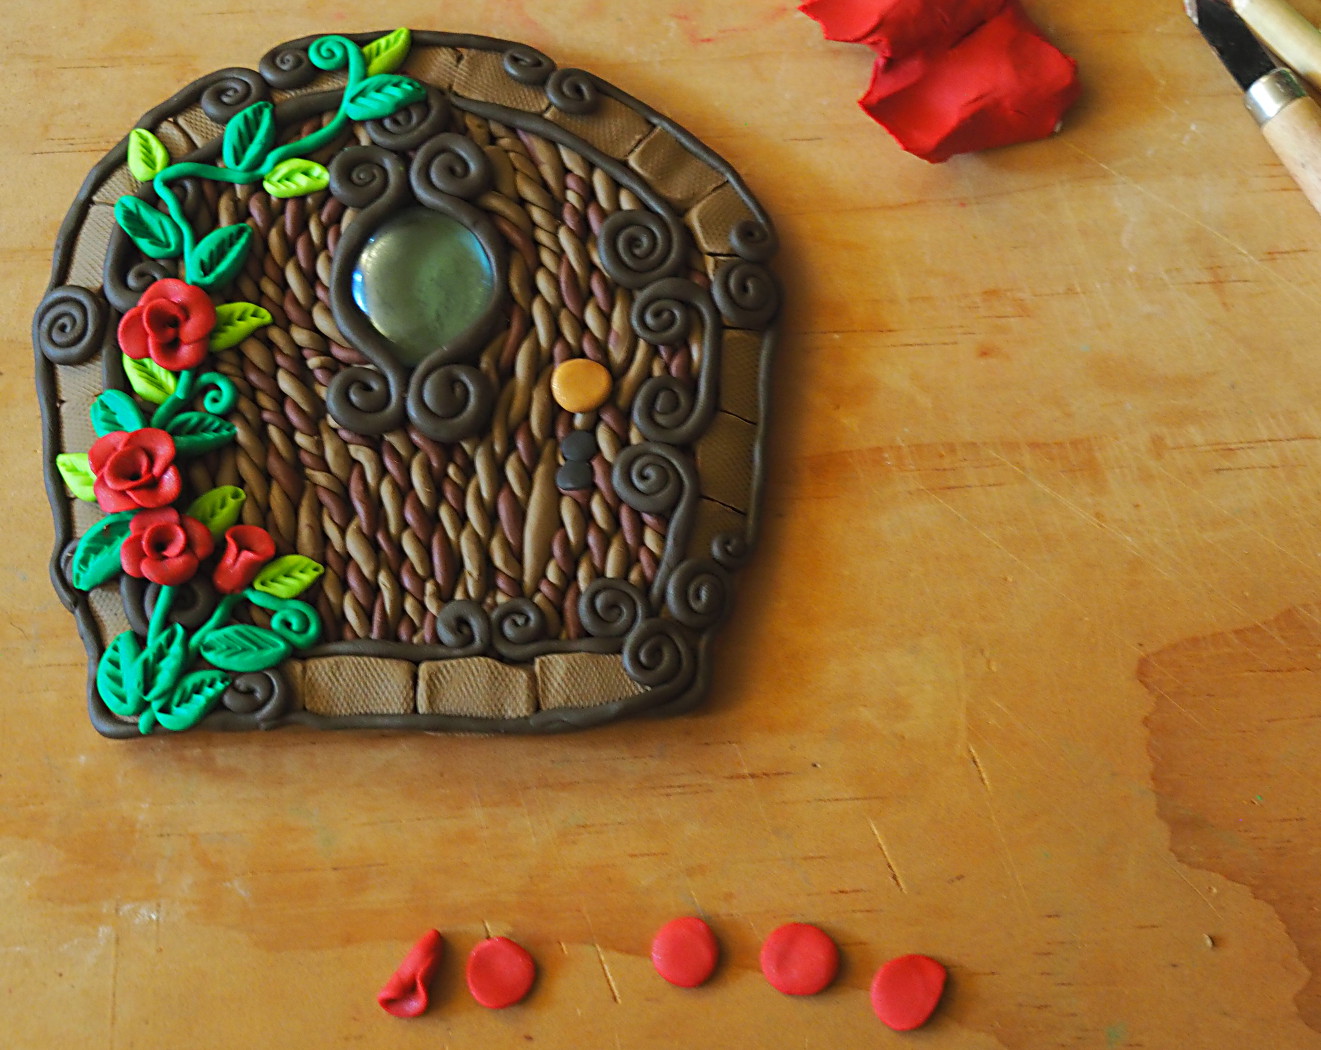
Keep adding petals until it is ready.
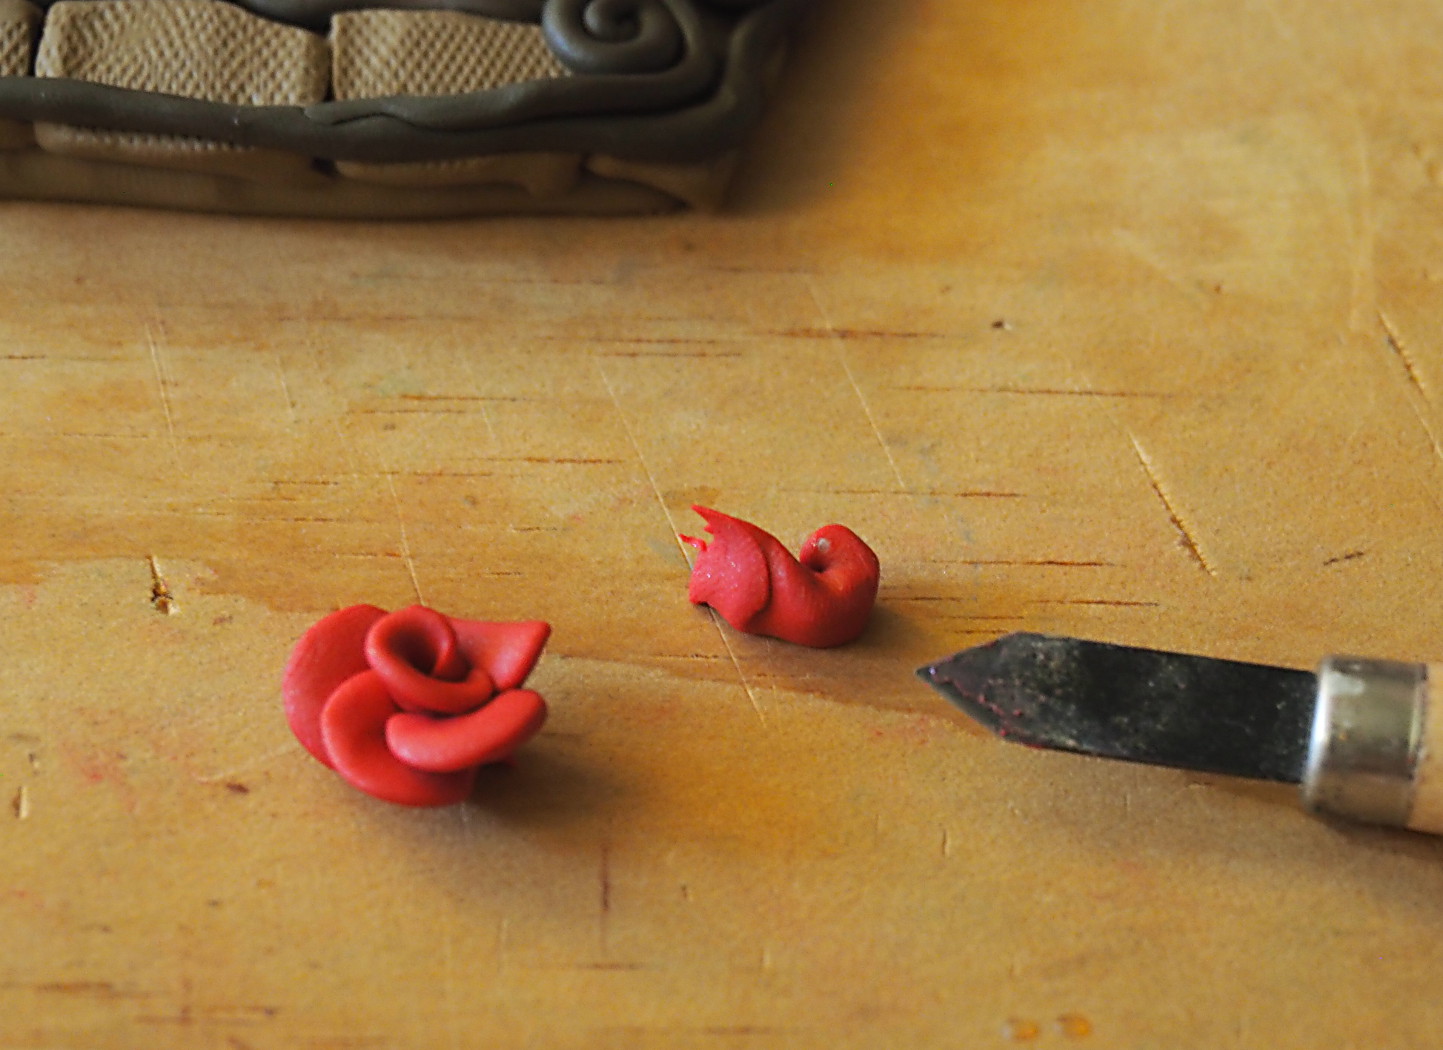
Once it is done, gently cut off the excess clay and attach to the gate.
I attached the roses using the simple pointy tool with a rounded tip.
Once it is all done, bake it, let it cool off, and then cover with mod podge. All done!
The Flowers
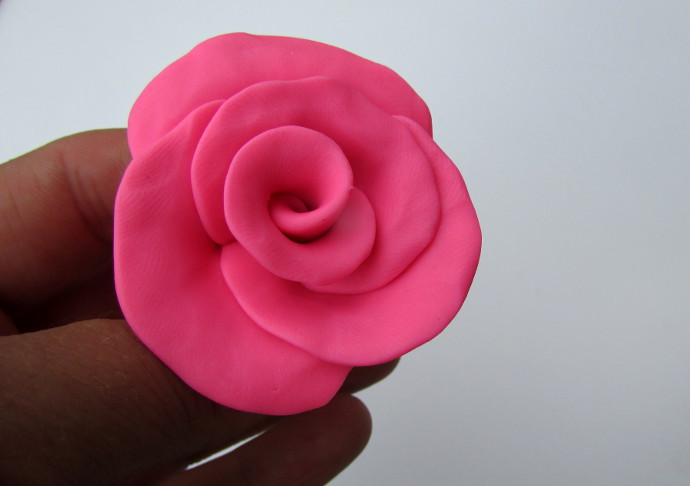
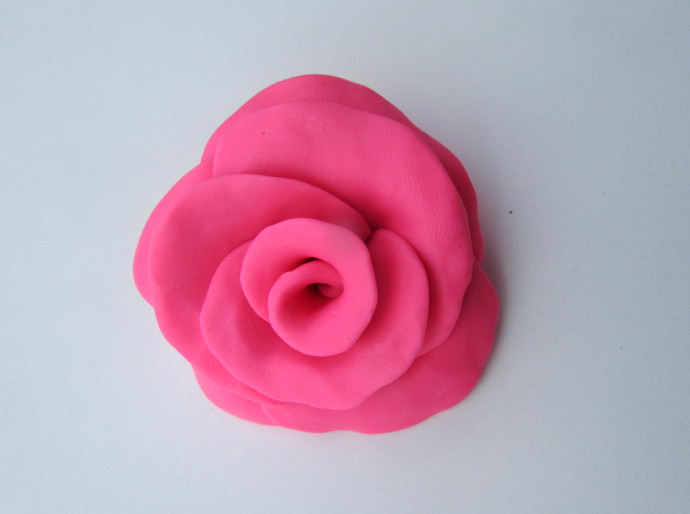
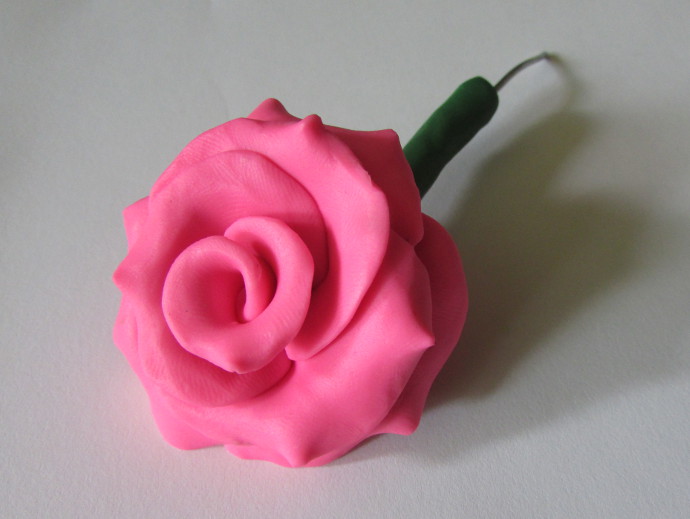
I made several flowers to stick into the garden. The rose is one of them. You can see it in the photo below:
How to Make A Clay Rose:
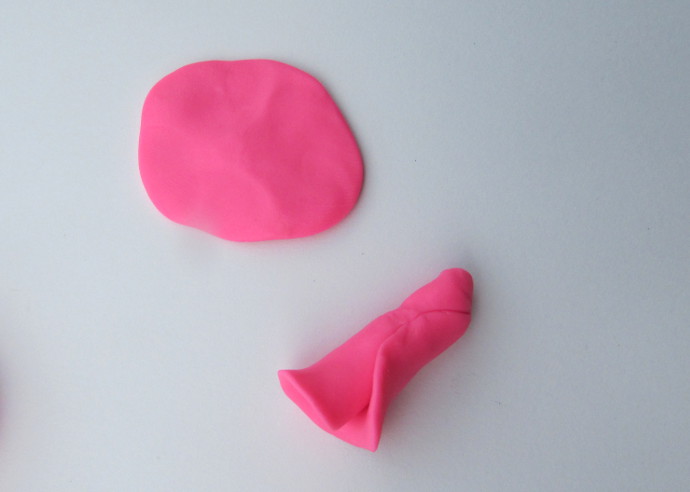
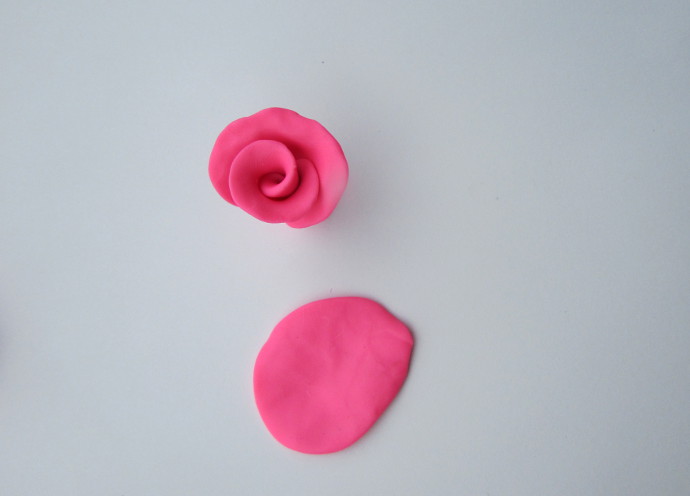
Start by flattening a round piece of clay.
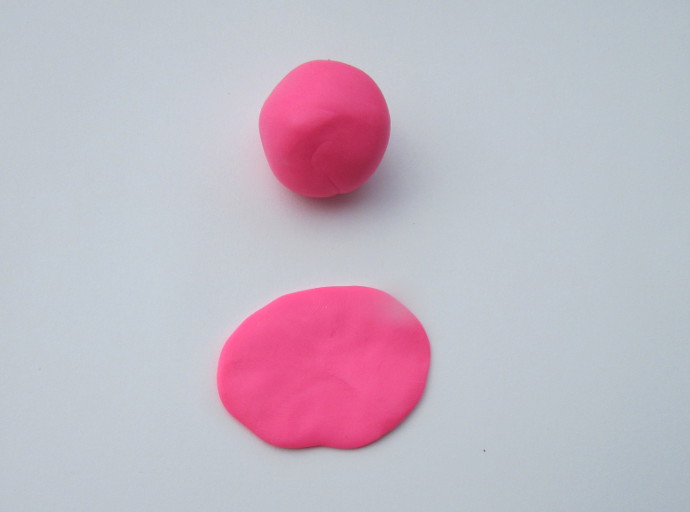
Hold one end, and roll it into a tube. Squeezing one end together, and letting the second end open up.
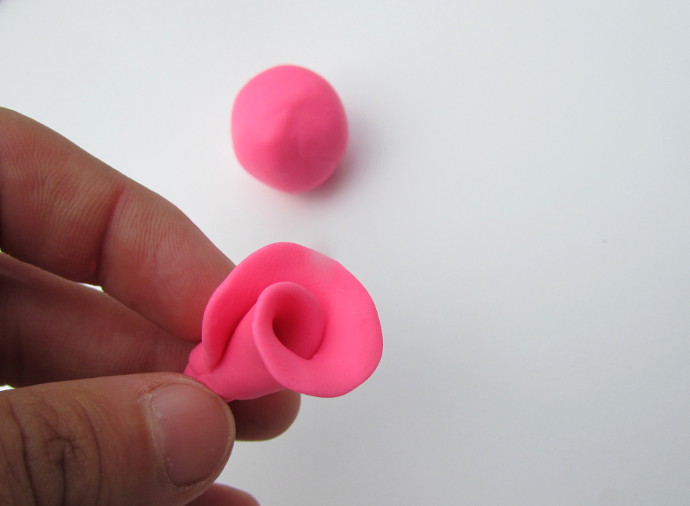
Flatten the next round shape into a petal.
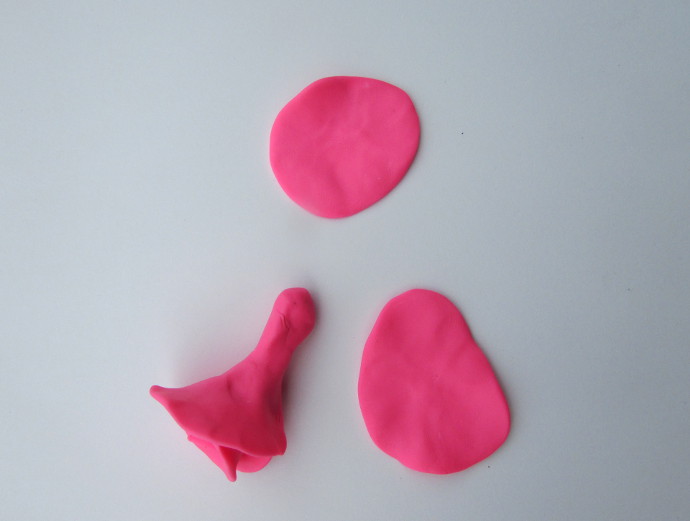
Attach it to the base of the rose, pinching the bottom together and letting the top open up.
This is what it looks like once the petal is attached.
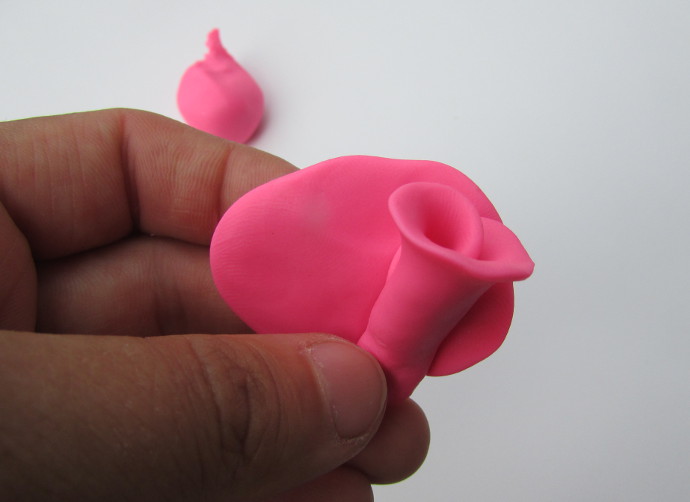
Flatten the next petal.
Attach it to the rose.

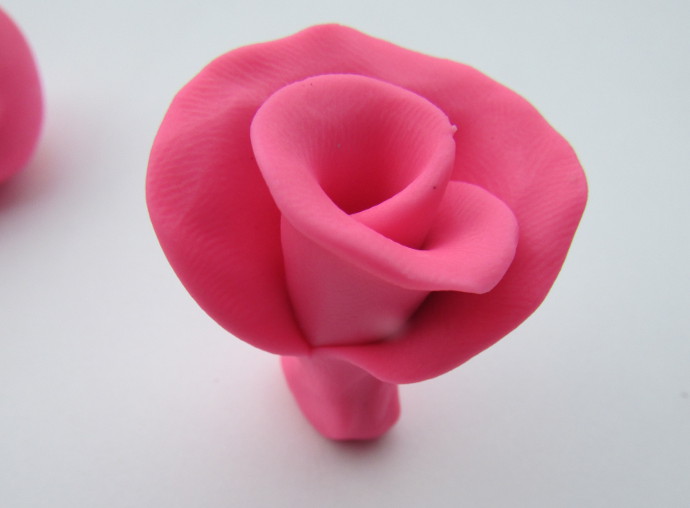
Keep making and attaching petals until you feel it is complete.
Once it is done, you will see that there is a significant amount of clay on the base of it. Cut it off gently.
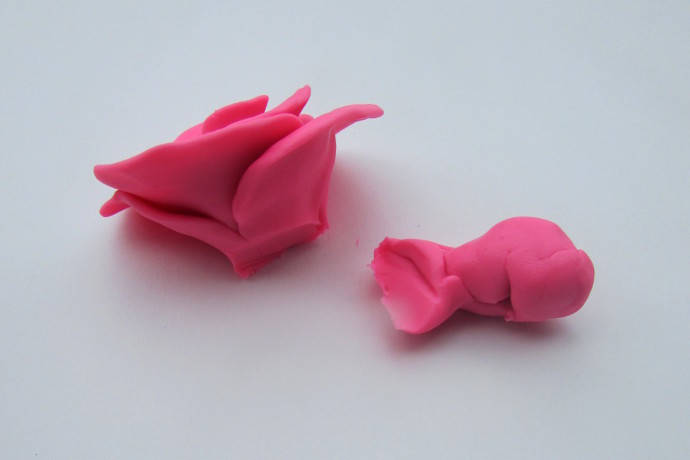
Here is what the rose looks like from front and back.

Cut a piece of armature wire for the stem, and take some green clay.
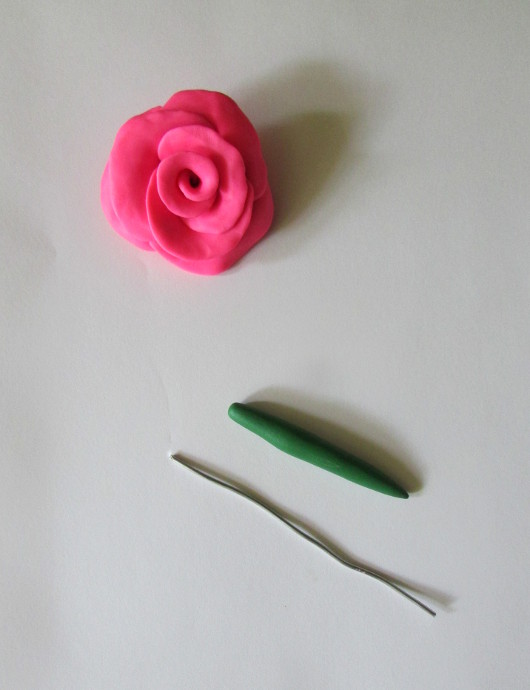
Wrap the wire in the green clay, leaving about an inch exposed on the bottom, and half an inch exposed on the top end of the wire. The bottom is going to be inserted in the ground after it is baked, and the top into the rose right now.
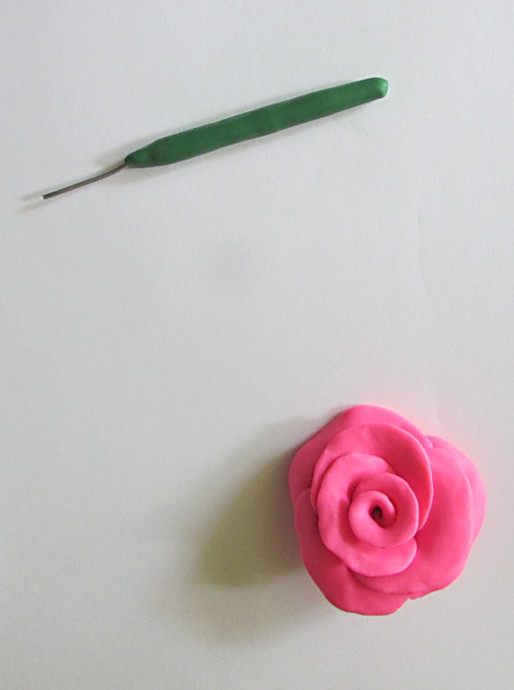
I like to insert the stem a little bit from the side, at a slight angle.
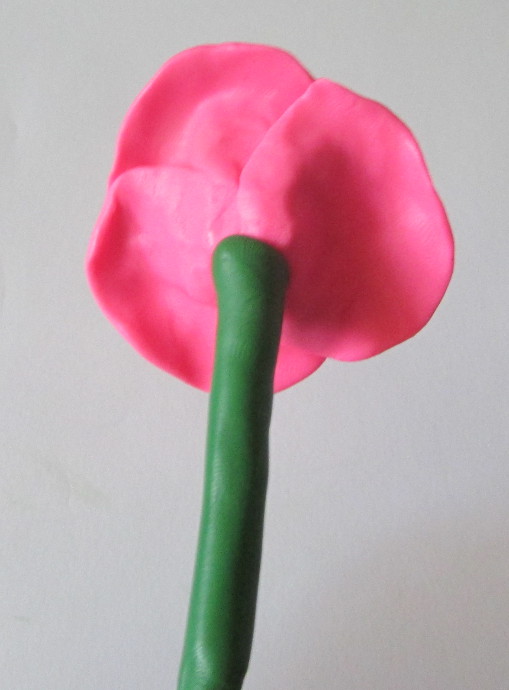
All done!
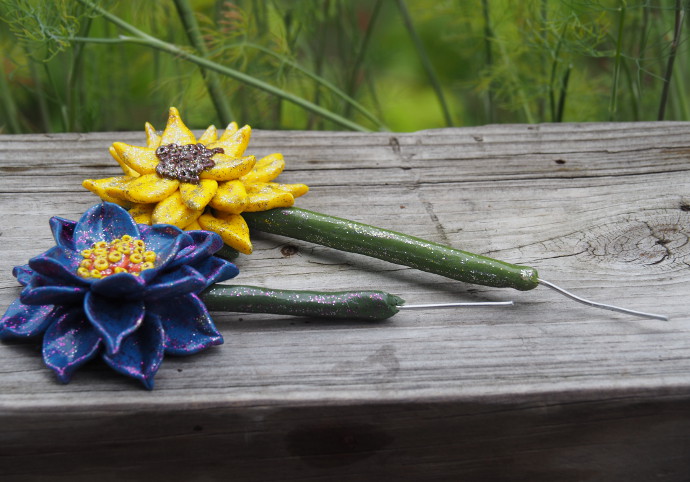
How to Make a Clay Sunflower
I used blue clay because blue is my favorite color. Well one of my favorite, anyway.
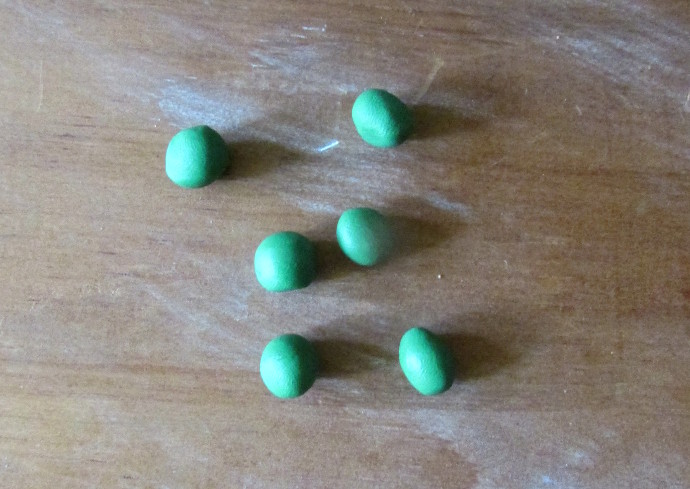
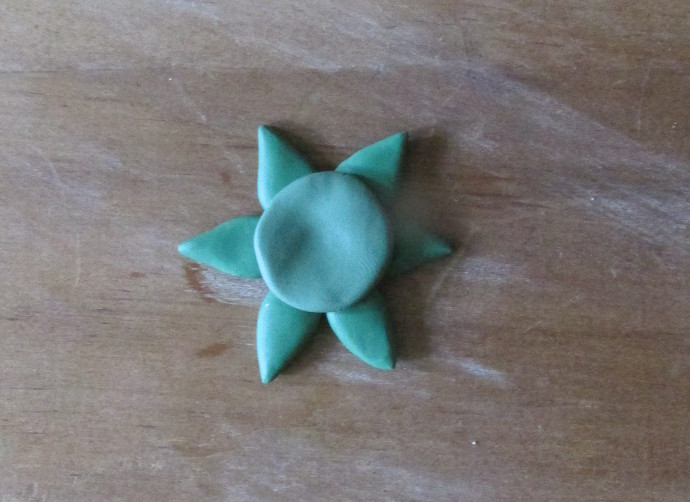
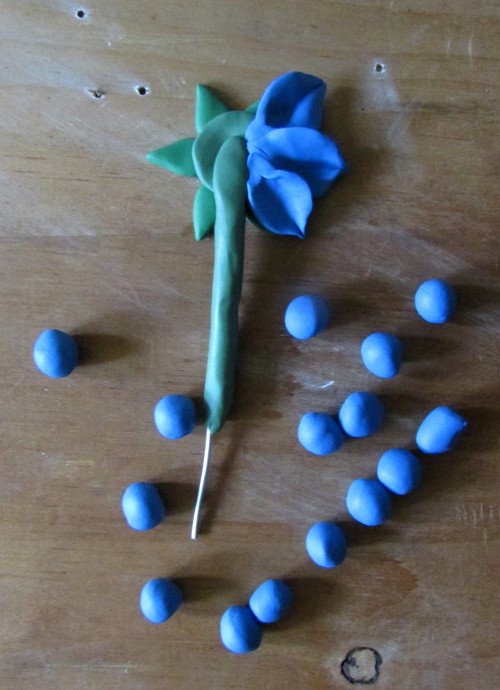
Shape each green piece of clay into a little leaf shape. That is the back of the flower.

Squish a round piece of clay in the center.
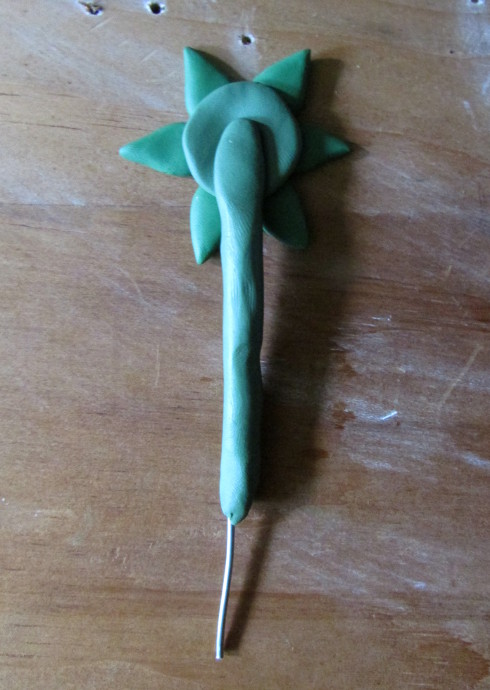
Attach a stem: a piece of wire wrapped in clay.
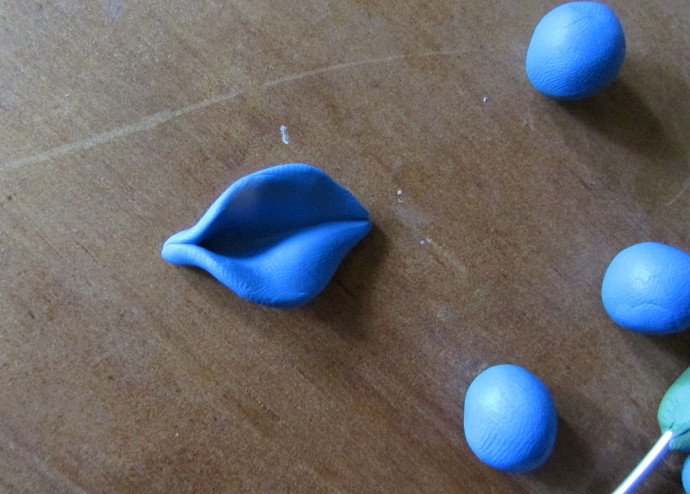
Start making little blue flower petals. Make lots of round pieces of clay, and then flatten them into ovals.

Pinch one end, fold the other end together.
Attach the petal to the flower, and make more.
Keep going around in a circle.
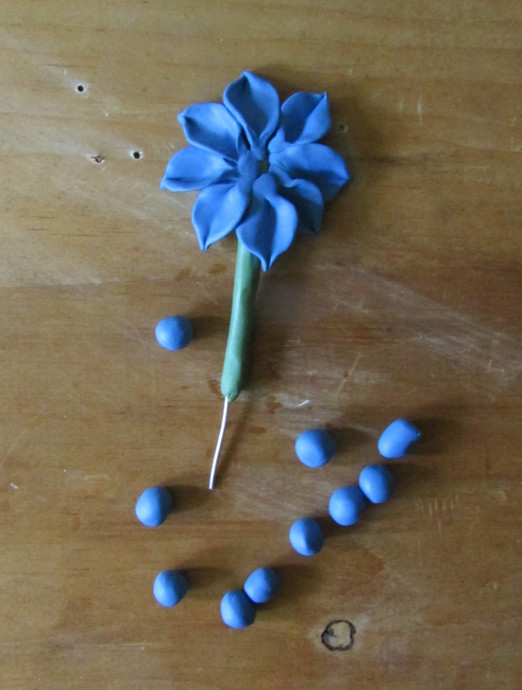
Start a second layer of petals.
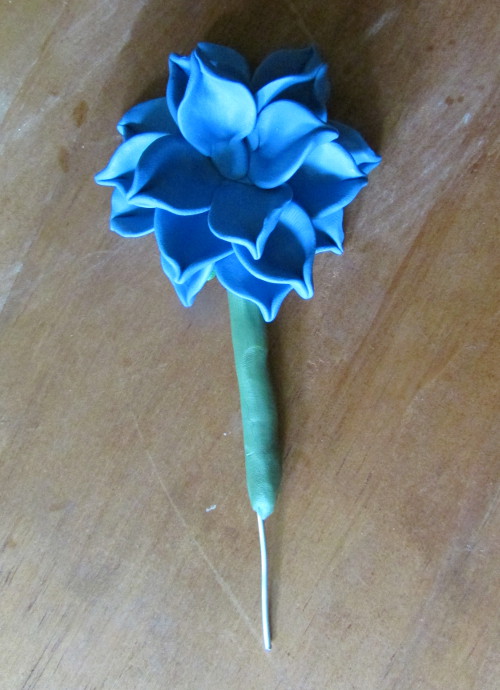
Add a center.
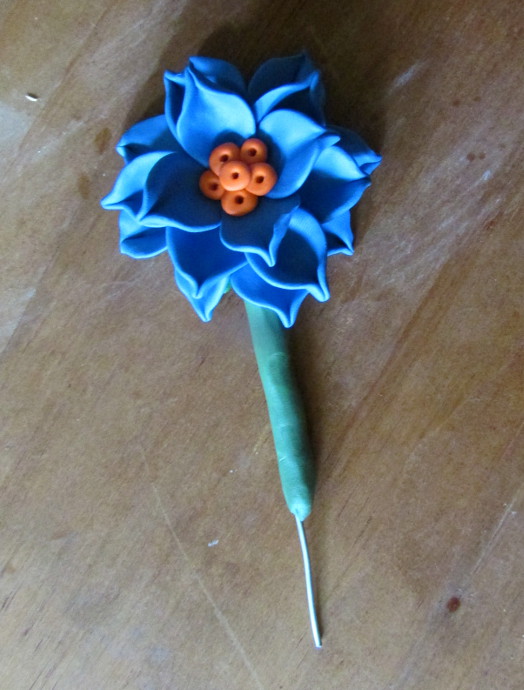
Maybe add a tad more to the center.
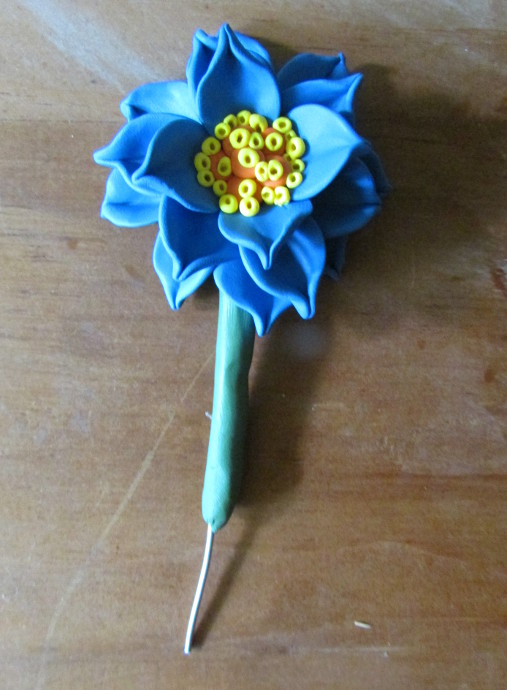
All done!
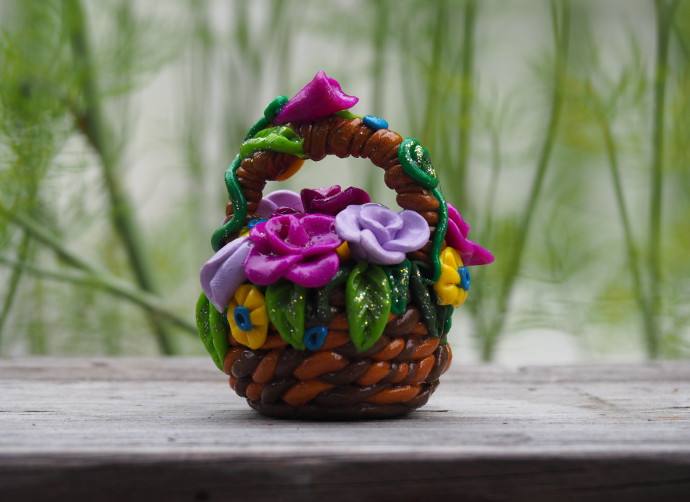
Making a Flower Basket Out of Clay
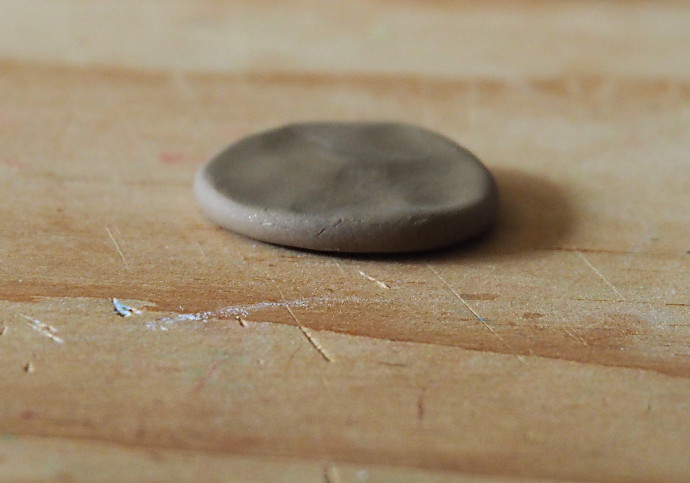
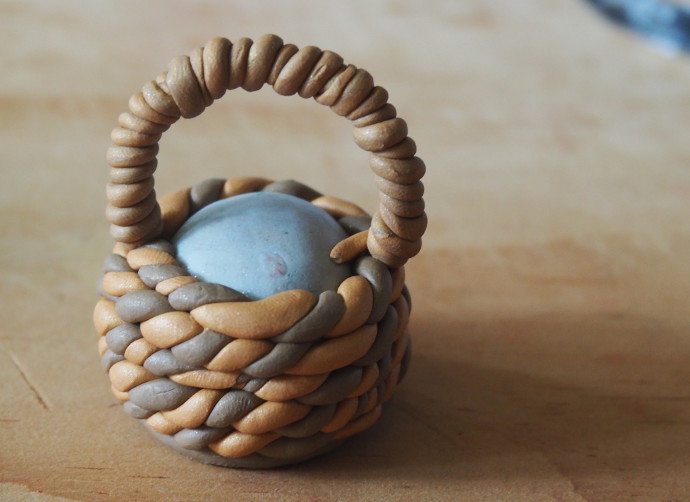
Start by making a flat base for the basket.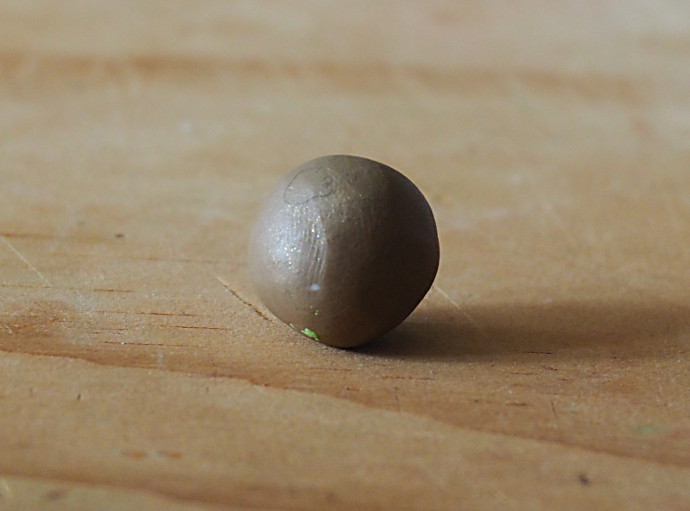
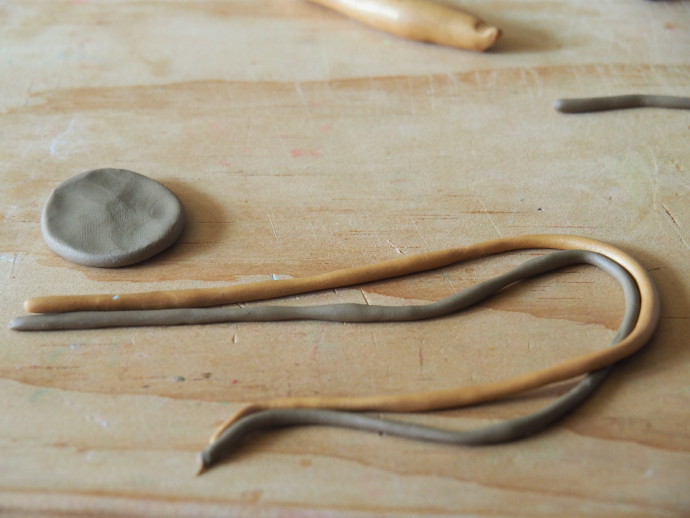
Roll out several shades of brown into long strands in order to be able to ‘weave’ the basket.
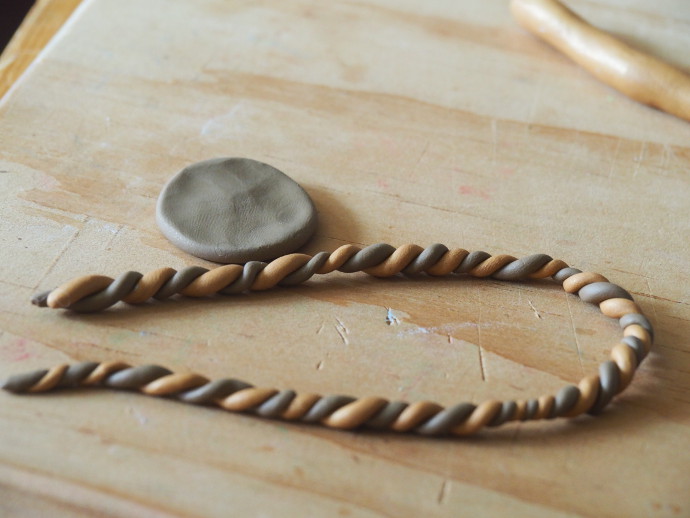
Twist the strands together.
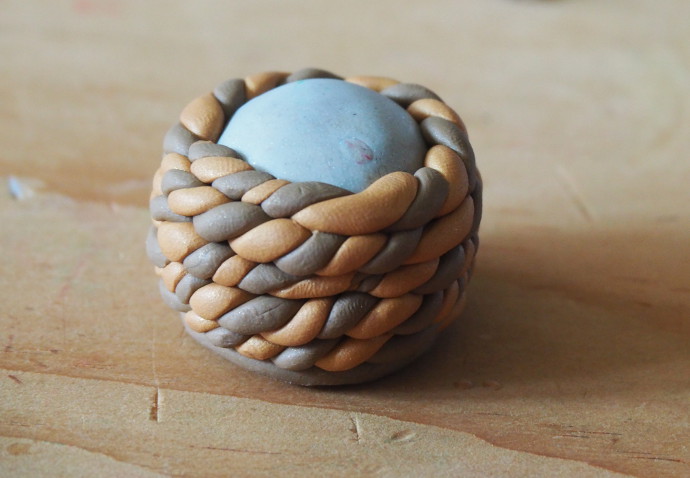
Use a round clay object for the middle. Some folks prefer to use balled up aluminum foil. I had some old clay that wasn’t really good anymore for shaping anything other than a ball, so I used that. Start by circling the twisted strands from the base up.
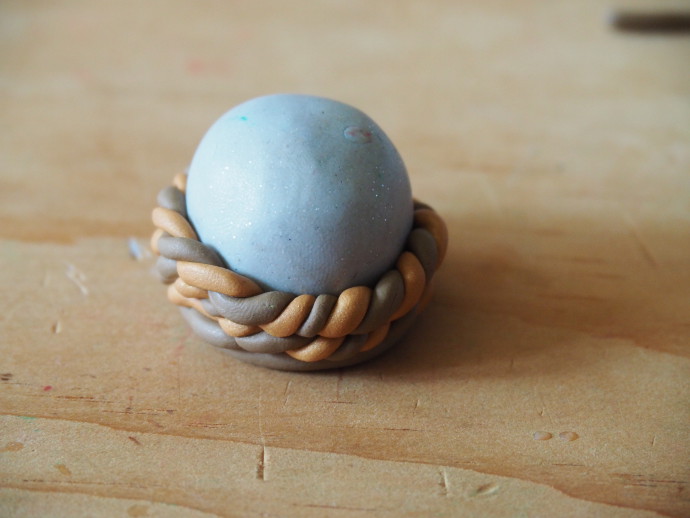
Once you run out of the strand, make a new one. Keep going until you reach the top of the basket.
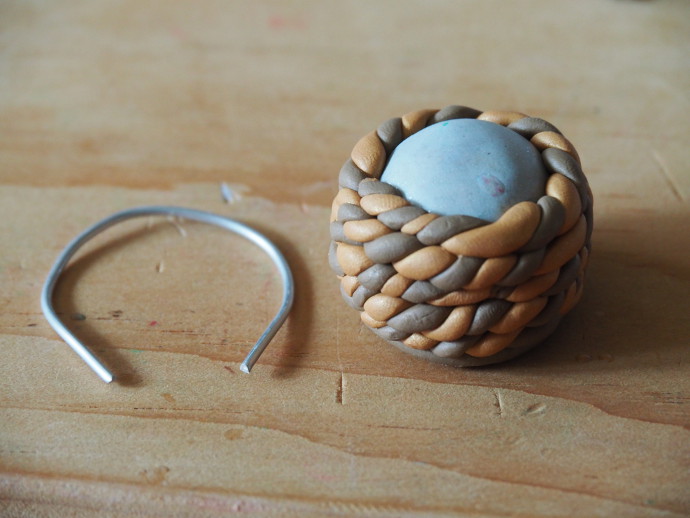
To make a handle, take a piece of wire, and shape it to be a handle.
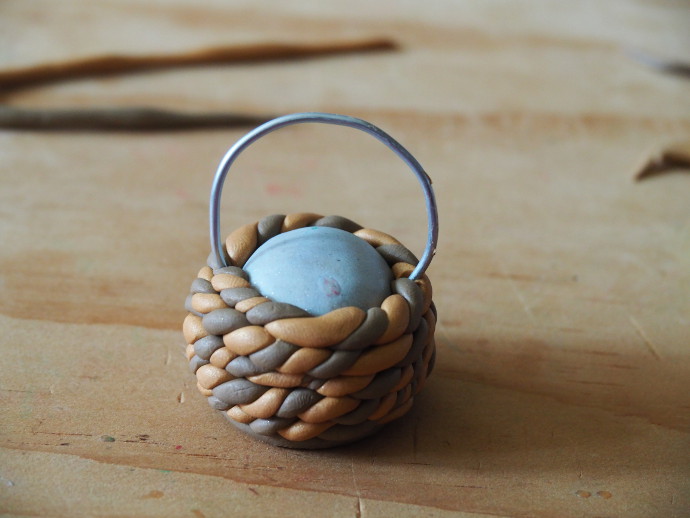
Insert the wire into the basket.
Roll out a bit of brown clay, and wrap it around the wire.
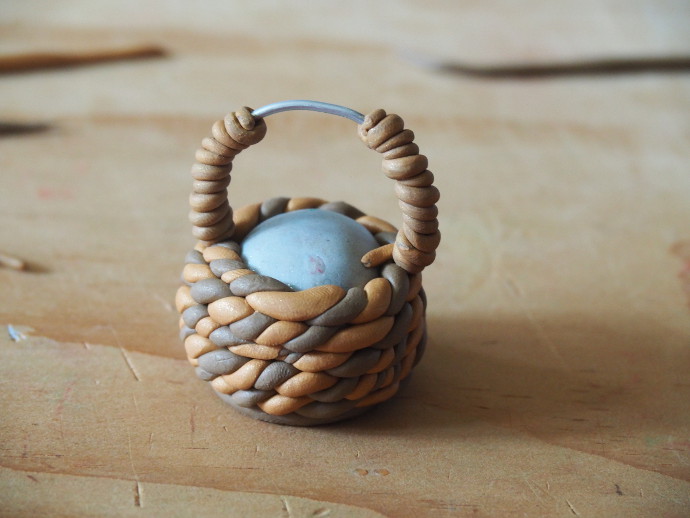
Keep going until the handle is complete.
To add the flowers, begin with the leaf shapes.
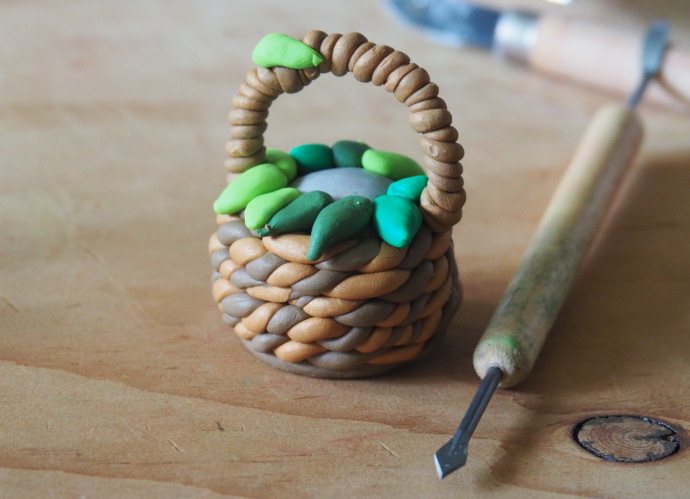
Press them in using a triangular tool, and add a few flowers that you could press with a toothpick.
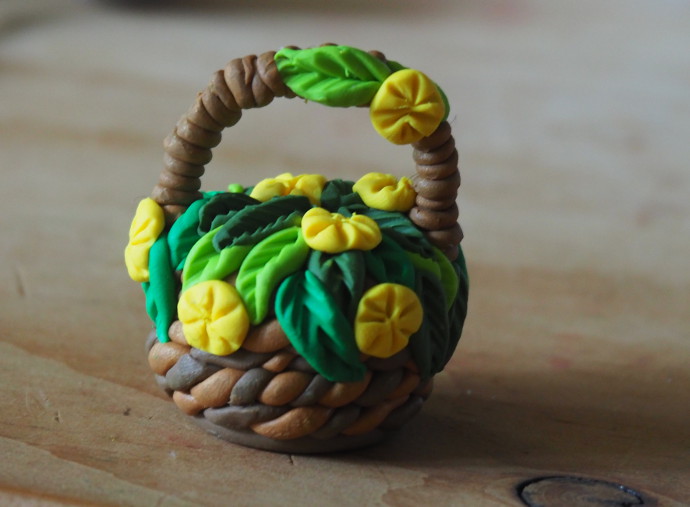
Add more flowers. Roses and what not. Similar to how I made roses for the gate.
Add more roses and little blue middles for the yellow flowers.
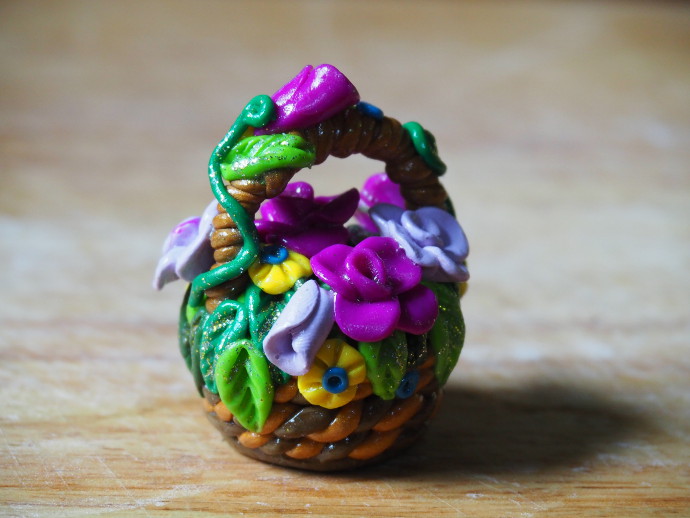
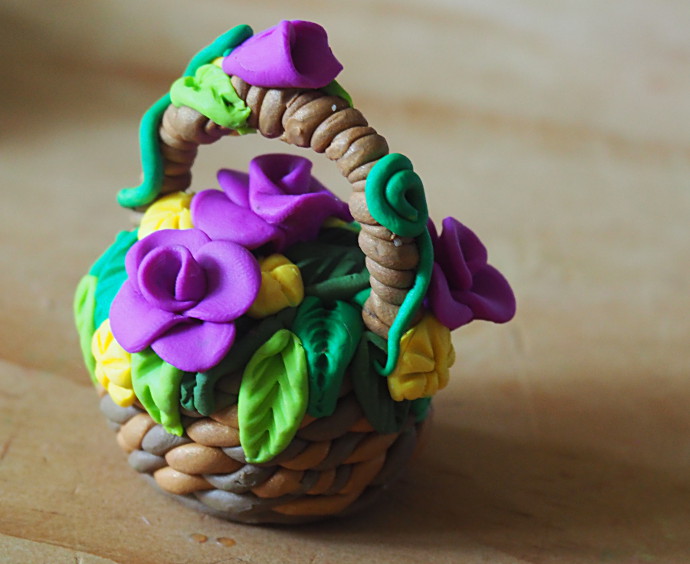
Like everything else, once it is baked, I covered it with mod podge.
All done!
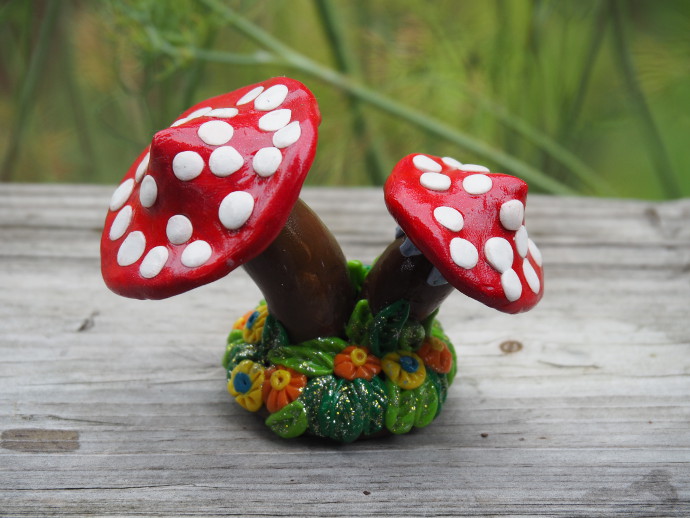
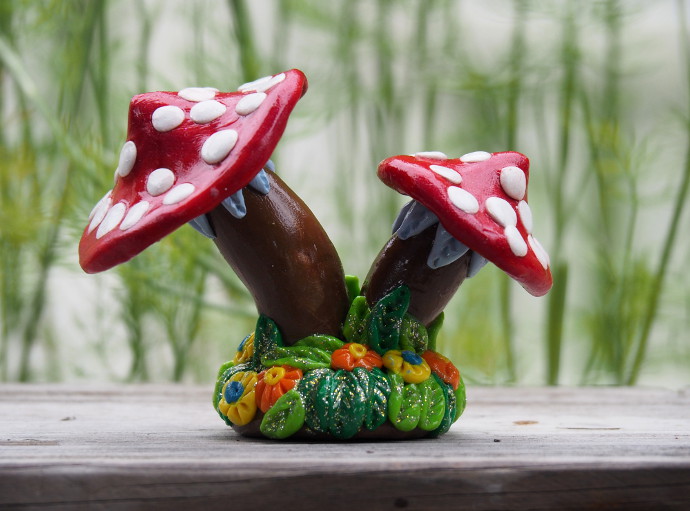
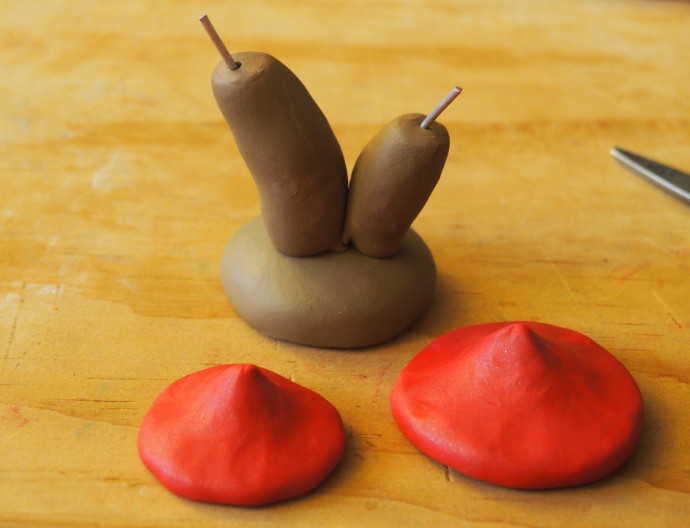
How to Make A Clay Mushroom
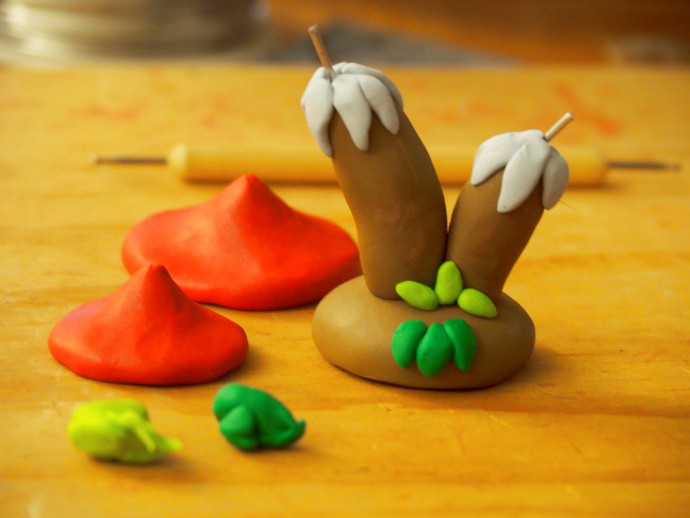
Start with a base and two (or more) mushroom stems.

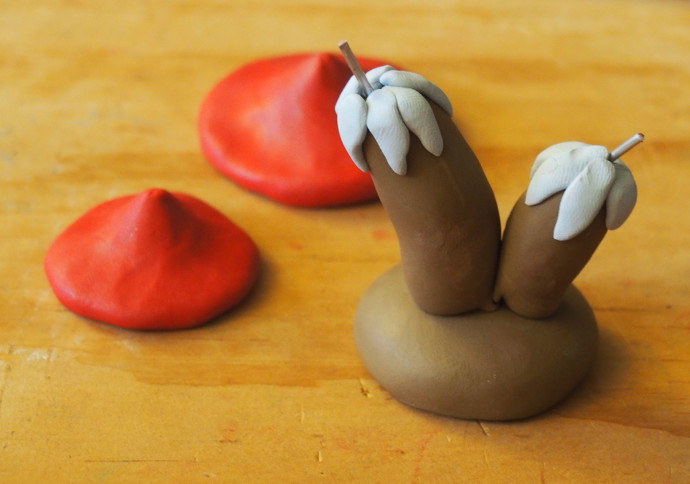
Insert some wire into the stems to make sure the mushrooms hold up, and shape the heads.
Add some details for under the hats.
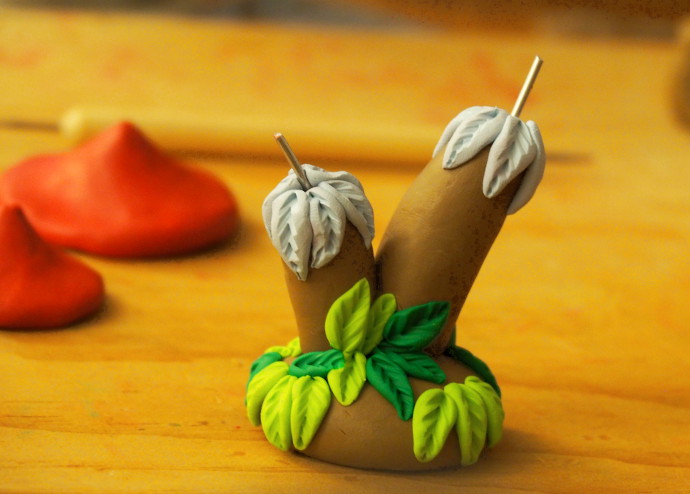
Add some leaves to the base.
Add more leaves, and press everything with a triangular tool.
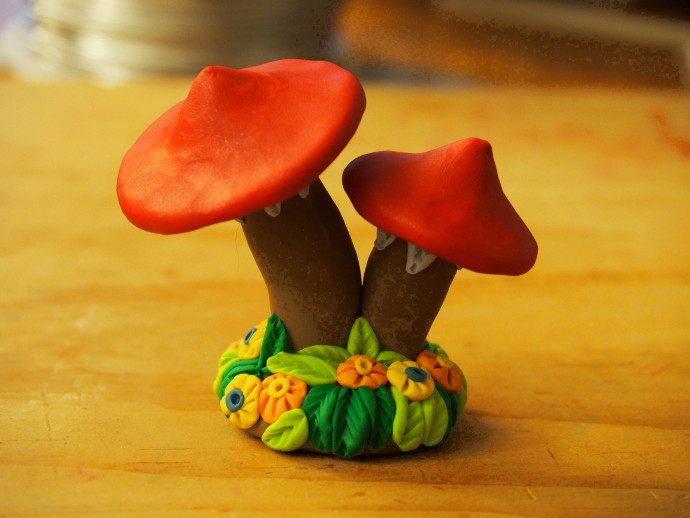
Add the caps, more leaves and more flowers.
To make spots, make holes with a blunt rounded tool (back of a paintbrush for me).
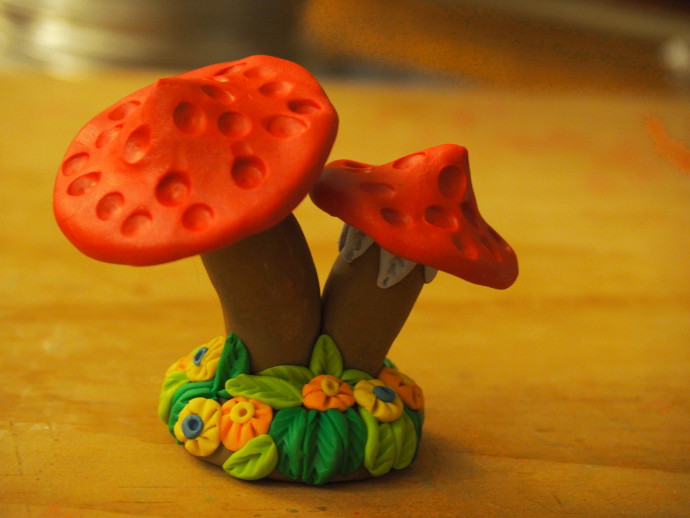
Fill the spots with bits of white clay, bake and cover in mod podge.