Recently, I inherited a lot of embroidery hoops from an elderly neighbor. It is truly a big pile, so expect lots of fabric art and embroidery hoop crafts to come. First I made an embroidery hoop star map. I am a bit obsessed with stars and the night sky, and always wanted to make one, especially if I could make it fairly accurate. This particular map was a gift for a friend, and I think I will make at least a few more. Here is how I made it.
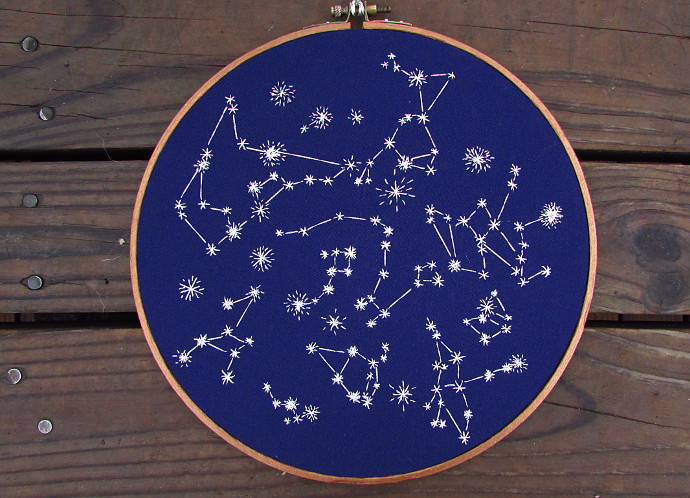
Embroidery Hoop Star Map
***This page contains affiliate links.***
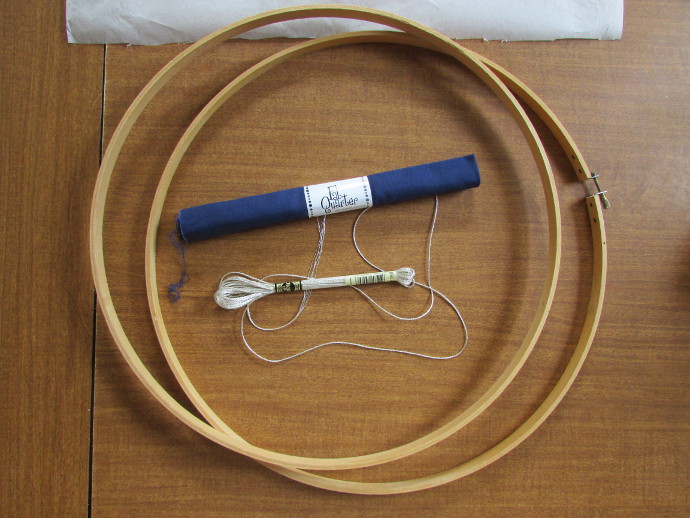
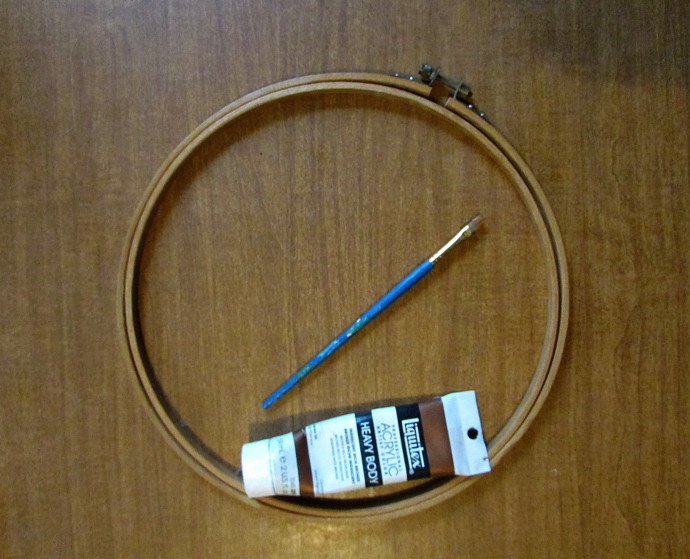
Here are the supplies you will need:
Embroidery Hoops. I started with a 12 inch, but then quickly realized that I bit off more then I can chew, and wouldn’t be able to finish it on time, so I switched to a smaller one. For my next one, I really would like to do a really big one.
Embroidery Floss. I used this exact one. It worked well. Occasionally it snagged, but was easy to untangle.
Dark Indigo and Light Blue Fabric. I looked online to find the exact one I got, but to no avail. I found this beautiful, but expensive set of blues, which I would love to buy another day. What I bought was just a rolled up Fat Quarter fabric roll for a few dollars in my local craft store. I got an indigo, and a lighter blue for the back. That’s all. It was not expensive at all, and worked really well.
You will also need a needle, and scissors, and a sheet of tracing paper at least as big as your fabric.
When finishing the star map, I used a sewing machine to complete the edges. It’s completely optional. There are so many different ways to finish the embroidery hoop, this is just one way.
Another optional thing was, I used some copper acrylic paint to darken the embroidery hoop, and give it a more ‘antique’ look.
Lets get started:
First thing is to find a star chart of the season and hemisphere that you would like. There are a ton of resources that will help you with this step.
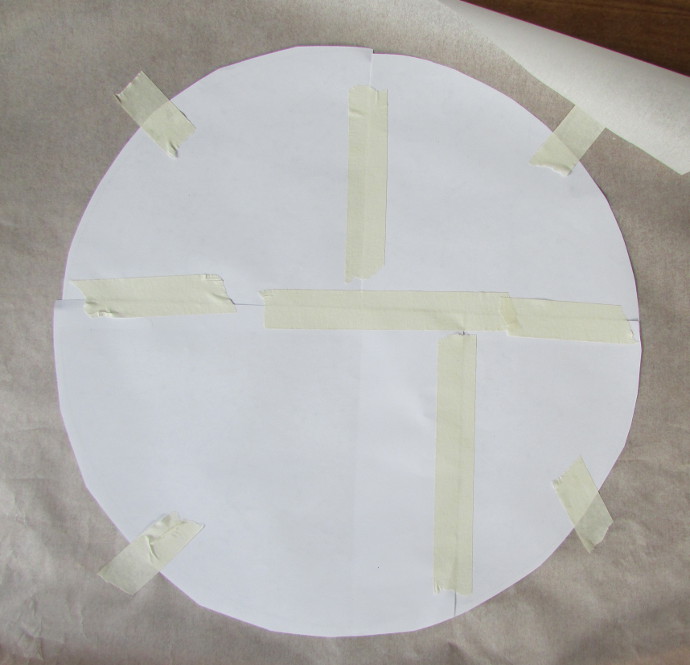
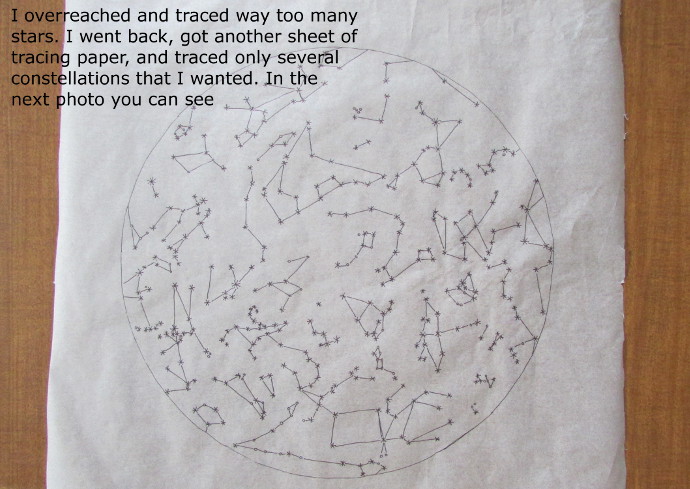
Once you print your star map, center the tracing paper over it.
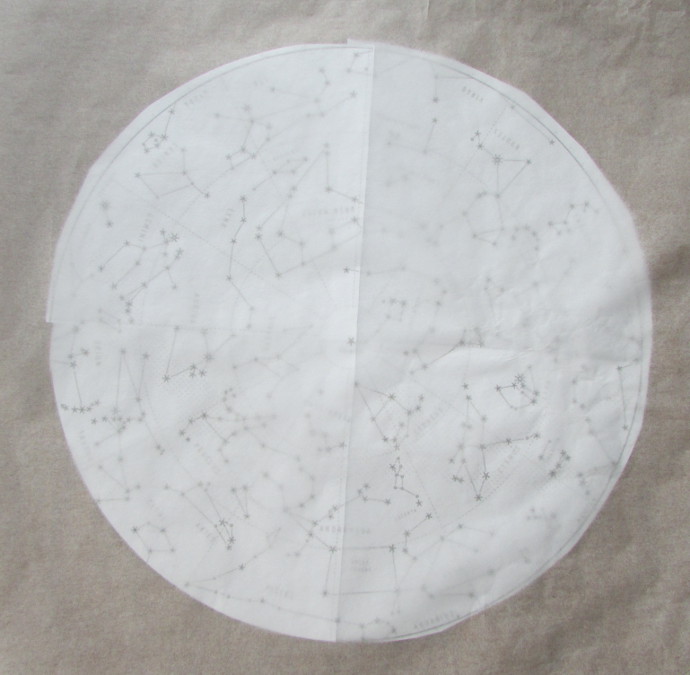
I used masking tape to secure the map to the tracing paper.
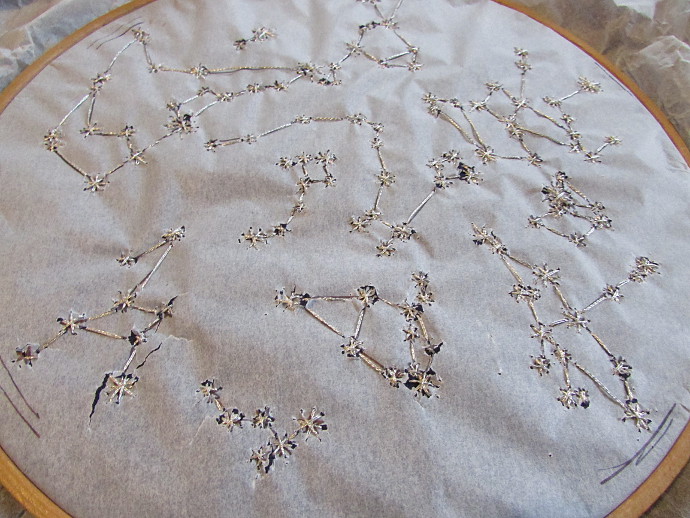
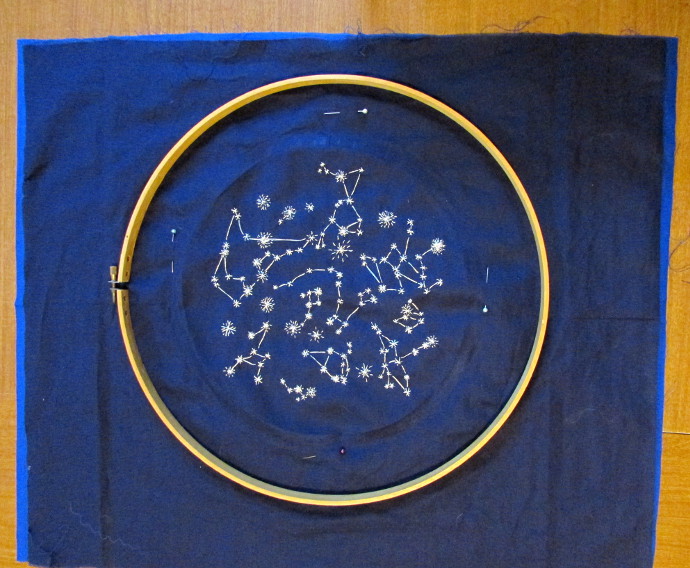
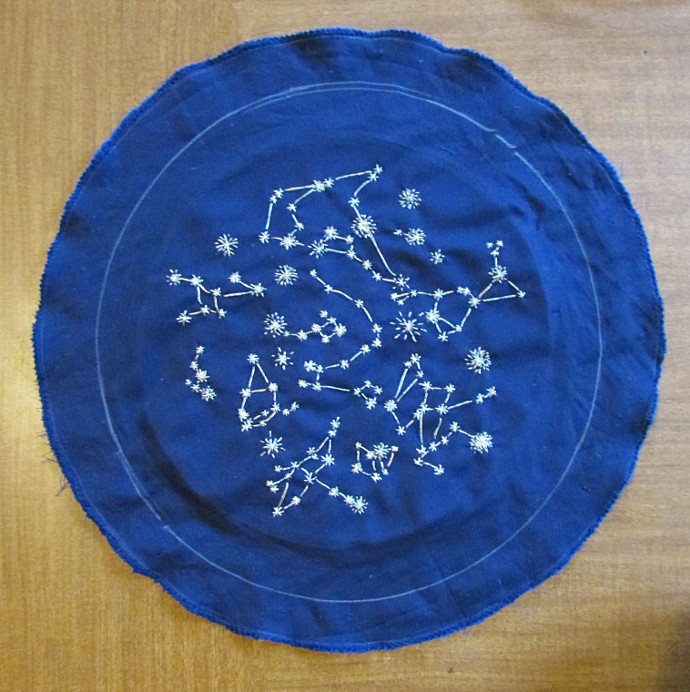
Then I used a marker to trace the stars. As I mentioned earlier, I bit off way more then I could chew. I wound up getting a smaller embroidery hoop, and tracing just the few constellations that I wanted. The photo below is of the star map that I wasn’t able to finish on time.
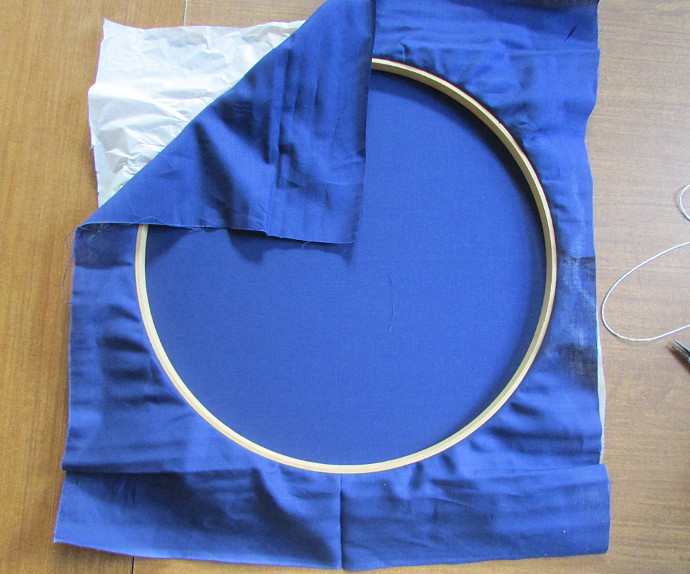
Time to get the hoop, the single piece of indigo fabric, and the silver embroidery floss.
Carefully and gently put the fabric underneath the tracing paper, and insert them together into the hoop. Stretch and adjust very gently, so as not to rip the tracing paper.
Time to thread the needle. Just a note: shorter string snags a lot less, and I found that using just one strand, doubled and tied at the end was easier then two strands with a loose end.

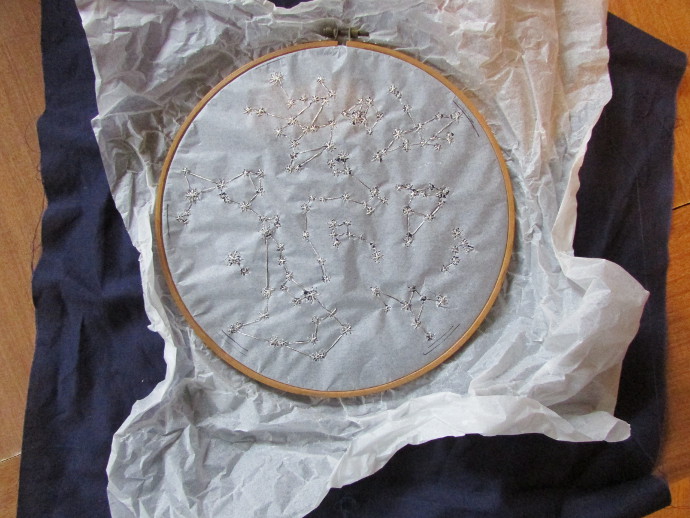
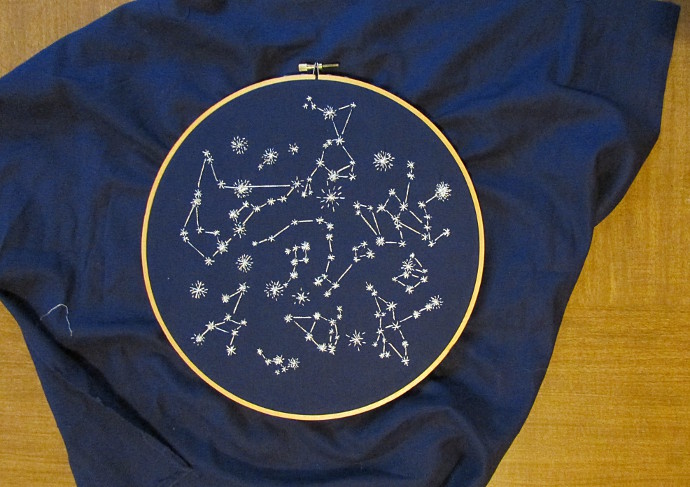
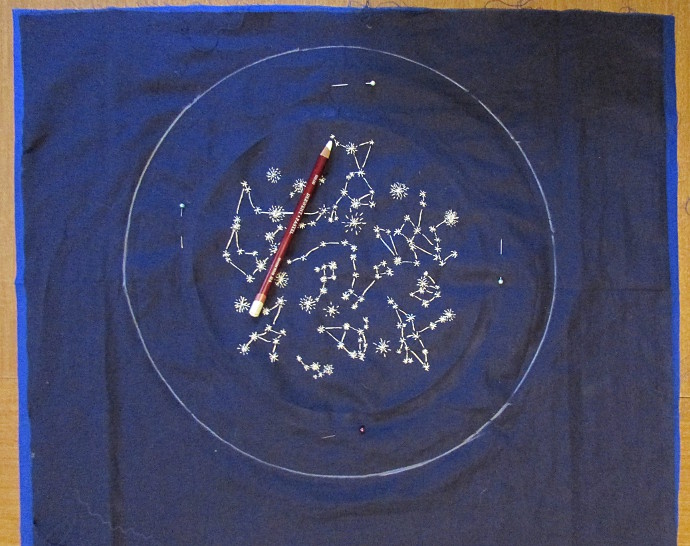
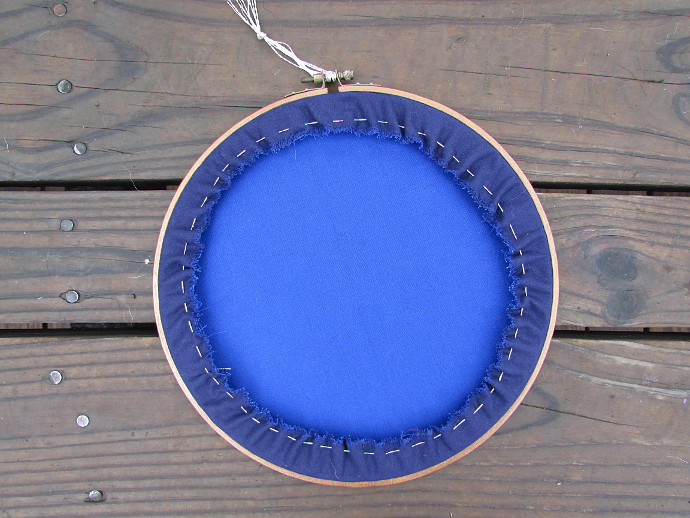
Here is what the hoop will look like on the front side before you start. This is also the final star map (one with less) that I traced.
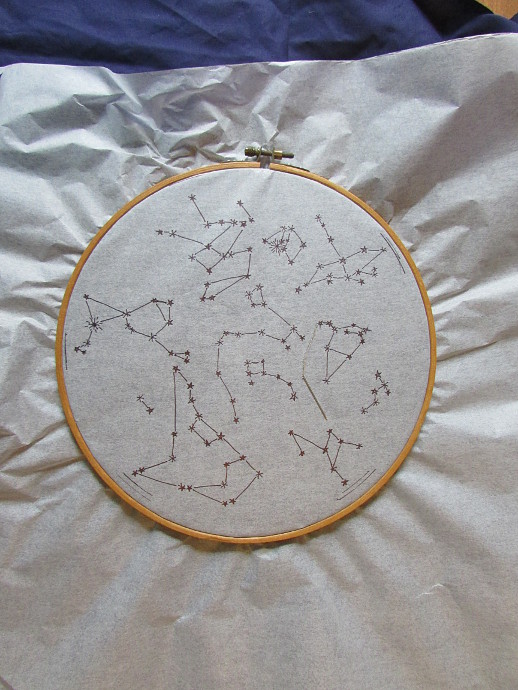
Start embroidering directly over the tracing paper, and the fabric.
Here is what it will look like at the end.
Take everything out of the hoop. Gently rip the tracing paper. Be careful not to pull the embroidery floss. Rip to the side as opposed to up.
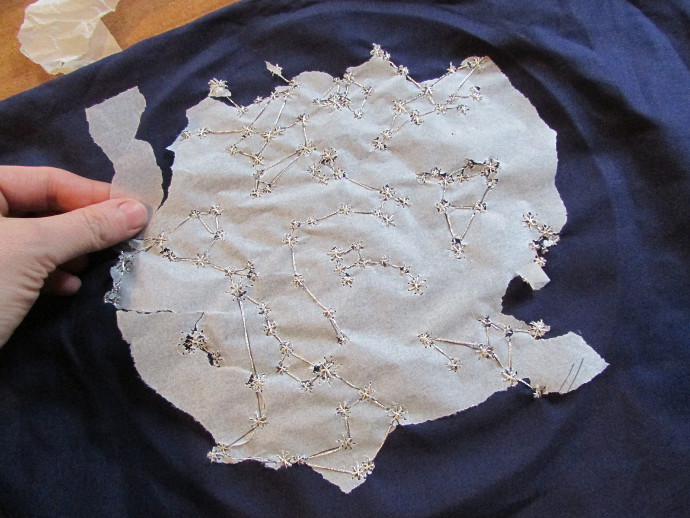
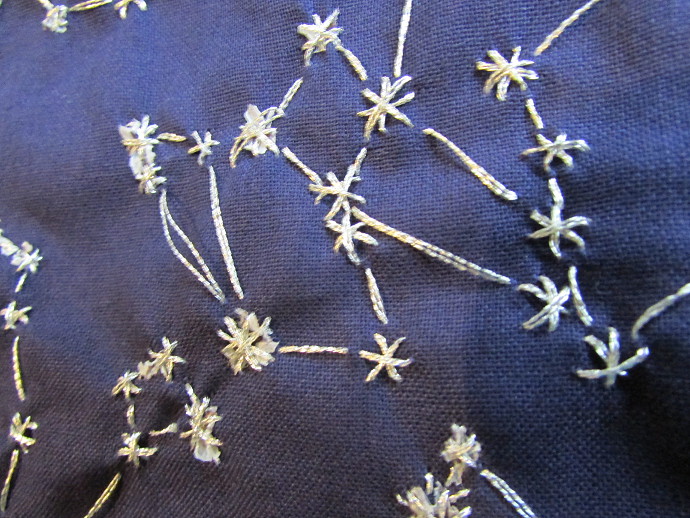
Here is how it will look like at this point. I have to note, I am not usually the one to embroider (I am more of splatter the paint kind of gal), so I could do a lot better on how neat those stars are. My stars are sort of messy. My stars were simple intersections of 6 to 8 stitches, with just a single line stitch connecting the stars in constellations.
A close up of how it will look like after the tracing paper is pulled off. If you notice, there are still little bits and pieces of paper under the stars.
This is a good time to stain the embroidery hoop with the copper paint.
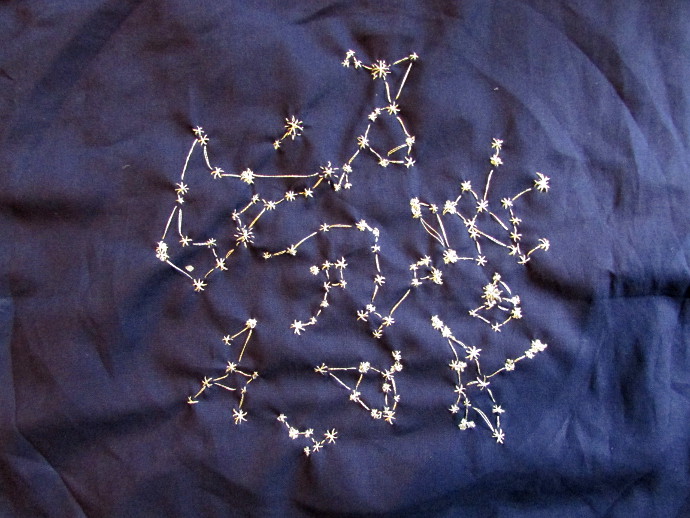
While my hoop was drying, I put the fabric into a different embroidery hoop, and added some more shiny stars, and fixed the stars that were super messy, adding more lines, more sparkles, etc. Also, as I worked on making some stars bigger, I pulled out the extra tracing paper that was stuck underneath using small jewelry pliers or tweezers.
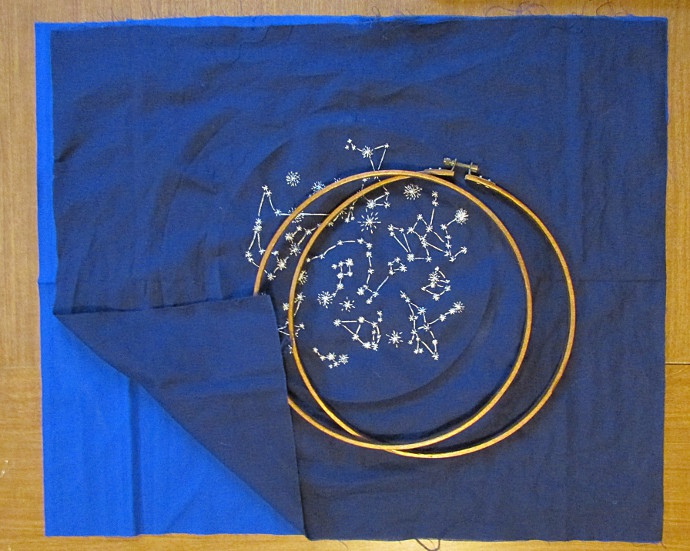
Once you finish all the stars and your hoop is all dry, put the star map on top of a second sheet of fabric. Here I am using a lighter blue. That will cover the mess in the back (and believe me, it was a mess), and protect the stitches.
Here is where I made a small error. Read on to see what it is.
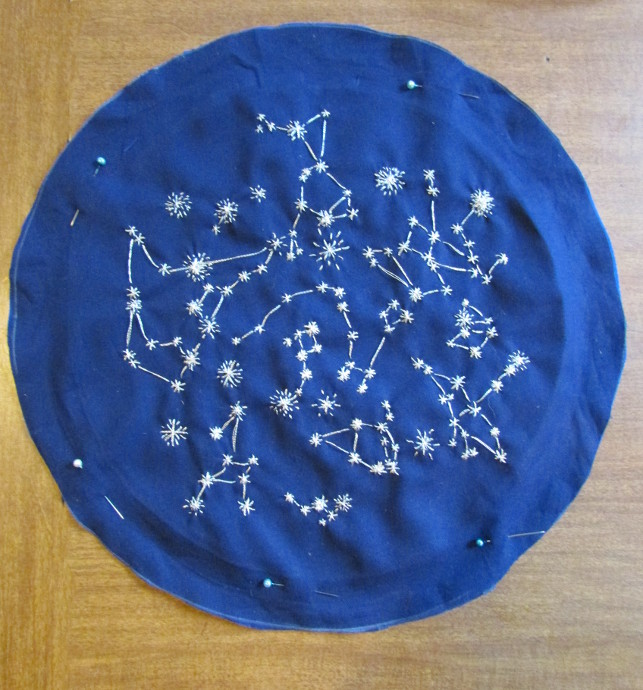
To finish this, I pinned both pieces of fabric together. Then using a larger hoop, I traced a circle with a white pastel pencil.
Just like this:
I used my sewing machine to zigzag around the circle several times, like in the photo below.
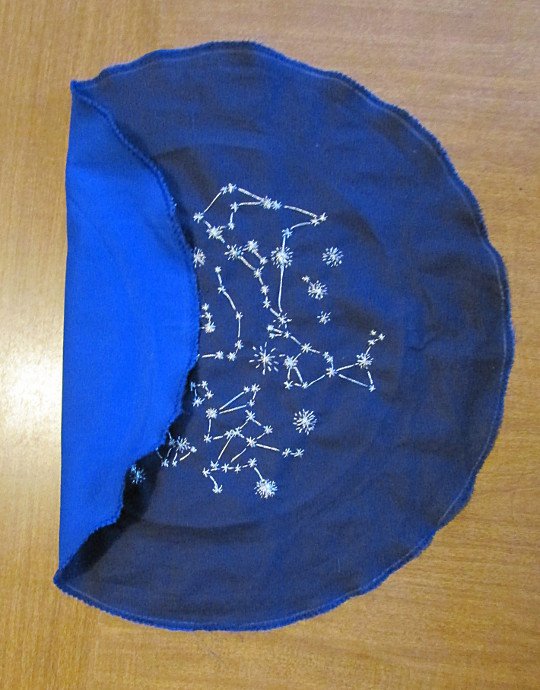
Here is where the mistake occurred. My plan was to put my creation into the hoop, and then gather the extra fabric in the back to finish. When I began to gather the fabric, I realized that it was way too much fabric there, it was bulky and uncomfortable. It would make it impossible to hang. I traced too big of a circle.
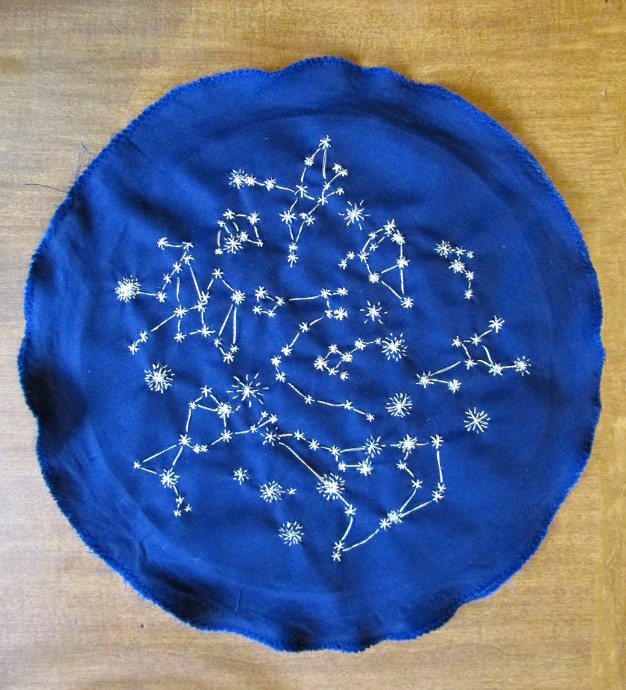
Out everything went, and a much smaller circle was traced.
I pinned, and cut it out.
Then, just like before, I used my sewing machine to zigzag the edges together.
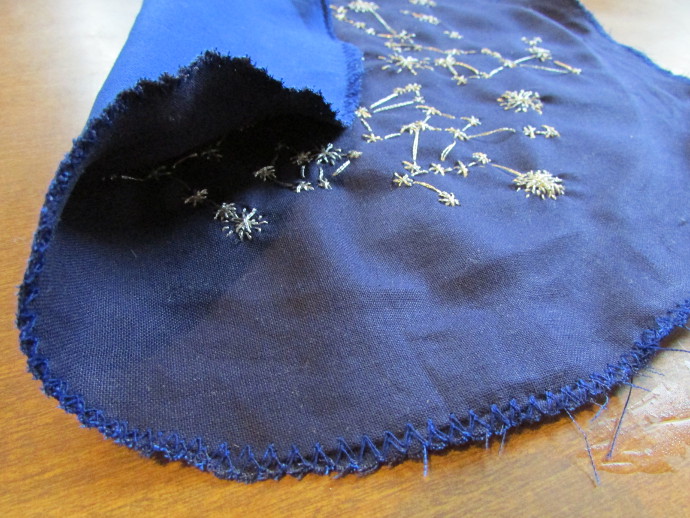
Here is a close up of the edges:
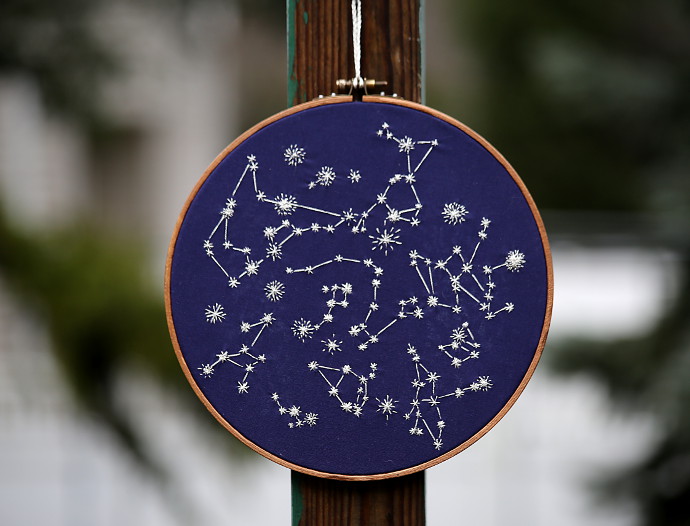
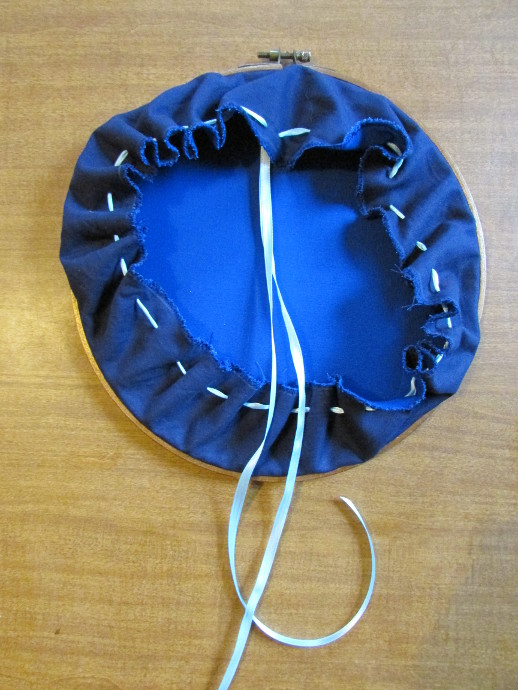
After which, I put my creation into the embroider hoop. Tightened the fabric, and the hoop, carefully centering the star map, and gathered the fabric in the back (with the silver embroidery floss).
All done!