Why would you be tempted to make a toy kitty? Oh, I don’t know. Maybe there is a three year old you know that would really appreciate it. Or maybe it has been snowing non stop and you are getting a bit of a cabin fever. Whatever your reasons are for wanting to make a toy kitty, here is how to make one.
Making a Toy Kitty
You will find a pattern at the bottom of this page.
***This page contains affiliate links.***
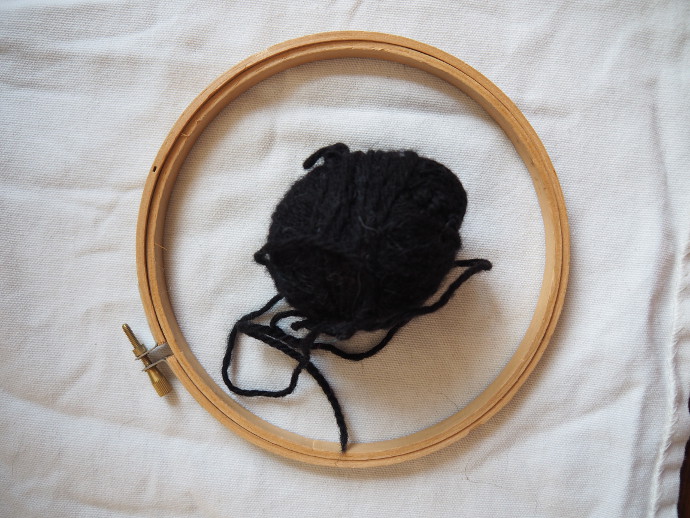
Starting with a face. I normally would suggest embroidery floss, but mine was lost in the dark depths of my closet, so I used this wool yarn instead for my first try. You also might like an embroidery hoop to make your life easier, and fabric that you prefer. I recycled a canvas curtain. I stuffed my kitty with recycled fiberfill stuffing.
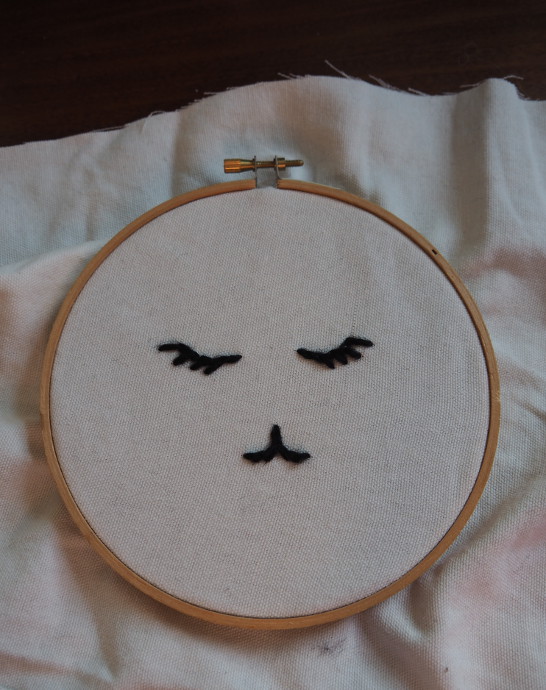
Here is the face made with the wool yarn.
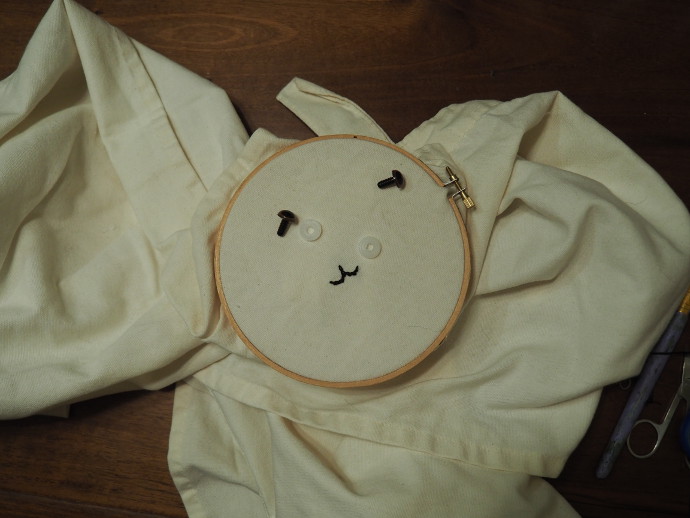
At some point, I decided to dig deeper and found both my embroidery floss and these lovely eyes I bought a while back, just in case I wanted to make something with eyes.
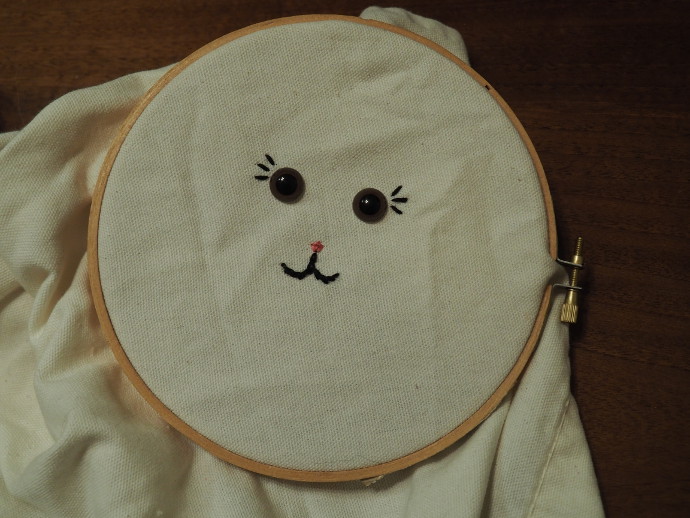
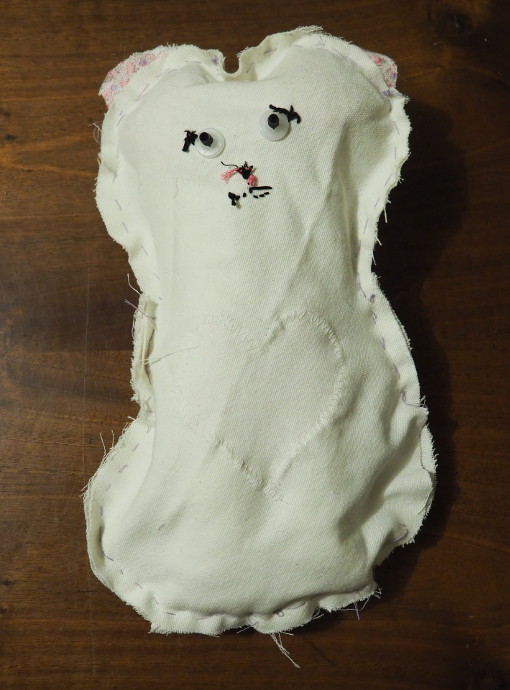
Here is the face with eyes and using floss vs. wool. I liked it, so I decided to go with it.

Next, I cut out the body, like a chubby figure 8, and ears. The body needs two sides, front (with the face on it), and back. The ears will need 4 pieces, 2 for each ear.
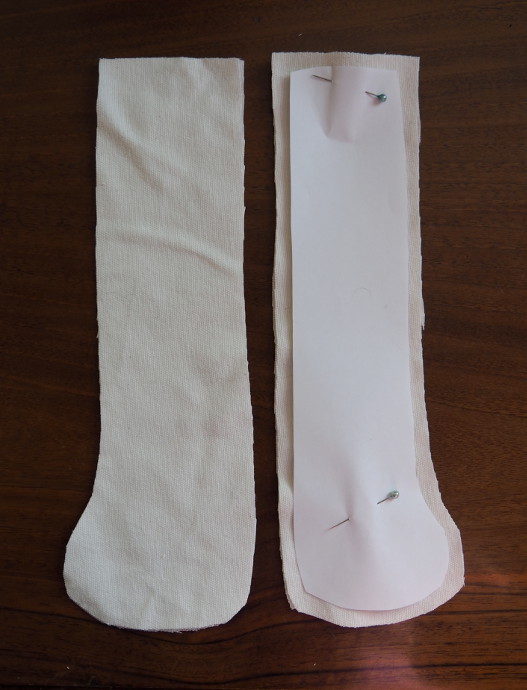
Legs: 2 pieces for each leg. I used fabric that was the same back and front. Pay attention if you are using fabric that has front and back different. When cutting out the legs, body, ears and arms, make sure you leave about a 1/4 inch for the seam.
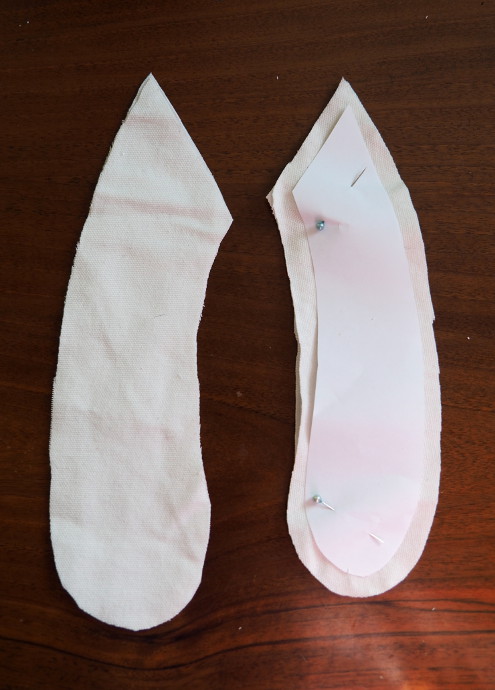
Arms: also 2 pieces for each arm.
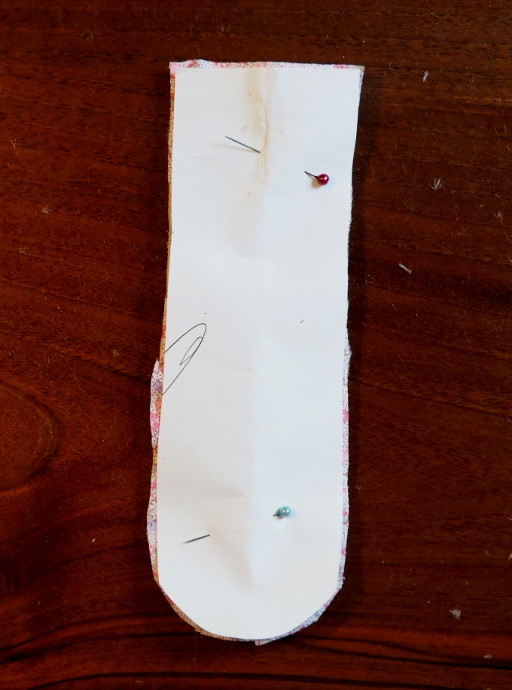
Tail: again 2 pieces. I used one piece that was pink flowers, and one that was the same canvas fabric as the rest of the kitty. The tail came out thick enough, so I didn’t leave the little bit of extra space all around, instead just cutting it as is.
Sew the ears, legs, arms and tail and turn them inside out. Put a little bit of stuffing in. Not too much. You want it to be soft and pliable. It is the right time to sew the heart onto the belly too.

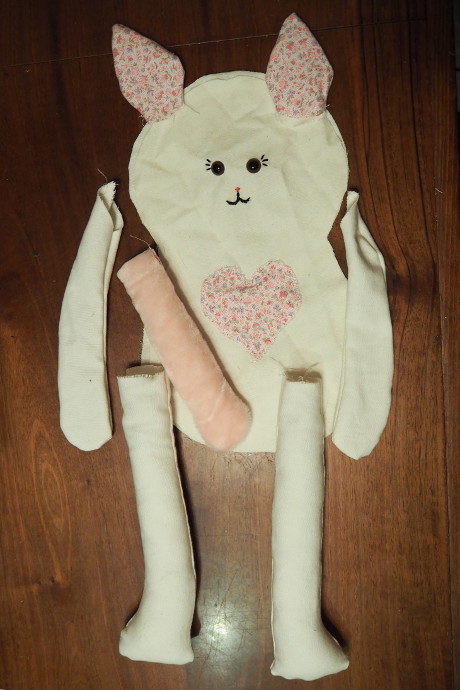
Once the arms, legs, and ears are ready, sew them on the back of the front of the body only. I know, this sentence is a jumble. Take a look at the photos below to see what I mean.
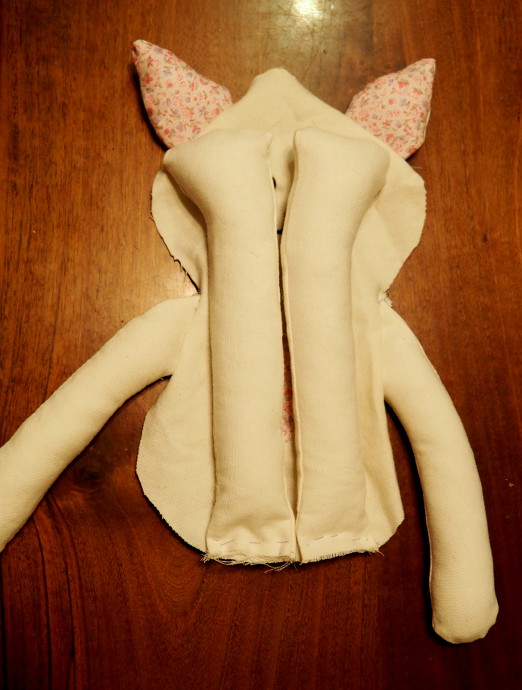
Not the tail at this time, just the arms, legs and ears.
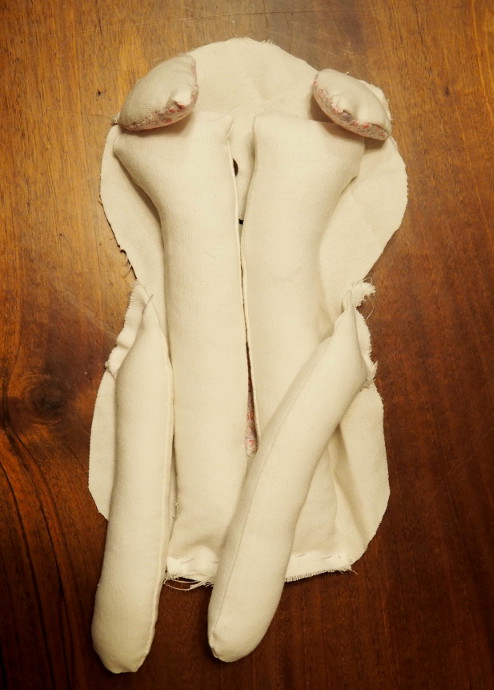
Now they need to be folded in onto the body.
Here is the tricky part. With arms, legs and ears on the inside, you will need to sew on the other side of the body to the front of the body. Leaving an opening on the side where you can turn the whole thing right side out. First, I just did it with a needle and a straight stitch, and then followed through with my sewing machine.

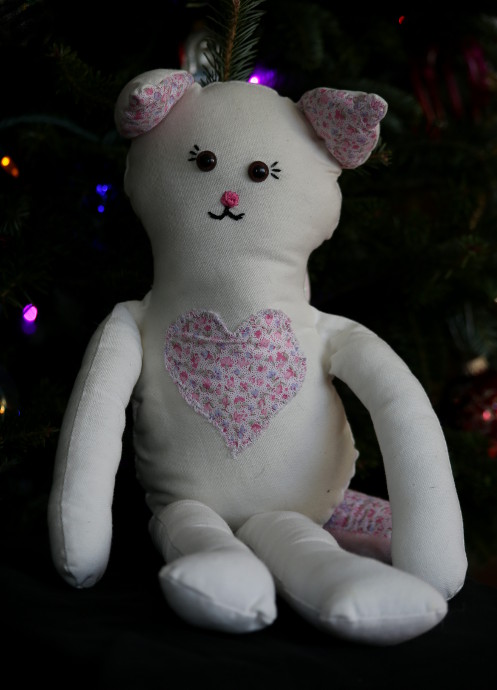
Once you turn it right side out, it should begin to look like a kitty cat.
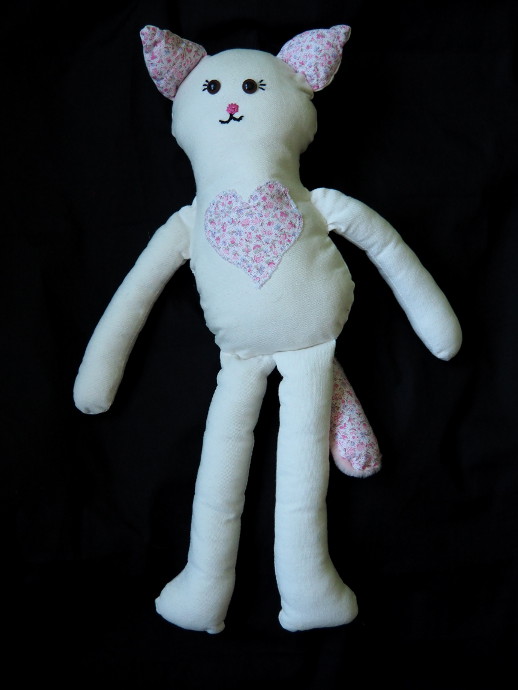
Through the opening on the side, the same opening that you turned your kitty right side out with, stuff the kitty with some stuffing. Then sew the opening up by hand.
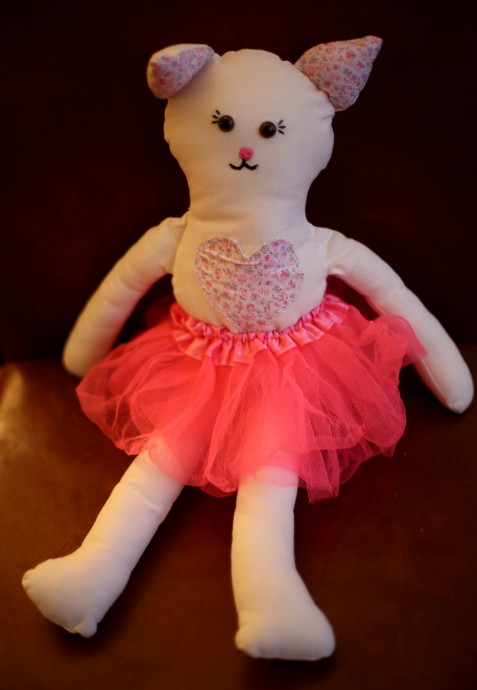
The kitty looks good in a tutu!

Here is the PDF file for the pattern, if you are having trouble opening it, reach out through contact us form and I will be happy to help.