Why would I make a little girl’s skirt? Oh, I don’t know, maybe I know a 4 year old, and maybe I found a square piece of fabric with kittens on it. Whatever my reasons were at the time, I did it. I made a simple girl’s skirt, and now here is the simple girl’s skirt tutorial.
***This page contains affiliate links.***
What you will need to make this:
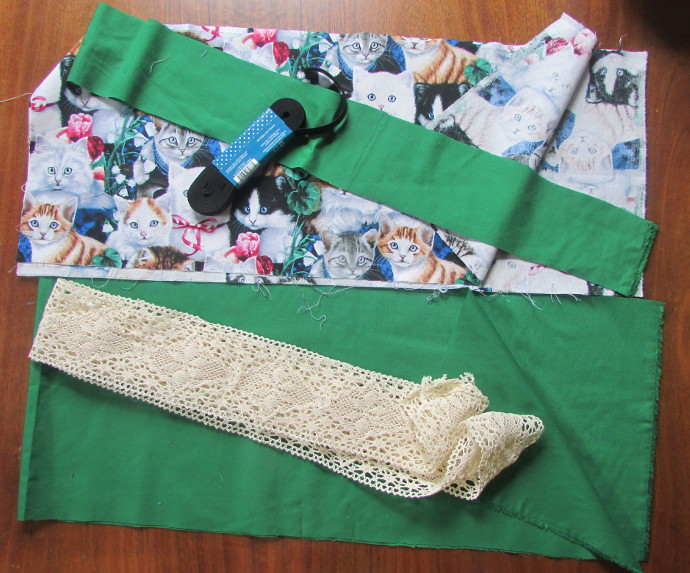
Fabric: I had found a square of this kitty cat fabric, and had an equal square of green fabric. Of course, any two light cotton fabrics will work well for this. The fabric I had was Fat Quarter fabric, which measures about 18 by 22 inches.
Elastic: Something similar to this one.
Some lace ribbon (I wound up using a different lace ribbon then the one in this photo), a length of thin paracord.
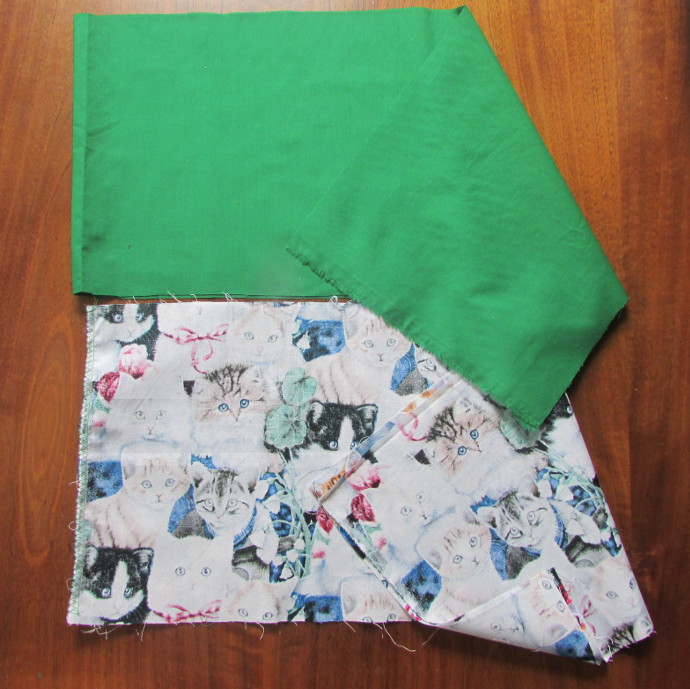
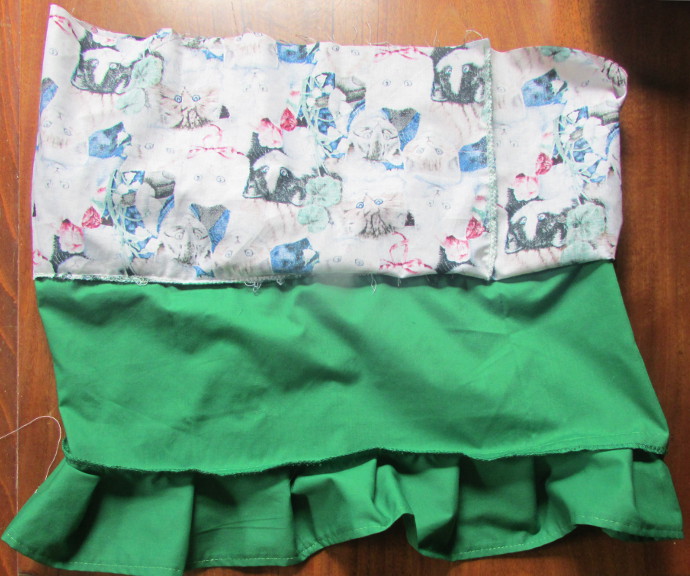
To start with I cut the fabric in half, so it wound up being about 9 inches in height and 22 in length. I cut the green fabric to match the size of the kitty fabric. Then I had a bit of green leftover, which I decided to make into two long strips and use it for the trim later.
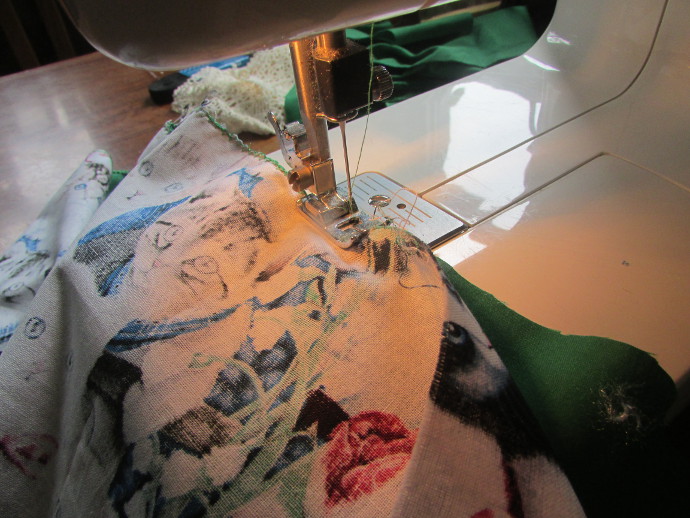
Here is my cut fabric. The cat fabric is in 2 equal pieces, the green fabric is one continuous piece that equals the 2 cat pieces. I sewed the cat fabric together along one end, front of the fabric facing inwards.
For the next step, I put the cats facing in, and the green fabric, and attached them together lengthwise.
Like this:
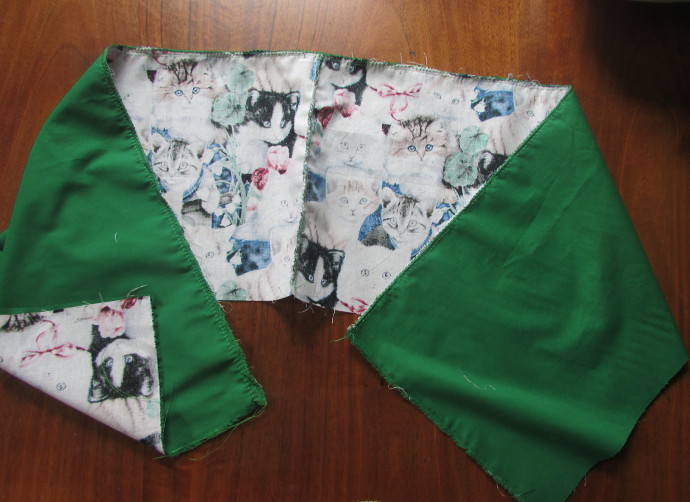
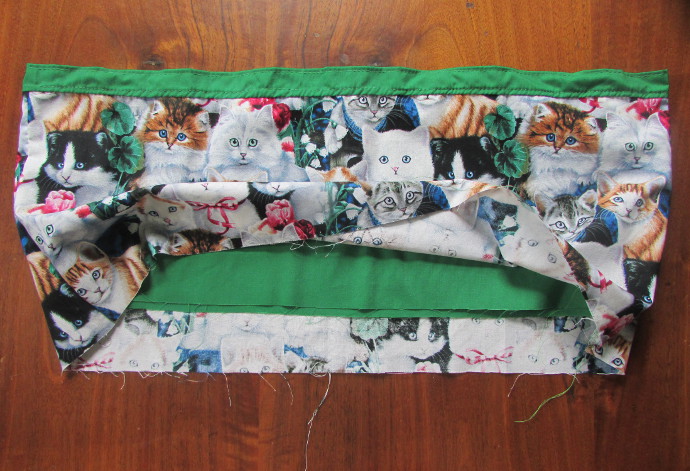
Then I pinned the fabric together, being careful to make sure the seams are aligned. Sewed them together. This is what I ended up with at this point:
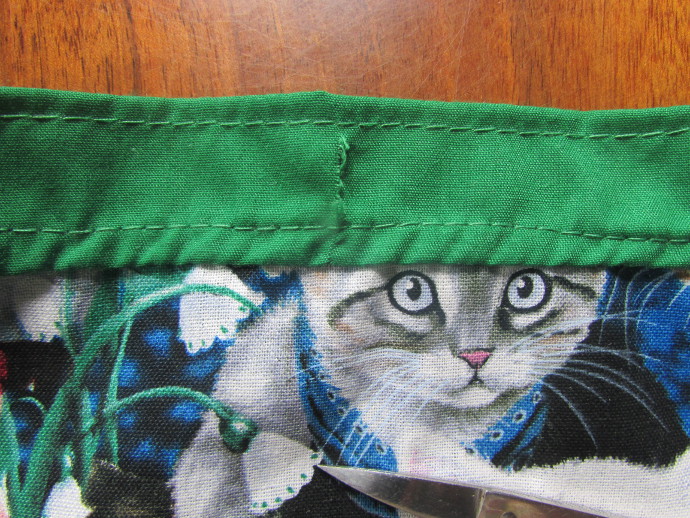
Next step is a bit tricky. I folded the green fabric about an inch above the cat fabric. Like the photo below. Then I stitched at the existing seam between the cats and the green, and make a new seam close to the folded end of the green fabric.
Here is what I had at this point: the green fabric about 2 inches shorter then the cat fabric, but there is about an inch waistline.
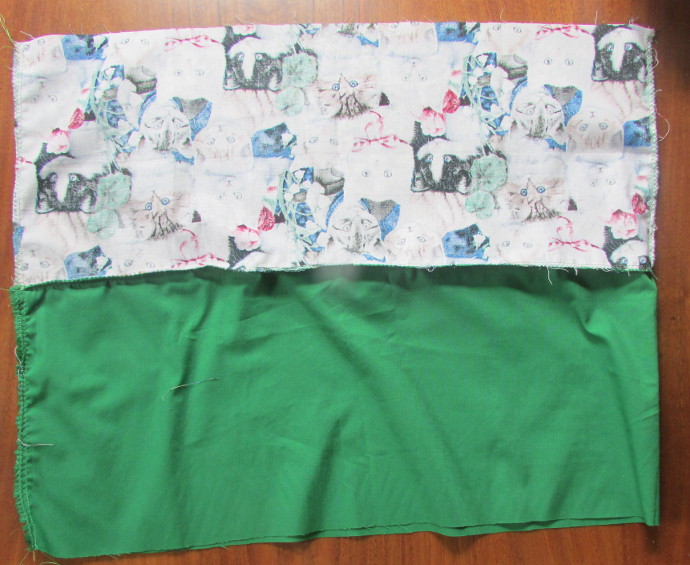
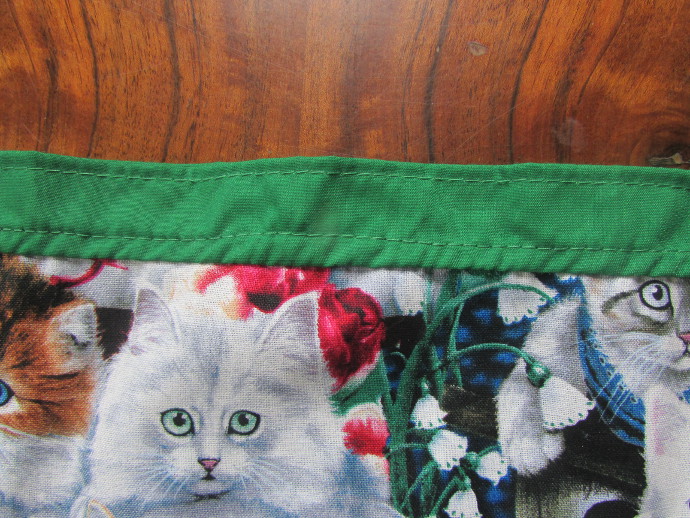
Here is a close up of the waistline that I created.
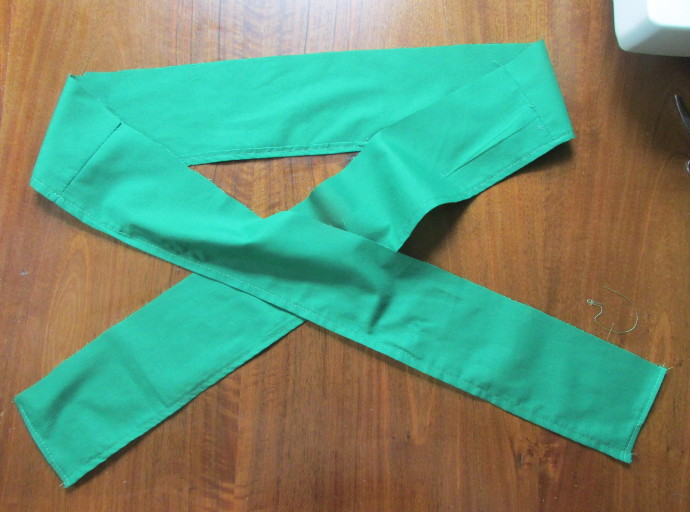
To make the green underskirt the right length, I put together the two leftover green strips into one long strip, trimmed the edges, making it into one long ribbon.
Then I attached it to the bottom of the green skirt, making pleats as I go. The seam facing outwards toward the underside of the cat fabric.
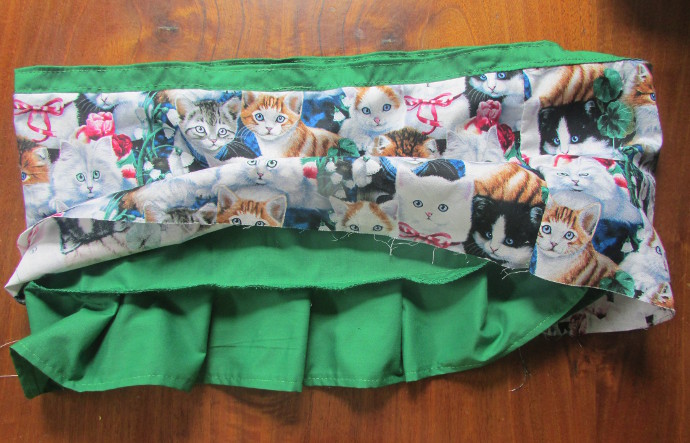
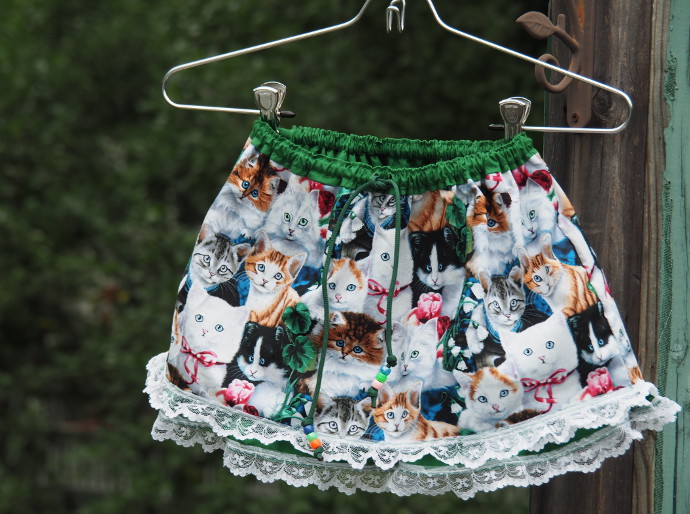
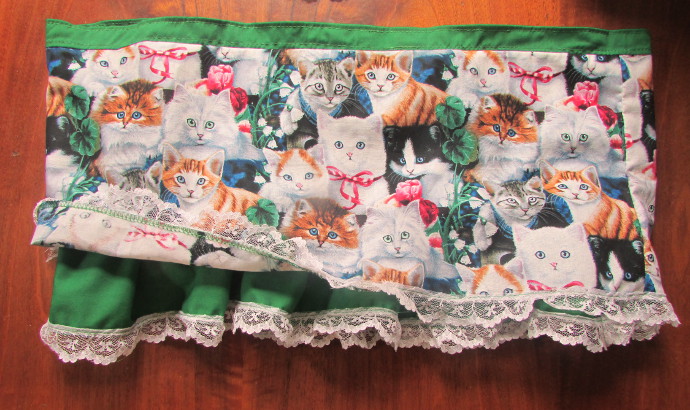
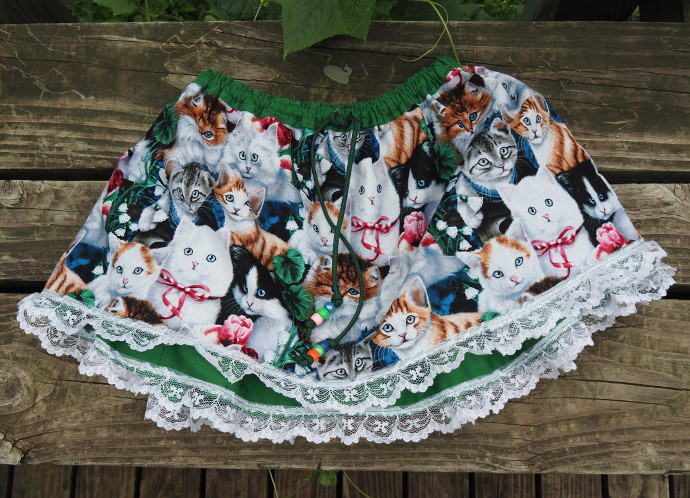
Here it is completed:
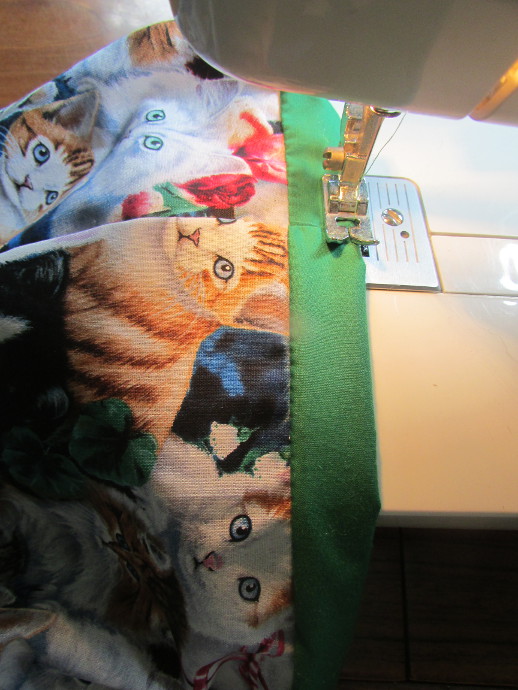
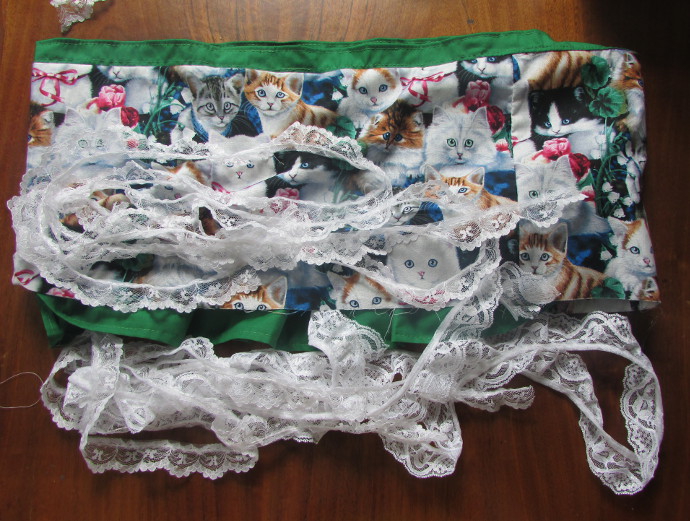
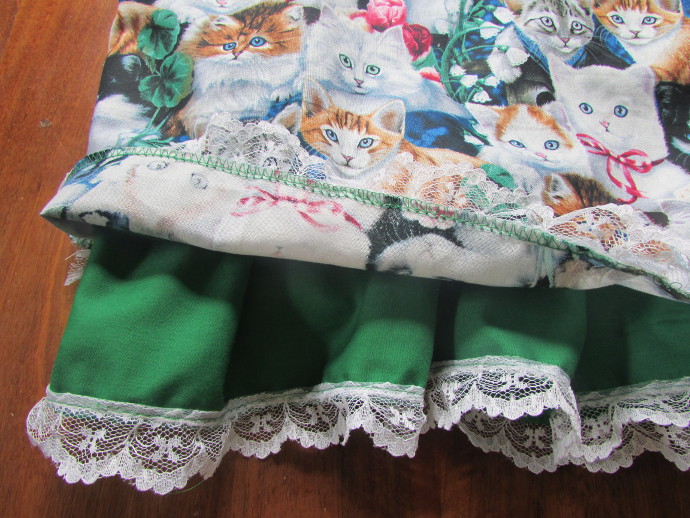
To trim the outer layer, I used the lace ribbon.
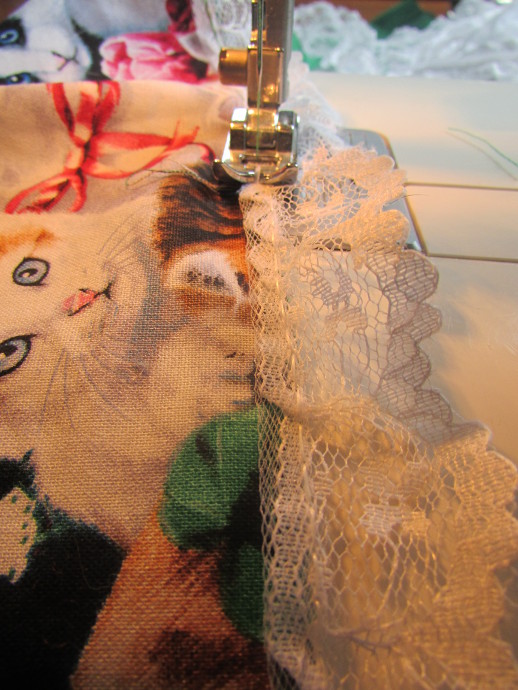
But first, I went to play with my mom’s serger machine. This is what a serger machine looks like, my mom has a completely different one, but if I were to buy one it would be a simple and less expensive one. Anyway, before attaching the lace, I trimmed the edge of the fabric using my mom’s serger.
Attaching the lace was super easy.
Here is the first layer finished with lace.

The second layer with lace.
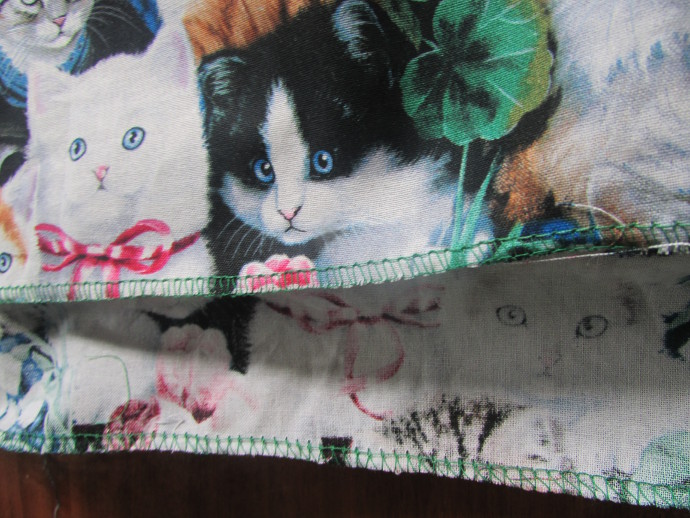
What it looks like close up.
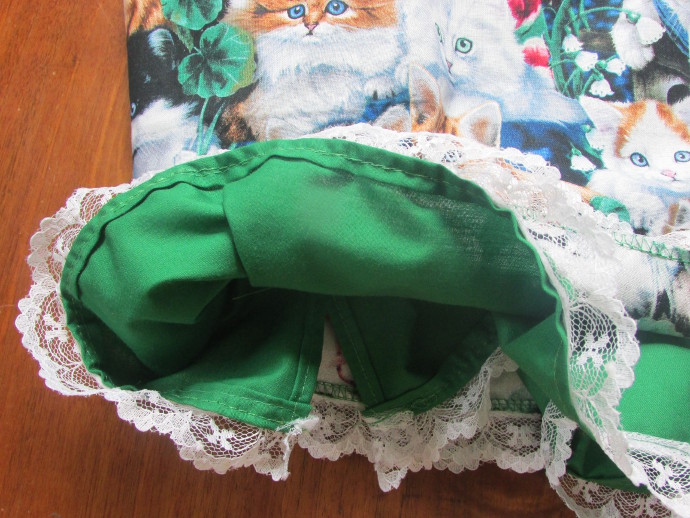
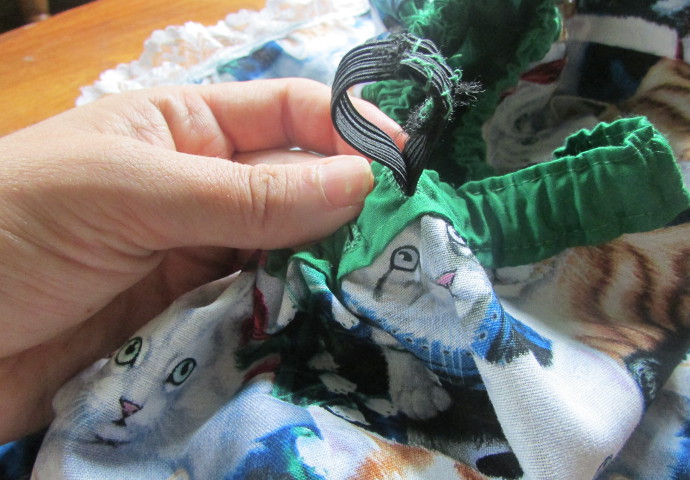
Oh, one think I forgot, the green trim, I never connected the two ends, I just overlapped them, like in the photo below.
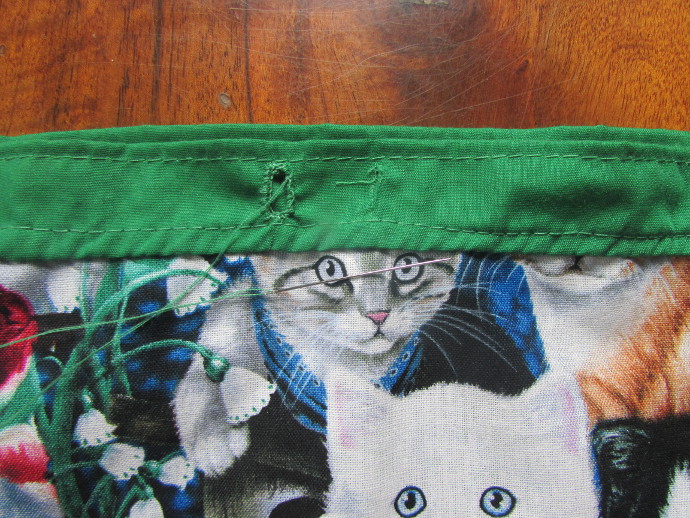
Now it is time to insert the elastic band into the waistline. Using fine scissors, I made an incision.
Then using a needle and green thread, I went around the edge. Then repeat it again.
Attach the elastic to a pin.
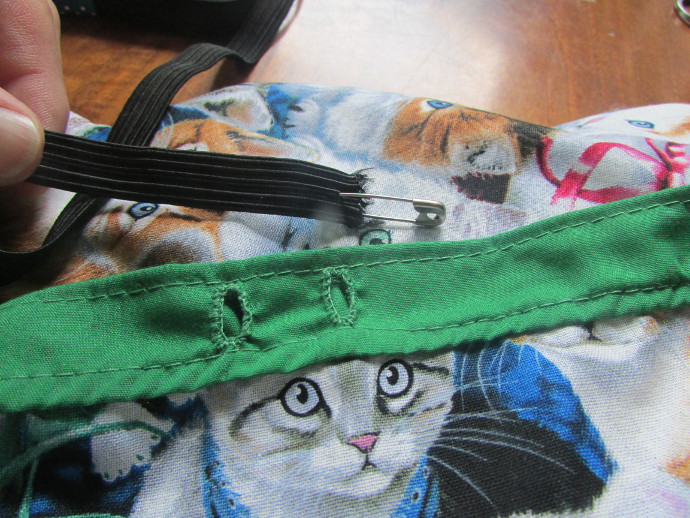
Push it through the hole, all the way around the waist and out the same hole. Measure the elastic to the approximate waist size, cut off the excess, and sew the two ends together.
I also chose to add a bit of thin paracord to make a tie, with some pony beads on the ends. Same process as the elastic, except this time, go into one hole and come out the other.
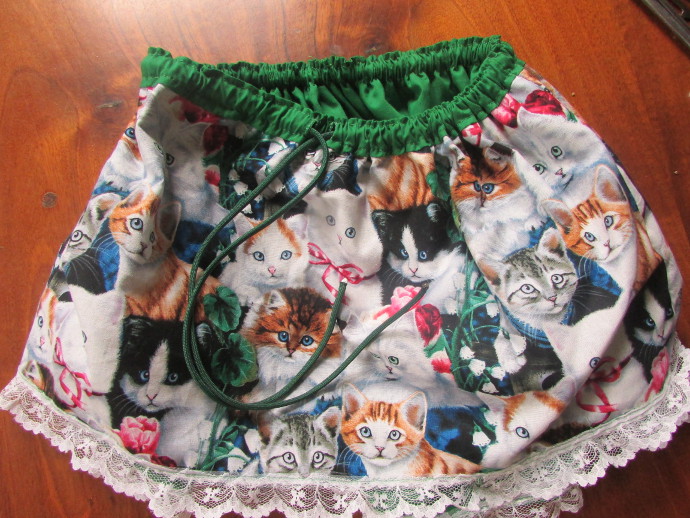
All finished:
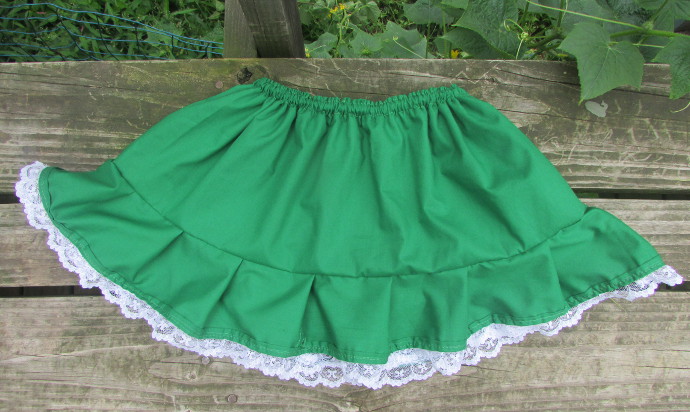
And the best part? It is reversible: