After I made the piñata for my son’s birthday I had a lot of tissue paper left over. It is all colorful and pretty, and my hands were just itching to do something with it. Tissue paper collage was the first thing that came to mind. I love all the colors, and how tissue paper is transparent. I also absolutely love Eric Carle’s illustrations, you can find them on his website HERE. I think they are great! While I am not used to working with tissue paper, and this is a first for me, I wanted to give it a try.
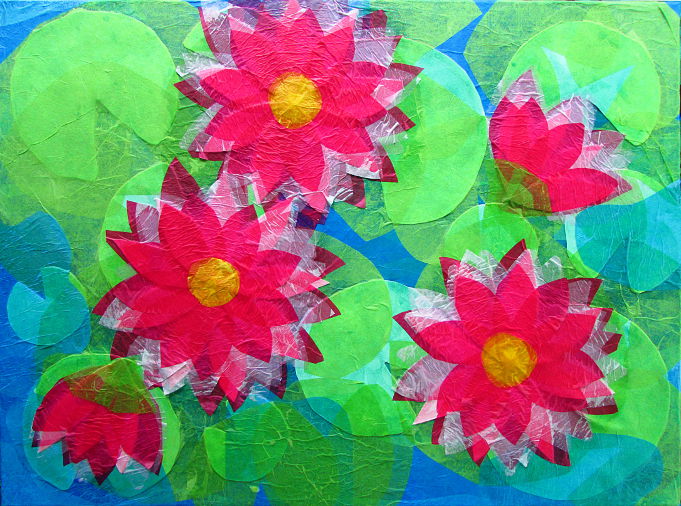
I tried two different ideas using tissue paper. The first one was the water lilies, and the second one was the flower pot. Actually, I am going to put the directions for the second one first here, mainly because I was happier with the result. I did learn a few things with the water lilies, and a few other trials and errors, that I could apply for the flower pot. I think that is why it turned out better.
The Flower Pot Collage
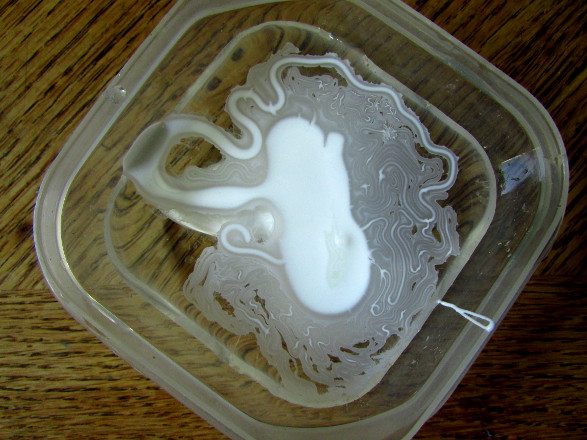
I started by mixing glue with a little bit of water. Just enough to make it easy to apply to paper with a brush. Mix it well, so it has a nice and even consistency.
Use an old brush that you won’t feel bad about. The glue pretty much will render it unusable as a brush.
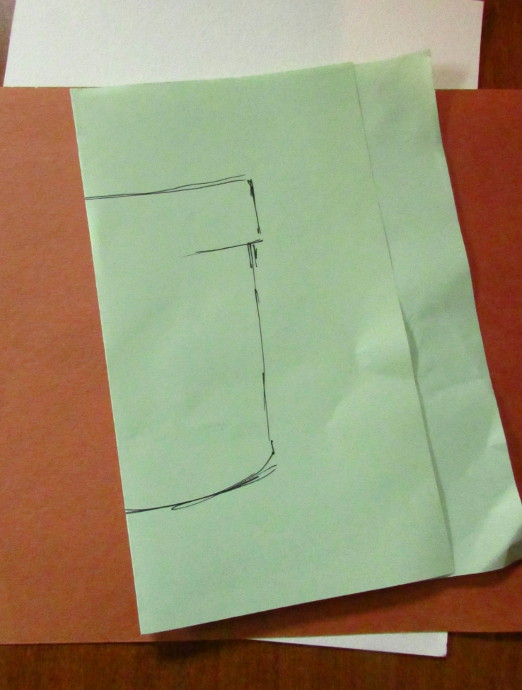
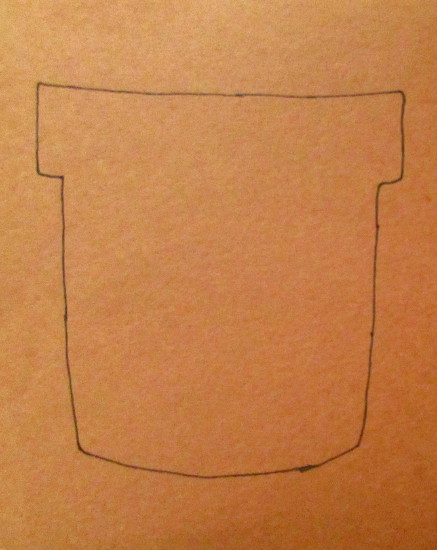
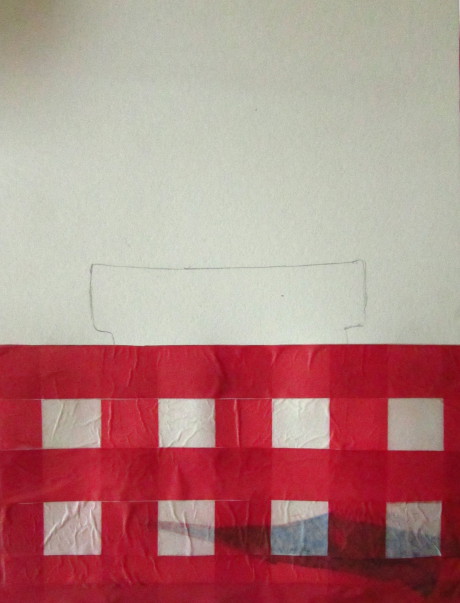
Take a piece of scrap paper and fold it in two. At the fold draw half a flower pot.
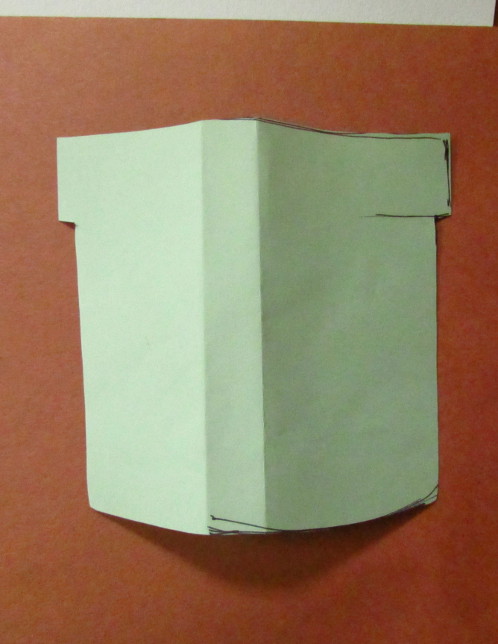
Cut it out.
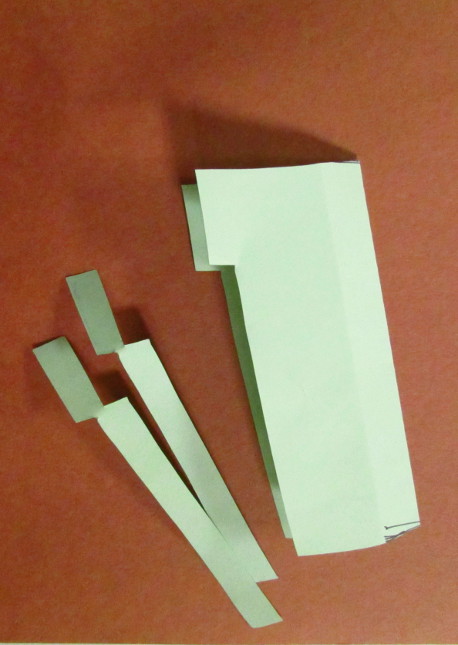
Once I cut mine out, I thought the flower pot was much too wide, so I folded it back again and trimmed of the sides. After that it was perfect.
Put the scrap paper cut out on the brown construction paper, and trace it.
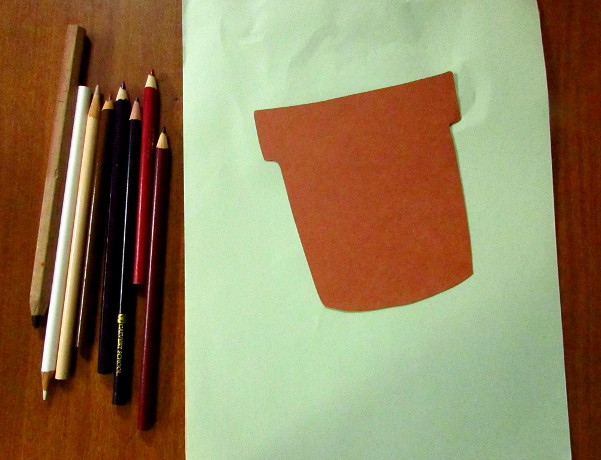
Then cut it out. After cutting it out, it is a good time to shade it in using colored pencils.
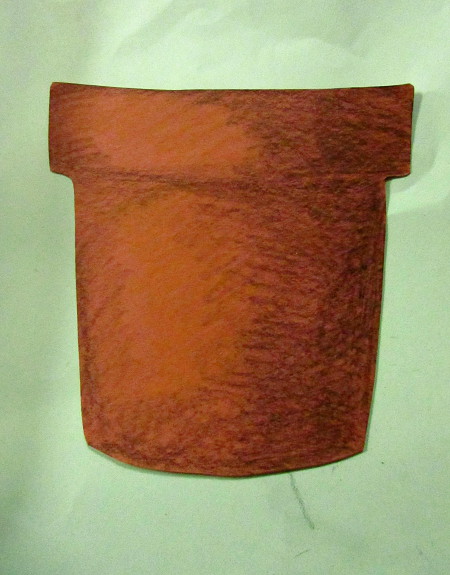
Decide where the light is coming from. Start with black and shade the side facing away from the light.
Then progress to dark brown, light brown, and finally white.
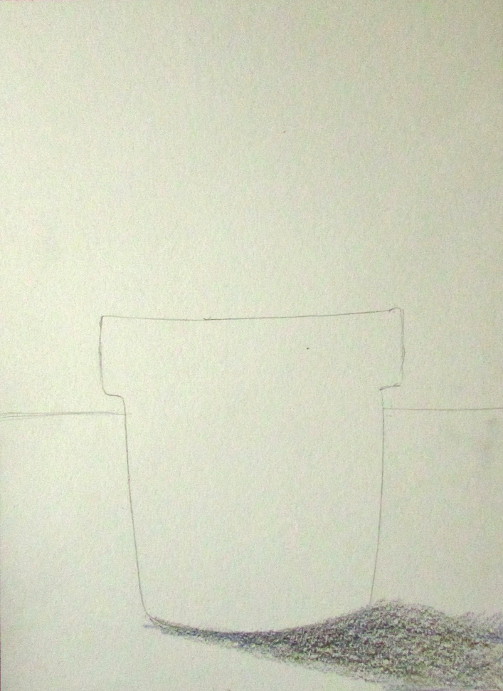
Place the flower pot on the paper you’re planning on using for the collage. Pick a good heavy weight paper to withstand all the glue, watercolor paper works well. Position it where you’d like it to go, and trace it. Now, using dark pencil colors, indicate where the shadow will fall (in the opposite direction of where you decided your light is coming from).
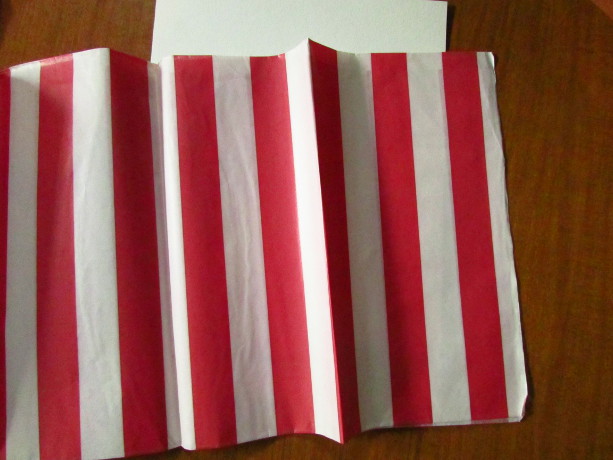
For the table cloth I had a white and red stripe tissue paper. Except I wanted checkers.
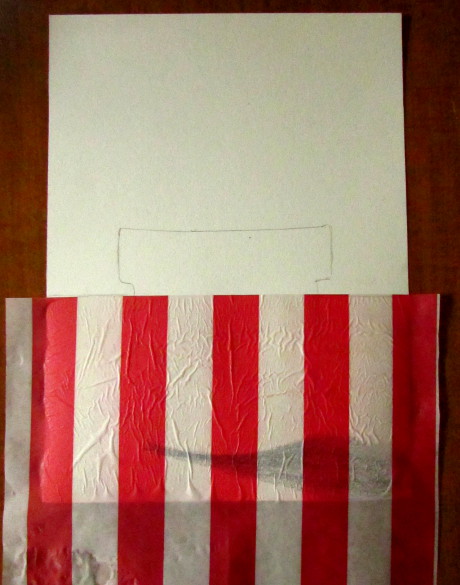
I started by gluing down the paper with stripes placed vertically, starting at the horizon line.
Spread the glue evenly, and push the bubbles out with a napkin.
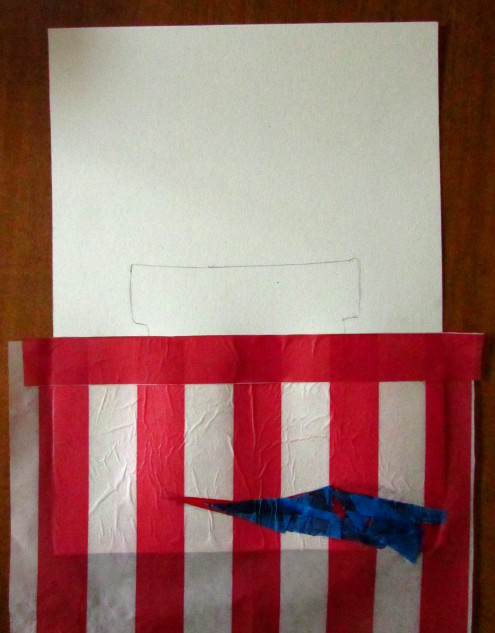
At first I was going to cut the red stripes out and glue them on to form checkers. Which is fine, but they would cover up the shadow of the flower pot too much. I decided to use little triangle pieces of blue and red to make the shadow darker.
I finished gluing all the red strips. Then cut out another one inch strip with the lines going vertically to glue it on top of the shadow. Overall I like they way it looks.
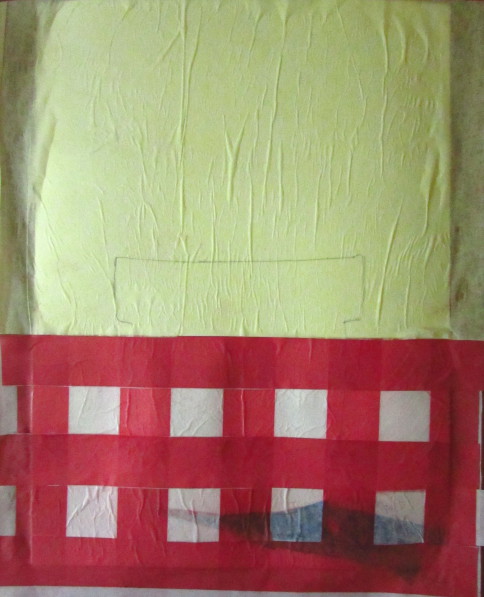
For the background, I chose the lightest yellow I had in the stack of papers.
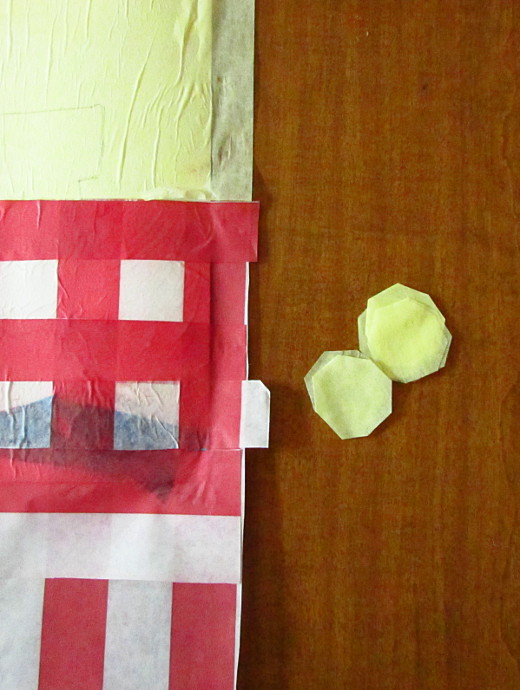
To give the background more depth I wanted to glue on smaller octagon shapes of light yellow, dark yellow, and a really pale glue. Just fold the tissue paper into a square, the size of the octagon you would want, then cut the corners off and you get a nice even octagon.
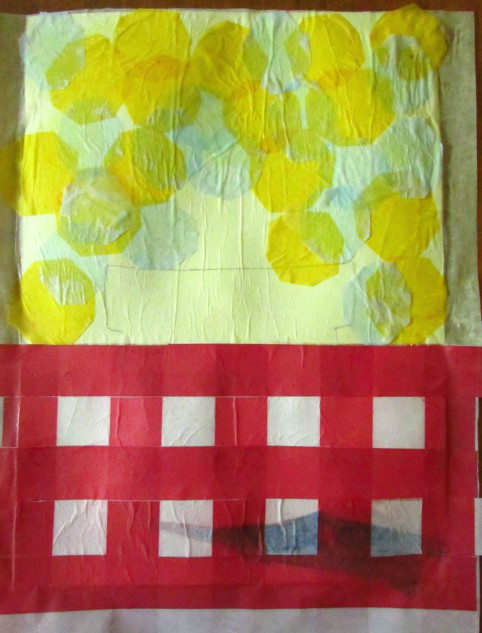
First I glued on light yellow, same color as the background, then darker yellow, and then the light blue. Look above for the picture.
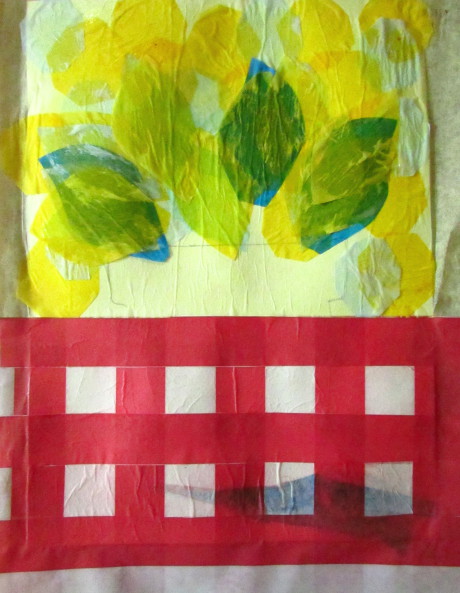
Next come the leaves that are in the background. Seeing as I was all out of green tissue paper, I used dark blue with dark yellow over it. I think it worked well for the background.
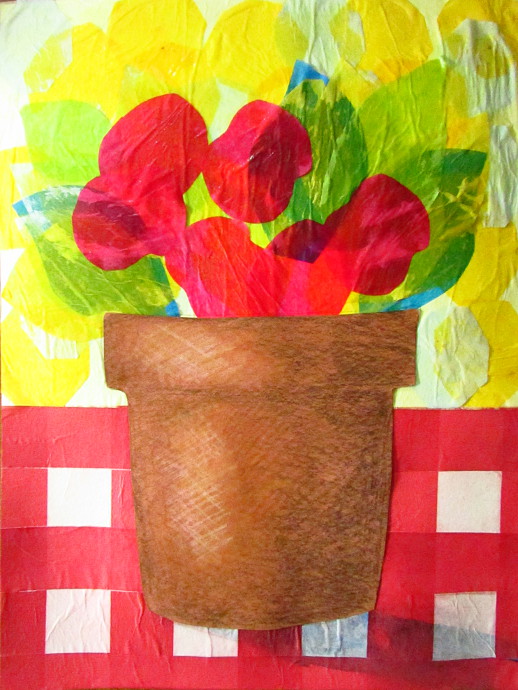
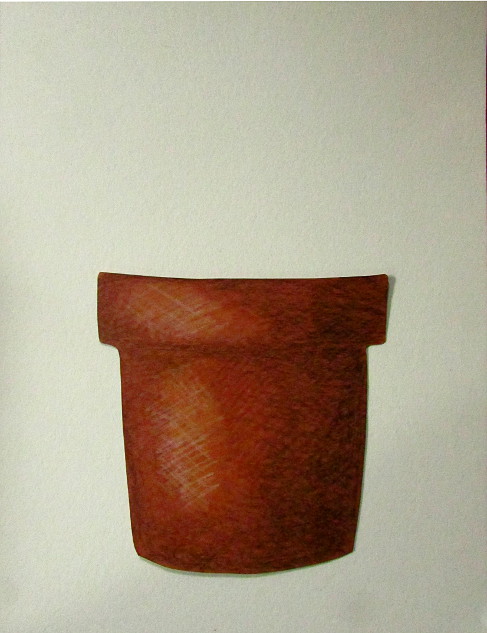
Then I added bright red circles for the flowers that are in the back. After that I glued the pot in its place.

When I did the water lilies I realized that I wanted some more texture to the collage. Also, I needed more green there for the leaves. I found some green patterned paper, as well as some plain green construction paper, and cut out different leaves to glue on top of the background stuff.
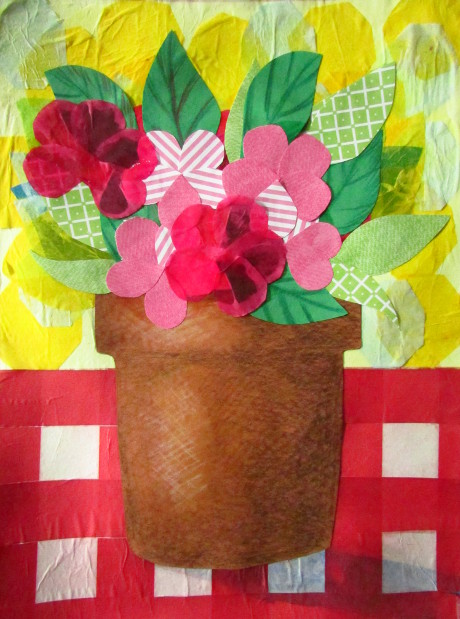
Then I cut out individual petals. First I glued on 5 petal flowers out of patterned pink paper. Then a few out of tissue paper.
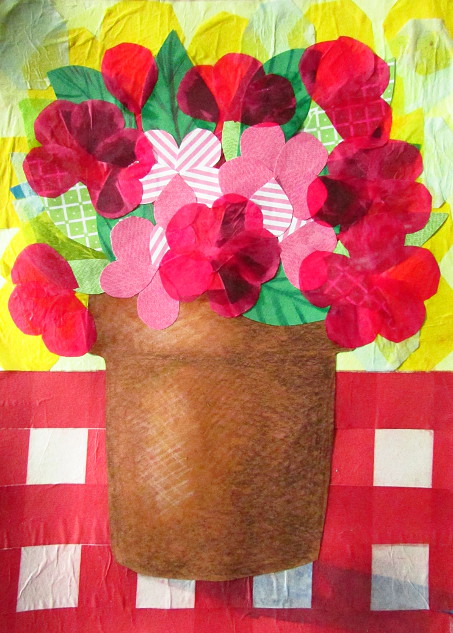
Then I put more tissue paper petals on throughout the collage.
The beautiful thing about a tissue paper collage is you can keep gluing things until you like it.
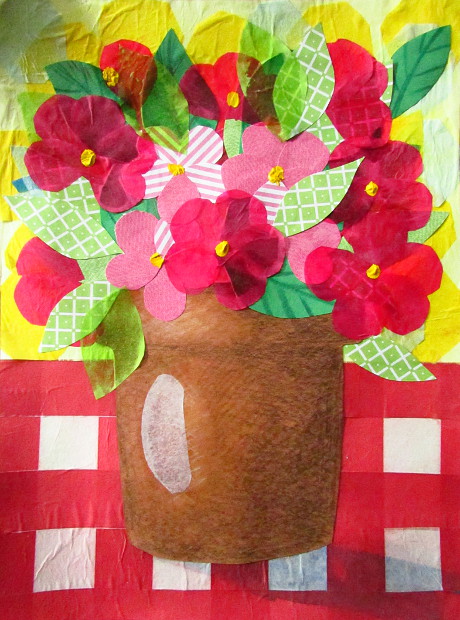
Towards the end I found a tiny piece of green tissue paper, enough for three leaves. I also glued on a few more leaves, sticking them under the foreground flowers. Added some yellow paint for the middles, and a white tissue highlight on the flower pot.

After I was done, I let it dry. Then I put it in a heavy book to straighten the paper out for a while. After it was straight, I sprayed it with a fixative. I love how bright and happy it looks.
The Water Lilies Collage
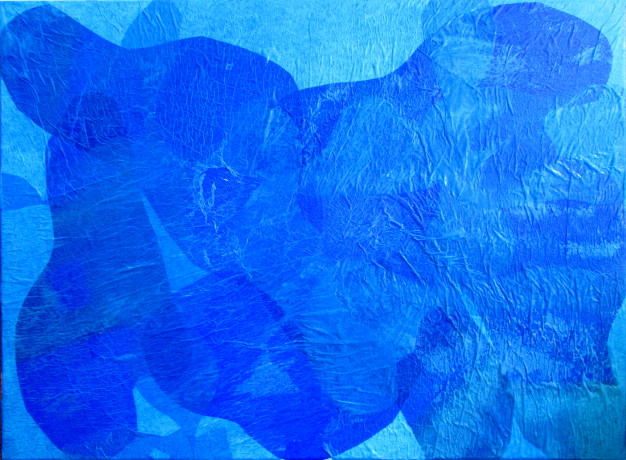
This was my first try at playing with tissue paper. This was a much larger picture. I had a canvas that had a hole in it, but it was more of the 24 by 30 inch variety. At first I thought it would be a good idea, but found that with tissue paper, working with bigger pieces made it overwhelming, that’s why the flower pot one is much smaller.
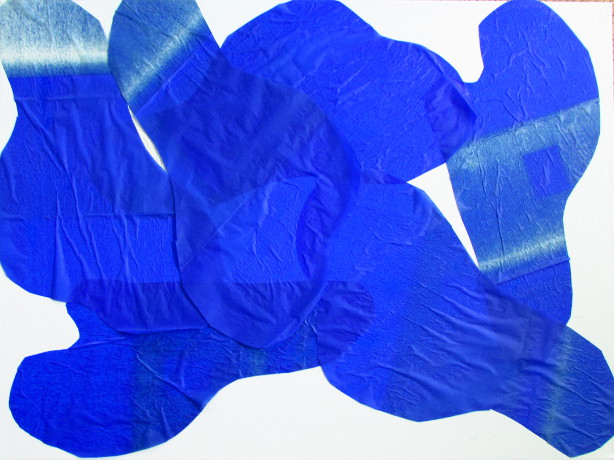
I started by making water. First dark blue.
Then lighter blue shapes glued on the canvas.
Even more blue shapes.
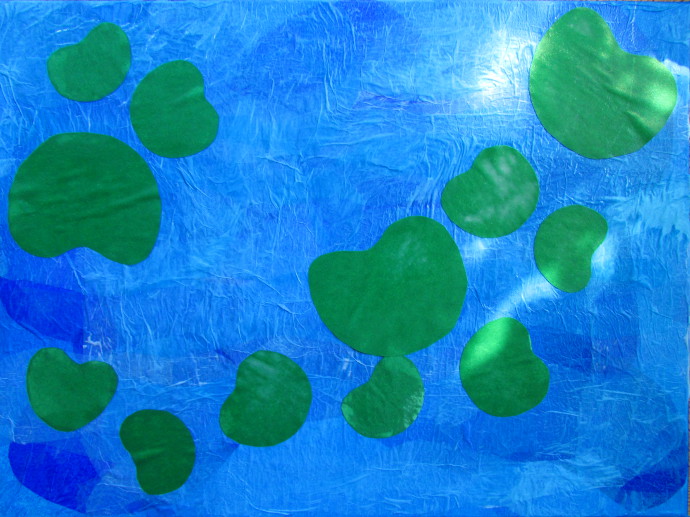
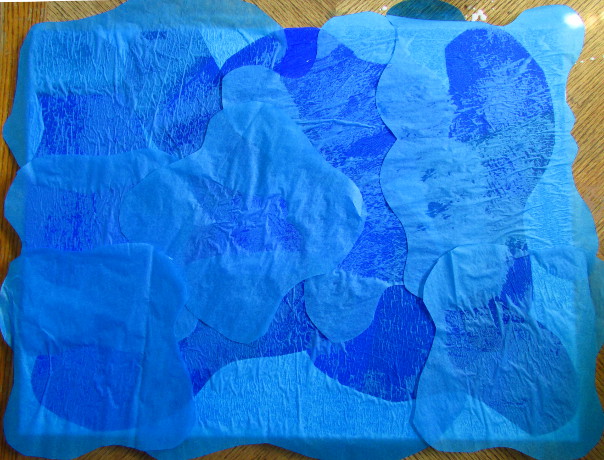
I cut a few lily pads out of green construction paper and arranged them on the canvas.
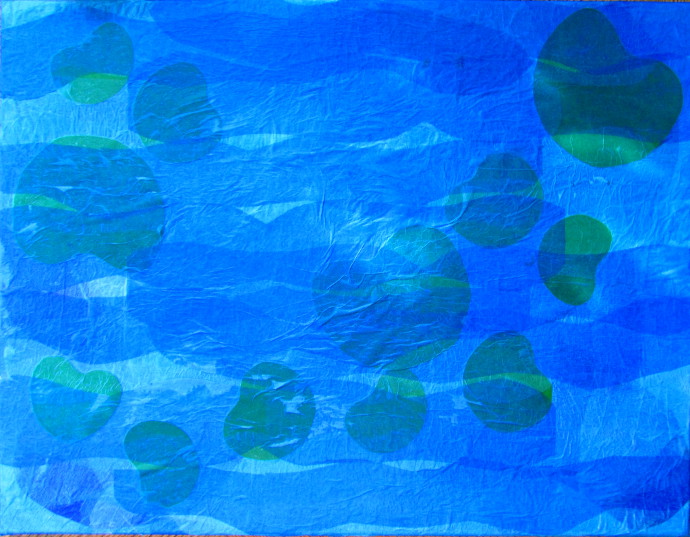
Covered them with more blue tissue paper. (This was a mistake, I should have left them as they were without the blue tissue paper to cover them).
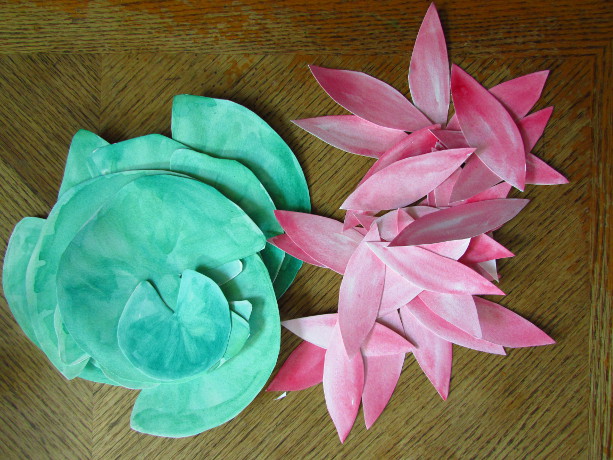
Next I painted a bunch of lily pads and petals on watercolor paper and cut them out. In all honesty I didn’t need to spend so much time painting them, because I wound up covering them with tissue paper anyway. Lesson learned. If I had to do it over again I would put these toward the top of the collage, and not cover them up with tissue paper almost at all, or only partially.
First I glued on the lily pads, then I cut out a bunch of them from green tissue paper, as well as few from blue, and put them on. I actually really liked it at this point, but I just had to keep on gluing!

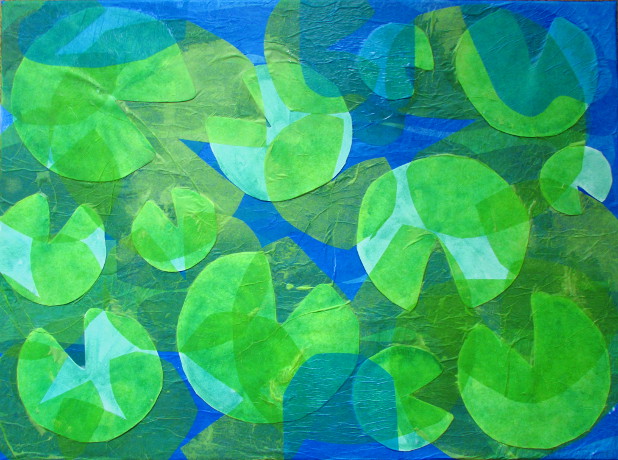
Then I put on the watercolor petals. I liked it at this point too.
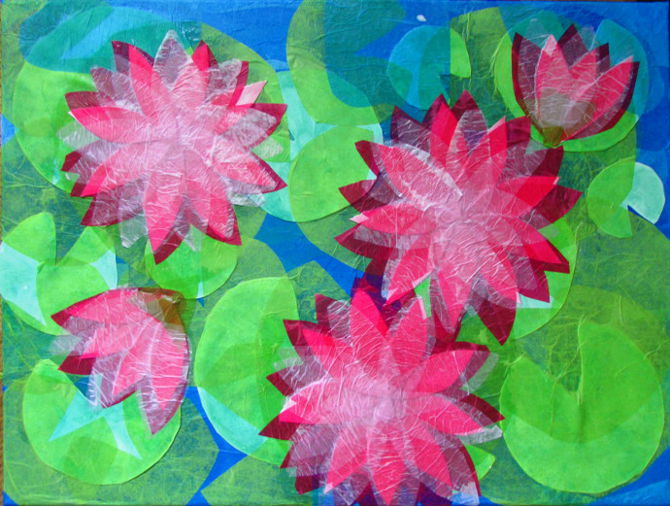
This is were it all went wrong, I followed up by gluing tissue paper petals: darker pink, light pink, and white. I did not like this one bit.
Finally I added yellow middles.
This project could definitely be better, but I look at it all as a learning process, and I did learn. After doing it I realized that I prefer the size of the canvas to be smaller, and to make sure that I have some texture to it, also not to get overexcited with gluing things and take it easy.