Do you have a few minutes? Recycle your old t-shirt into an awesome bracelet.
All you need for this project is an old t-shirt or two (preferably one without seams along the sides!), some beads with a large hole in it, a needle and a piece of string. Pick a t-shirt that you no longer wear, but the color of which you love.
It’s a really quick easy project that turns your t-shirt into a bracelet, or 10.
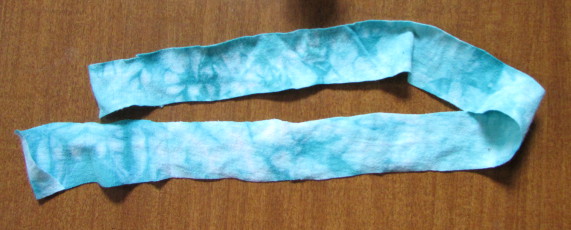
Start by cutting off the trim of the t-shirt across the bottom, you won’t need it for this project. Then cut a strip of the t-shirt along the bottom, about an inch and a half thick. Snip it open on one side, so it’s a long strip.
Now pull on both ends and watch it curl up into a tube, hiding the edges.
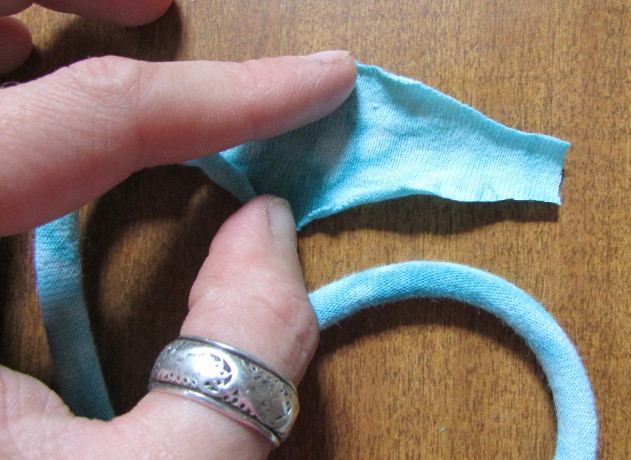
Fold one end in two, and snip the corners to make it sharper. Makes it easier to put the beads on.

Pick three large beads, with a big hole, and thread them on. Space them equally apart.
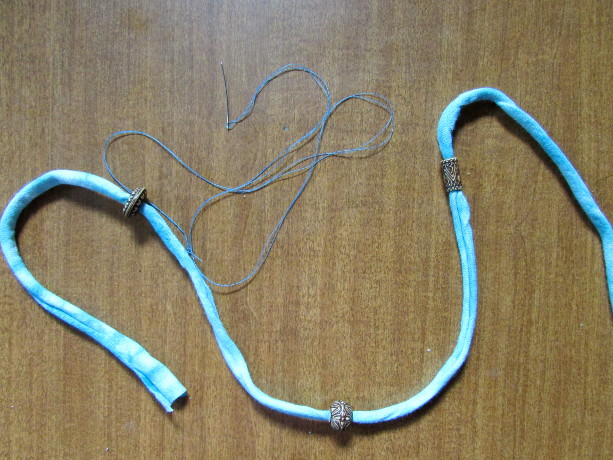
Get your matching color string into the needle and tie the end, so that it’s ready.
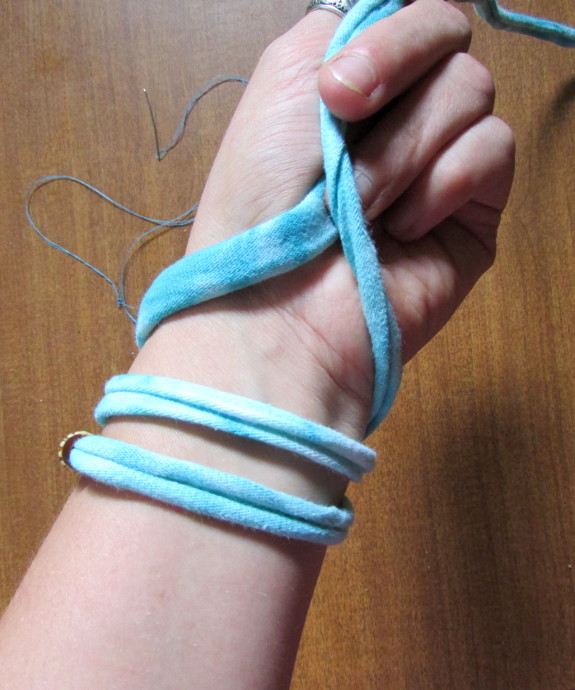
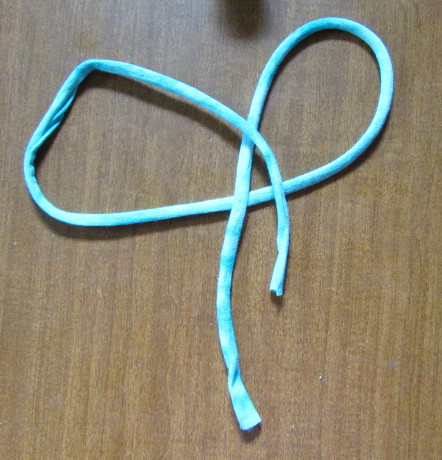
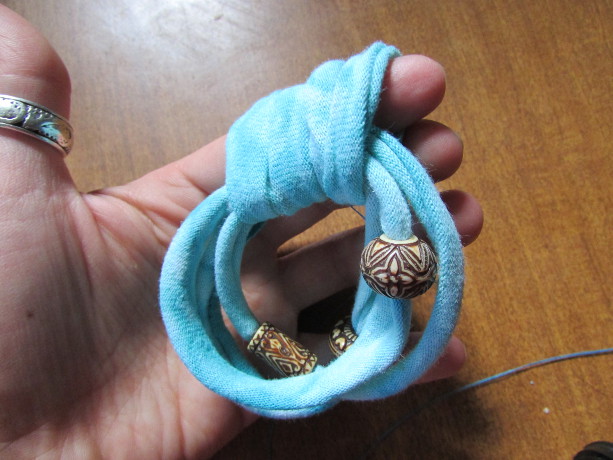
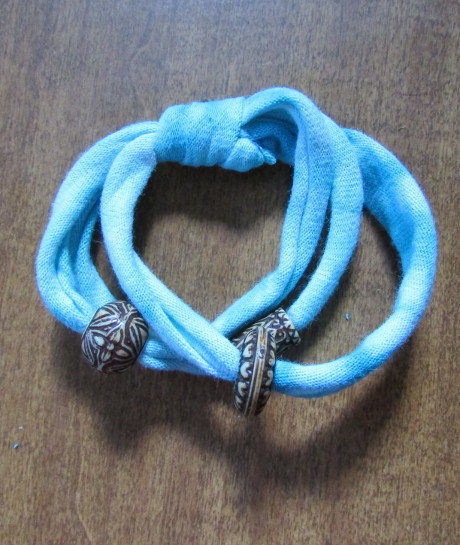
Wrap the t-shirt tube around your wrist three times, like shown in the picture above.
Make sure that each loop has its own bead on it. Don’t worry, you’ll straighten them later.
Use the thread and needle, and while holding all the loops down gently with one finger, it also helps to put your hand down on a flat surface while doing this, push the needle through each loop as shown above.
At this point one end of the tube should be sewn in to form the loops and the other end should be hanging out. Don’t cut the second end!! You’ll use it to tie the knot on the bracelet.
Put a few more stitches through all the loops. Once you feel the loops won’t fall apart, gently pull the bracelet off your arm. Be careful with that needle, it hurts to poke yourself. Really hurts!
Tie off the string with the needle, but don’t cut it yet, just move it over to the side.
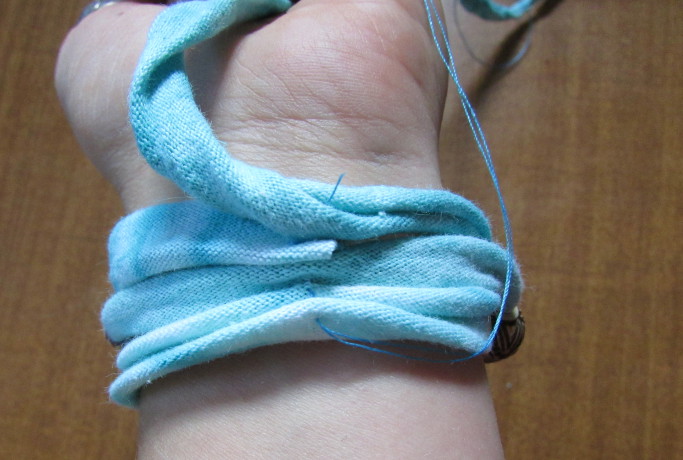
Place your index finger along the loops, take the remaining end and wrap it around the loops and your finger, like in the photo above. After trying out different things, I found that three turns around worked best!
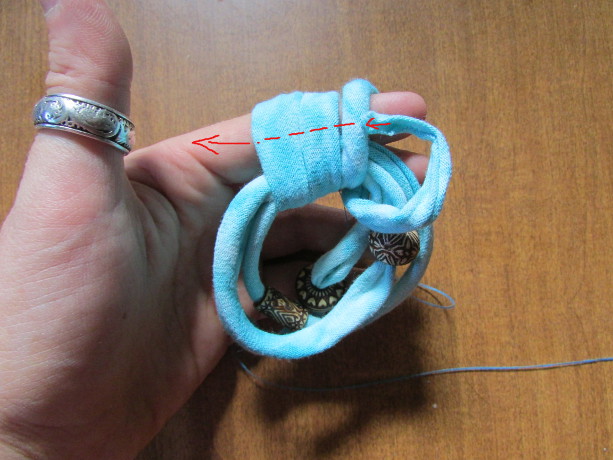
Now take the tip, bring it around and pull it through the three turns that you have just made. See the photo above: the red arrow I drew shows the direction. Use your index finger that’s wrapped in there to help you pull it through.
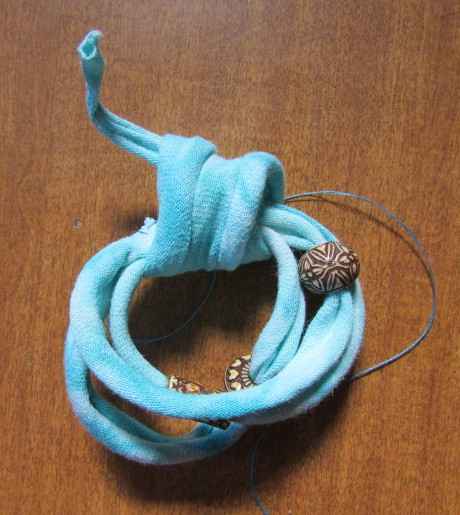
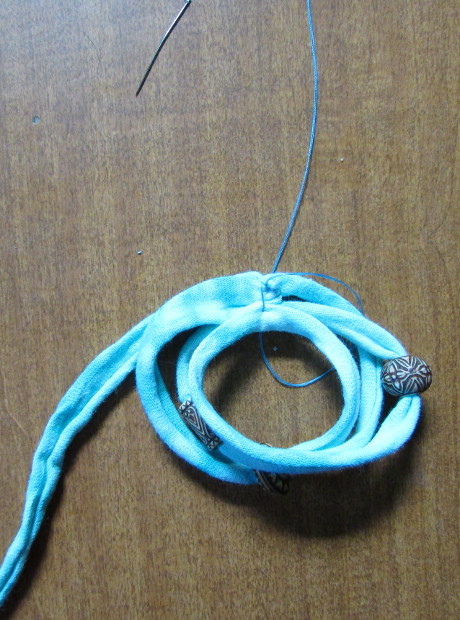
Gently wiggle and pull on the end of the string, while arranging the little loops at the same time to look like you want them to.
Don’t tighten it right way, but do it slowly and carefully until it’s tight.
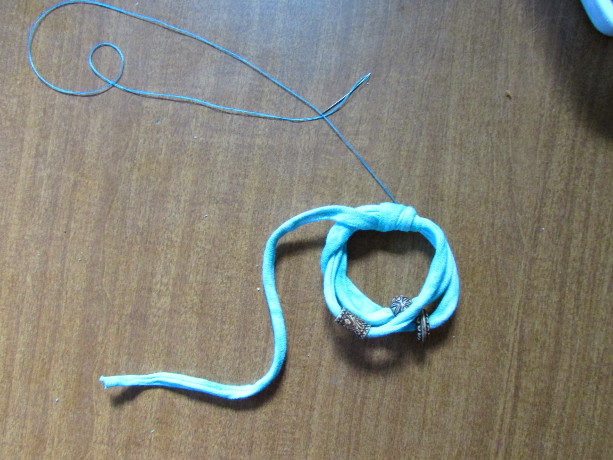
After you have tightened it, clip the remaining strip of fabric, and use your needle and string to stitch the edge in place. You can also use your needle to push the tip in to hide it, and use tiny stitches on the outside, big on the inside, this way they are invisible.
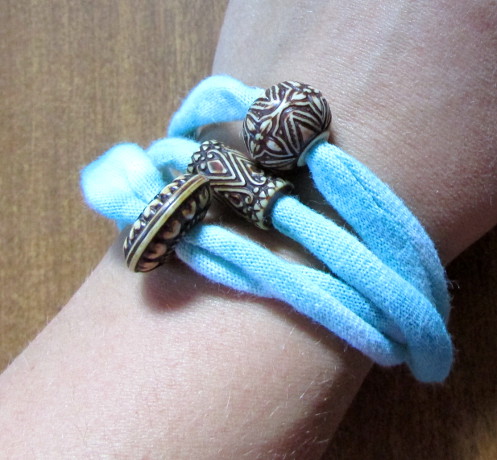
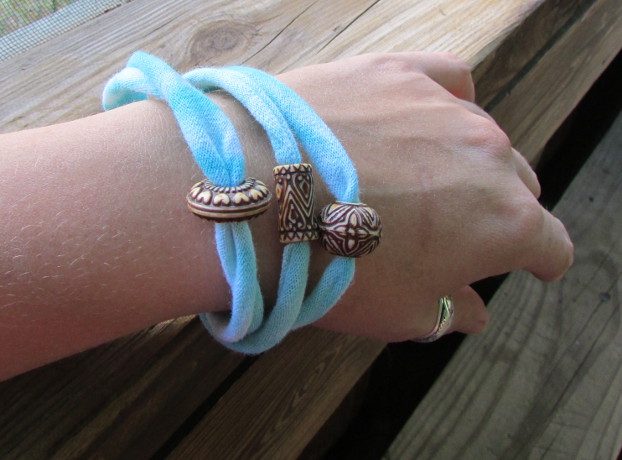
Arrange your beads as you like them as well.
You are all done!!
Now make a bunch more to give away!
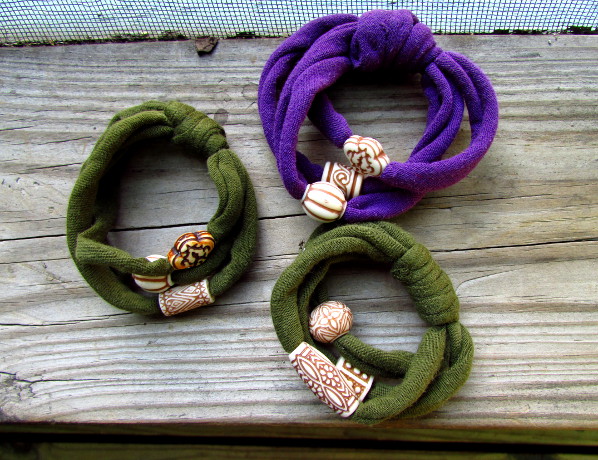
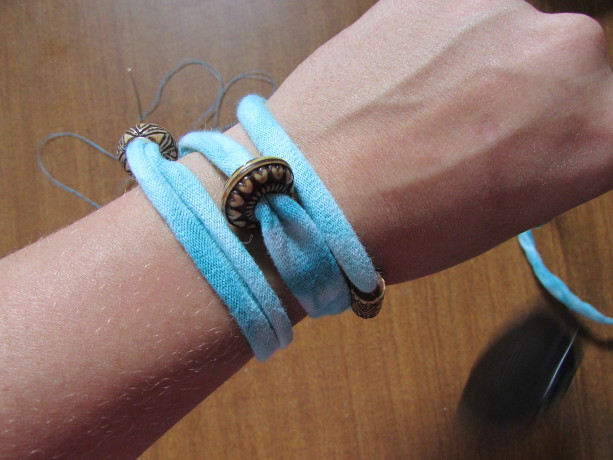
Here are some more in different colors. I definitely got better at that knot as I made more of them.
Hope you enjoyed this tutorial!