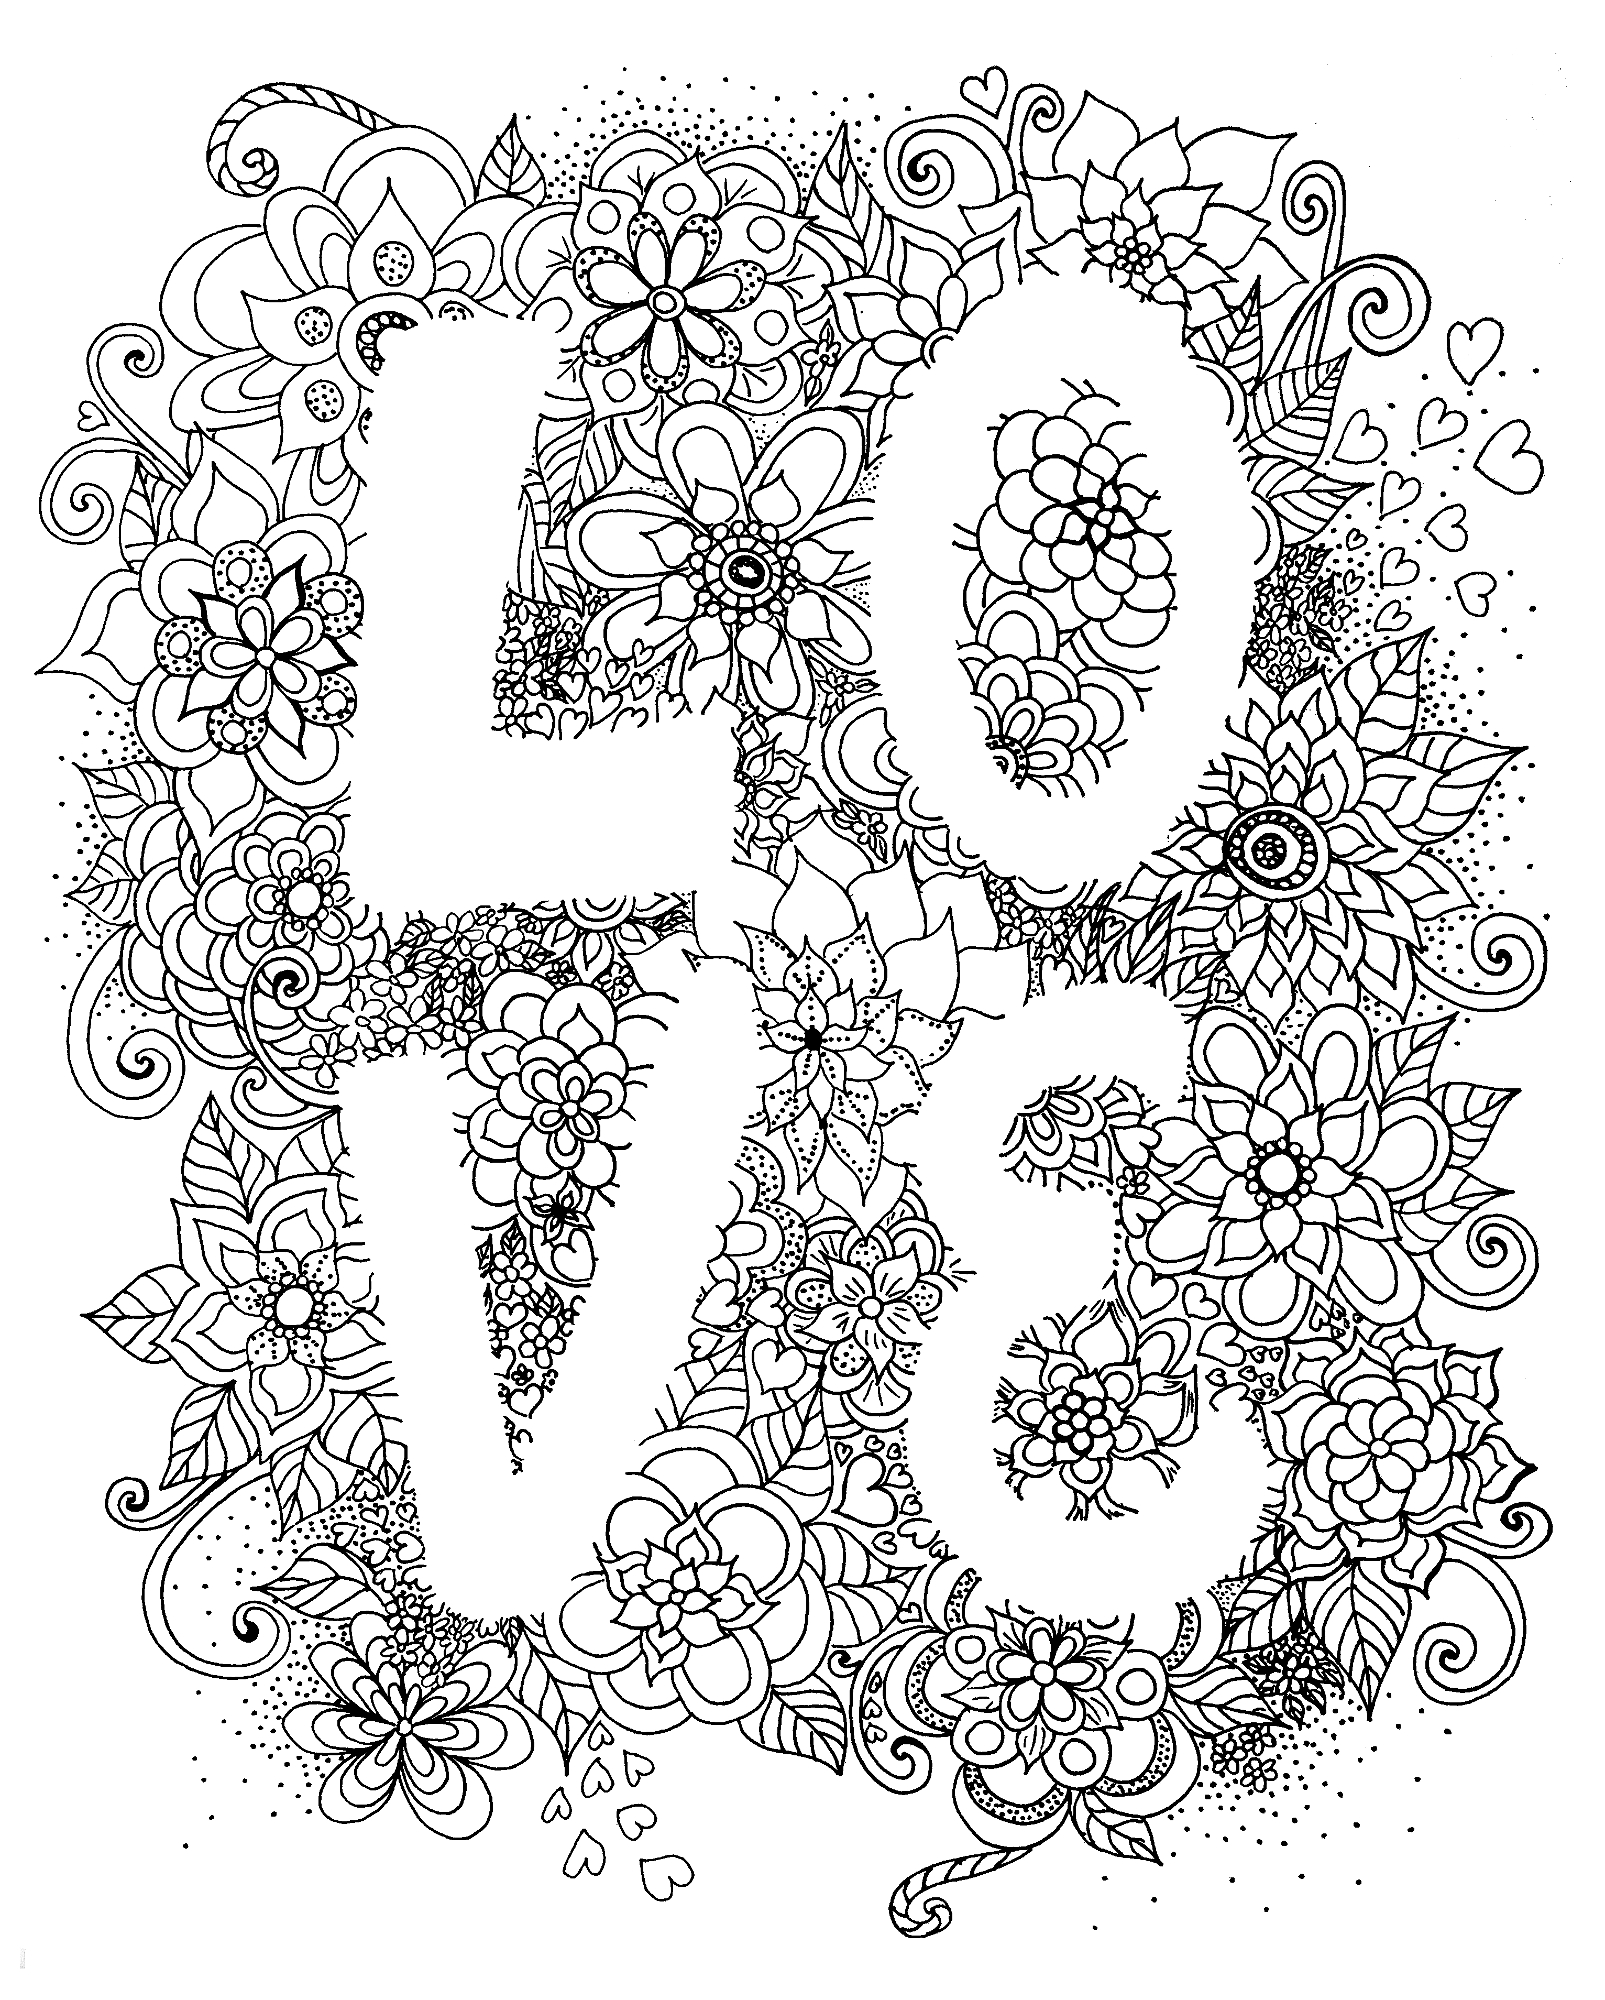
Those of you who know me well might know that on occasion I obsess with teaching negative space. Seriously. It is just one of those concepts that I feel like if kids get it, it expands their mind as to what they can do. Over the years, I have done multiple different lessons that zoom in on the concept. As a matter of fact, I will find some samples, and add them here. This is one more attempt.

***This page contains affiliate links.***
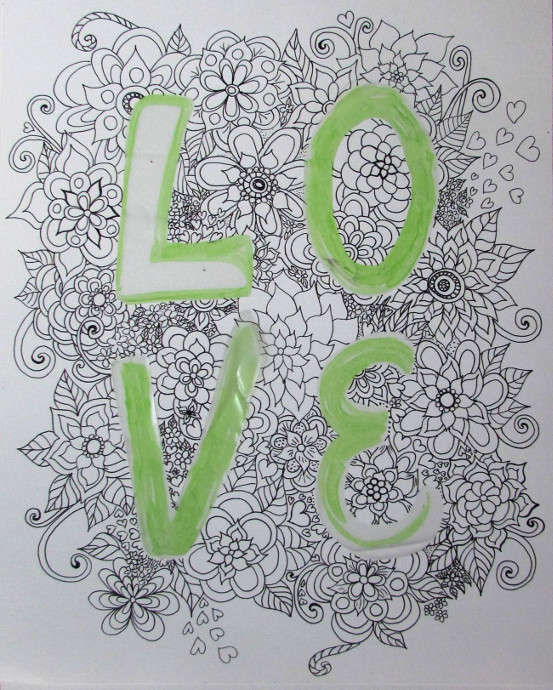
I like the way it turned out, though next time I might consider doing an image instead of the letters, or maybe doing the kids name, or doing the word but in one line. The possibilities are endless.
I would like to thank the lovely folks over at Chameleon Markers, who have sent me some markers to try. The colors they sent ranged from yellow to deep red, and purples, that is perhaps why I picked a floral theme for this.
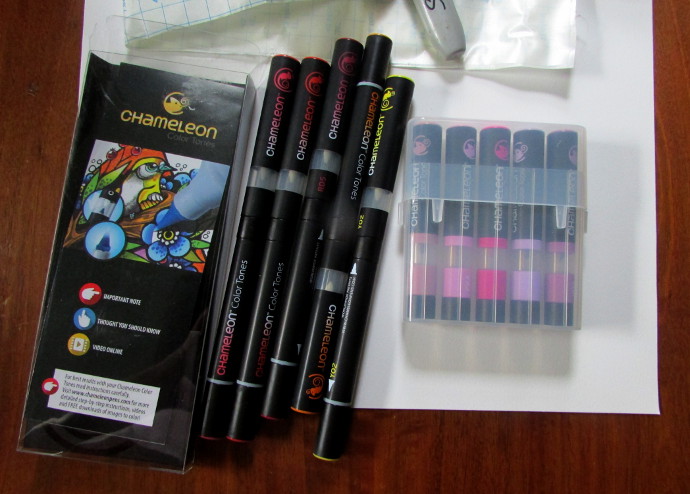
Another thing I used for this lesson is contact paper. The (affiliate) link will take you to the exact paper I used, but it I have gotten lucky and found rolls of it in a local dollar store. The design on the paper doesn’t matter, as it is just a place holder. For line art I like to use Pilot Precise pens. They are awesome.
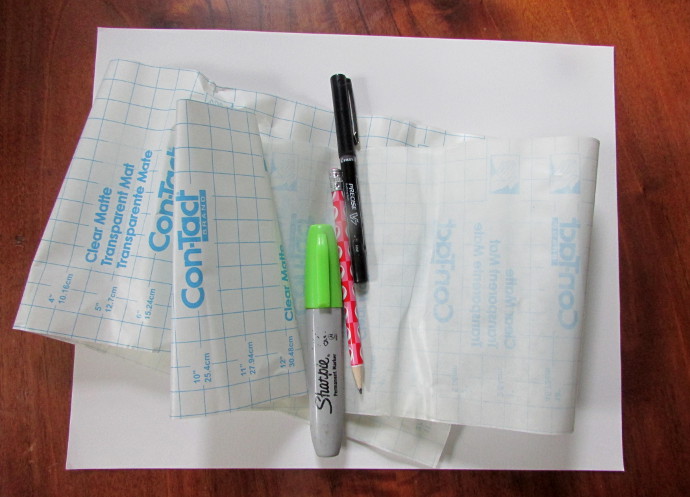
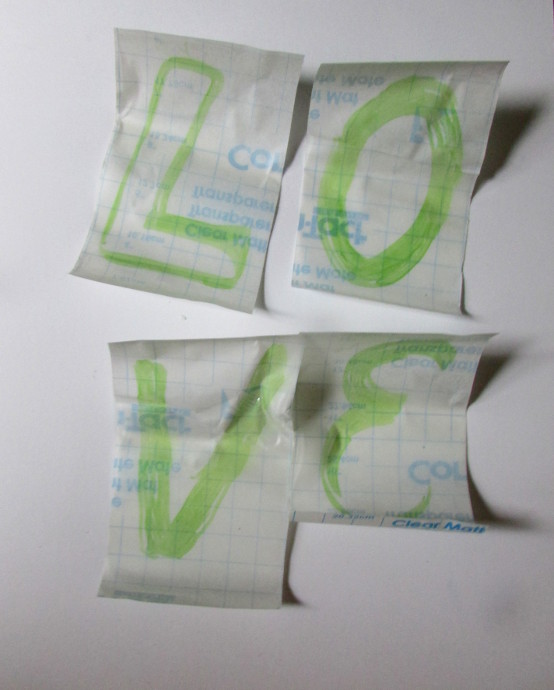
Start by creating your image on top of the sticky part of the contact paper. Especially if it is letters, if you write them on the backing, they will come out backwards.
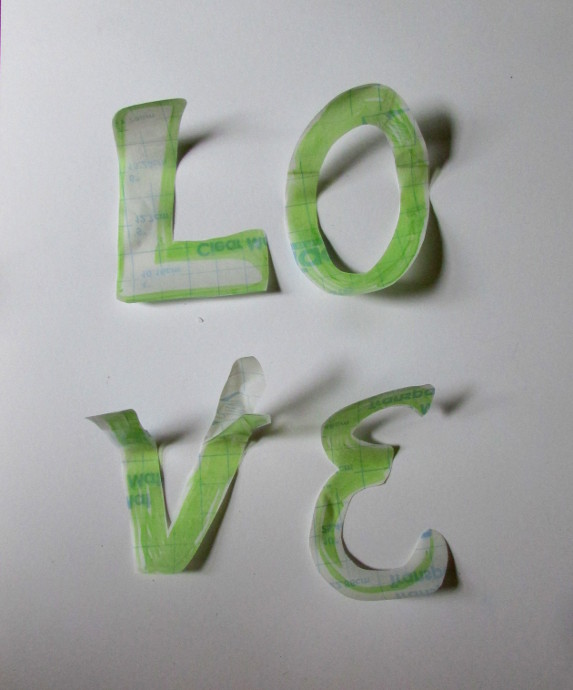
Cut the image out. In my case it was letters.
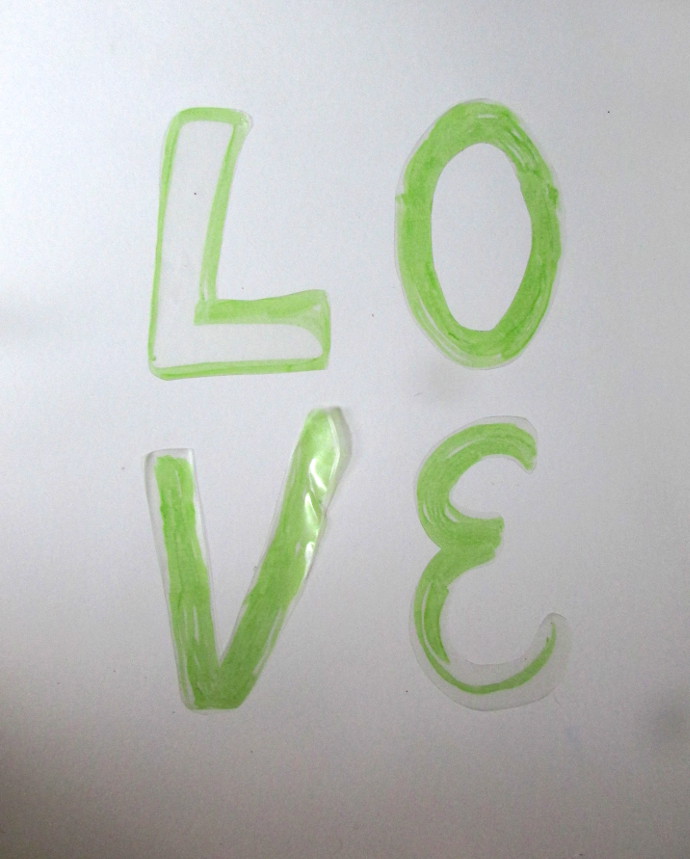
Stick them on your paper.
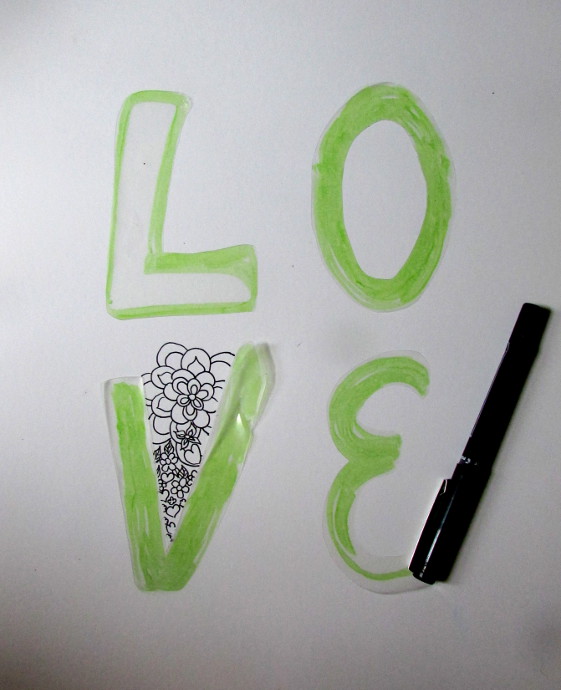
Start doodling! This is the fun part. Just little flowers, hearts, leaves, etc. The best way is to start is at the center and work your way out by adding petals leaves.
Keep drawing!
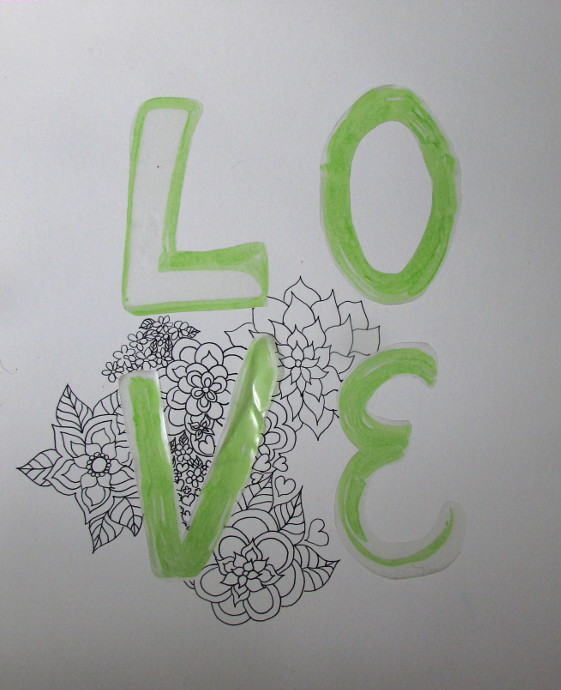
Keep at it until you fill your page with doodles.
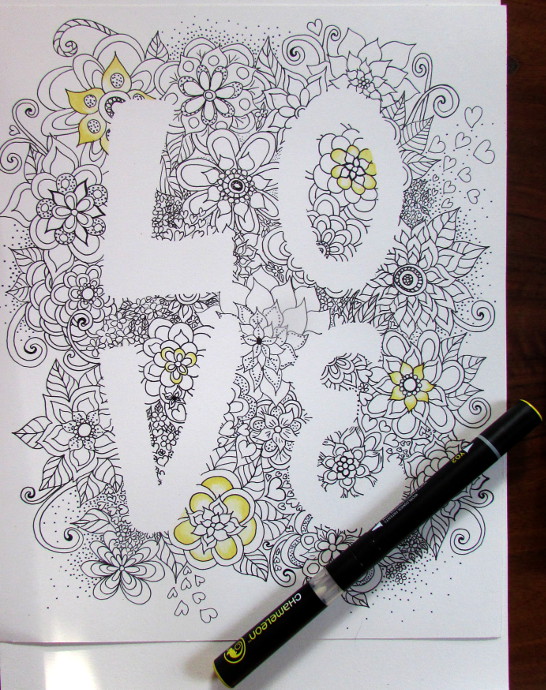
Peel off the letters! Now it is time for another fun part. I have wanted to try Chameleon Markers for a while now. So this was a perfect chance. There are many Youtube tutorials on how to use them, and I recommend you take a quick look. It is not difficult and pretty self explanatory. You just have to connect the tips of the two colors you want to blend in together and go for it. One thing that Youtube videos have mentioned is that it would be difficult to use these markers to color large spaces, so for this project I decided that cute little flowers with lots of details would be best.
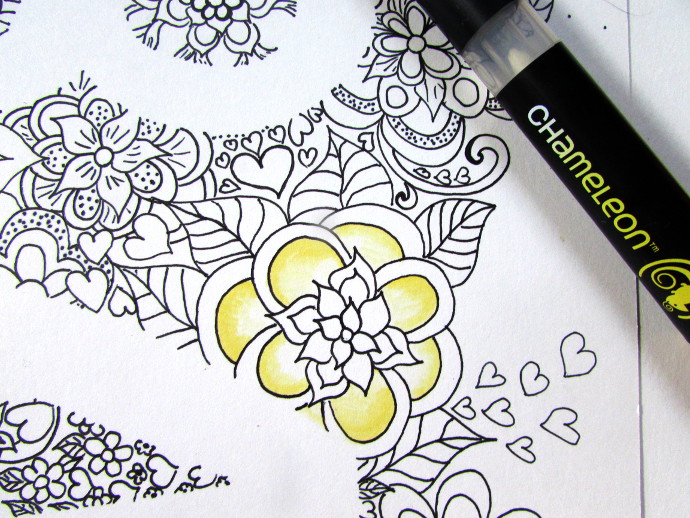
A few things I learned about the markers: 1. Having a fine tip and a brush tip for each color is a great addition. 2. Some of the colors are for blending only, as in, you can’t draw with them, unless you allow a different color to absorb them. I wish I could draw with just that color sometimes. 3. Including a colorless blender would be genius. 4. I also learned to count seconds for color contact, so that the blending would come out even.
It took me a bit of doodling on a separate page to get the hang of exactly how the markers work. They are a lot of fun to play with.
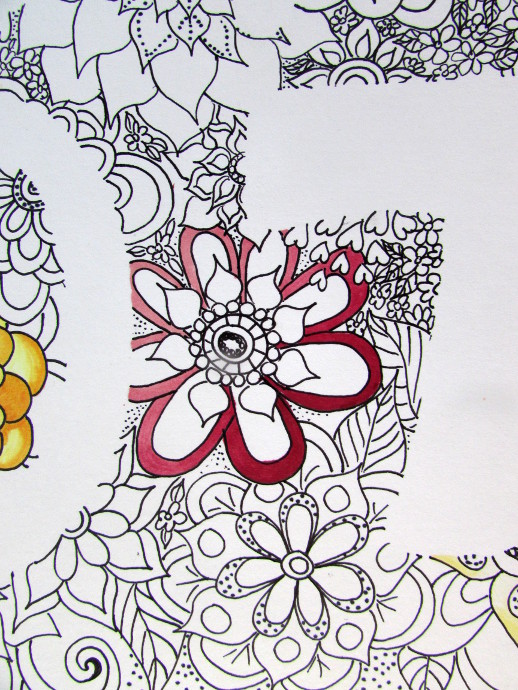
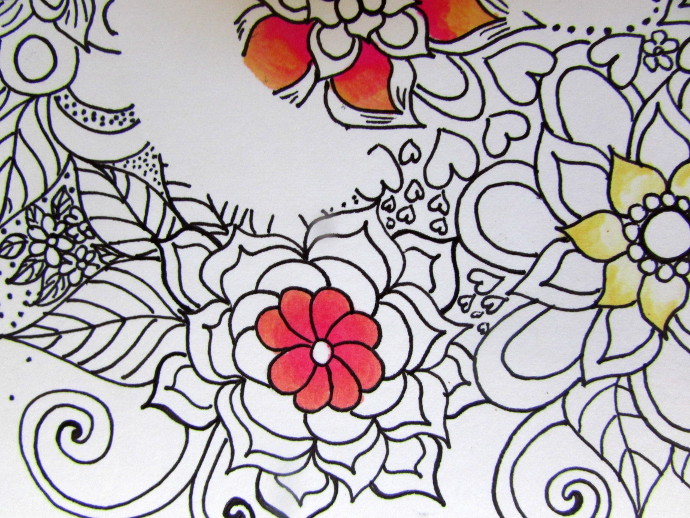
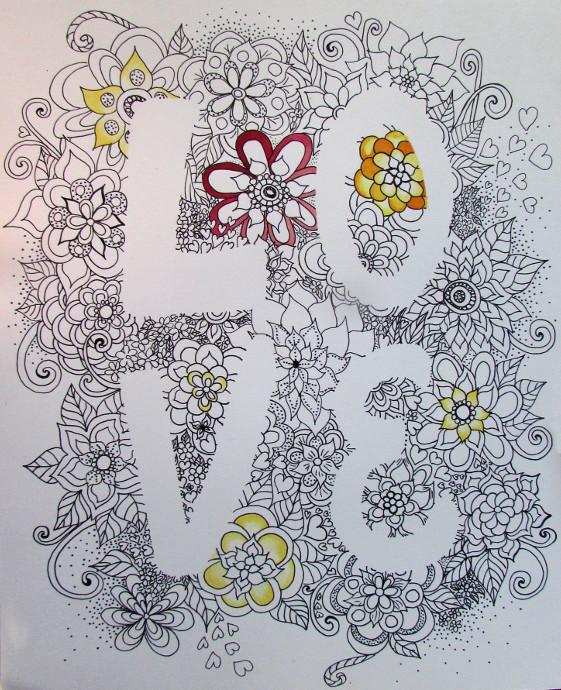
As you can tell, I had a lot of fun coloring these flowers. My goal was not to color all of them, but to just add splashes of color. My other goal was to make as many color combinations of the Chameleon Markers as I could given my set of colors.
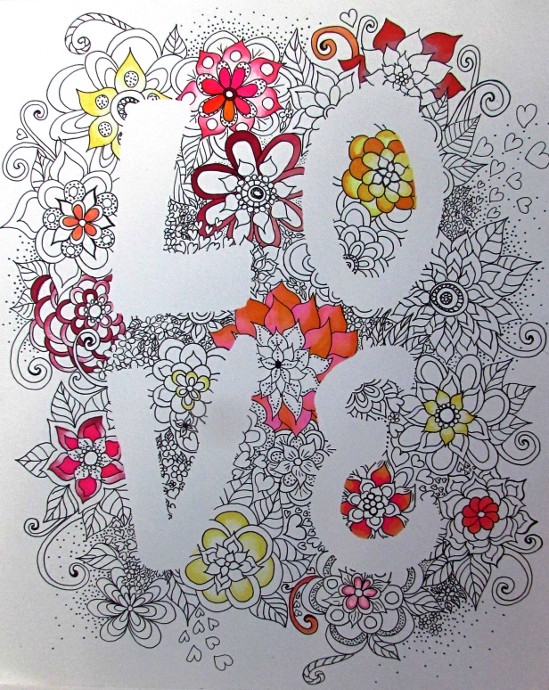
That is another thing I liked a lot, is the amounts of color blending combinations with these markers extend them past the initial 10 colors. They were a lot of fun to color with.
Here is my finished drawing. Would you like to try and color it yourself? Take a look at the coloring page below. Feel free to print and color.