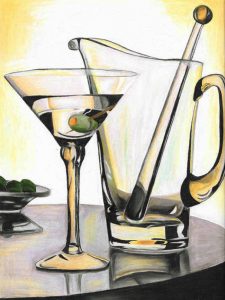
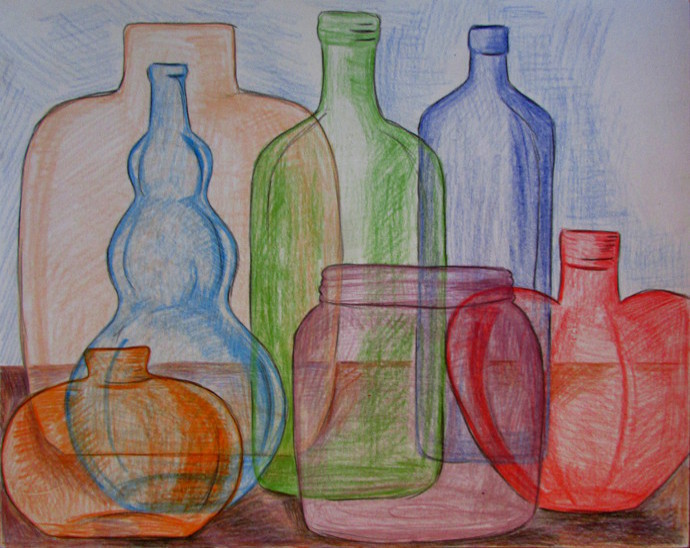
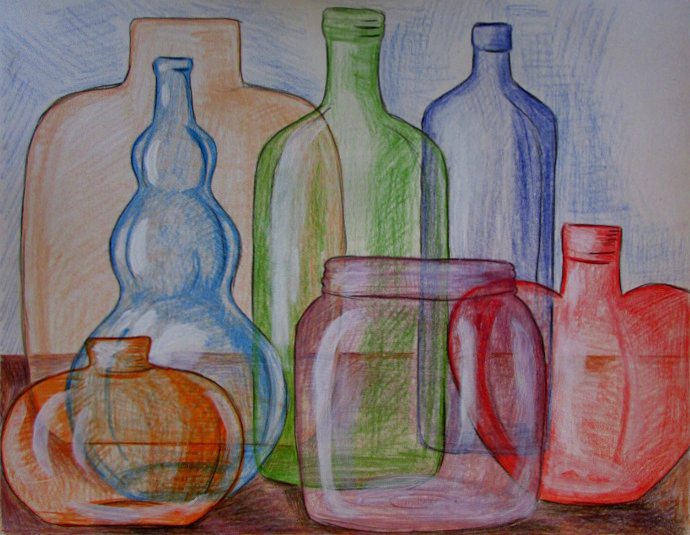
Drawing glass and reflective surfaces can be a lot of fun. Unfortunately, it can also be very intimidating.
Here is a little art lesson I like to do with kids to take the intimidation out of it. I like this particular lesson because it deals with not just drawing glass bottles, but it also has bits of color theory. The kids have to figure out the best composition and how to position all the bottles while keeping the perspective in mind. Also, one of my favorite things is to make them put stuff on a surface. Another words, not just let the still life float in mid-air, but actually place it on an imaginary table. Alright, here we go!
***This page contains affiliate links***
Guide to Quick and Easy Way To Draw Glass
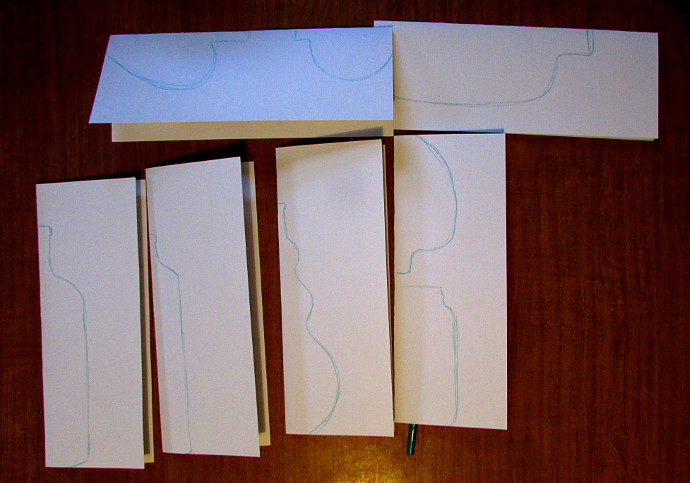
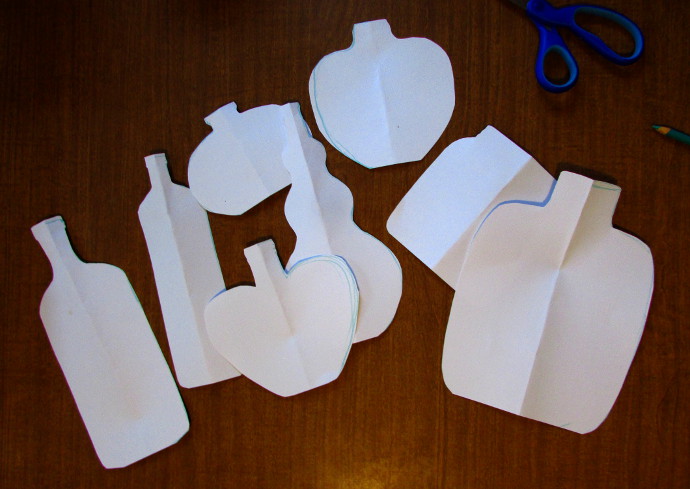
First, we take a bunch of regular printer paper and fold them in half down the center. Then we draw different bottle shapes, but only one halves of the bottles.
This way, when the bottles are cut out they are symmetrical. I usually have the kids do a few shapes each, and then share with each other to get a better variety.
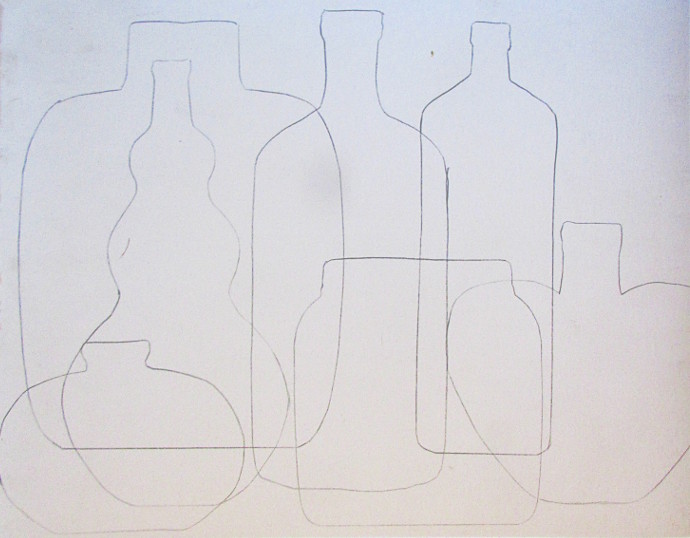
Now it is time to arrange the bottles on paper. Tracing each one into the composition. Good things to think about is which bottles will be in the front and which in the back. How to position the base of the bottle to make it look like it’s in front of all the other bottles, and vice versa. Make sure the page gets filled up well. We used 11×14 paper for this project.
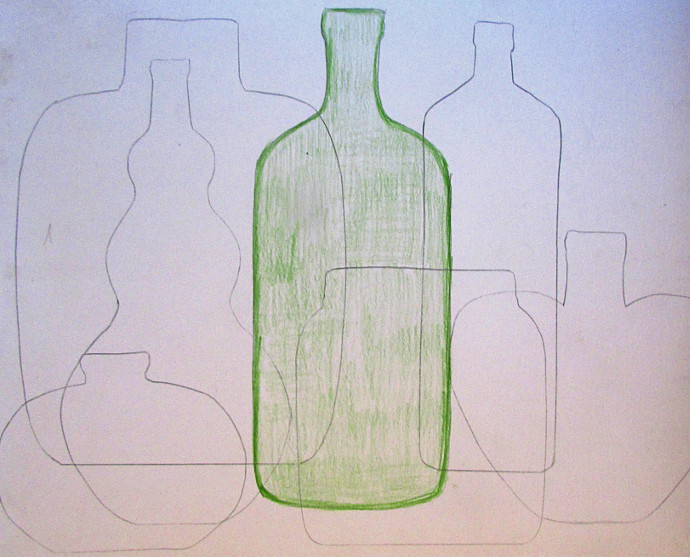
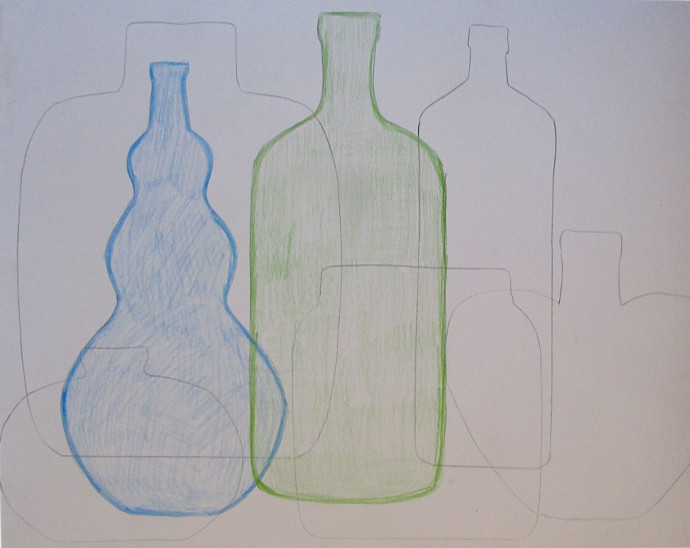
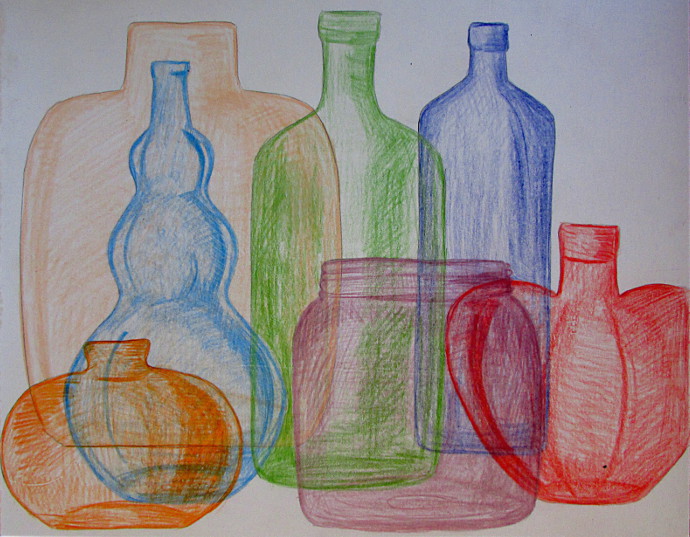
To start coloring the glass bottles in we used colored pencils. I love Prismacolors, but when I work with a bigger group I have a box with a mix of pencils, I especially like Faber-Castell ones. Picking a single color, we colored in a bottle lightly, so that you can still draw over it, and also did an outline around the edges of the bottle where the glass would be thicker.
Then we just repeat the process with the next bottle.
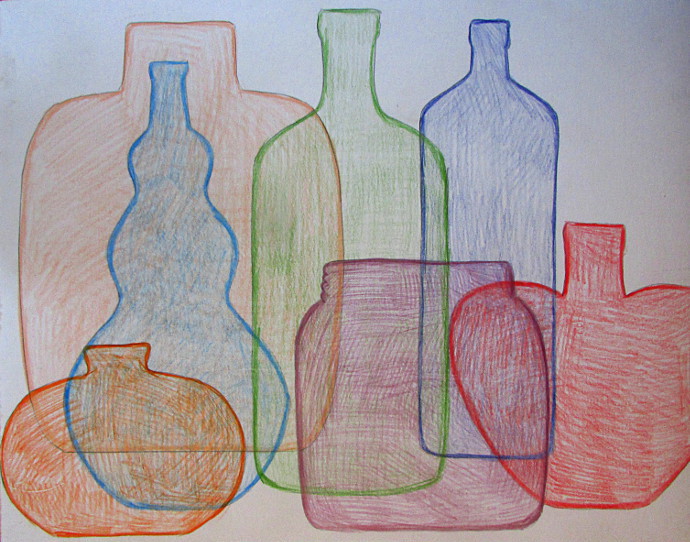
Keep doing it, until all the bottles are filled in, with an outline around the edges.
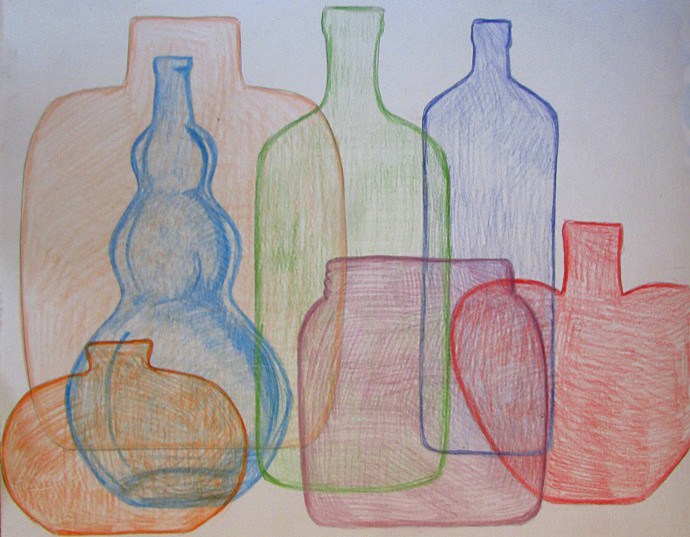
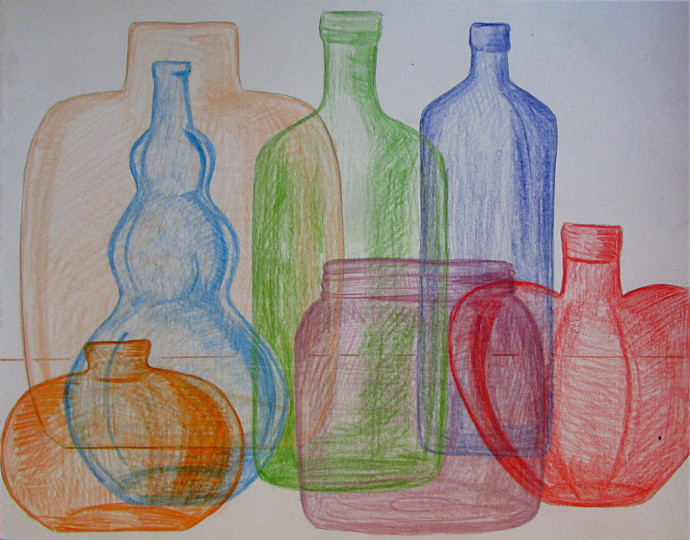
Next, pick a bottle. Now give it a bit of shadows using the same color you were using to do the initial coloring. Indicate a bottom, and one darker edge, as well as just a few lines through out.
Do the same with the other bottles. Give each one of them some shading using the same colors as you used initially.
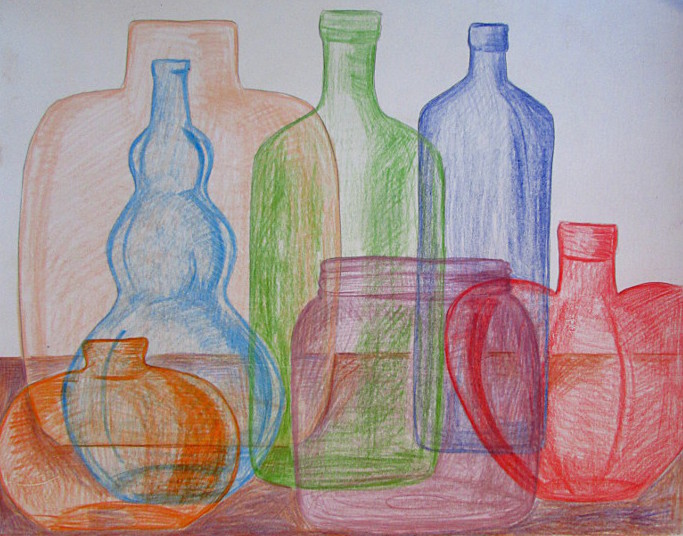
Using a ruler, draw the imaginary table. Pick a horizon line (table edge) where it makes the most sense. If it’s too low, the bottles would be falling right off the table edge.
Give the table some color. I used a combo of brown and purple. It should show through lighter areas of the bottles.
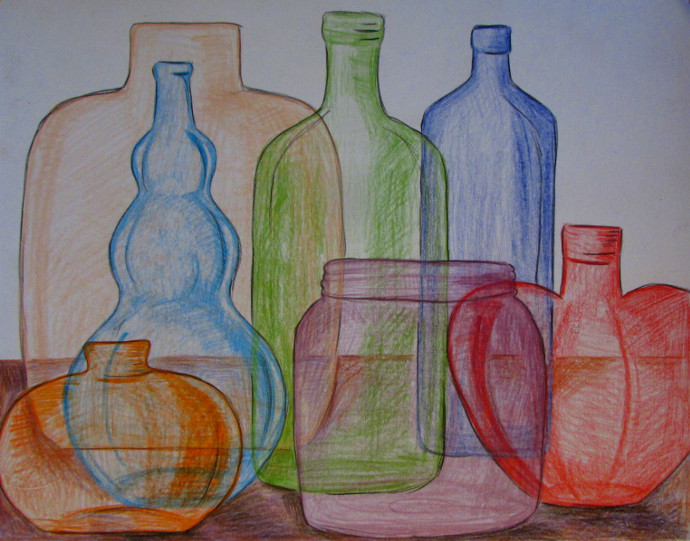
Using a darker color (brown, black or gray) give the bottles more definition. Just an irregular outline that goes in spots, not just around the entire bottle. Emphasizing turns and curves of each bottle. Also, add some shadows cast by the bottles onto the table.
Add a background color. I wanted to keep it neutral, so a light blue and gray color.
Finally, using a brush and a bit of white acrylic paint, add some highlights.
Ta-Da! All done! Though you could work further, darkening the back and adding more color.
