This happens to be one of my favorite art lessons. It allows you to explore textures and composition, while leaving plenty of room for creative expression. Plus, the clean up is a breeze! For the lack of a better name, I call it the Fun Foil Art.
Fun Foil Art
***This page contains affiliate links***
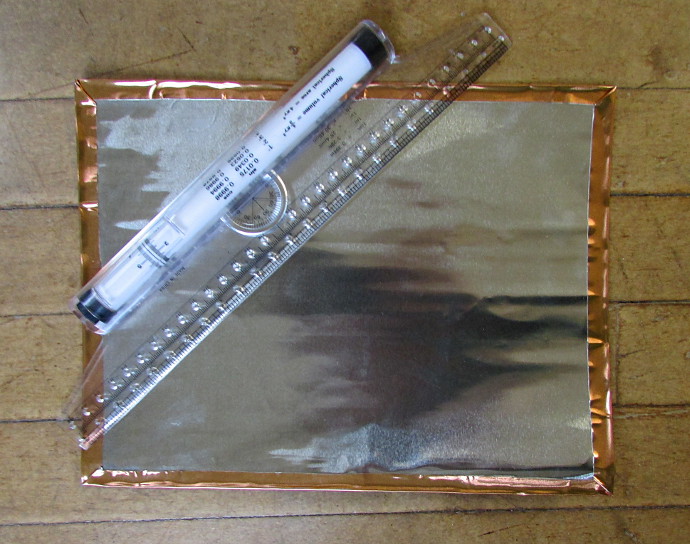
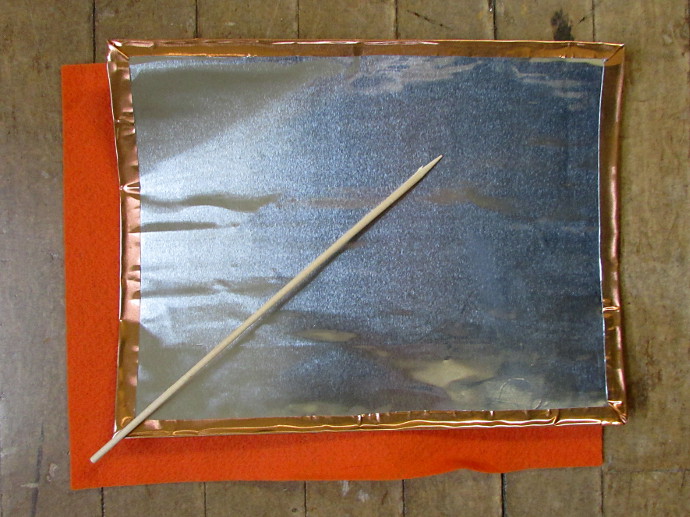
I like to use this kind of copper colored foil, and simple wooden skewers. The reason I like that foil is that it’s the right thickness. It is think enough where I can cut it with scissors, and yet thick enough where I make impressions that will hold in the long run.
Before the lesson, I cut the foil into appropriately sized pieces using a ruler. Then, I fold the edges over, so that the kids don’t get hurt. I also folded the four corners in as well. The foil is pretty sharp when you cut it, so be careful in handling it. It looks like this:
Another thing I like to get for this project are 8.5 by 11 inch pieces of felt from a craft store. It makes it easy to work if there is a piece of felt under the foil, as it gives a little as you press.
I have done both themed (Valentine’s Day) lessons using the foil, and have had more open ended times. I like to sketch things out on a piece of paper first, brainstorm some ideas, and then impress it on the foil. What’s great is that you can make an impression on the opposite side for a relief, and then on the front for the intaglio effect.
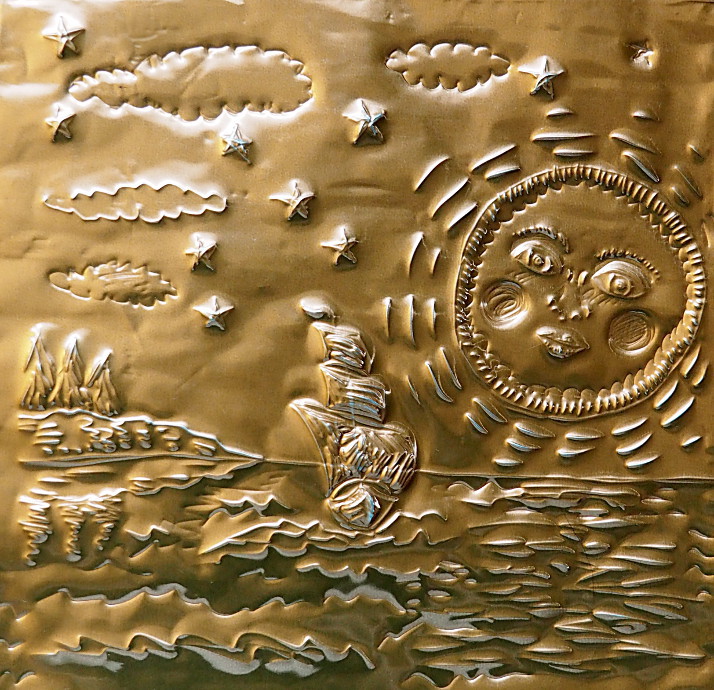
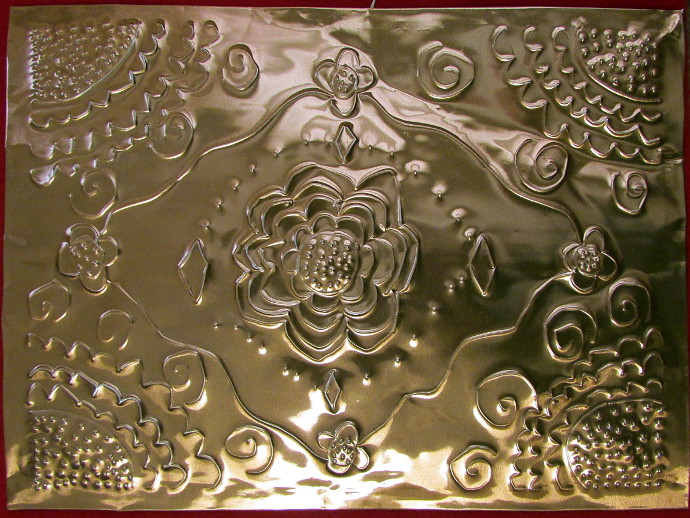

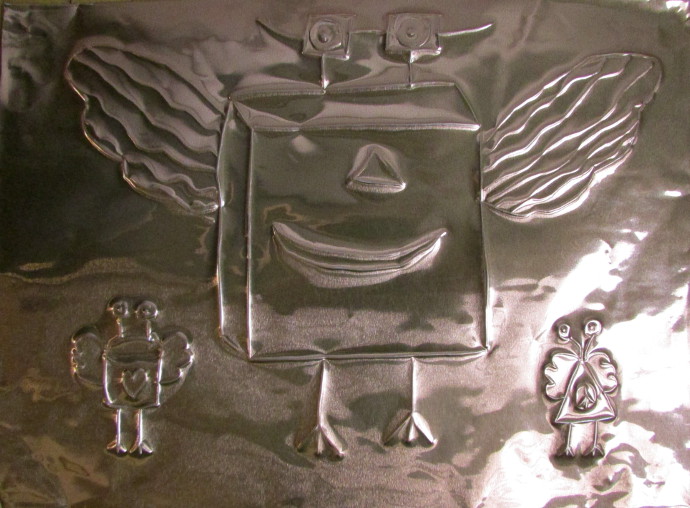
Each time it is a lot of fun!