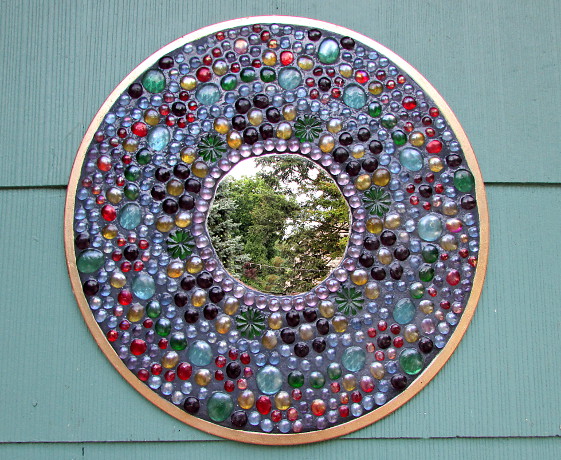
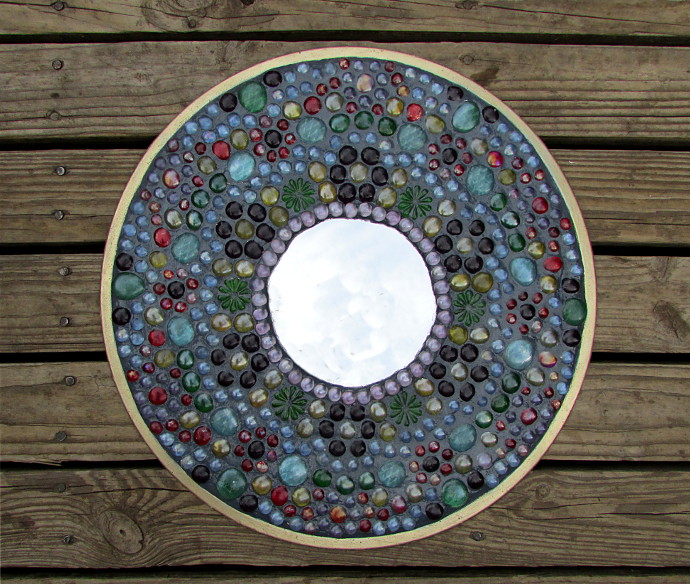
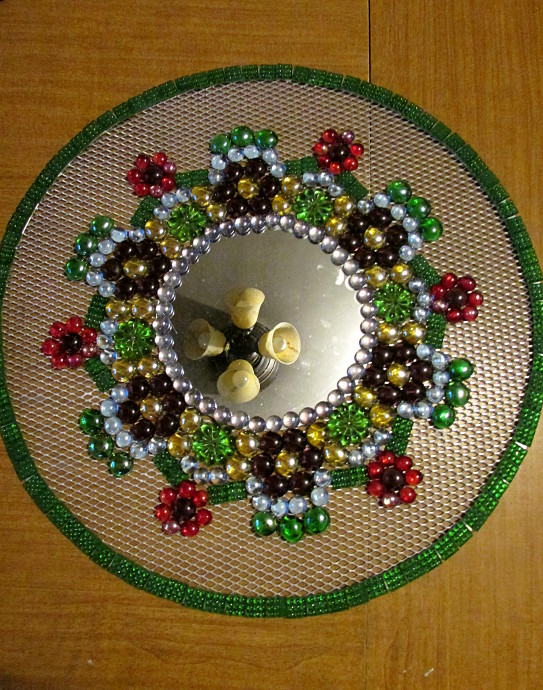
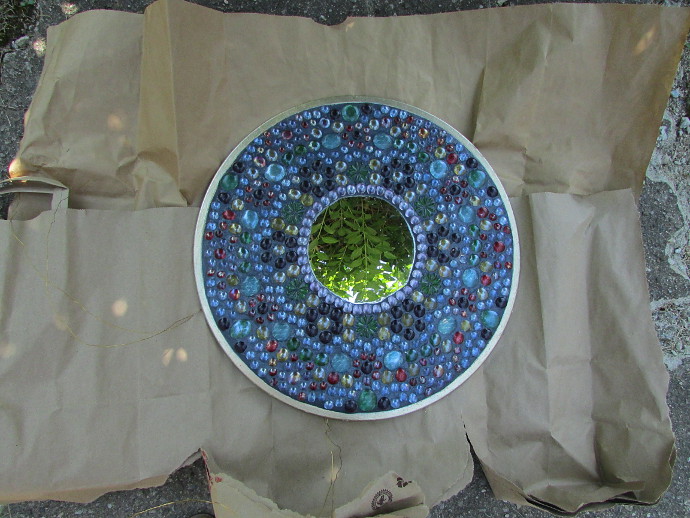
This year we did some major cleaning and got rid of a lot of stuff around the house, especially the deck. That’s when I realized the wall of the house on the deck looks especially empty. I decided I want to make a piece of art that can hang outside, and withstand the weather for at least three seasons (I will take it inside for the winter). This is what I made:
It was not an easy process, and looking back at it, there are several things that I would do differently. Read about how I made it below, and see what I would do differently, and where I feel I made a mistake. While the process wasn’t something I was happy with, I love the final result, and maybe my mistakes will make your efforts a little bit easier.
***This page contains affiliate links.***
How To Make Outdoor Mosaic Art
Mosaic art is a tough thing to get started on. Seriously tough. My father in law is a mosaic artist, and I see him work on his art all the time. He is good at what he does, and makes it seem really easy. It is not easy at all. You can see his work HERE.
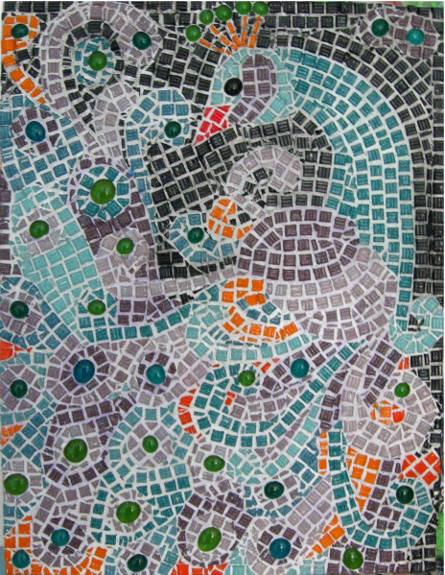
A few years ago I decided to give it a try. It took me six months to complete a mosaic, and then it didn’t quite turn out the way I wanted it to, and my fingers were in pain! Here it is:
I didn’t want to spend a half a year making one for the outside. I wanted to enjoy it this summer, as soon as possible, so I made it much, much easier.
I started with some unusual supplies:
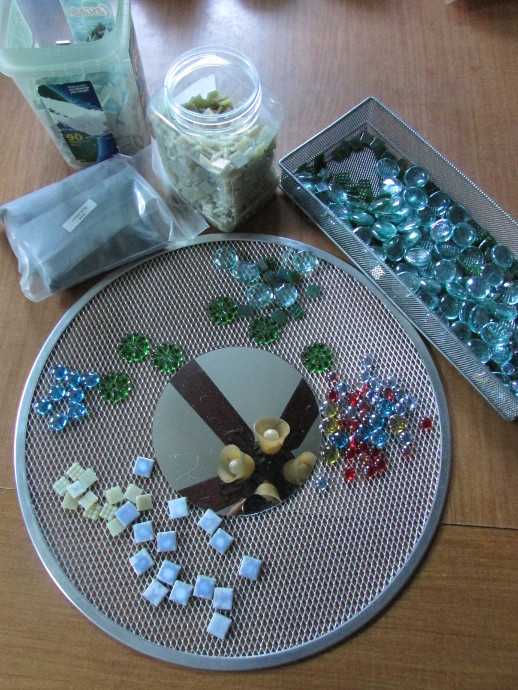
Here is what I used to do this project:
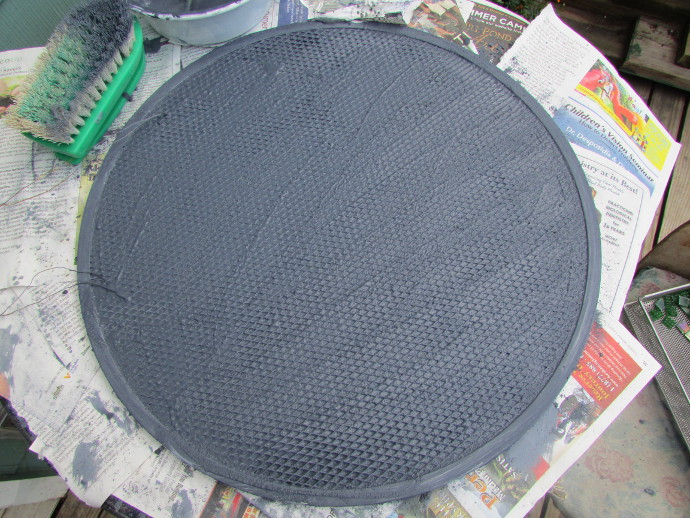
* Decorative Glass Gems. As you see in the above photo, I started with tiles as well, this was my MISTAKE # 1: I didn’t need the tiles, the gems were enough. You can find glass gems in many craft stores, and certain colors even in 99 cent stores. I used the regular sized gems of many colors (they are about half an inch in diameter), like THESE. I also used the mini ones (they are about a quarter of an inch in diameter), like THESE RIGHT OVER HERE. I also used a few of the jumbo ones, like the ones right HERE. Here is the thing about the gems, you want a bag of each color that you are going to use. Running out of your favorite bright yellow while midway through the mosaic because you are using a bag of mixed colors is not fun at all. I bought the bags of gems in 99 cents (they had green, blue and white), and for the extra fun colors (yellow, red, purple) in AC Moore.
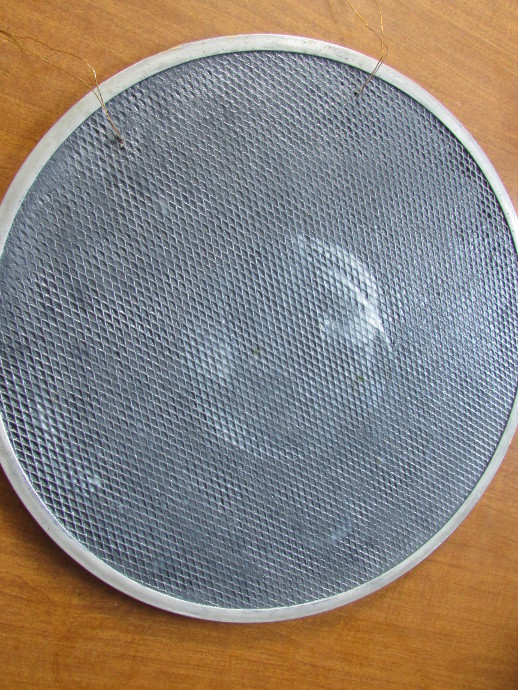
* A surface to glue your gems on to is a must. I went with this 18 INCH MESH PIZZA TRAY. I considered using a wooden backing, but because it was for outside, I figured the aluminum tray would last better.
* A mirror for the center: I used THIS ROUND 7 INCH MIRROR.
* Other supplies I used were: white glue, mod podge, a plastic cup, plastic knife, rubber gloves, a bit of water for the grout, florist wire for the back.
* Grout is very important. I bought 2 lbs of the Baltic Blue Grout that I ordered from MOSAIC BASICS. 2 lbs was just enough for this project, in fact, I could have used a bit more.
Here we go:
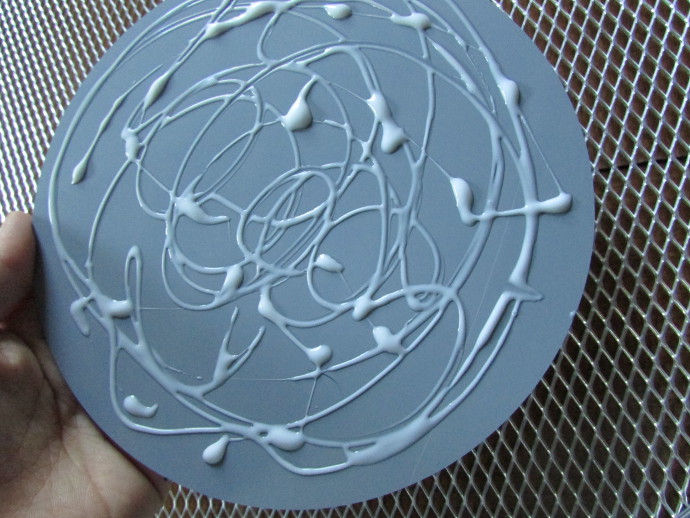
Mistake # 3: I tried to put the cement on the tray first. It did not work, instead I ruined that little bit of cement that I would want later.
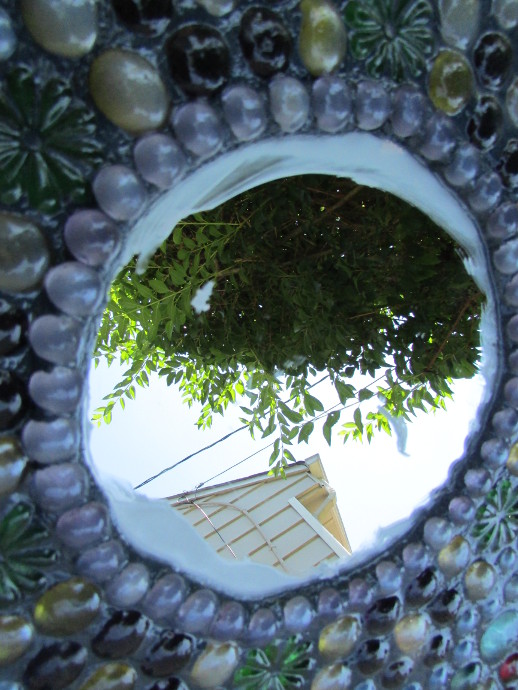
Glue the mirror in the center of your tray:
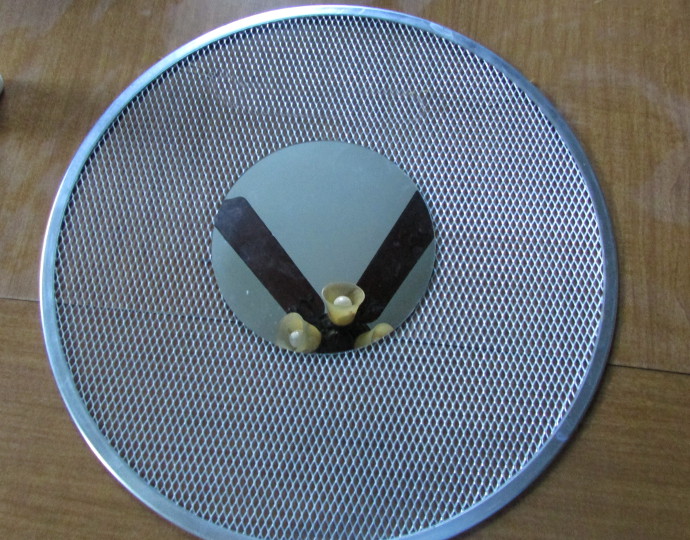
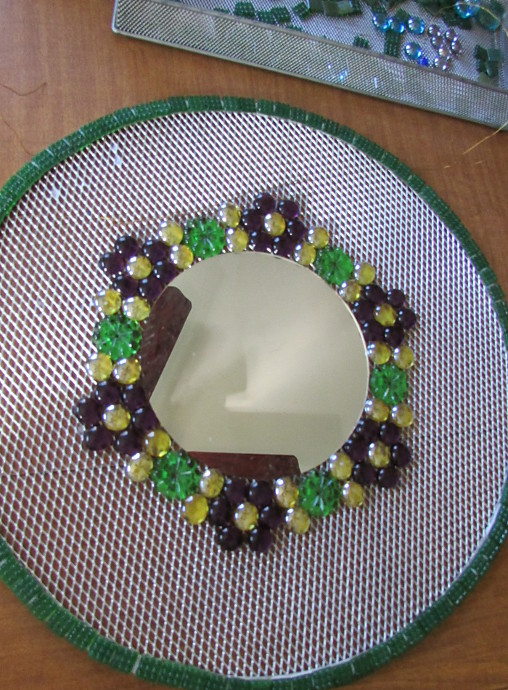
Start laying out the pattern:
Mistake # 4: Lay out a few circles at a time and then glue. Instead of gluing each circle. This way you can make cool designs first, glue later. I wound up changing my mind about the layout, but the tiles were already glued on, so it was more difficult to get them off.
Next finish gluing the gems to the tray. I forgot to take a photo of this step because I got so involved in making it. However, just imagine my tray covered in awesome designs.
Mistake # 5: You see that border out of tile that I glued on to the edge of the tray? Well, it didn’t hold. The surface was too smooth. I peeled it off, and at the end I used some gold nail polish to paint the edge of the tray instead.
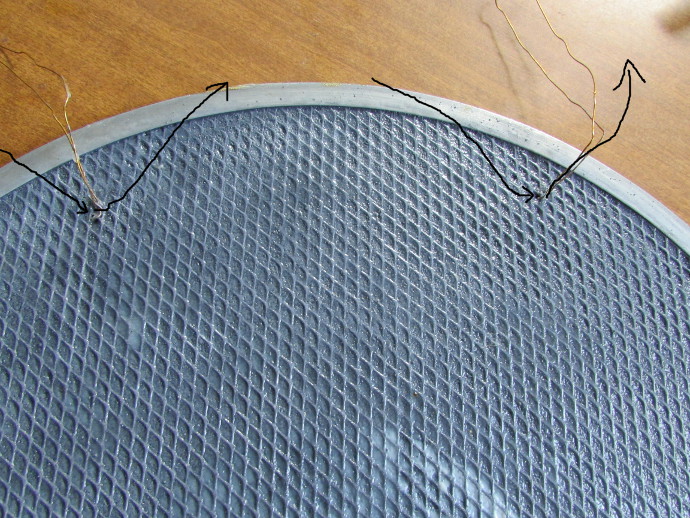
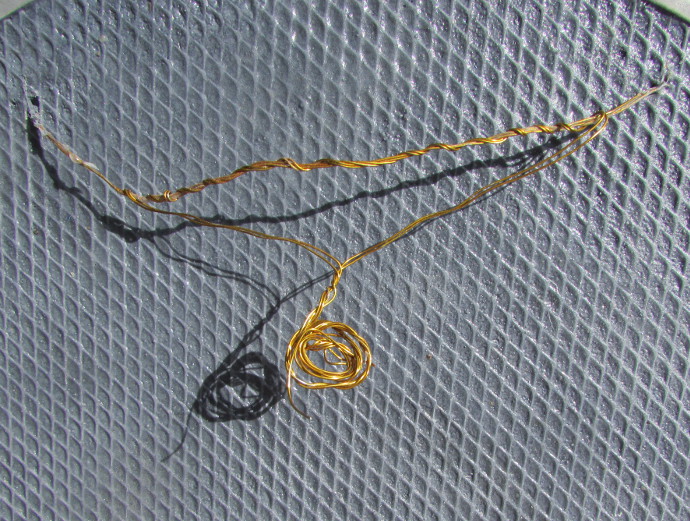
When I finished gluing all the glass pieces on and allowed them time to dry, I put two pieces of wire through the mesh in between them, at approximately the same level.
Once the gems are all dry, it is time to mix the cement. I used rubber gloves, followed the instructions on the cement (it had to be peanut butter consistency), and I mixed a small amount at a time.
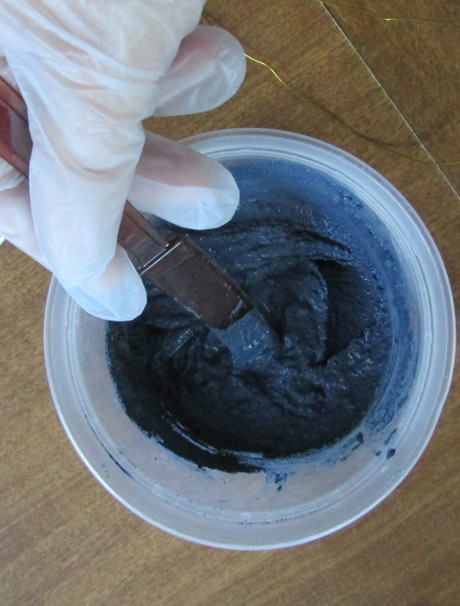
Using my gloved hand, I applied the cement to the front of my mosaic, making sure it gets in between the glass pieces. Make sure you cover the surface you are doing this on with some paper, and that it is a well ventilated area, as there will be dust.
Mistake # 6: see those pale lavender pieces that I glued directly on the mirror? They were fine, and stuck well, but later on the cement started cracking between them and the other pieces. It wasn’t too bad though, mod podge fixed it right up.
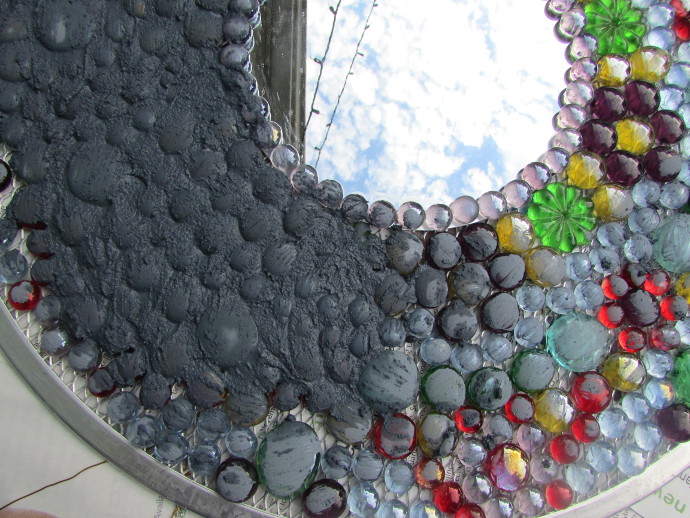
Finish the whole thing, then scrub the gem pieces off with a brush.
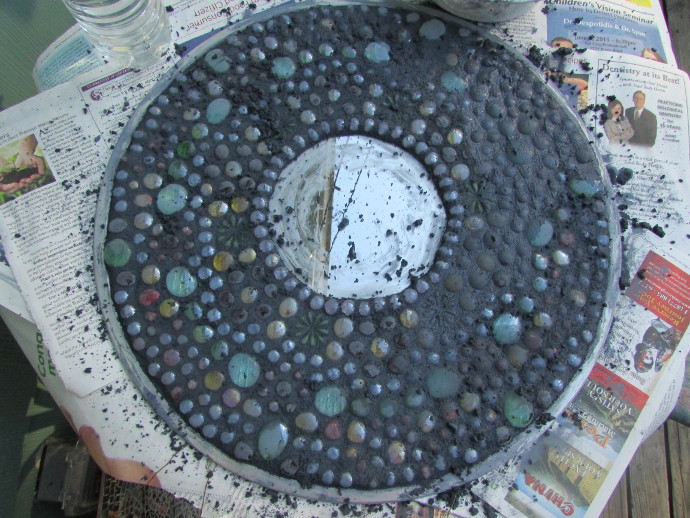
Mistake # 7: Be careful when scrubbing things with the brush, some of the pieces (red in particular) are painted on top. Extra hard scrubbing made the paint come off.

After the cement in the front dries, turn the mosaic over, and cover the back with cement as well.
After the cement on both sides dries really well, get out that mod podge, and mod podge the heck out of that mosaic. My biggest concern was that the gems and cement are pretty heavy, and they would just come off while hanging. Plus, the cement was cracking in places once it dried and shrank a bit. Mod podge solved all those problems. Apply several layers on the front and back. Allowing the mosaic to dry well between ever application.
Watch the wires while you mod podge the back.
Before doing anything else, I used the gold nail polish to paint the edges of the tray, so it doesn’t look quite so much like a pizza tray.
Once the mod podge dried, I felt I needed more to weather proof the mosaic. After all, it will be hanging there in the wind, heat and rain. I used this glaze, which I bought in Home Depot for under $4.00!! :
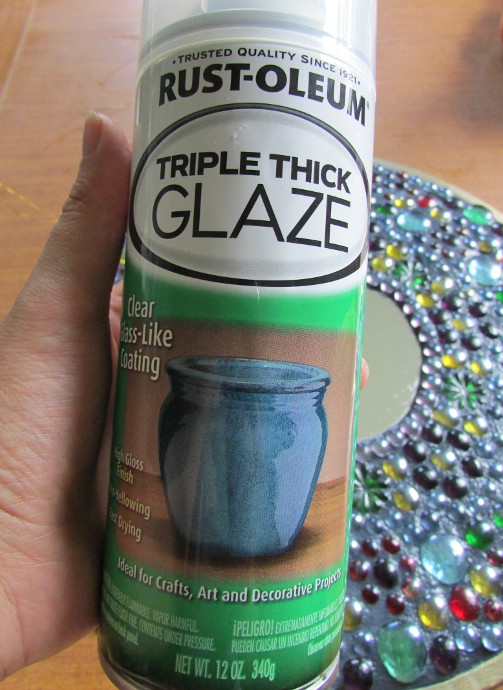
The only place to spray this stuff is outside, in a well ventilated area, on top of some heavy duty paper (recycled shopping bags). It is not something you want to do indoors. I made sure to allow each side to dry fully in between each layer. I applied 2 layers to both front and back.
Mistake # 8: Don’t spray the mirror. I decided that I don’t need to tape up the mirror with masking tape, and just sprayed it. The spray created a thick white cover on the mirror. Lucky for me, when it dried a little bit, I was able to take it off as a thin film. The rest I was able to clean off with nail polish remover.
After the Glaze, I also sprayed the entire thing with a few layers of Indoor/Outdoor Varnish. I use THIS VARNISH, and have been very happy with it.
Once everything is dry, twist the wire together in order to hang it. I twisted the excess pieces of wire into that little loop instead of cutting it off. I would hang by that thick top piece you see on the photo below.
All done! I love the way it looks, though I do wish the process would be a little easier.