In this lesson I have two different ways to paint cherry blossoms with watercolor. The first one is easier and quicker, the second one is not difficult, though it does take some time and effort. I also made instructions on how to draw the cherry blossoms in marker, to make it easier to do the second set of instructions. Give it a try!
What you will need for this project:
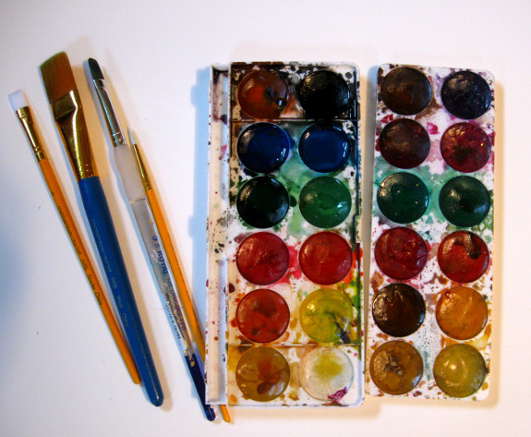 Watercolor paper, I used 140 lb, 11×14 inches paper for this painting. You will also need watercolor paint. My favorite is a semi dry honey based paint. I used two brushes, a flat brush, like the one you see on the picture, another smaller flat brush and a small round brush.
Look on the picture above to see my favorite paint and brushes!
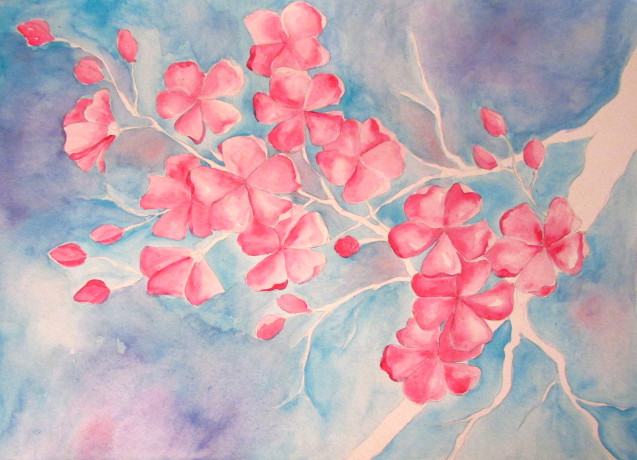
Cherry Blossom Watercolor Painting 1
The easier and quicker version.
For this painting start by roughly painting a five petal flower blossom with watered down pink paint directly on to the paper. Use the wide brush to create a petal with each stroke, like in the pictures below.
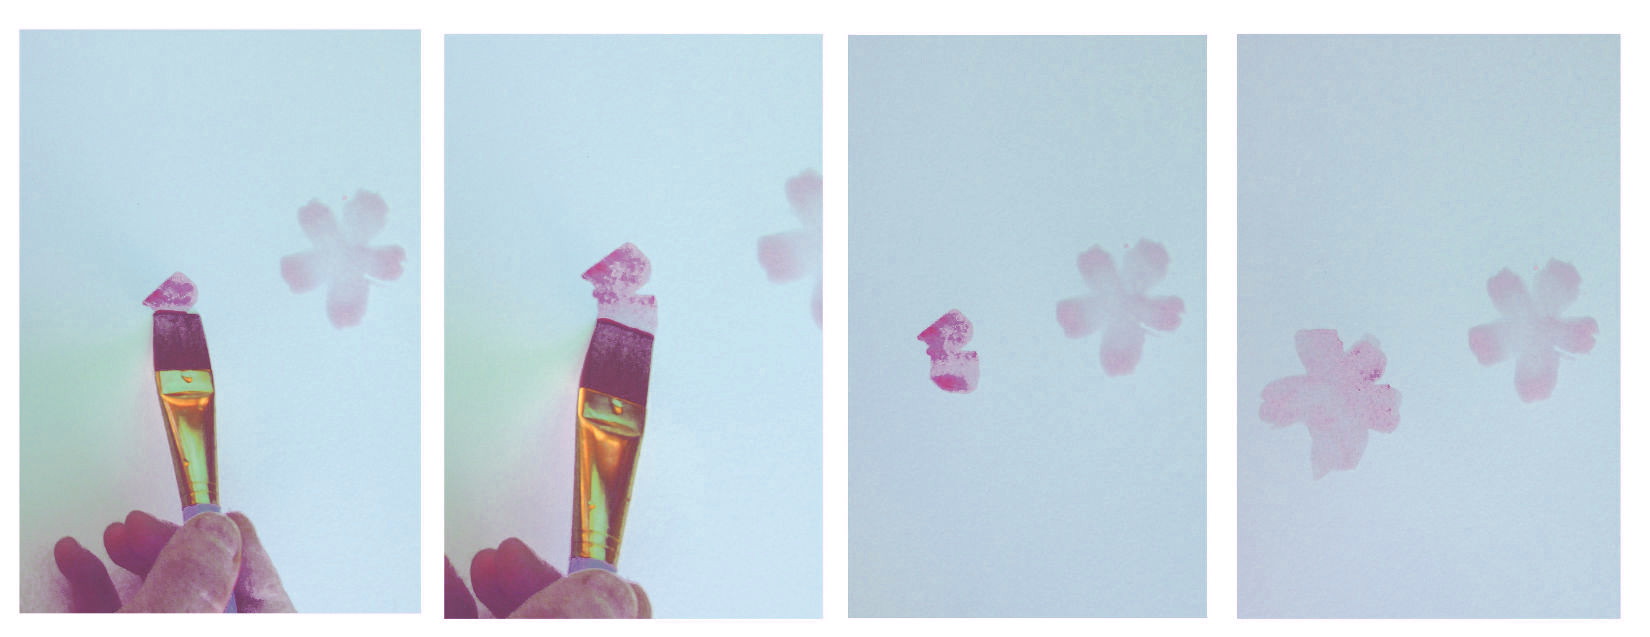
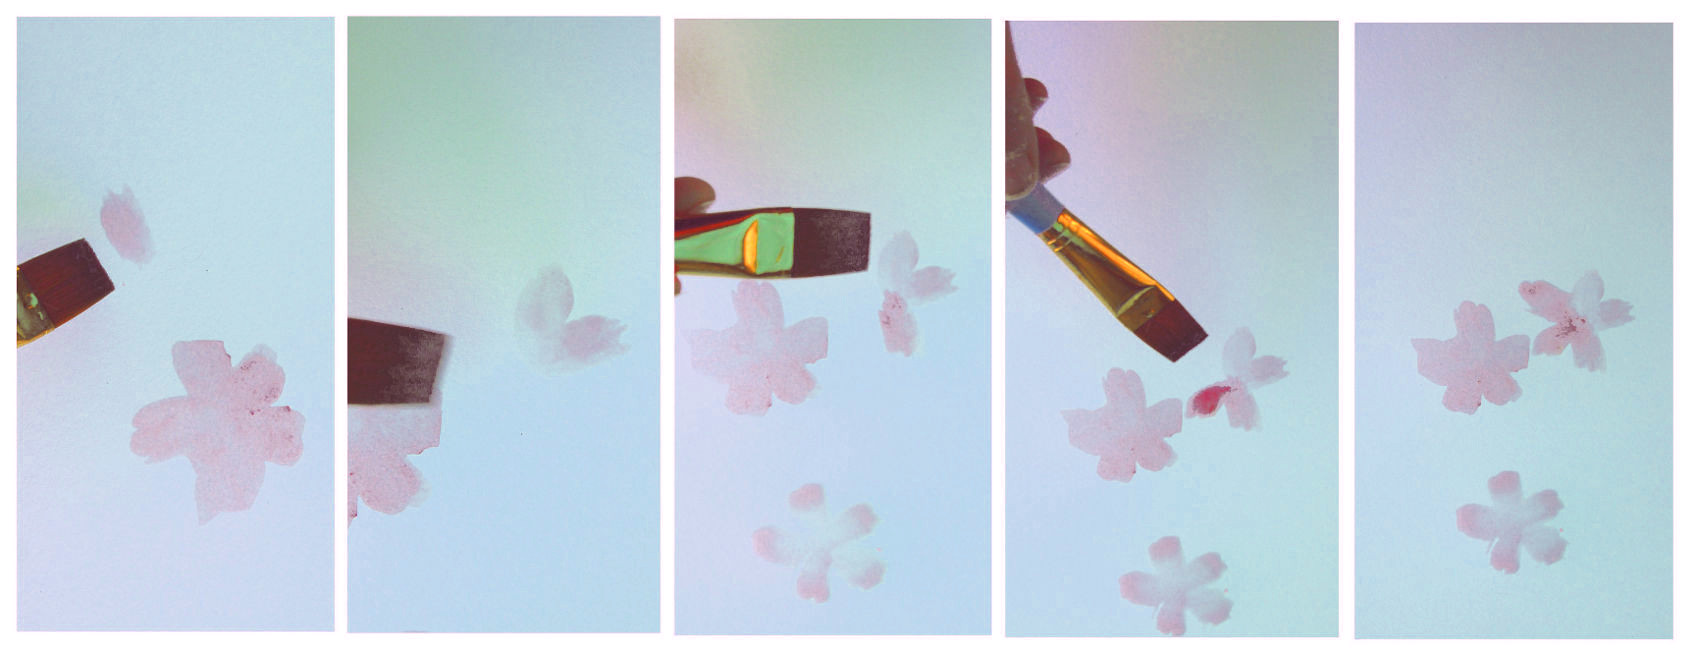
Paint a bunch more of the 5 petal flower blossoms across the page in the same manner. You also might want to put them into bunches, like they would grow on a cherry tree.
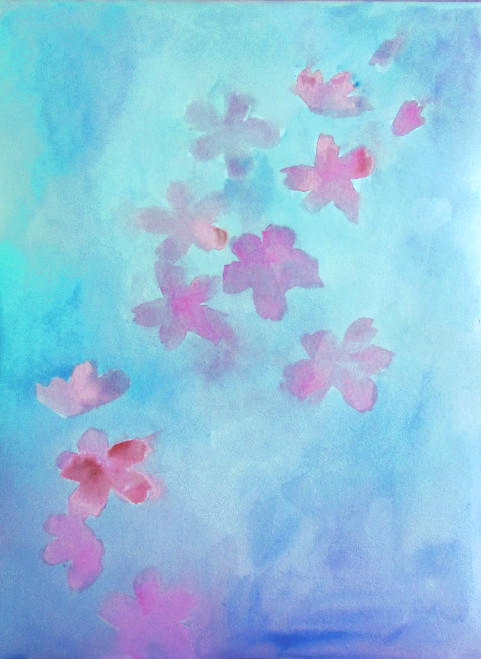
These flowers will be more in the background, so they shouldn’t be too bright, water down the paint to nice pale pinks and reds.
After you finish painting the flowers, use the wide brush to add in light blues and purples to be part of the background.
Keep adding the blue and purple hues until you are happy with the result. Also, it helps to let the paint dry a bit in between layers.
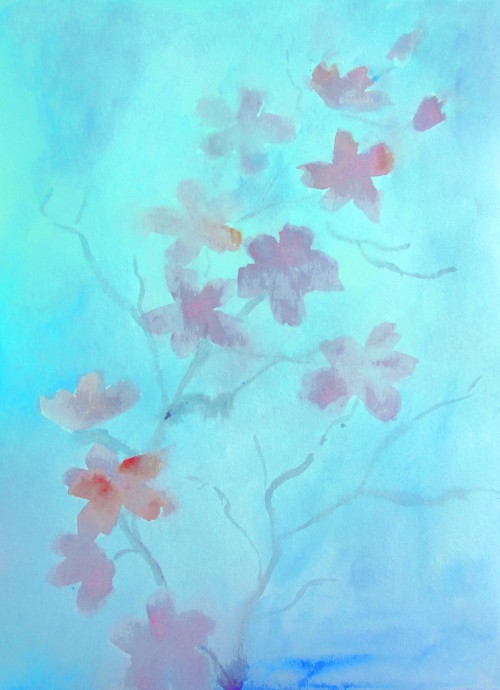
Using a smaller brush, lightly paint in the branches for your background flowers. Allow it to dry for a bit.
Now using the same method as above, paint brighter, more vivid cherry blossoms for the fore ground. Include some unopened buds as well.
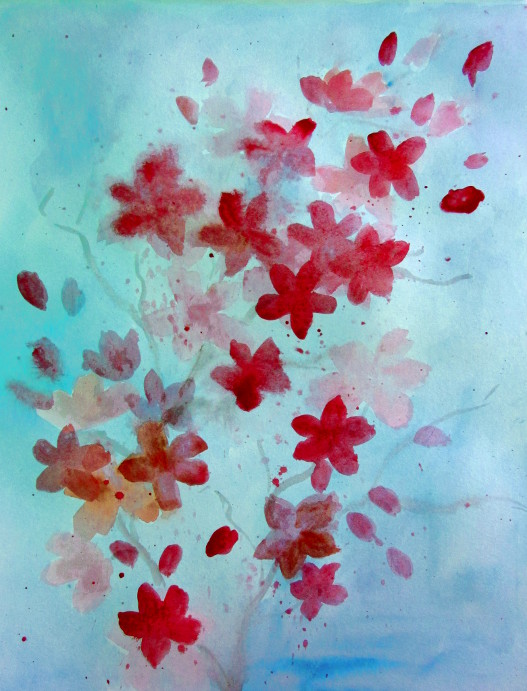
As I was working on this I accidentally splattered some paint, and realized that I liked the way it looked. So I put a few colors on my brush and shook the brush off over the painting.
Using a smaller brush and a thick black and brown mix of paint, start painting on the foreground branches. They don’t have to be perfect. Make them squiggly and fun.
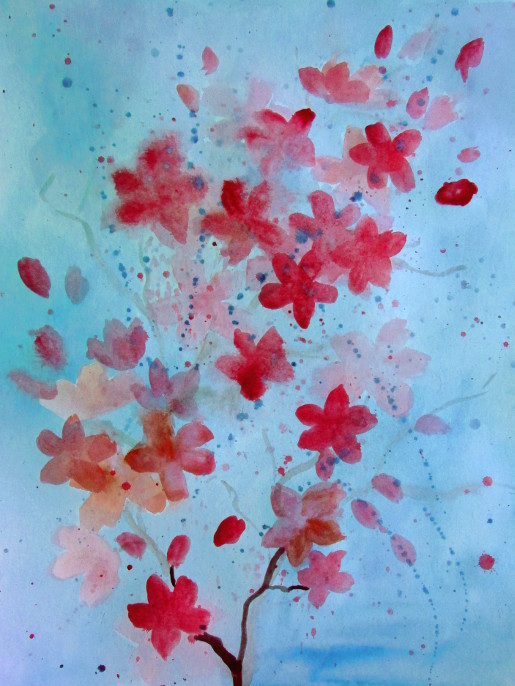
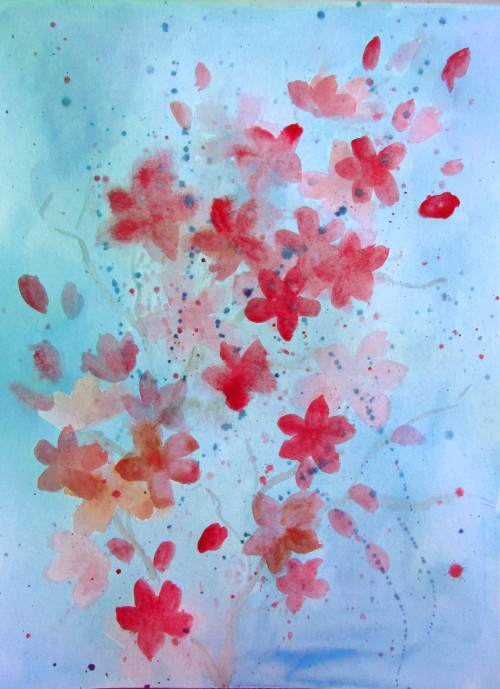
Finish the branches, connecting all the foreground flowers and buds, add a few empty branches as well.
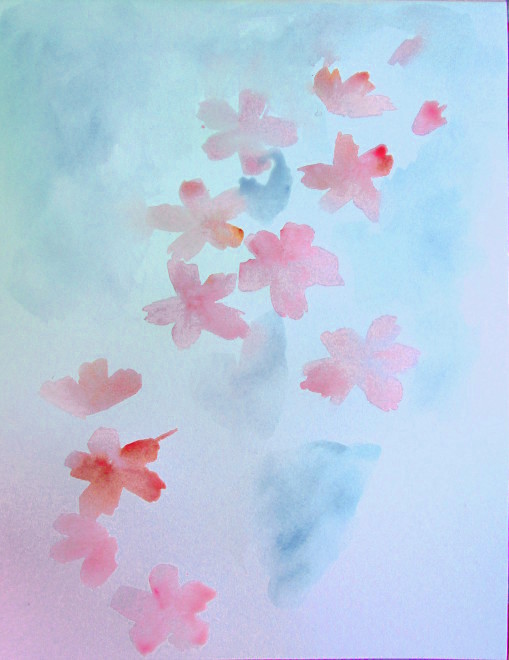
For a finishing touch, use a small brush to add little dots in the center with a white or yellow acrylic paint.
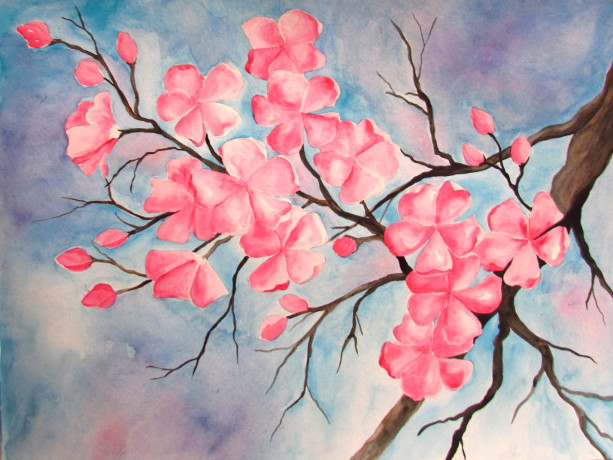
Cherry Blossom Watercolor Painting 2
The version that takes more time and effort.
This version definitely takes more time and effort, but worth it in the end, I think. You will need all the same supplies as for the painting above.
I made a separate drawing to show how to approach the sketch.
Here are the easy to follow instructions for the sketch below:
Start by drawing a single five petal flower on your page. The flower should be about 1 1/2 inches in diameter, though it’s up to you how big or small you want it to be.
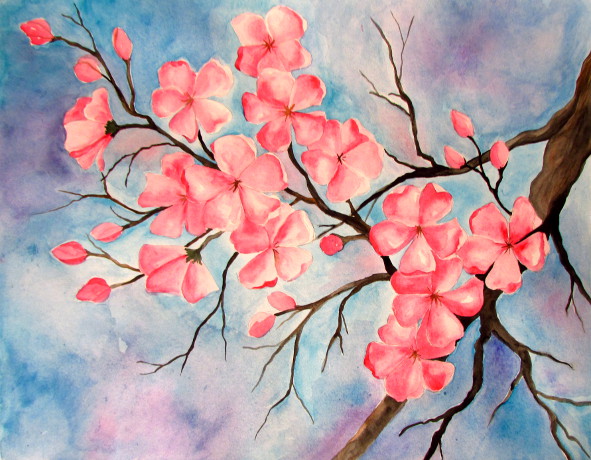 I think it would be easier to understand how big the flower should be if you see the entire painting right away. So look at the finished painting to help you size the flower in relation to the rest of your paper.
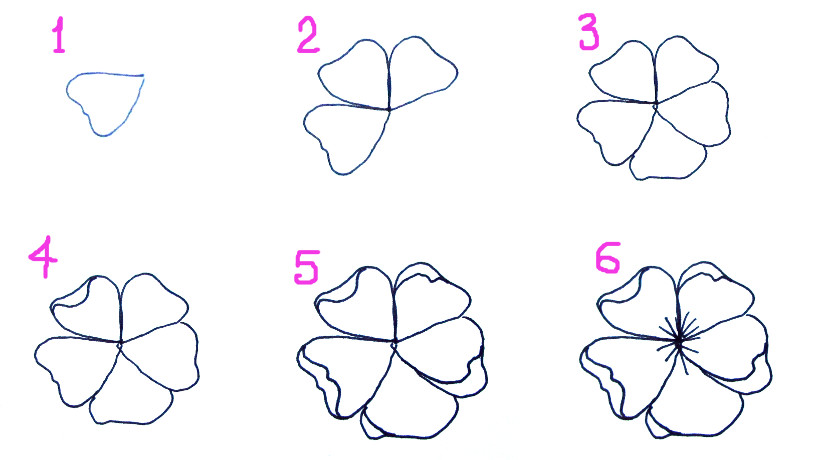
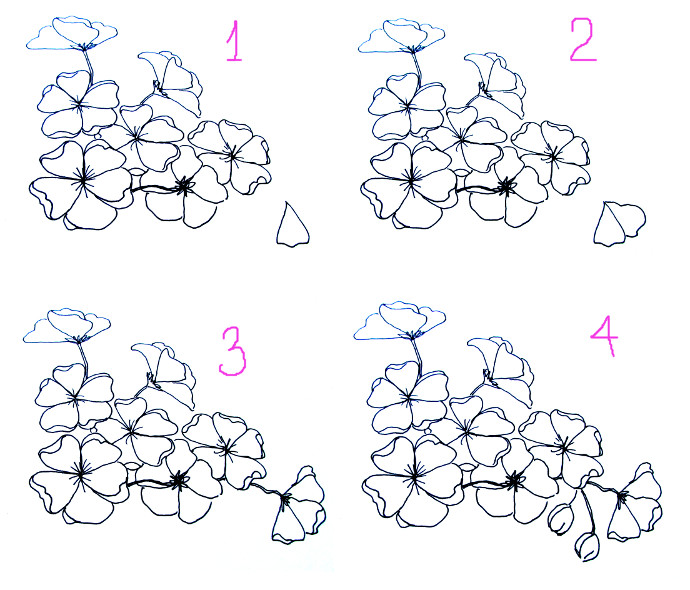
How to draw that first flower:
1. Draw a heart shaped petal.
2. Add more heart shaped petals, touching the other petals at the base.
3. Add more petals, to make five.
4. Add a curved line at the edge of the petal to suggest the petal edge bending over.
5. Do the same in various spots for the other four petals.
6. Add the center by putting small lines there.
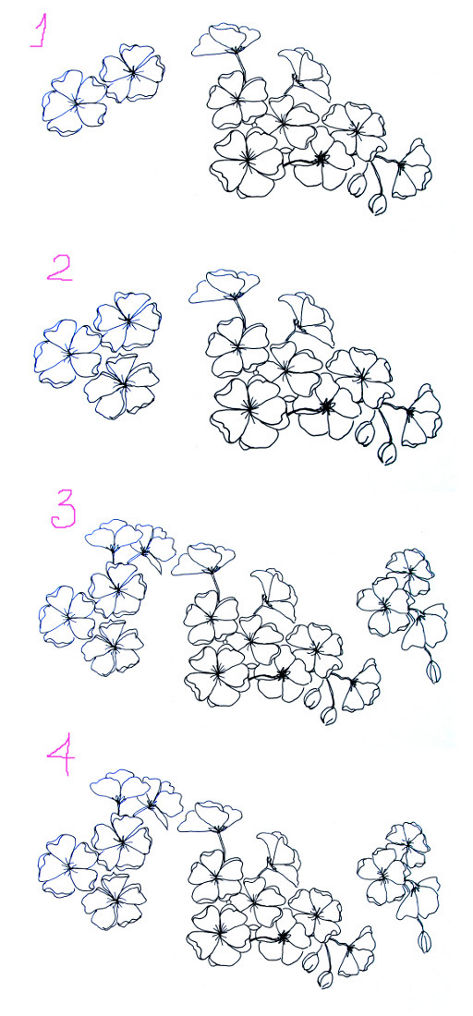
Draw another flower next to the first one, using the same directions. Keep in mind that your flowers will be in a cluster, with several clusters across the page.
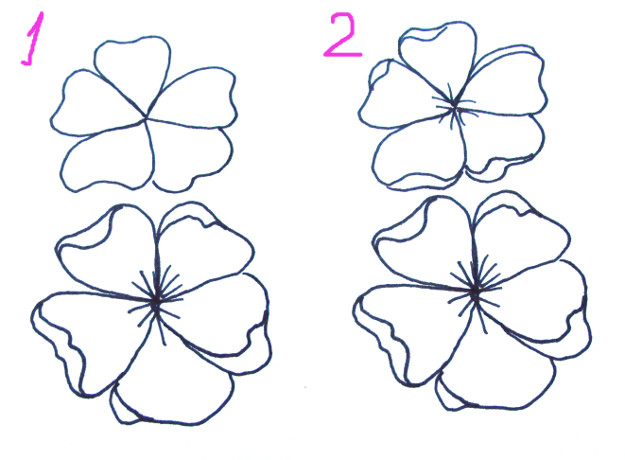
And another flower next to the first two.
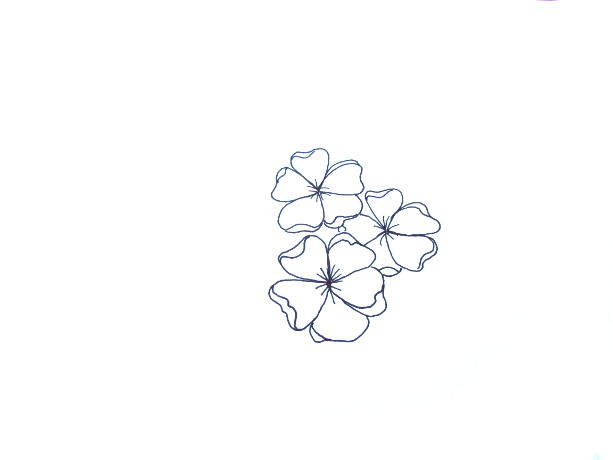
After you draw several front facing flowers in the cluster, it is time to add some flowers that you see from the side. It is the same principal as the front facing ones, but instead you only see half the petals.
1. Start with roughly a petal shape. Like a triangle or a heart.
2. Add a petal behind the first one.
3. Add another petal on the other side hiding halfway behind the first one.
4. Add a bit of small leaves that are on the bottom of the flower, holding it together.
5. Draw a thin stick, attaching the flower to the cluster.
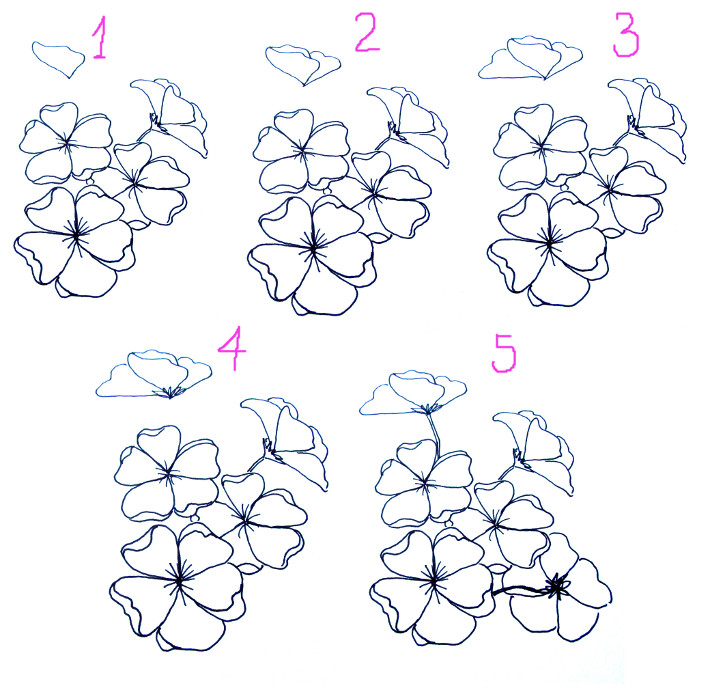
Add another few side view flowers to the cluster. Below are more steps for another one. Also add some unopened flower buds, which essentially are ovals, with a few lines to indicate petals.
After you finish the first flower cluster, proceed to adding a few more bunches of flowers to your page, using all the same steps as above. Don’t be afraid to make your flowers overlap!
Connect all the cluster flowers with branches. After you add the branches, take a good look, if you see any spaces where you feel more flowers are needed add them.
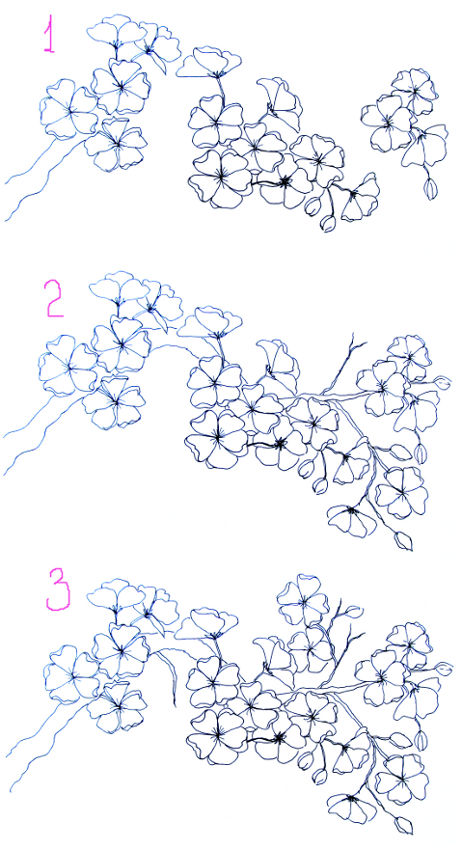
I made this drawing separately from the painting in marker, so that I can do the step by step instructions. I recommend doing a one time practice with it before doing the sketch for the painting.
For my painting I did another sketch using the same steps as described above.
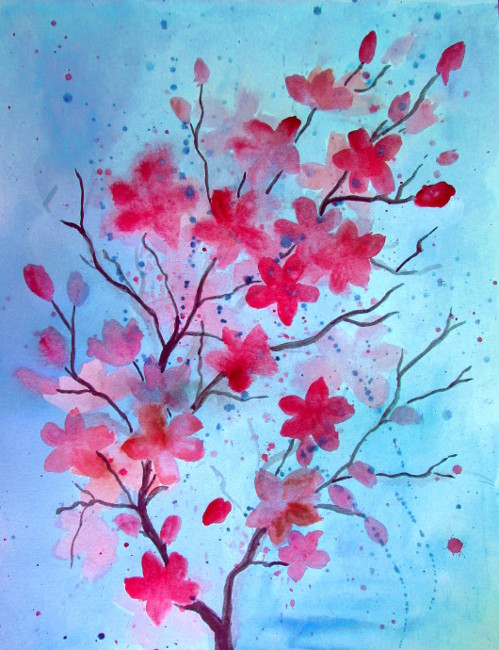
After the sketch was complete, I used darker blues, pinks and purples to create the background. I carefully covered all the areas around my cherry blossom branch. Let the paint dry a bit, and then if you still feel some areas need work, add more paint.
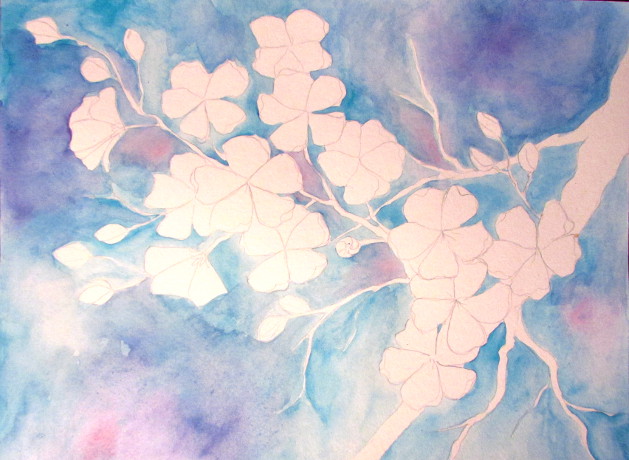
After the background dries, use pink paint to paint in the petals. Pick a corner that will have light coming in (I chose upper right), now all the sides of the petals facing upper right should be lighter than the ones facing lower left. Use different thickness of paint to create lighter and darker shades of pink.
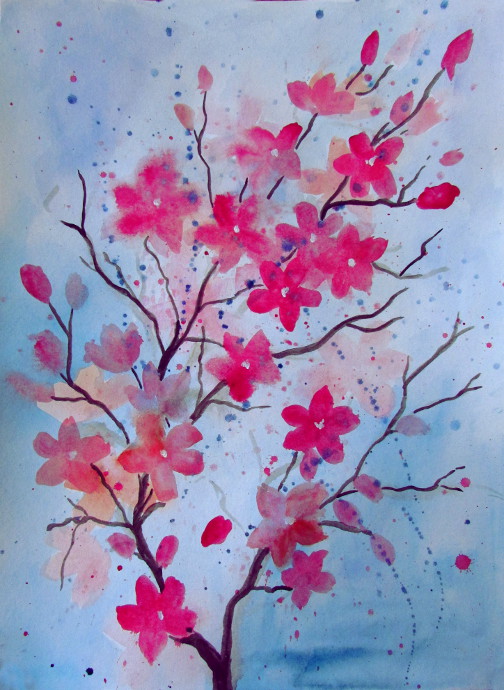
Using black and brown, paint in the branches. Thick flat brush is great for the thicker branches, while a small, round branches for the fine branches. Add more empty branches as well if you feel like it.
Add small lines in the center of each flower. Now is also time to work on the background a bit more if you feel like it needs it.
There you have it, it is all done!