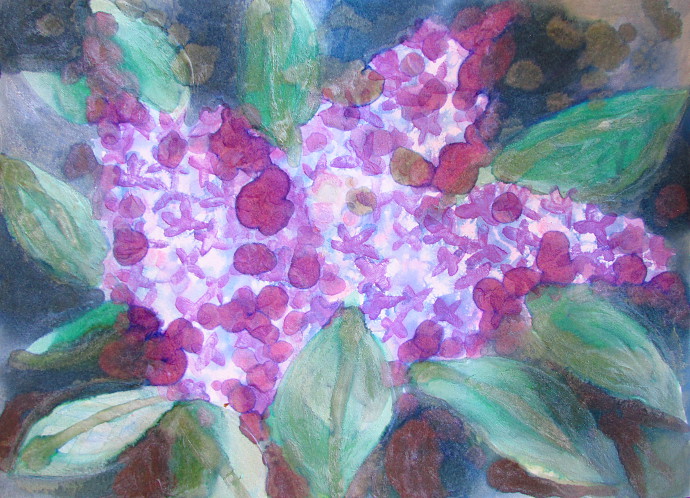
We made our own watercolor paint and ink with rubbing alcohol. This was a fantastic art lesson! There was a heavy dose of science involved, amazing chemical reactions, some liquid to solid action, and of course color theory. The reason I wanted to do this lesson is indeed color theory, but it was way more fun than I anticipated. It was also way more messy than expected!
***This page contains affiliate links.***
Homemade Watercolor Paint And Ink
First I will talk about the homemade watercolor paint, and then I will tell you how we made some awesome homemade ink with rubbing alcohol.
First, let’s talk about what was needed for this awesome and fun homemade paint making experiment. To make the paint, you need some very basic household ingredients that can be purchased at any store. If you are making it with a class, consider the amount of ingredients you would need.
- Baking Soda
- White Vinegar
- Light Corn Syrup
- Corn Starch
- Liquid or Gel Food Coloring. I had a combination of Wilton Gel Food Coloring and McCormick Food Coloring. We mixed them, and they worked well together.
- Mixing Spoons (tiny metal spoons worked best for us).
- Ice trays. Good luck finding these in the stores. You know, the plain sort of ice trays, that are plastic, and inexpensive. I drove around 5 stores and couldn’t find any. Luck for me I had a stack of blue ones (I wanted them to be white so that the colors would be easier to see around them). What I had were THESE, what I really wanted were THESE.
Now lets talk about the recipe that we used. Before I took this project on, I looked all over the internet for a reasonable paint recipe that can be done with the kids. Every website I came across had the same basic ingredients as listed above, but slightly different proportions.
We used the following for our base for the homemade watercolors:
It made enough for the kids to fill the ice trays (those ice trays were quite big too):
- 1 cup of baking soda
- 1/2 cup of white vinegar
- 1/2 cup of cornstarch powder
- 1/2 tablespoon of light corn syrup
Now here are a few fun notes about making the base.
I am not always the best one for using exact proportions, I like to eyeball things. That’s probably why I am not very good at baking, and the reason why this paint experiment was so much fun for me.
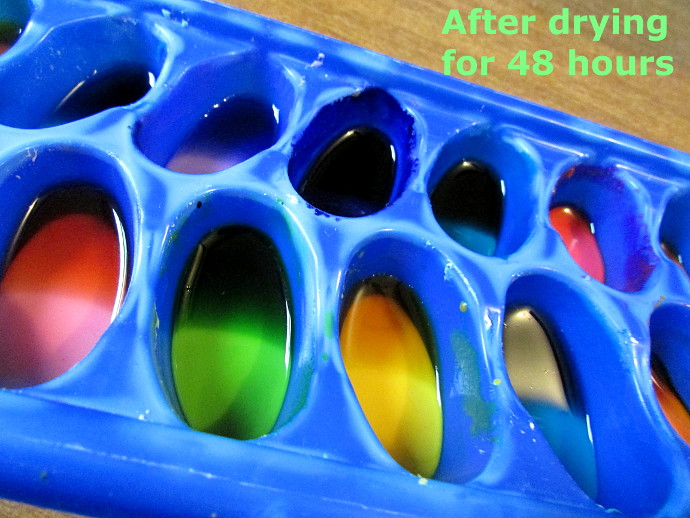
The steps were fairly easy. First make sure your ice trays are clean and dry. Dry is important! The one I did at home before the art class had droplets of water in it, and that made the paints dry forever. Make sure to give the ice trays a good wipe with a towel, and allow them to dry thoroughly before filling with the base.
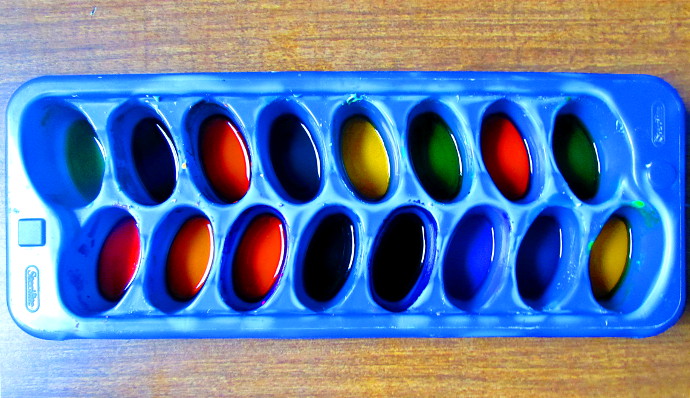
Take a look at the photo below. My ice tray had water, and after 48 hours the paint was still sopping wet.
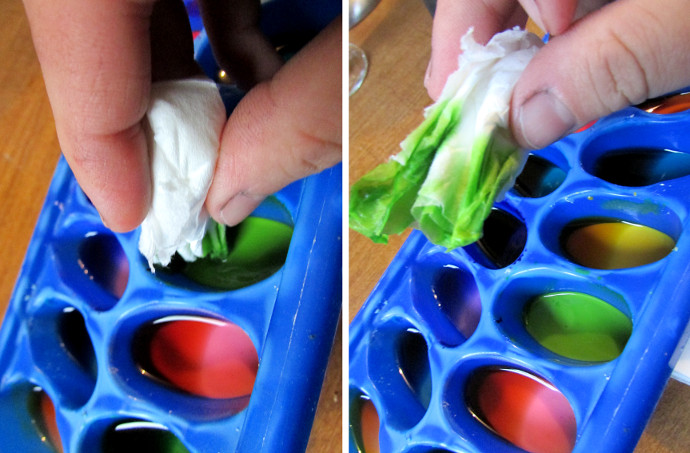
I wound up using a tissue to absorb some of the water out, in order to allow the paint to dry faster.
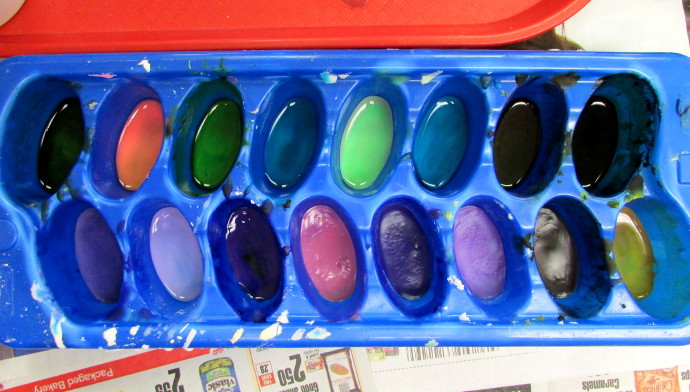
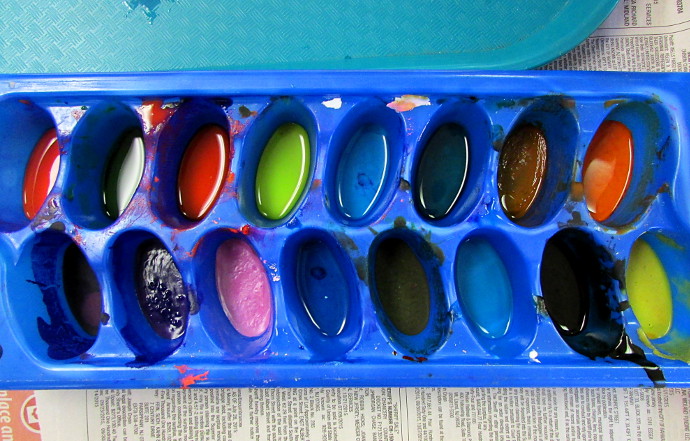
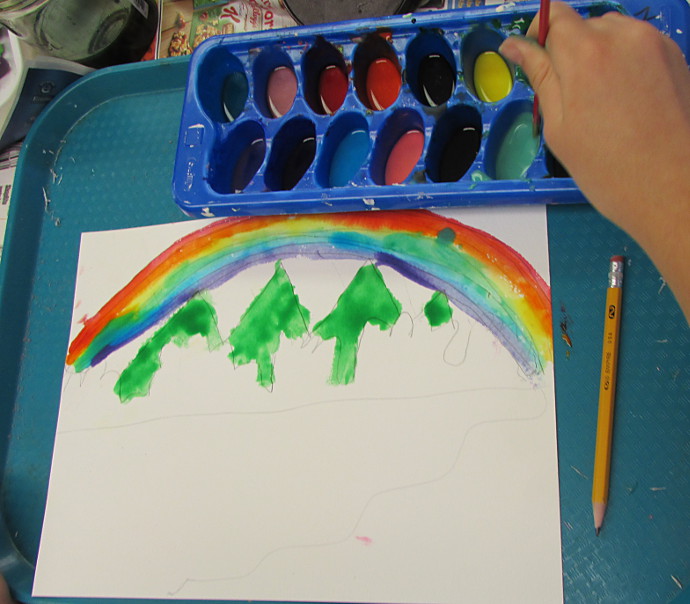
The kids on the other hand all had dry trays, and we left their paint alone for an entire week. It dried really lovely:
Take a measure of baking soda, add half a measure of white vinegar, let them go through the chemical reaction. It’s a lot of fun for the kids to see the stuff bubble!
Mix in cornstarch powder, and the bit of corn syrup. I have to note, too much corn syrup will make your paint dry longer.
Then you have to mix. The mixture goes through a very interesting process. At first, the mixture will look crumbly, like cookie dough. Then it will start blending in together and start looking like a shiny liquid, but still feel rather solid. As you keep mixing it, it will become more and more liquid like, it sort of starts to feel like a thick school glue. Here is something interesting, with some of the kids, we got proportions a little bit off (too much baking soda or corn starch or too little vinegar), and the mixture never became liquefied. The kids suggested we add more vinegar. We did. A teaspoon at a time, and kept mixing it. We kept adding vinegar and mixing, until it became the right consistency.
After it’s a nice glue like liquid, fill in your ice trays with each compartment about 3/4 full of the base.
Now it’s time to use the food coloring and create your own colors. The kids really had a great time with this step. Two notes about this step. You want to add enough food coloring to create a more intense color. It will likely look darker than you would like, but when you paint, you will see that that is the color you wanted. The first set of paint that I did with my son at home, we only added 3 to 4 drops of coloring per compartment, and the paints came out rather pastel. The kids in the class added a lot more of the color and the paint was really intense. Another thing is, you have to mix really well! After the kids made their colors and mixed, I stayed behind and mixed each little color again. You want the base and the color to be evenly mixed. Mix the first time, and then go over it and mix again!
That’s about it! Now let your paint dry for a few days and you should be ready to go.
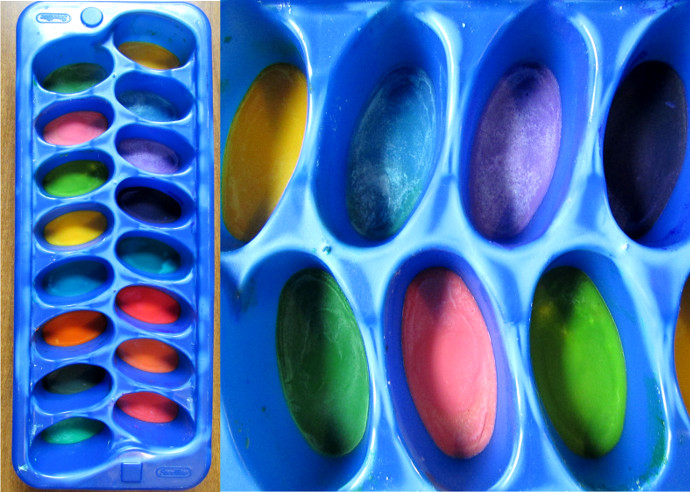
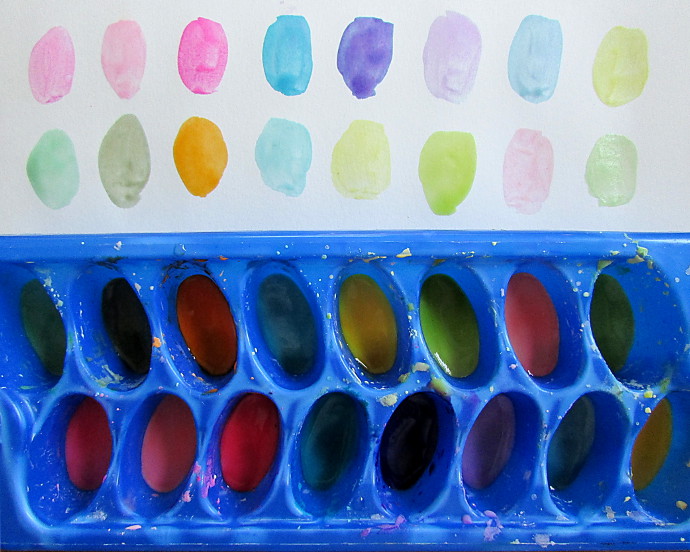
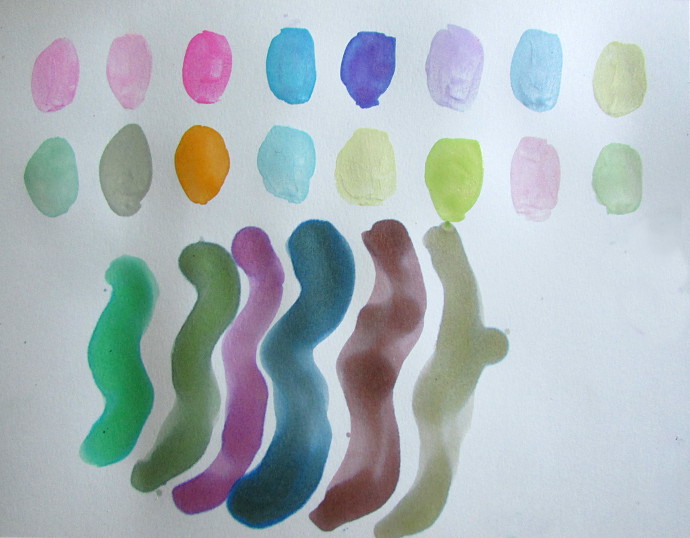
Here are my colors; as you can see, they are rather pale:
The kids colors came out much better, with much more intensity. More food coloring really made a difference.
Once your paint is dry, it is ready to use. I have noticed some interesting things about the paint.
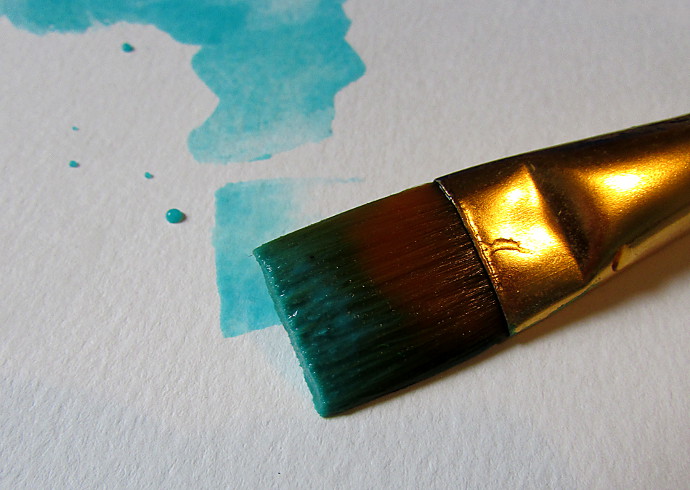
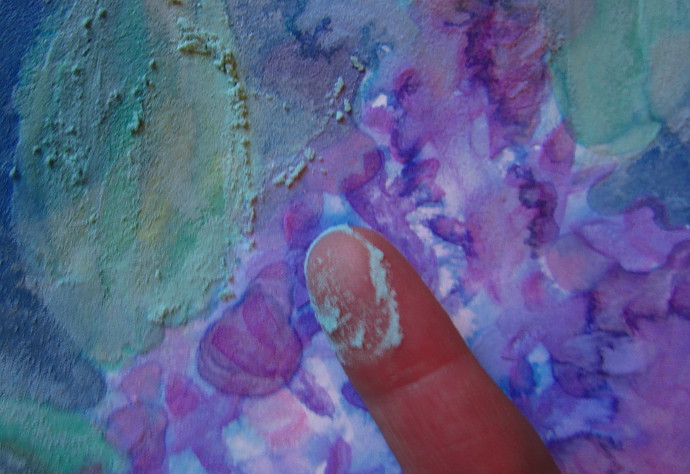
First, when you wet your brush and pick up the paint, it doesn’t just pick up the color, but some of the base (corn starch and baking soda) onto the brush. That makes for some very interesting effects.
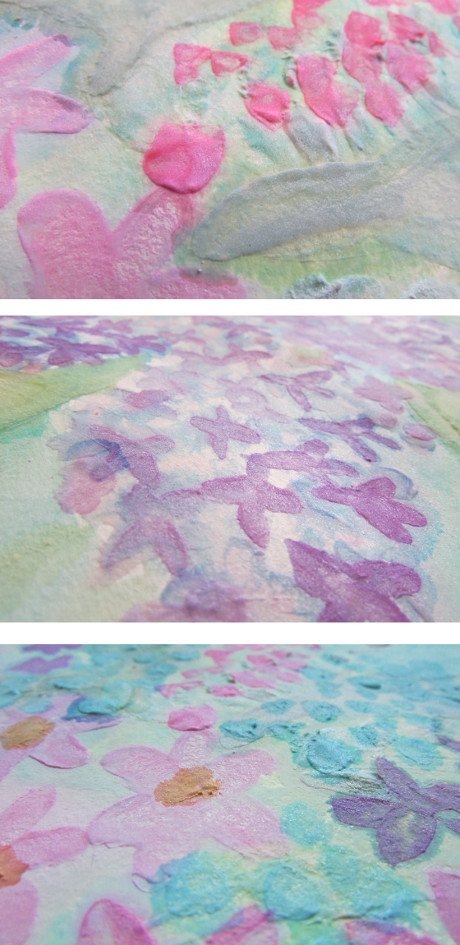
As you can imagine, because of this quality, the paint feels rather chalky on the paper, which is not a bad thing. It is rather fun to play with!
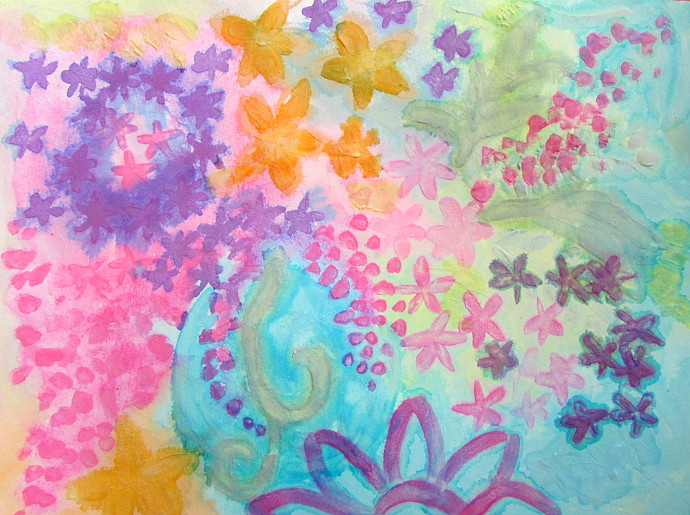
Since my son’s and mine paint came out rather pastel, we kept painting more and more layers on to get more color intensity when we were playing with the paint. As you layer more and more of the paint on your paper, it creates this almost puffy paint effect due to the base build up.
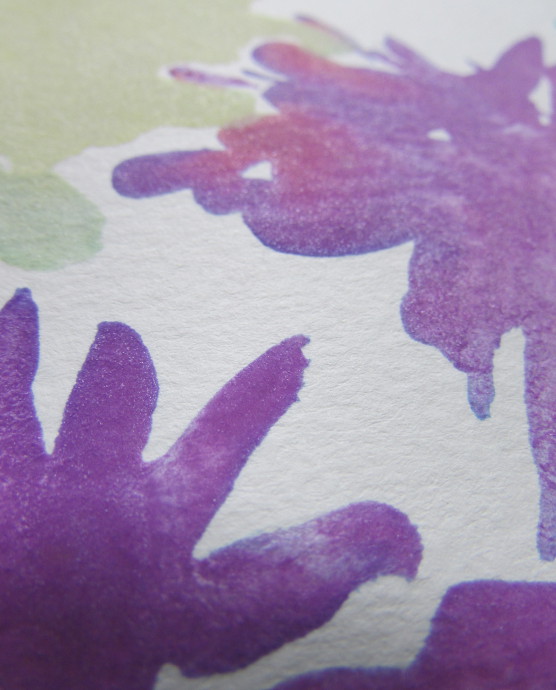
Another very interesting quality, is that even if your background is completely dry, painting on top an already painted surface makes the paint bleed. It’s due to the fact that the dry base that’s already on the surface will absorb water. This wouldn’t happen with regular watercolors, so it’s another interesting quality of this paint. It’s like always painting on wet paper.
If you have gone over the same paper again and again, you probably would have created a significant base build up. Once your painting completely dries, you can scrub it right off, leaving the color behind.
Overall, everyone had a really great time painting with these homemade watercolors.
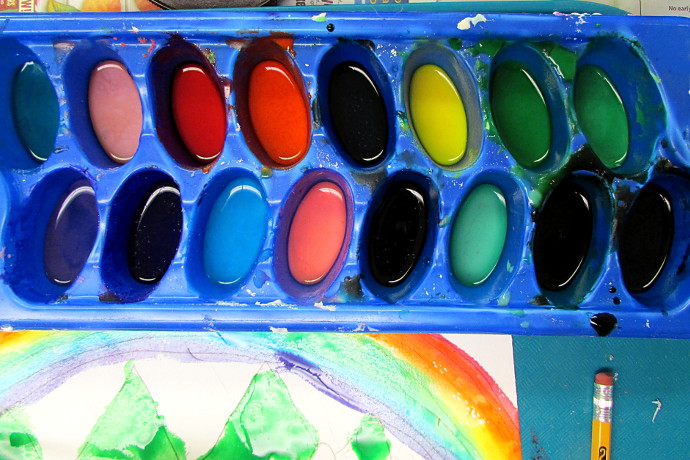
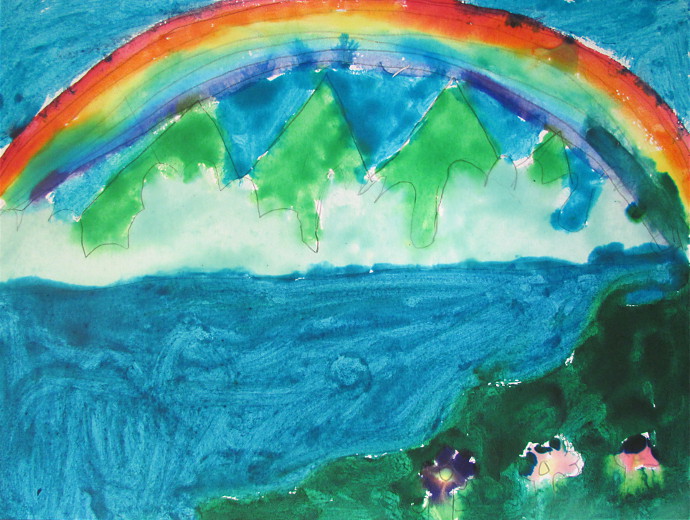
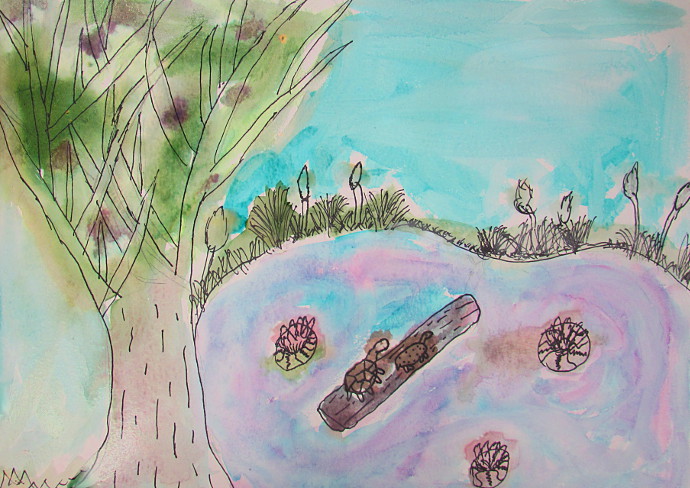
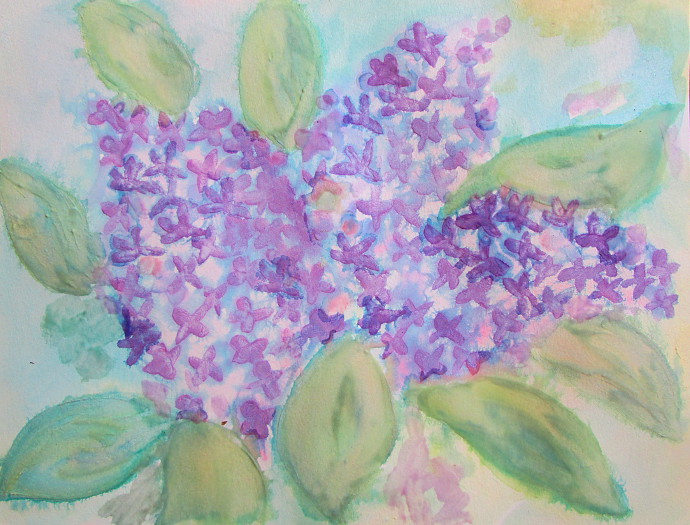
As you can see, the kids paintings have a lovely feel and color to them!
We also made some great homemade ink with rubbing alcohol that day.
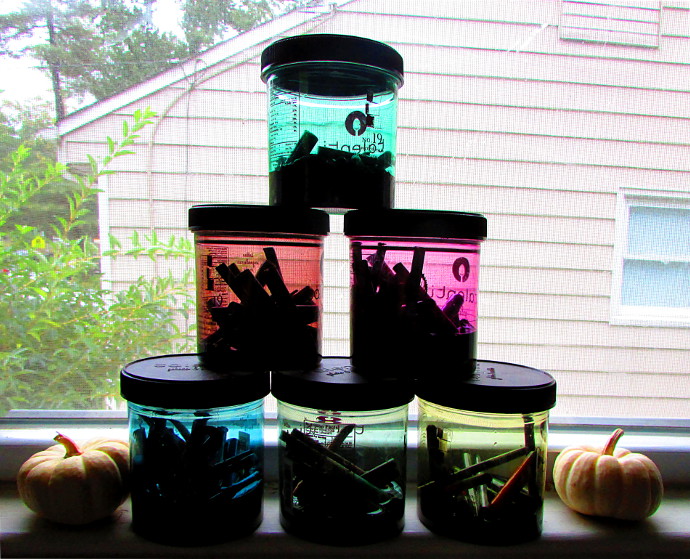
To make the ink, I raided my marker stash, and took out all the dry markers. All of them! Then I called my son’s art teacher, and asked her for her dried up markers. I came home with a bag full of markers. I took my pliers and opened them all up from the top, taking out the filter. I am glad that I was the one to open all the markers up, as they can be really tough to get open. Even though the marker is dry, the filter is still full of pigment. I brought the filters to the kids. They selected the colors they wanted to make their own color, and soaked them into some rubbing alcohol. Check them out below:
The colors stood soaking like that for a few days, and then I strained the fresh ink. I found that the ink colors were much more dark and intense.
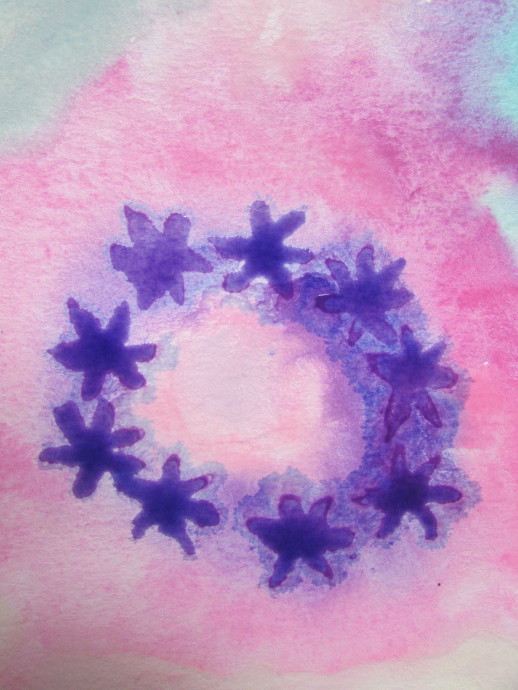
We also figured out quickly that the rubbing alcohol ink mixes well with our watercolors.
Before the ink:
After the ink:
It was a fun way to paint. Just keep in mind that rubbing alcohol has a strong smell, and needs to be used in a well ventilated area.
