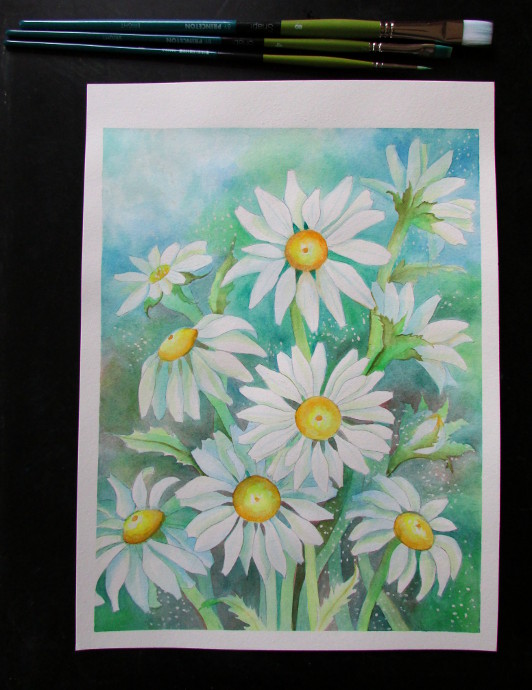
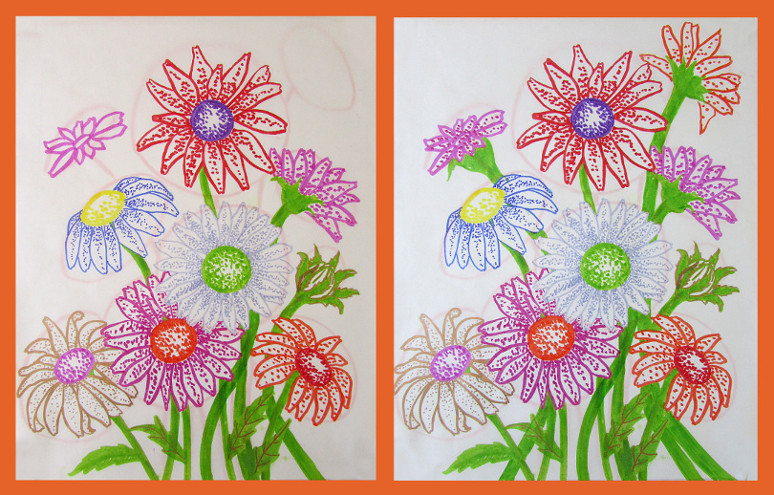
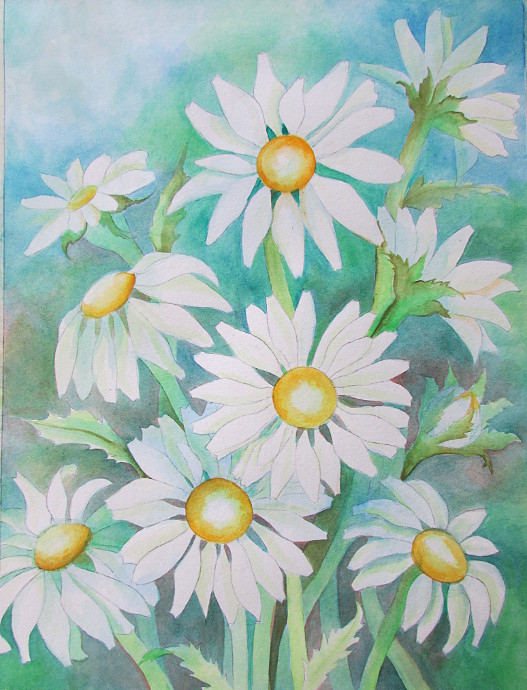
I have never tried negative space watercolor painting technique before. I have seen some amazing paintings with this technique out there, and loved how it just helps the objects on the paper pop, creating a lovely three dimensional effect. Of course I chose to paint flowers, daisies to be exact. Here is the finished painting.
***This page contains affiliate links.***
When I got THESE LOVELY FIELD WATERCOLOR PAINTS for my birthday, I just had to give it a go. I have to say, the paints in question did the job well, and were up to the challenge.
First things first, lets do the sketch!
Here are a few photos of daisies for inspiration, and to help you along. Just click on the thumbnail to make each image larger.
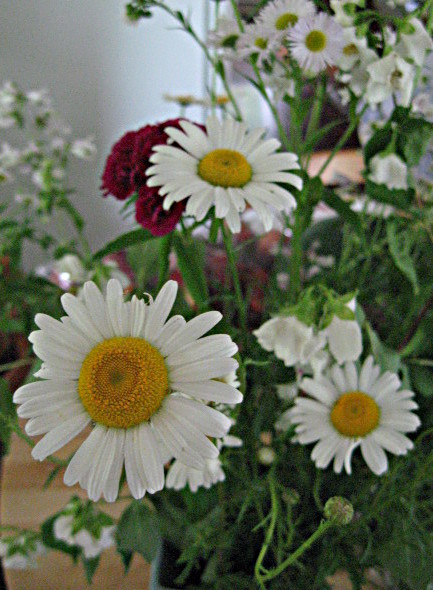
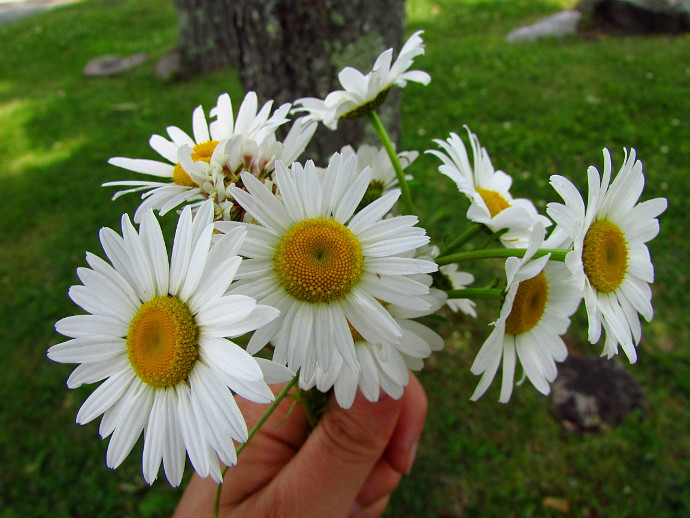
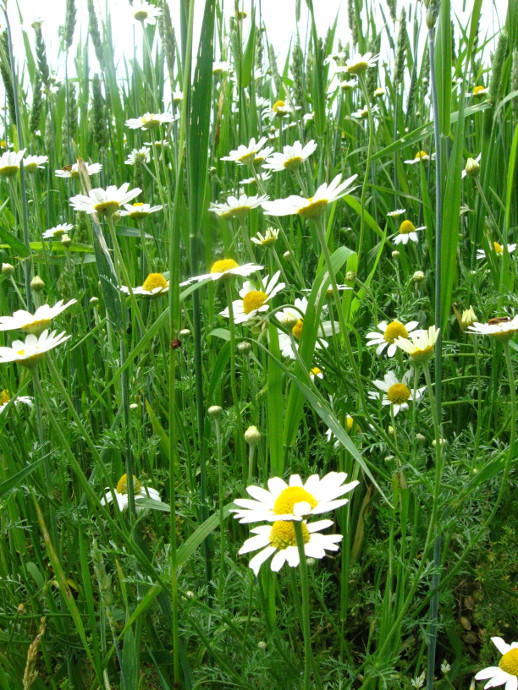
How To Draw Daisies
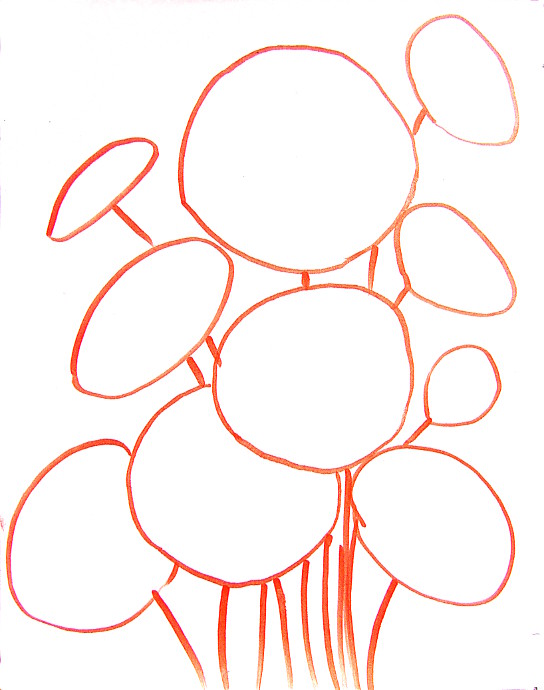
I started by creating a map for myself. Just drawing a bunch of circles to see how I want the flowers to be laid out on paper. When doing the sketch I like to use TRACING PAPER. I usually do the map on a regular paper and then put the tracing paper on top, and do the actual sketch on the tracing paper. Here is my map:
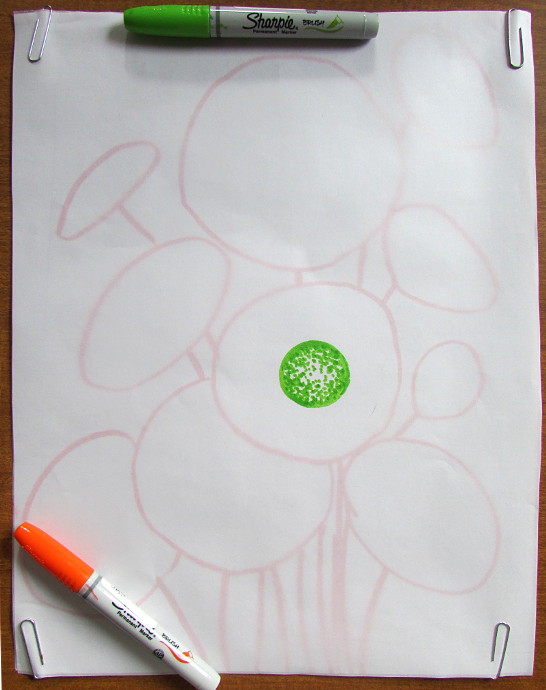
Next, I overlay it with tracing paper, and use paper clips to hold everything together. I sketched using SHARPIES this time, so that you can see better, but normally I would just use a regular #2 pencil.
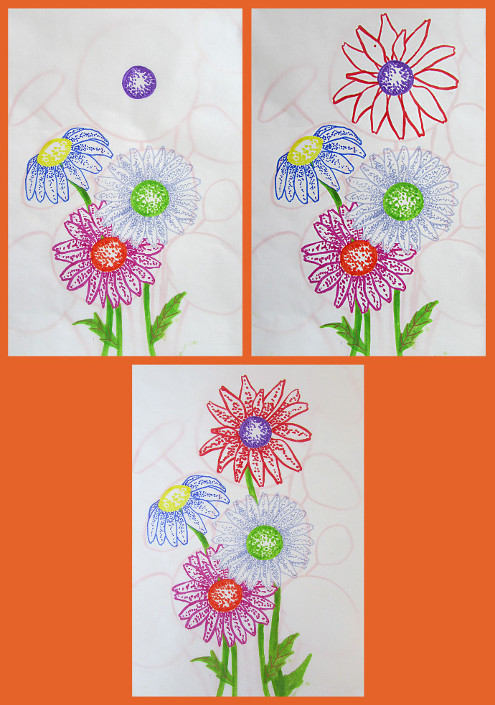
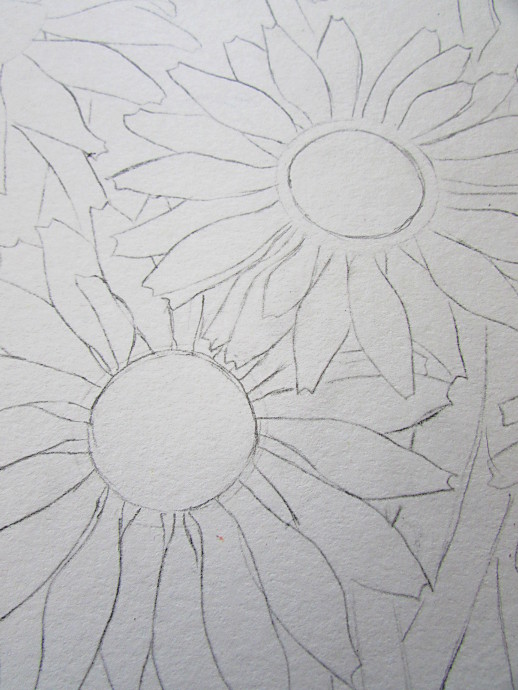
I started by just drawing a circle to be the middle of one of the daisies.
Next, I began drawing petals around the middle. You could see the next few steps below. I just fill the daisy with petals, some overlapping, some separate, all going around the middle, and staying to the circular mark on the map underneath. Keep drawing the petals until the flower is complete.
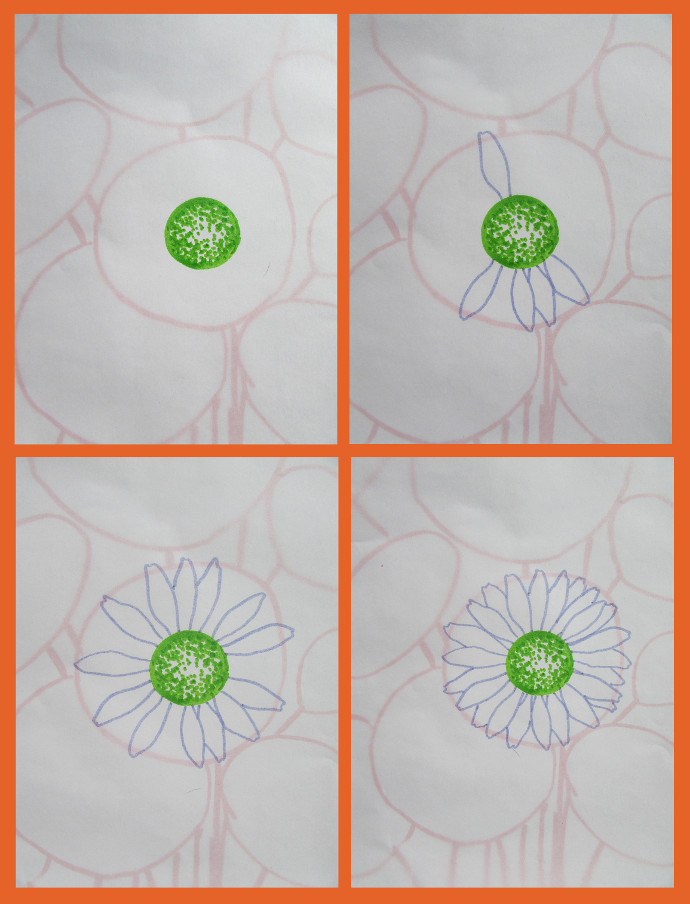
Once your first flower is finished, begin the second flower. It’s also a good time to start the lines for the stems. Even though the third flower is an oval shape, because it’s at a different angle, the principal remains the same. Draw a middle, in this case it will be an oval, and then proceed to surround the middle with petals, guided by the oval shape on your map. Adding a few leaves, and indicating the stem placement will make it much easier for you later on.
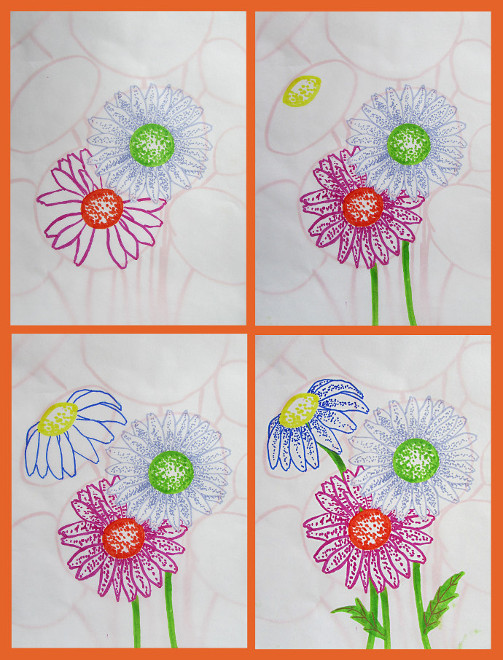
Do another flower. For this flower, I experimented a bit, and made the petals somewhat more disheveled. They have a bigger range in size, and are more irregular. I found that I like that even better then having them all even.
Continue working on each flower, using the map to guide you along. Middle, followed by petals, and an indication for a stem, plus maybe a leaf or two.
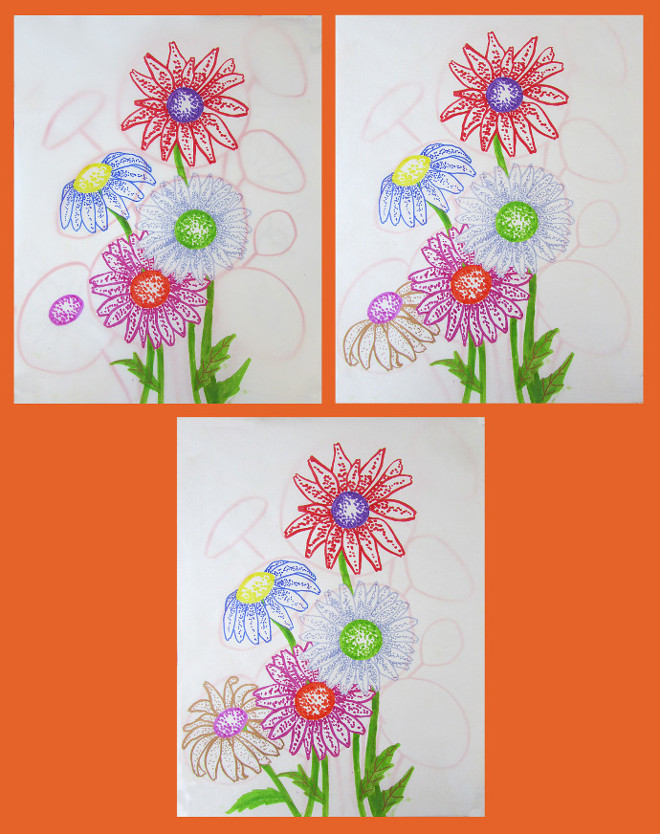
Another flower. I find that I like a good mix of flowers that face the viewer, and those that look to the side.
For the buds, and for the flowers that are turned away from you, start with the stem, and the leaves around the flower. Keep it simple: a ball shaped collection of green leaves. After you do the green parts, add some petals.
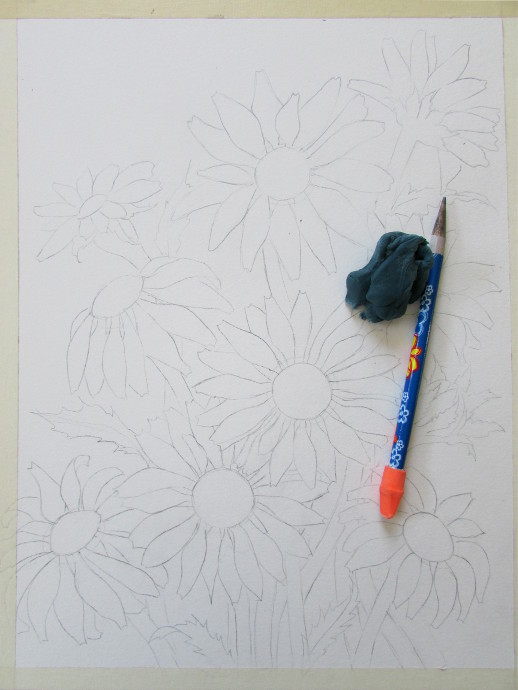
Few more flowers, and the sketch is done.
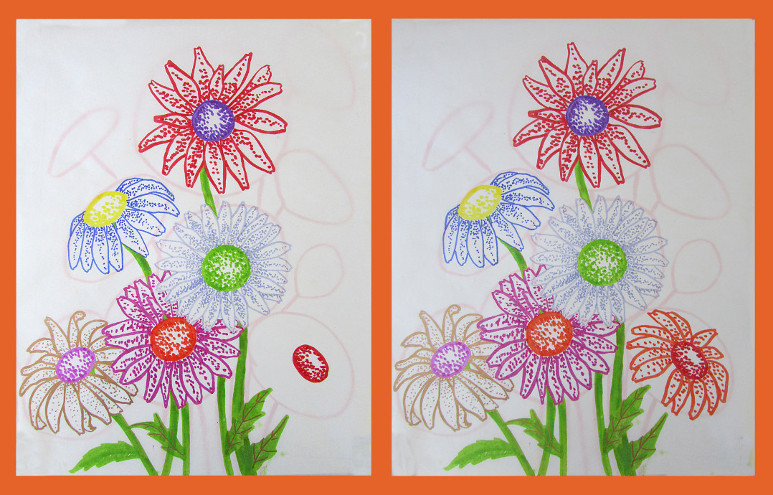
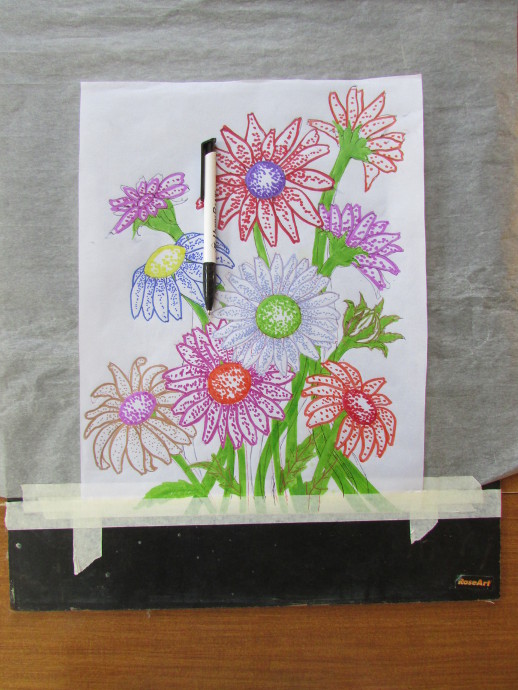
For the next step, I used SALLY’S TRANSFER PAPER. First, I taped my WATERCOLOR PAPER to a board using MASKING TAPE. Over that I taped, just on one side, the transfer paper, followed by the sketch. Then I used a regular pen to go over the sketch, thus transferring it to the watercolor paper.
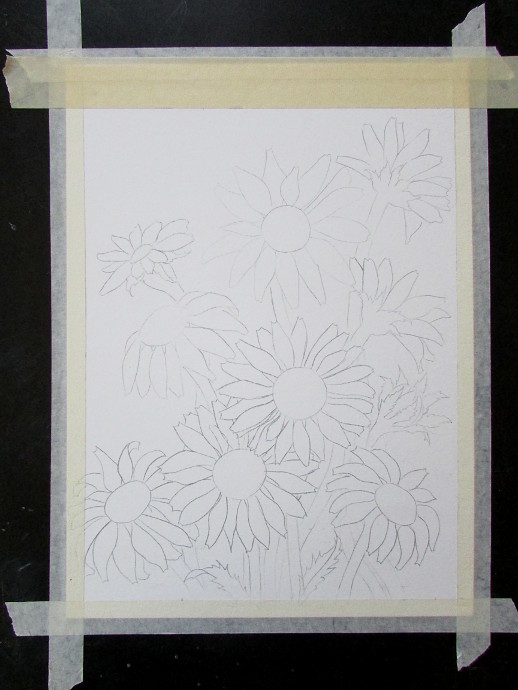
After I peel the tape, remove the sketch and the transfer paper, this is what I am left with:
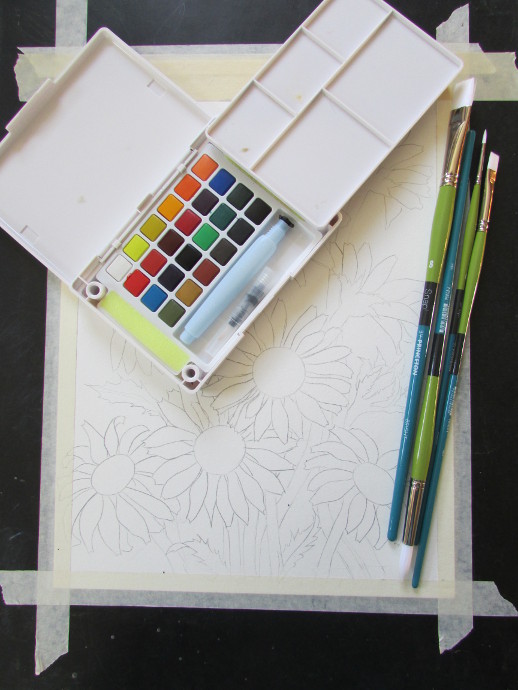
Here are my lovely new paints, and some brand new brushes.
After I transferred over the sketch, I noticed that the middles were a bit too big for my liking. I erased them with a small eraser, and drew smaller middles, extending each petal down to it.
Using a simple KNEADED ERASER I lightened some of the darker lines.
Painting Daisies Using Negative Watercolor Painting
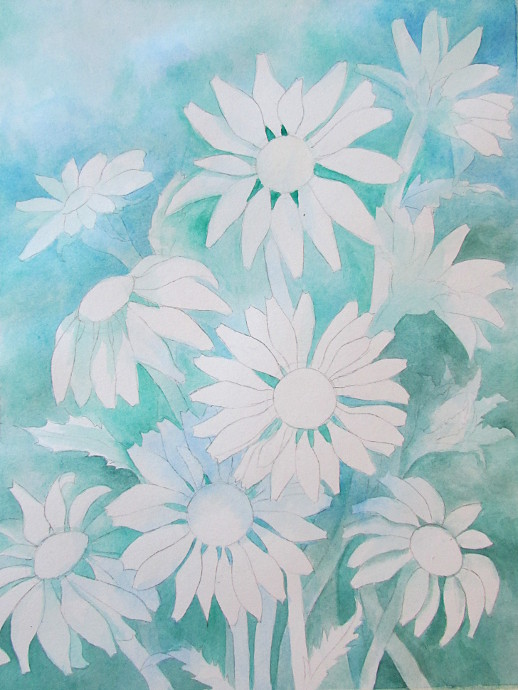
First, I picked up a bit of blue and started painting in the background. I gently washed the blue almost all over the painting. The only areas I left completely untouched were the petals on the front most flower. Some places got a bit of a harder edge to the paint (like the spots above the front most flower), but most edges are soft, washing away right over the flowers.
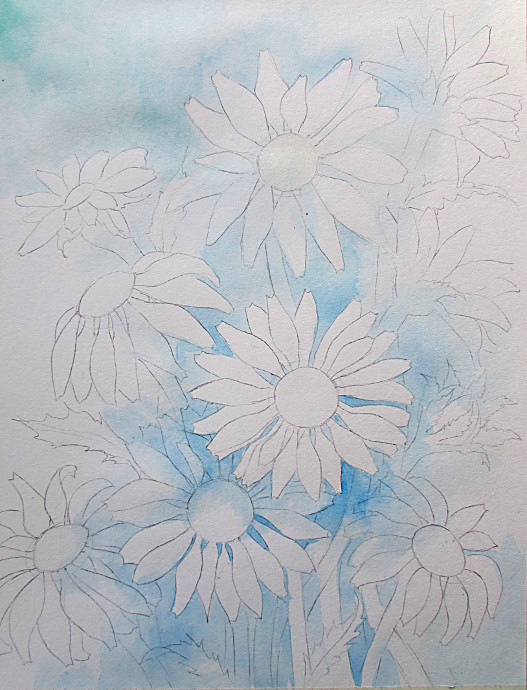
Using a bit of a different blue, I repeated the same step, except this time, I left the flower on top, and the front flower on the bottom untouched. Again, some edges are harder, especially around the areas that I wanted to pop a bit more. Some flowers I went right over with a thin layer of paint. It’s very arbitrary and just see what feels right to you when doing this.
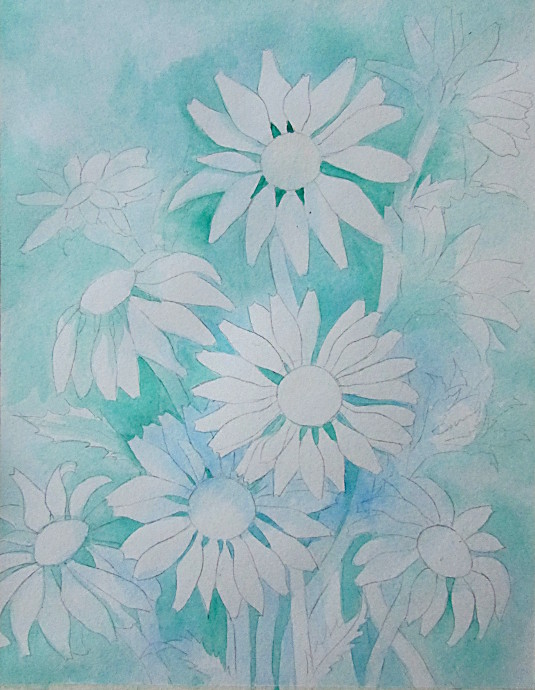
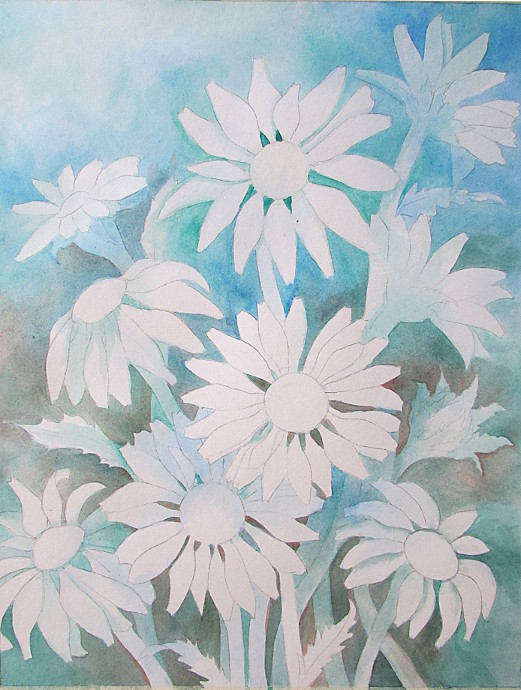
I kept adding diluted blue paint, allowing it to dry a bit in between each layer. Each time I would add a layer of blue paint, I would leave another area untouched. Until, eventually, all the flowers were highlighted, with some being lighter, and some quite a bit darker.
Once more, I went over with very diluted blue/green hues. Don’t forget that the stems count as parts of the flower you are looking at, so each time I would highlight the flower, I would do the same thing to it’s stem.

This time around, I added a touch of brown to the background.
Now, I added bits of light green to the stems and the leaves. When working with this technique, it felt like the most important thing was applying the paint in thin, transparent layers.
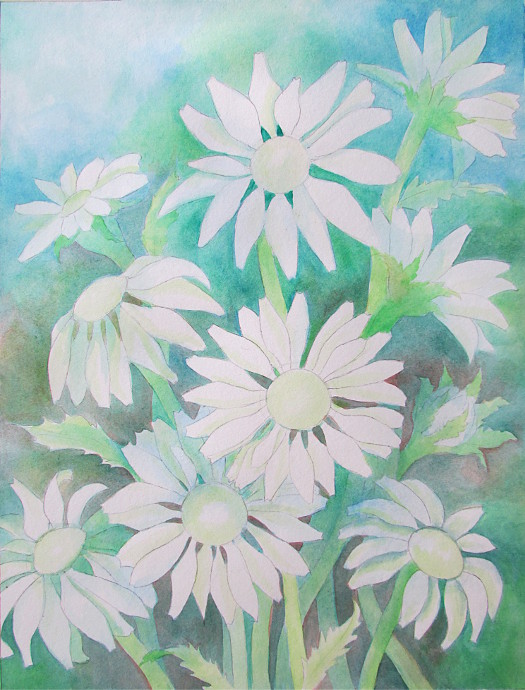
Add a bit of yellow to the centers of the daisies.
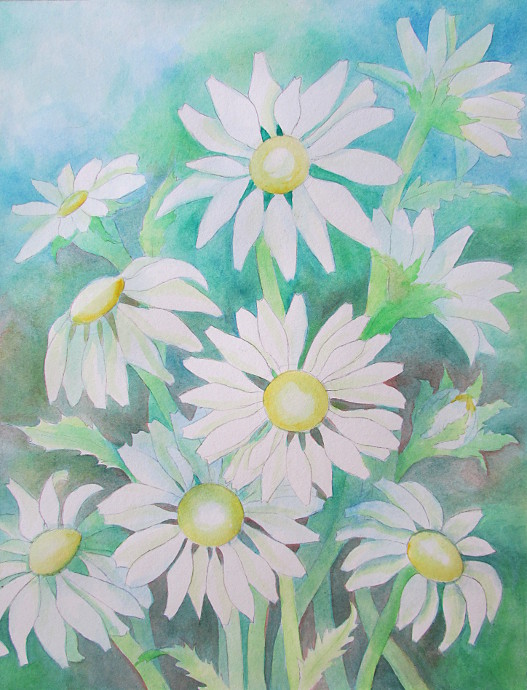
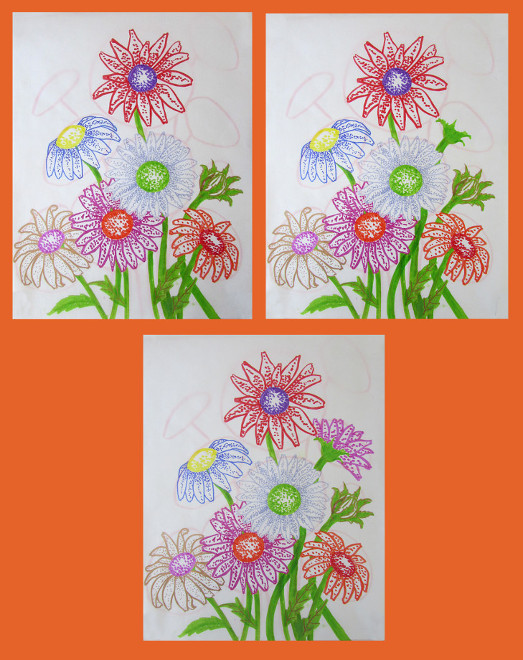
I added a bit more yellow to the centers, to make them pop out a bit more. I also added some shadows to the stems and leaves, using a darker olive green and brown.
For the finishing touches, I used a very light blue to add shadows and highlights to each petal. I also used some white to add groups of little spots all over, simply because I liked the way it brought everything together.
All done! Now all there is left to do is to gently peel off the masking tape.
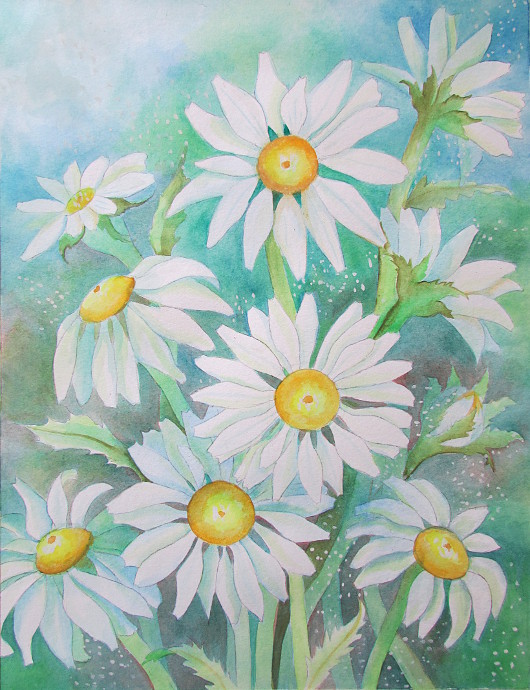
At the end of it all, it was worth the effort! I really enjoyed the process, and love the results. Plus, it’s a good trial run for a much larger project I have. Now I know for sure that I would love to use the same technique in a larger watercolor painting.