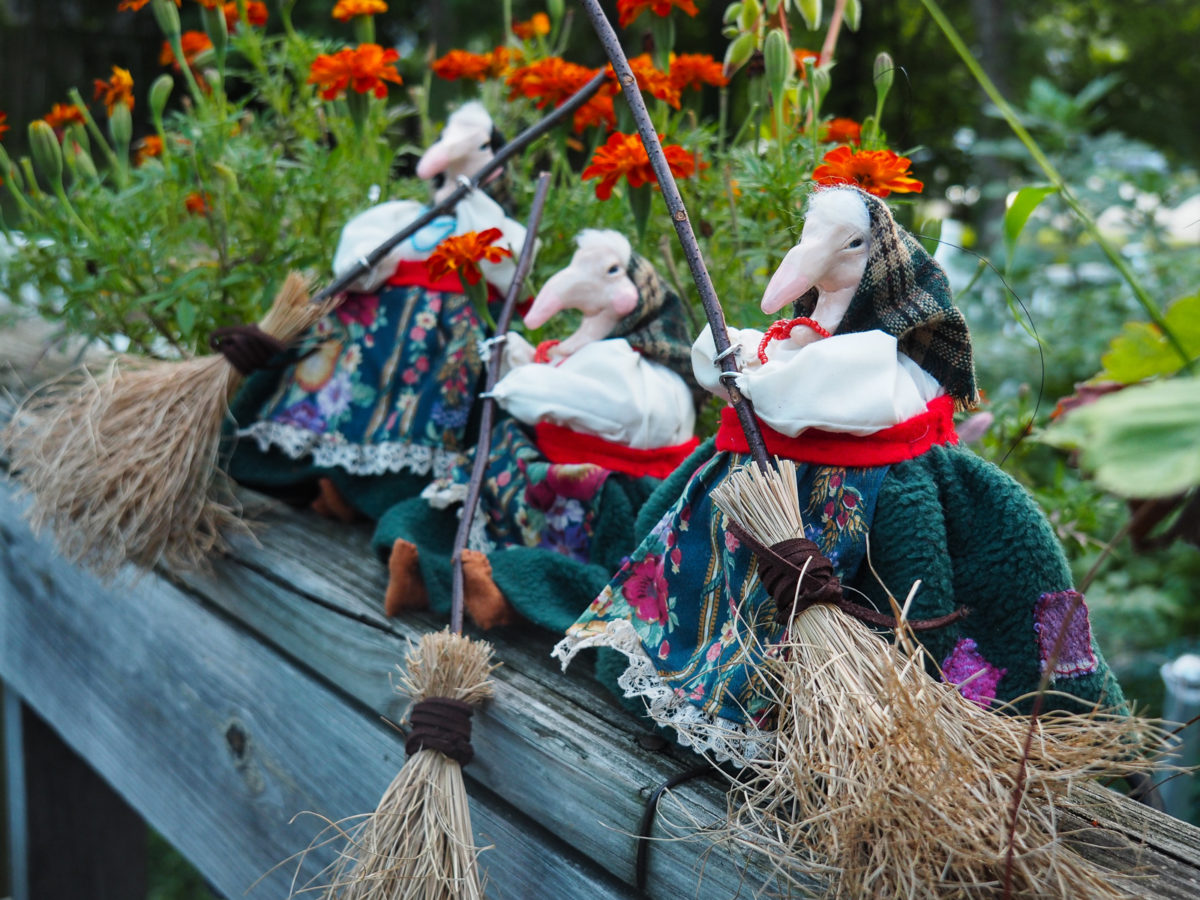
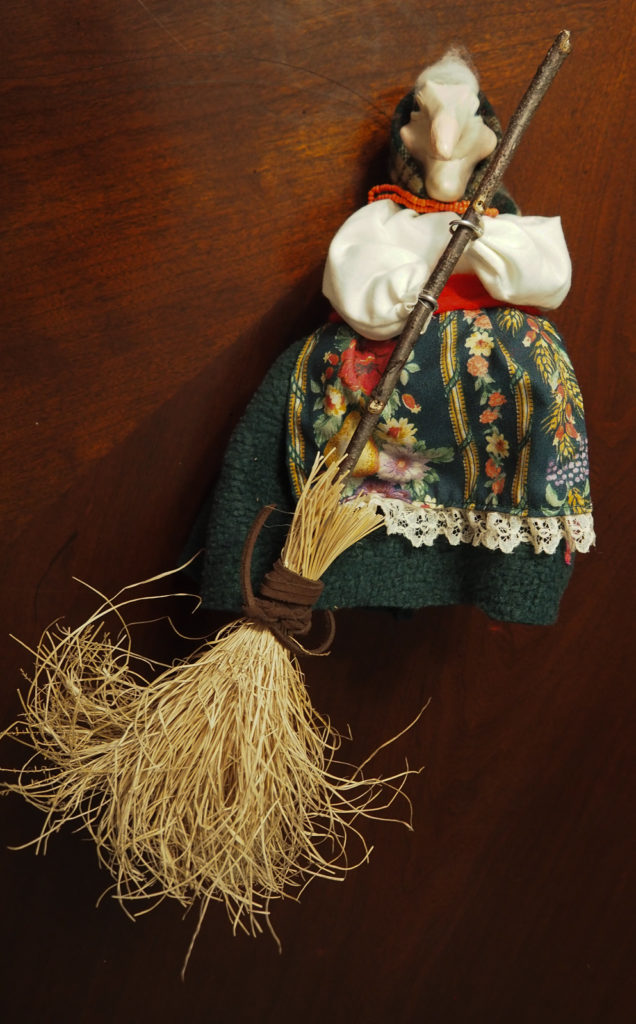
Recently, I made this adorable Crafty Kitchen Witch. Well, to be honest, I made 3 of them for my friends. I grew up listening to stories about Baba Yaga, so this little witch is close to my heart. It was amazing to use all kinds of little bits and pieces to create these awesome little ladies. They came out adorable, and did a fantastic job increasing my confidence when it comes to making cool things.
Here is how I made the Crafty Kitchen Witch and the mistakes I made along the way.

But first, supplies:
***Please note, some of these links are affiliate links.***
- Aluminum foil.
- 16 gauge aluminum armature wire. I especially like this one. It is easy to cut, bend and shape.
- Oven bake clay in whatever color you prefer the skin tone to be.
- Paint to add rosy cheeks, and paintbrushes of course.
- Fabric scraps, and basic sewing skills (I used my rudimentary sewing machine skills, but I can easily see this being done by hand.)
- Some polyester fluff or quilting batting to make the filling.
- Yarn in whatever tone her skin is in.
- Masking tape.
- Aluminum foil.
- Sculpey Glaze.
- Roving wool for her hair.
The Armature
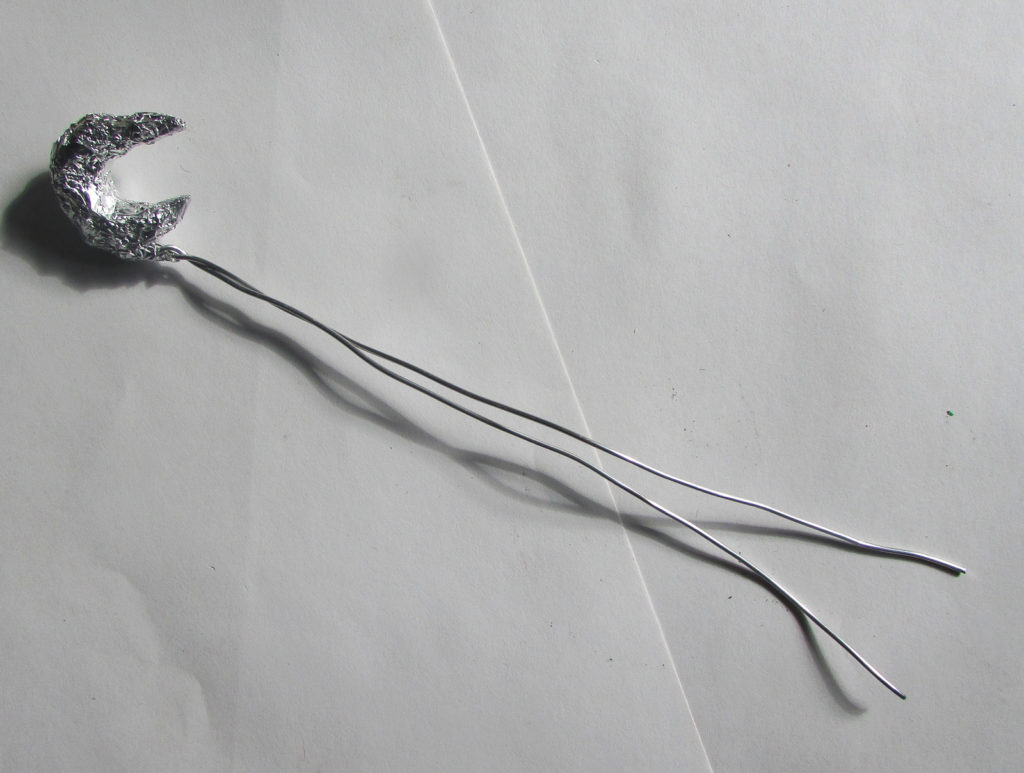
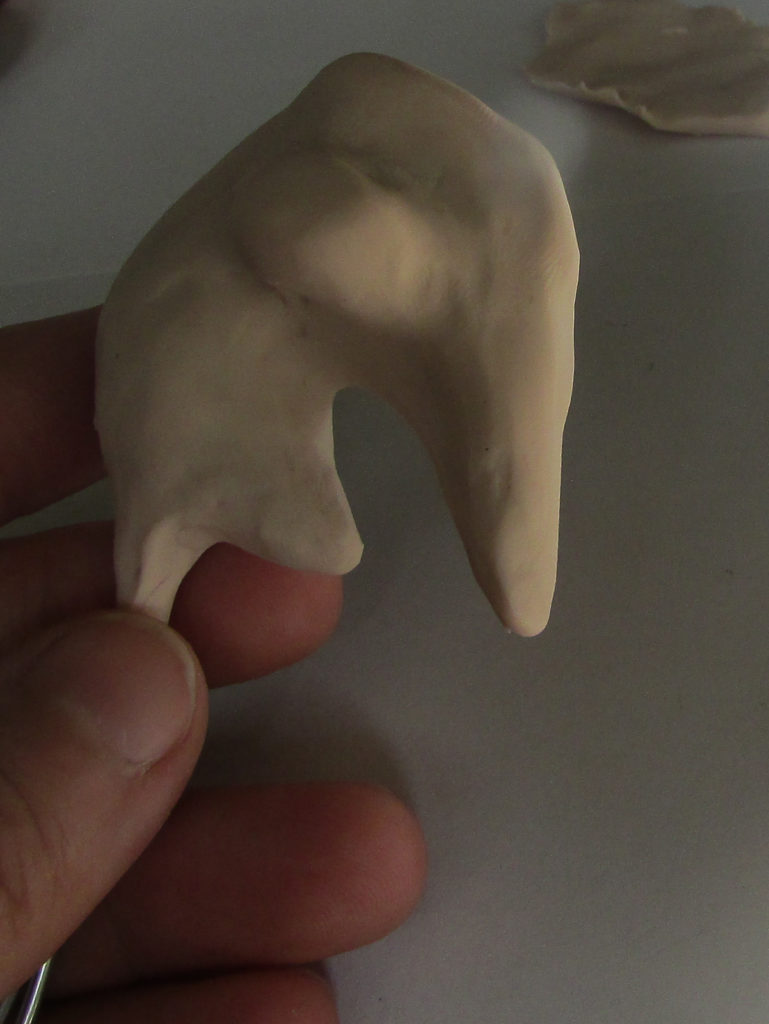
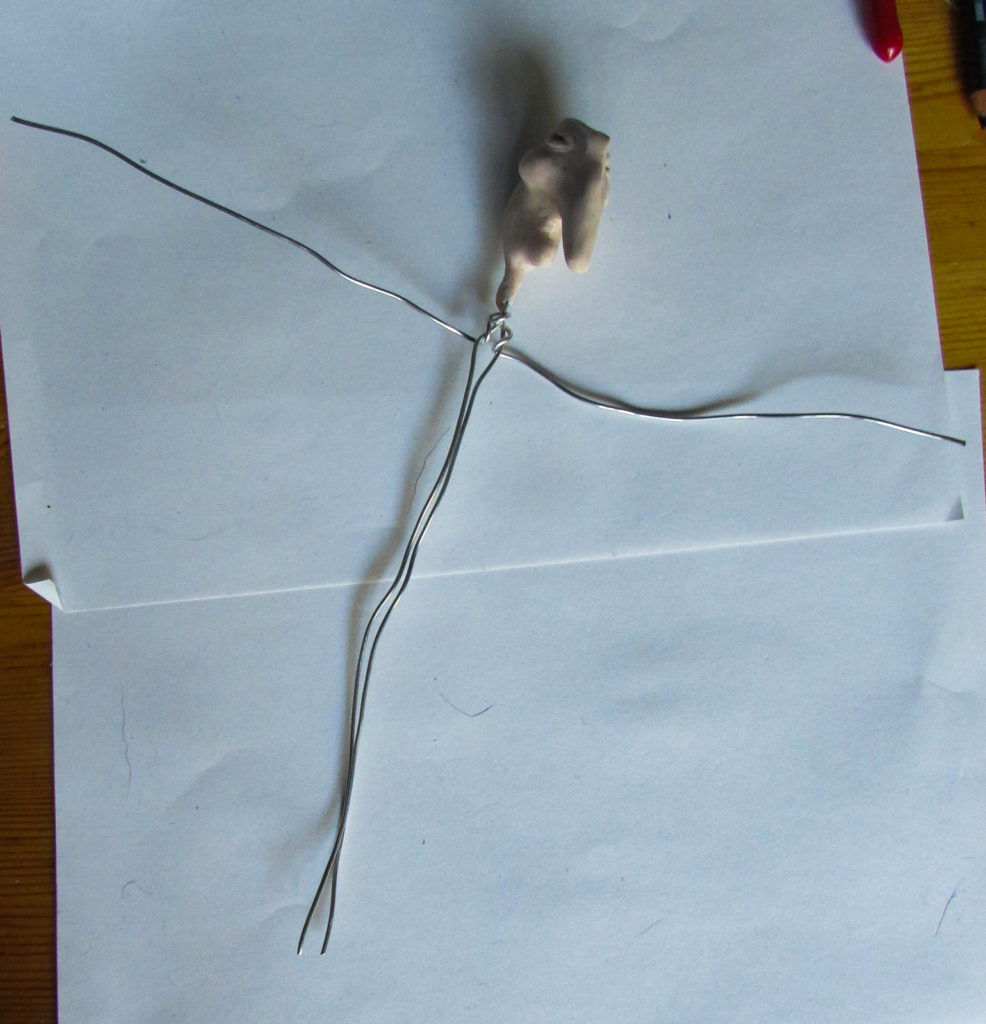
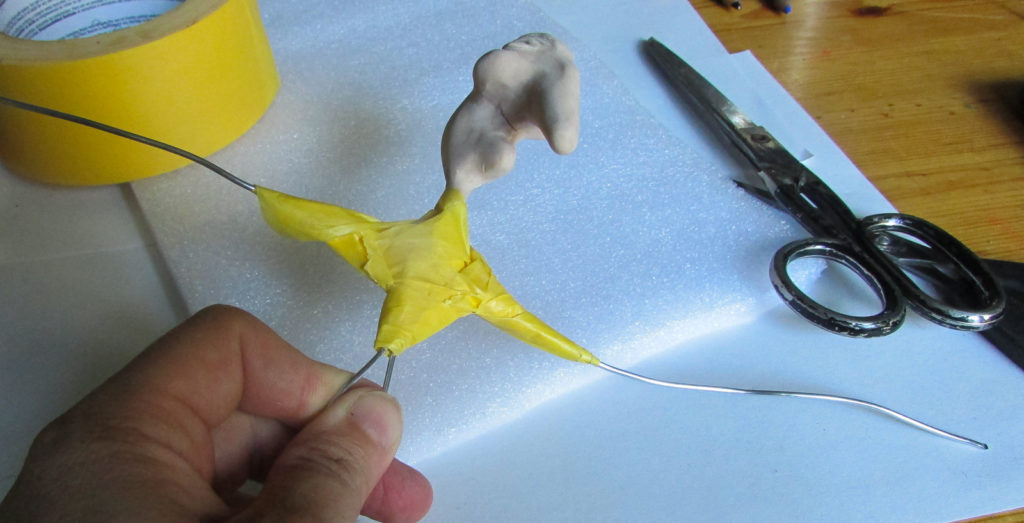
First, I made an armature for my witch. Inside of the aluminum foil crescent in the photo above is a piece of armature wire, about 2.5 inches long, bent into a U-shape. Then the long wire (aka the legs) are attached to that small letter U, and the foil makes a nose/chin crescent shape.
The Face
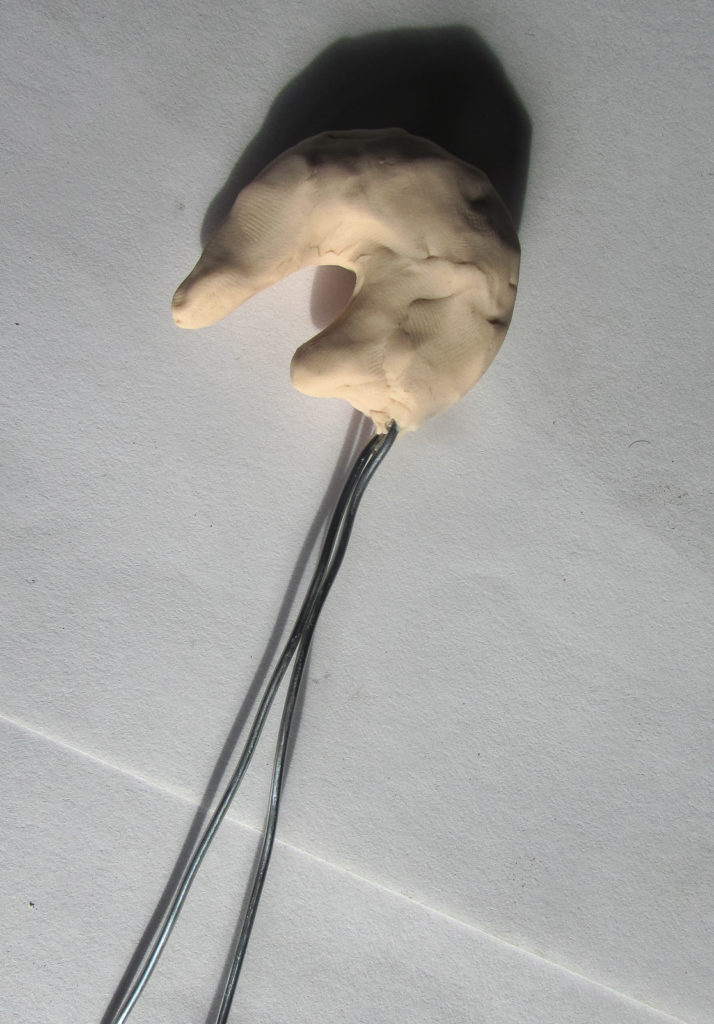
Now, I took the skin tone clay and layered it all around my foil face.
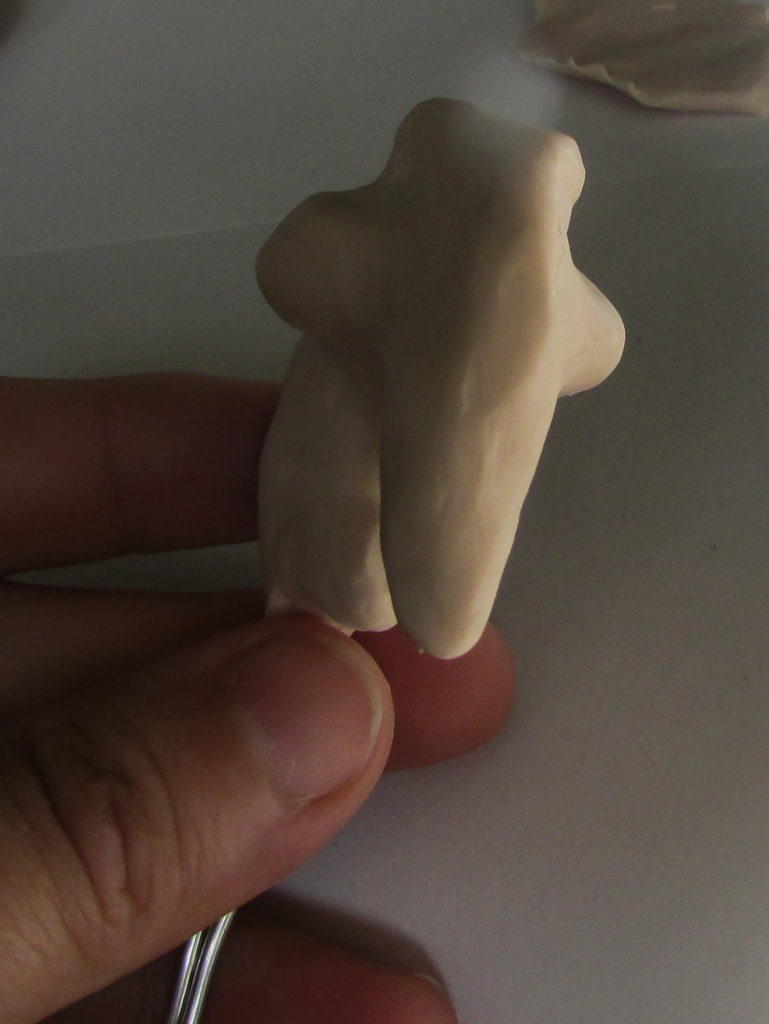
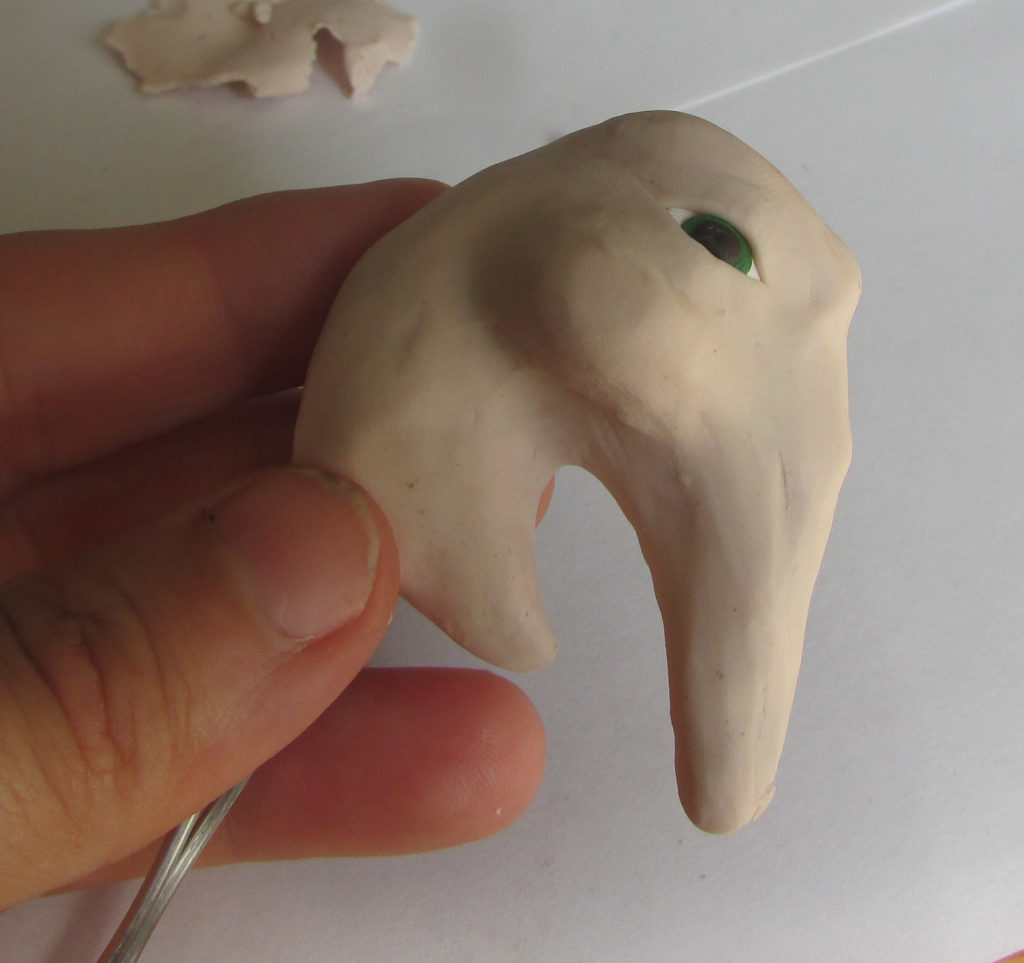
I shape the face, and give her a nice long nose, two fun cheeks, a tall forehead and a space for eyes.
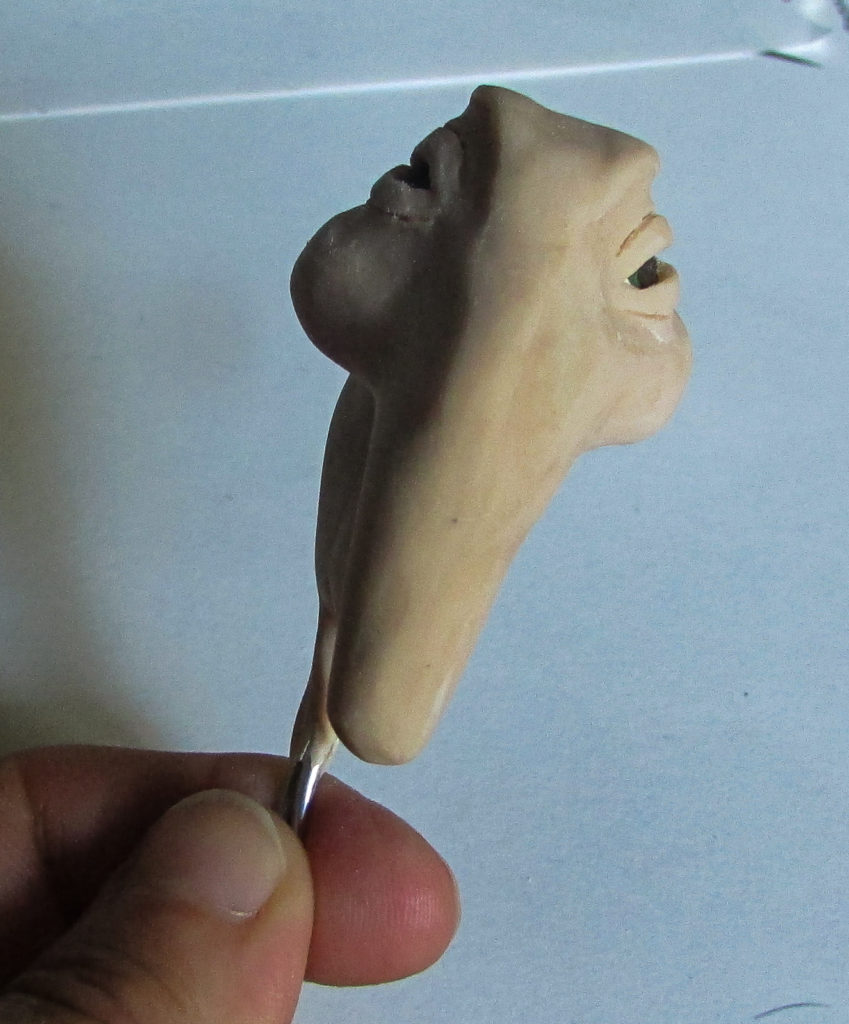
Here is her face from the side.
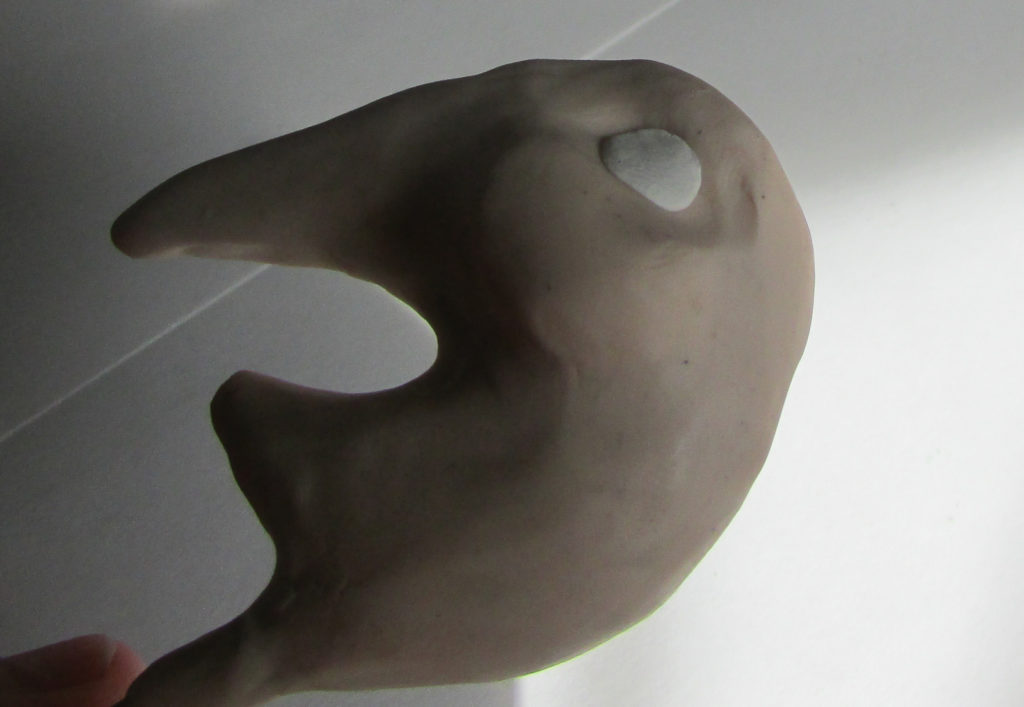
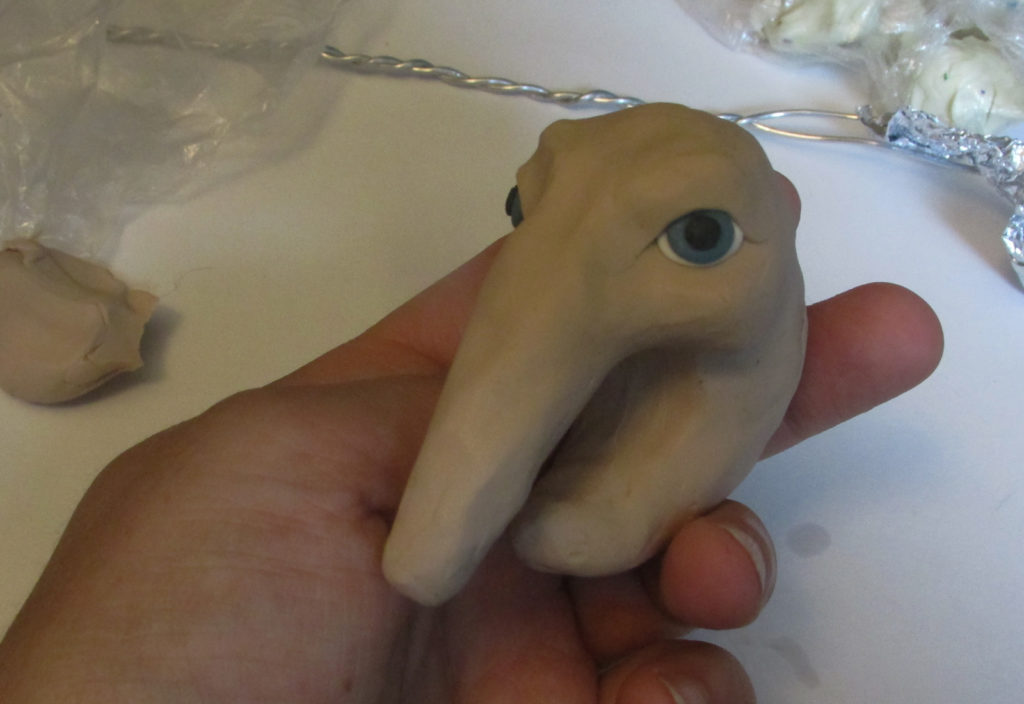
When I shaped her face, I made some indentations for her eyes. Now, I just put two little white circles in the eye sockets.
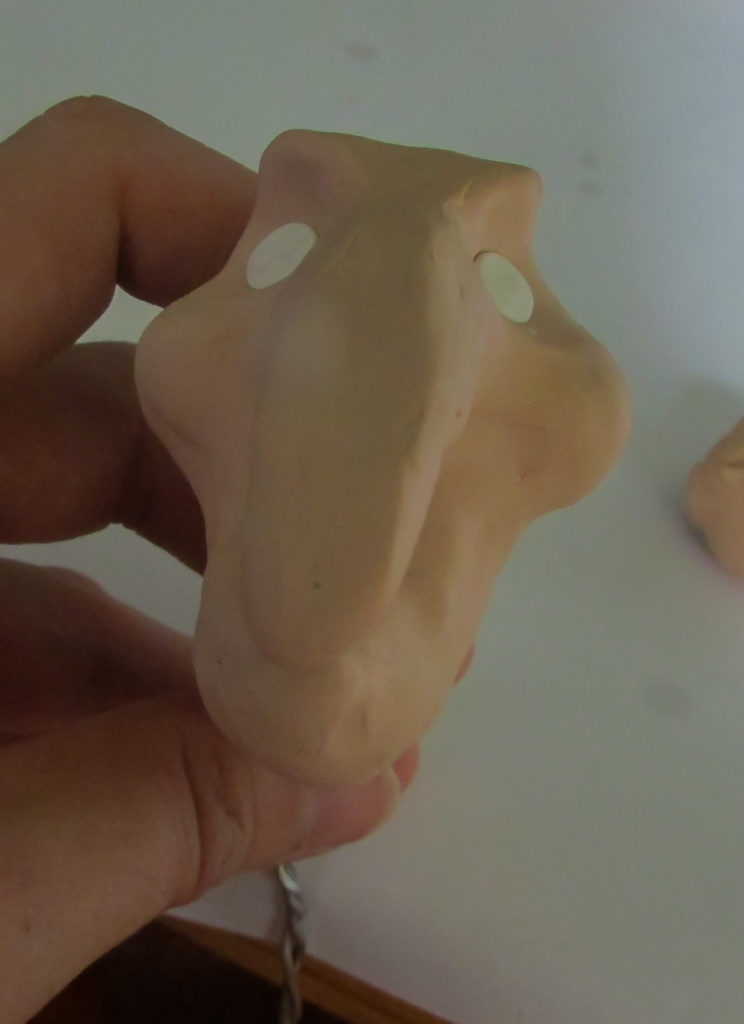
Her view from the front.
Now, I put a little blue circle for the iris, and a black one for the pupil. Except that I gave her two different color eyes.
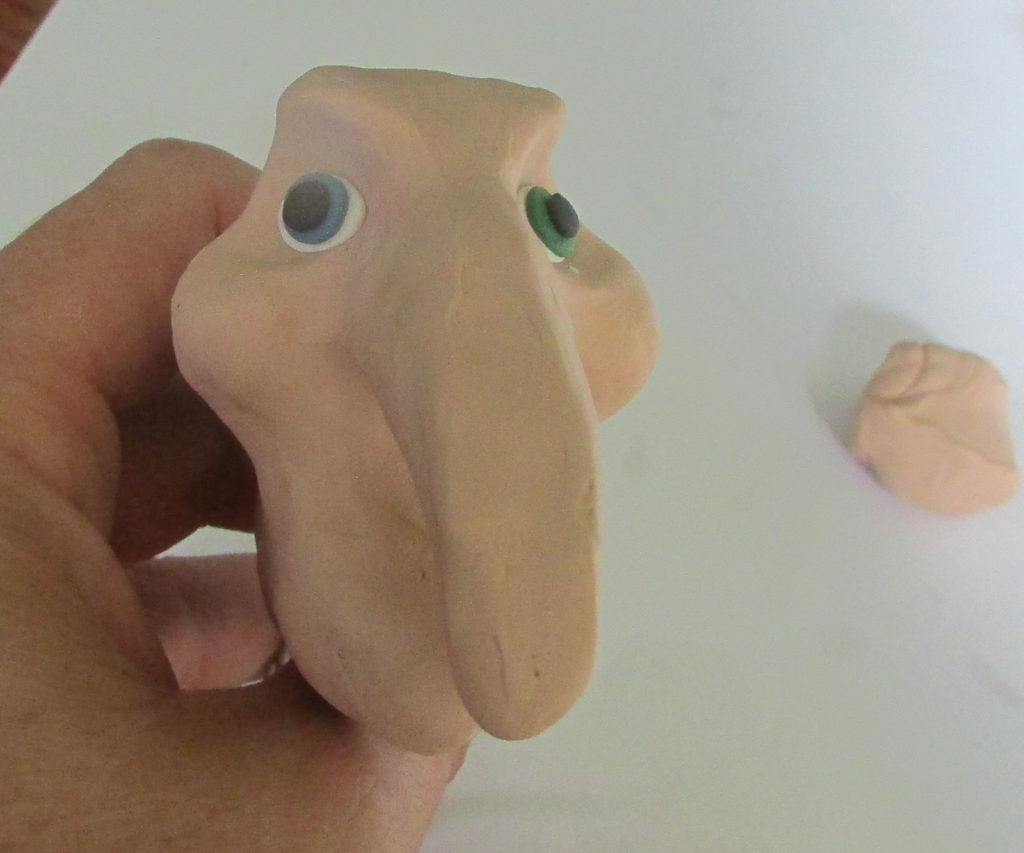
Front view: one blue, one green.
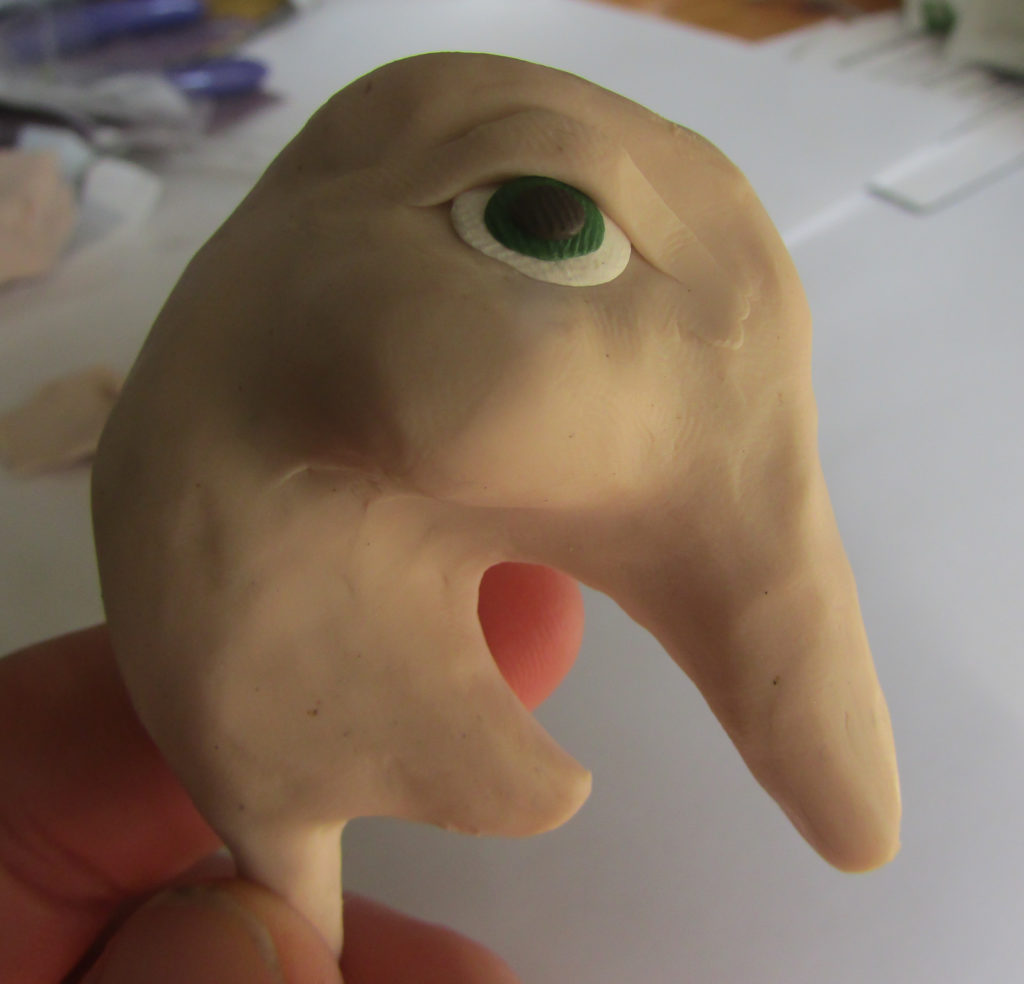
Thin little pieces of clay to form her eyelids.
Smooth the eyelids out.
I also added and shaped a bit of an eyebrow ledge above her eyes.
I add a bottom lid in the same way.
Using a pointy tool, I made two little lines to show a fold in the eye lids.
Here are a few more photos of the eyes.
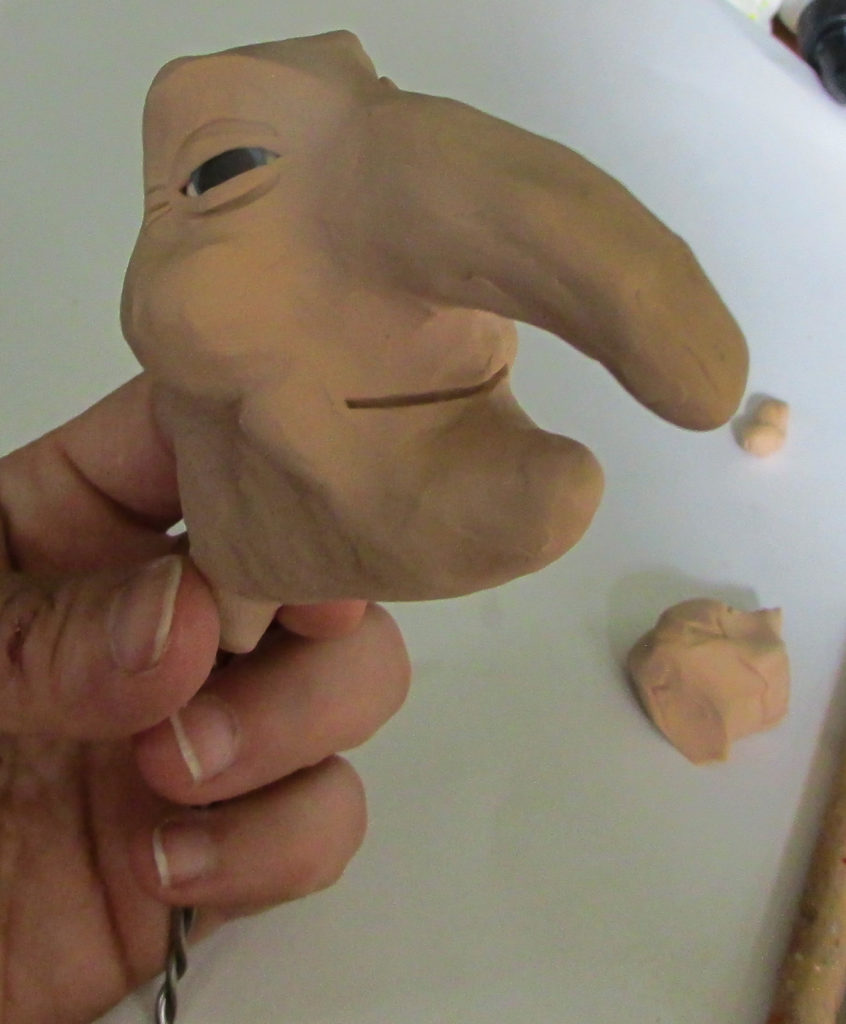
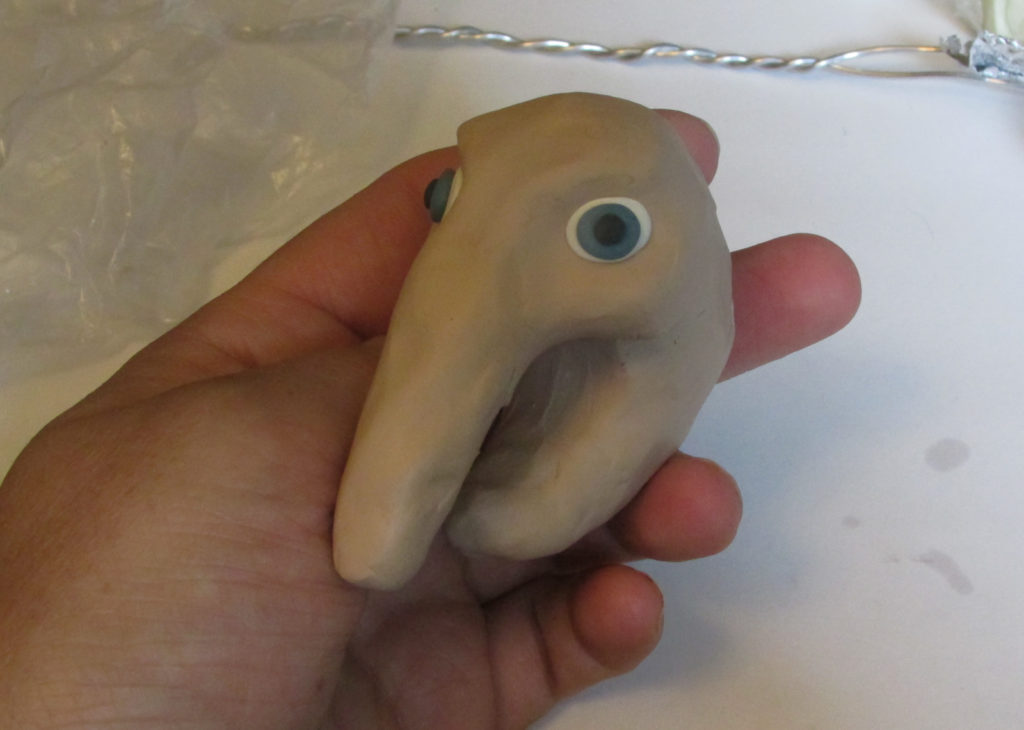
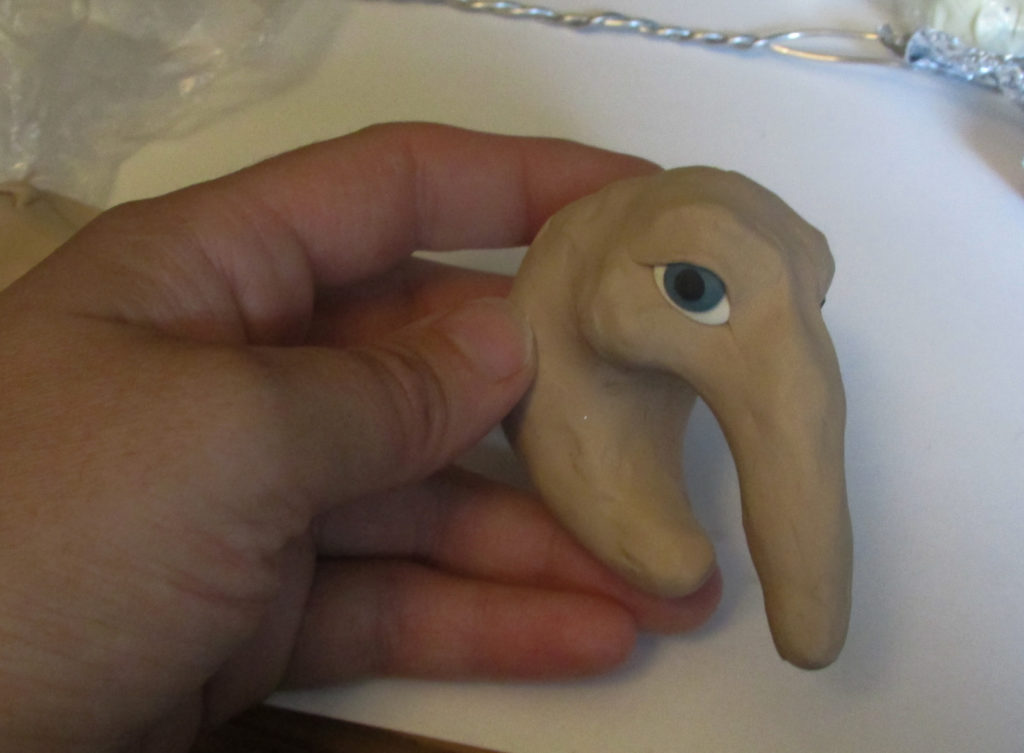
Give her a little wrinkle by the eye, and a smile, and her face is complete.
The body
Using the existing length of wire, I attach a new wire. This one is arms.
I use simple masking tape to keep it in place and give the shoulders some volume.
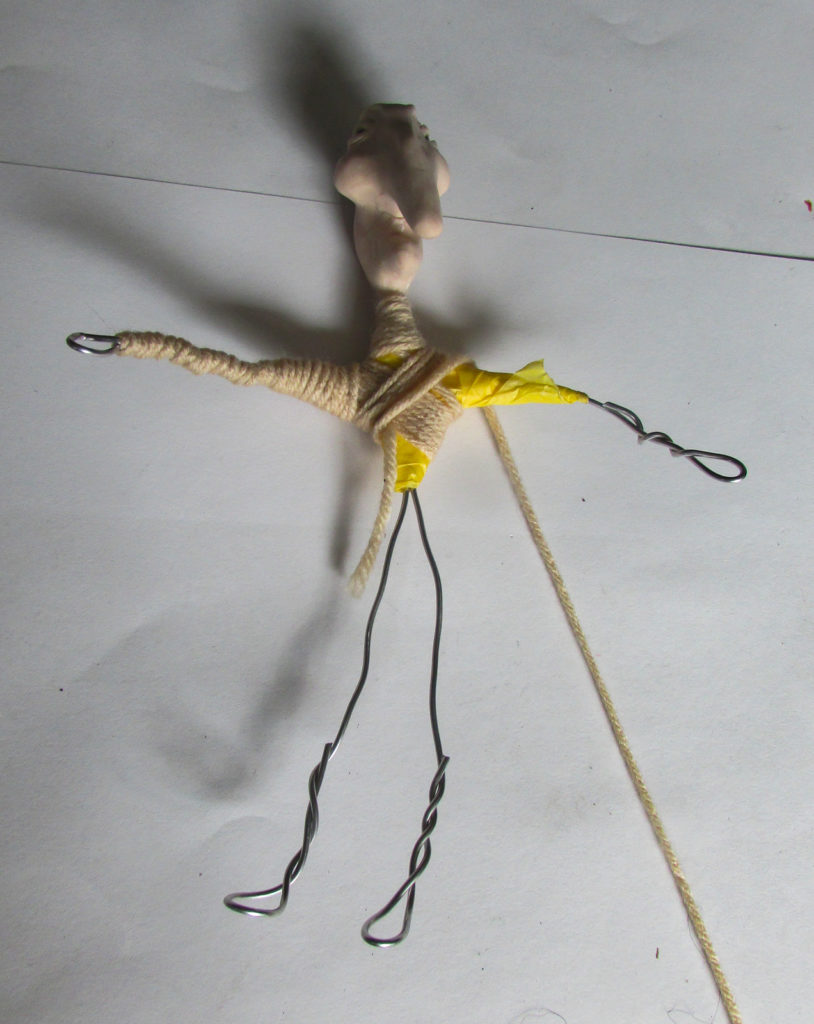
I bend the ends of the wire in at the correct length of legs and arms, and then twist it around to make the loops.
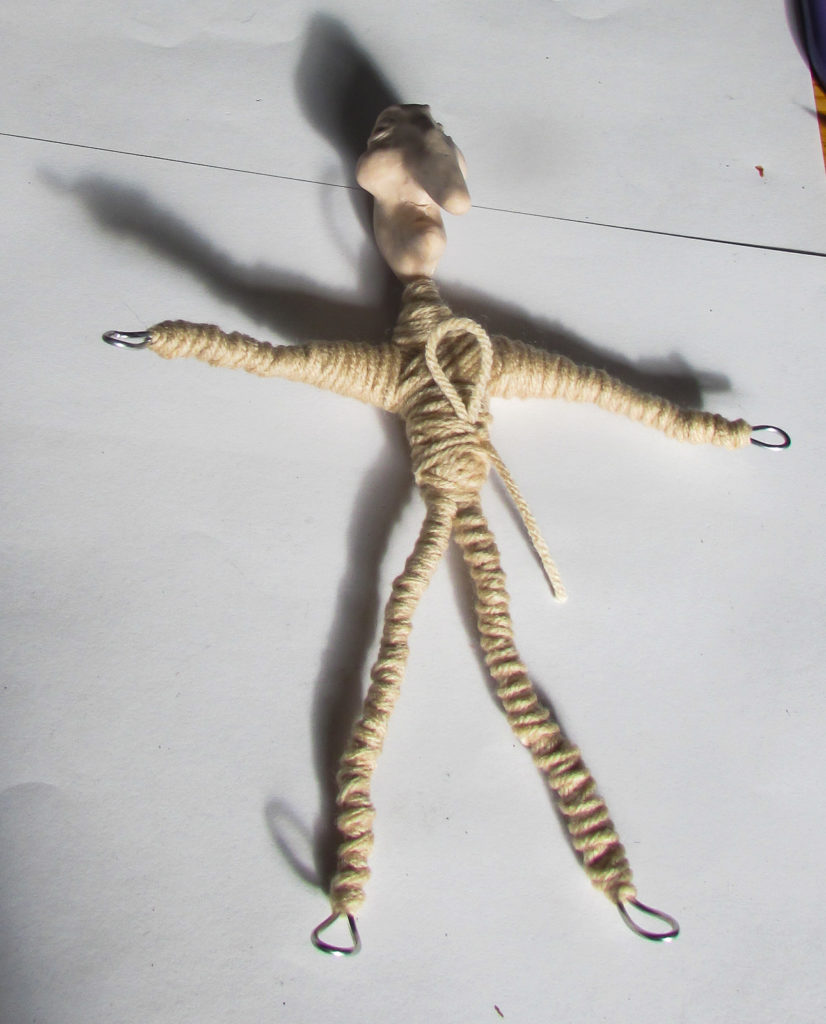
Finally, I use yarn to wrap all around the body.
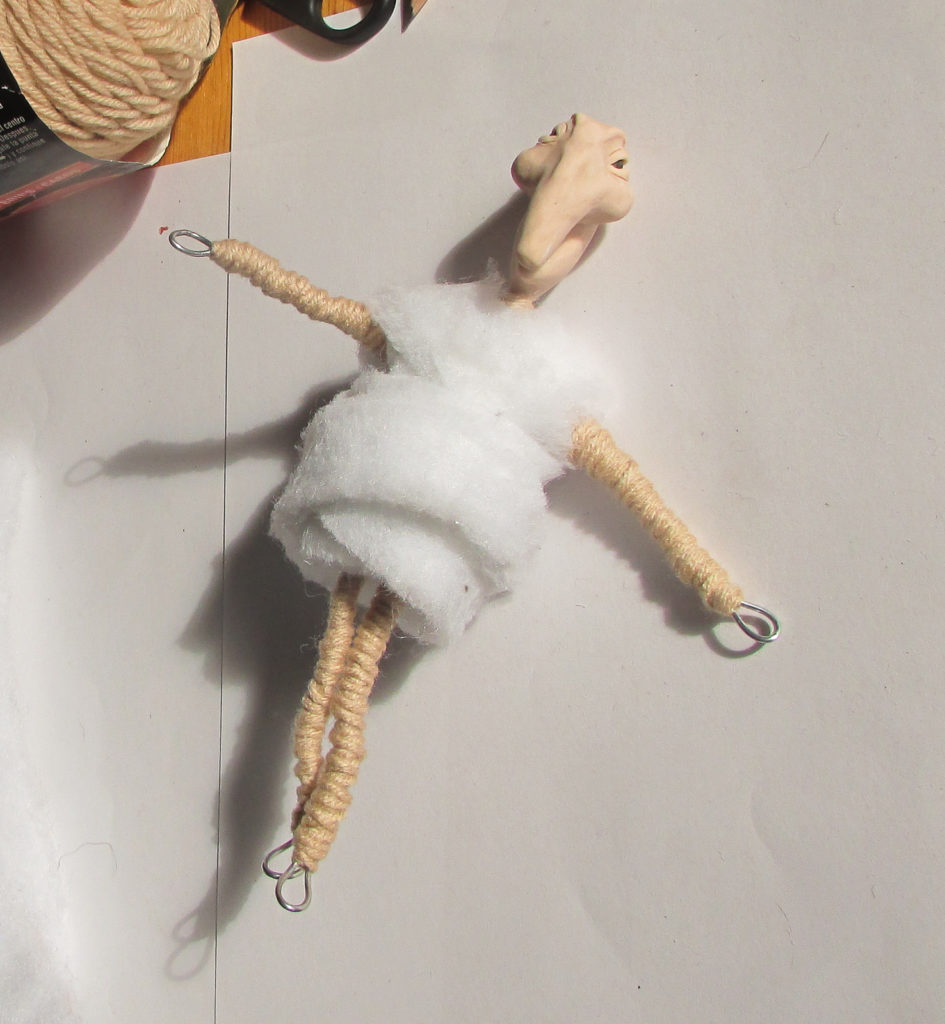
About an inch long strip of batting wrapped around her body to make her look adorably round.
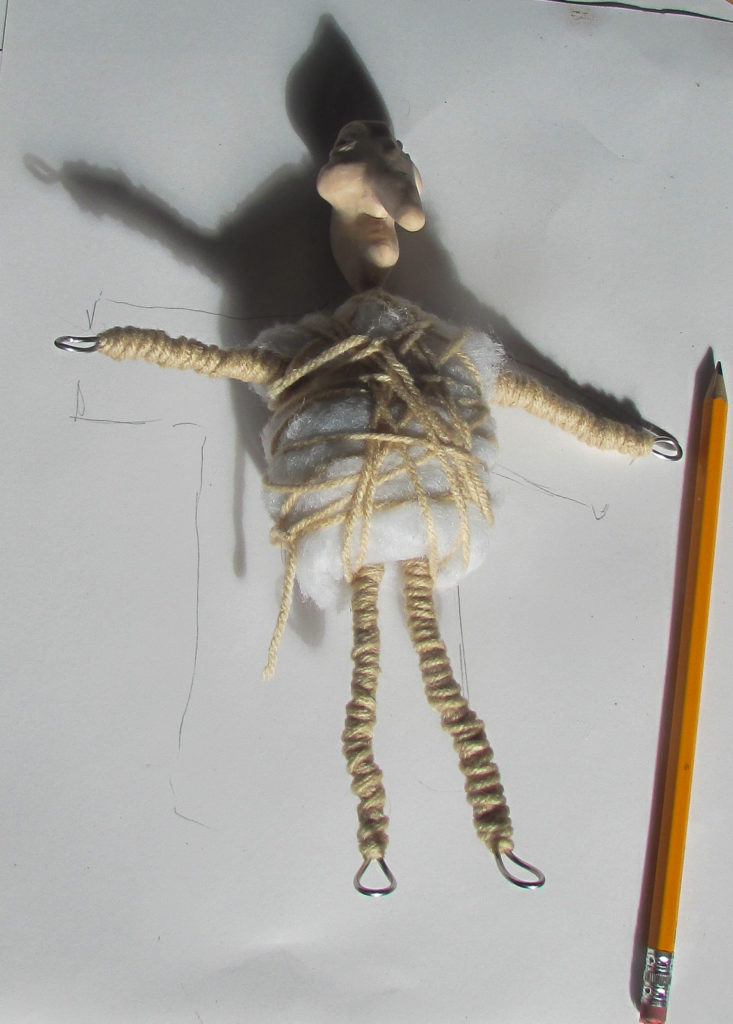
I used yarn to lightly wrap around the padding, this way it stays in place.

As a final touch, I painted her nose and cheeks in pink acrylic paint, and used sculpey glaze to make it all shiny.
The Clothing
To start the undershirt, I folded a piece of paper, put the witch down on it, and drew an approximate shape of the shirt.
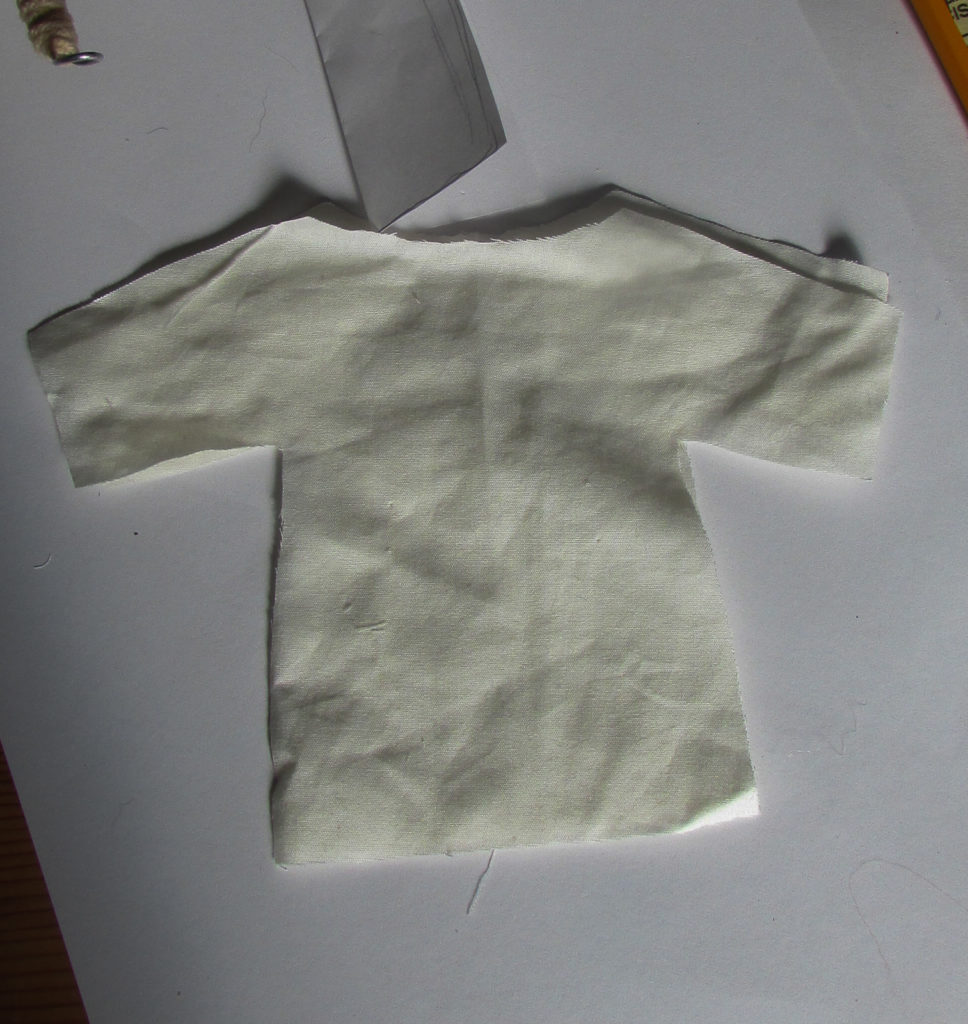
Here is the mistake that I made. At first, I cut out two identical shirt shapes…
… and sewed them together. Well, good luck getting that on. 🙂 Here is how I actually made the shirt:
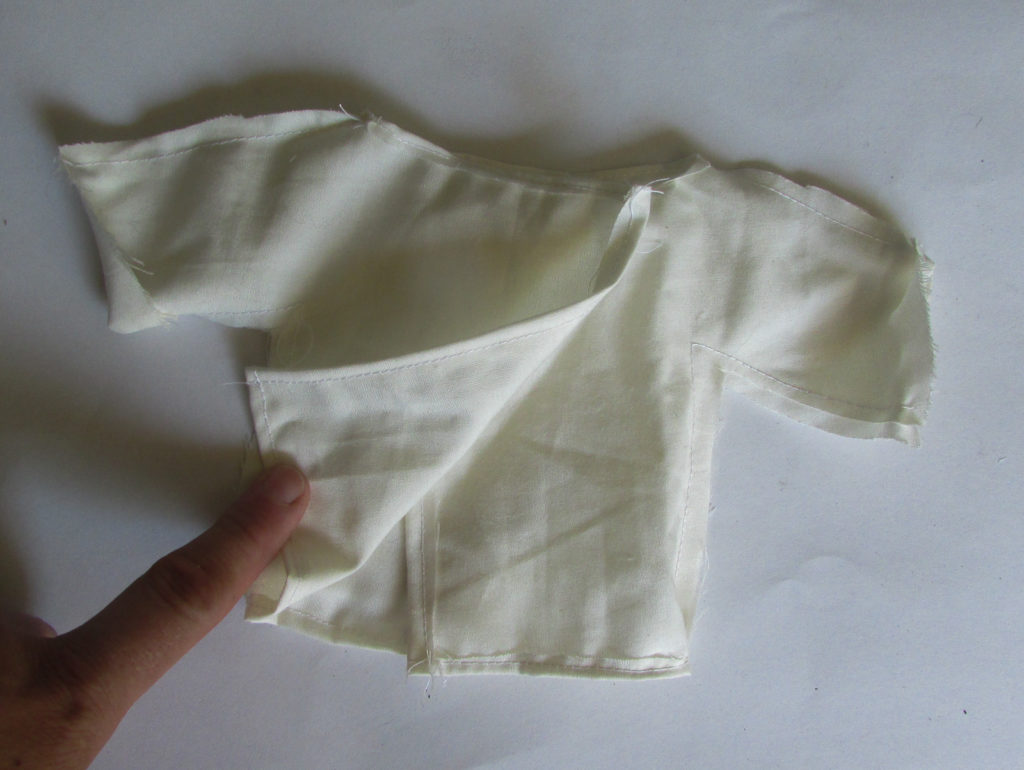
I cut out three shirt shapes. Cut off one of the sleeves off 2 of the shapes, and attached them together as you see in the photo above.
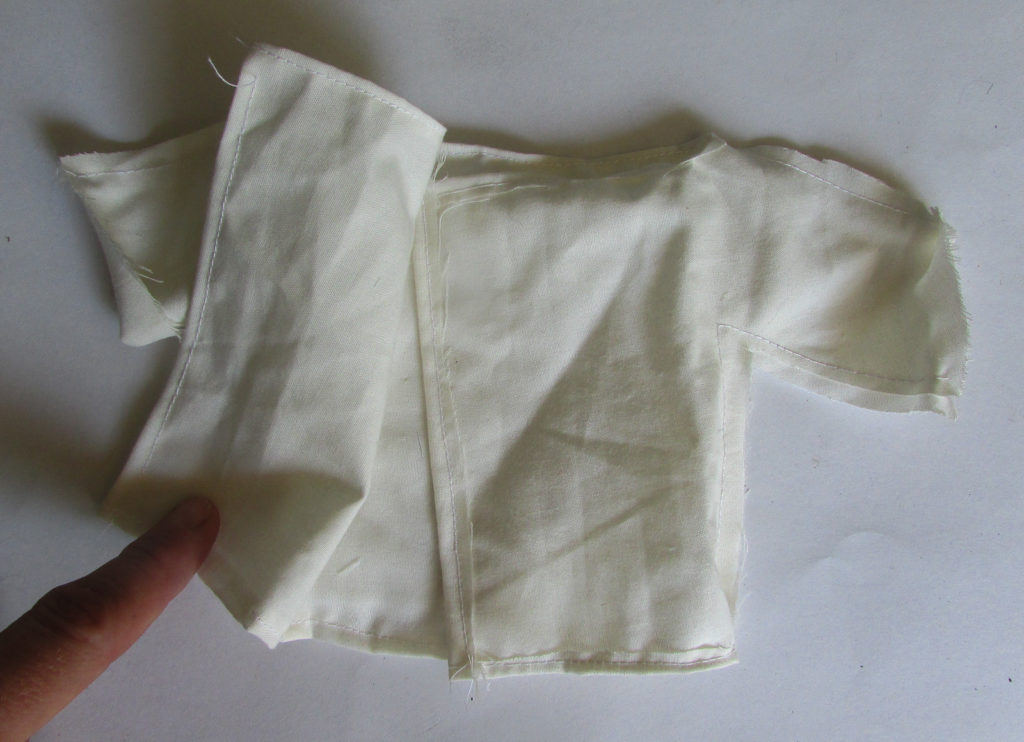
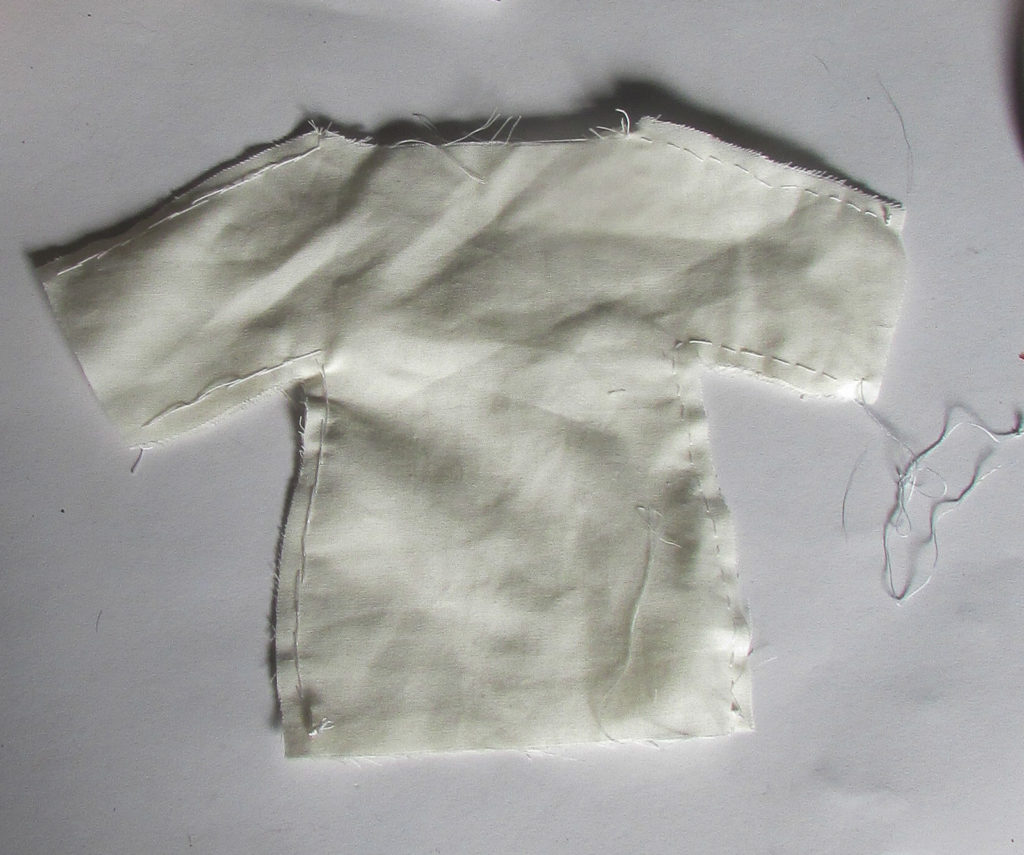
I trimmed the edges using my sewing machine, but this part can be easily done by hand.
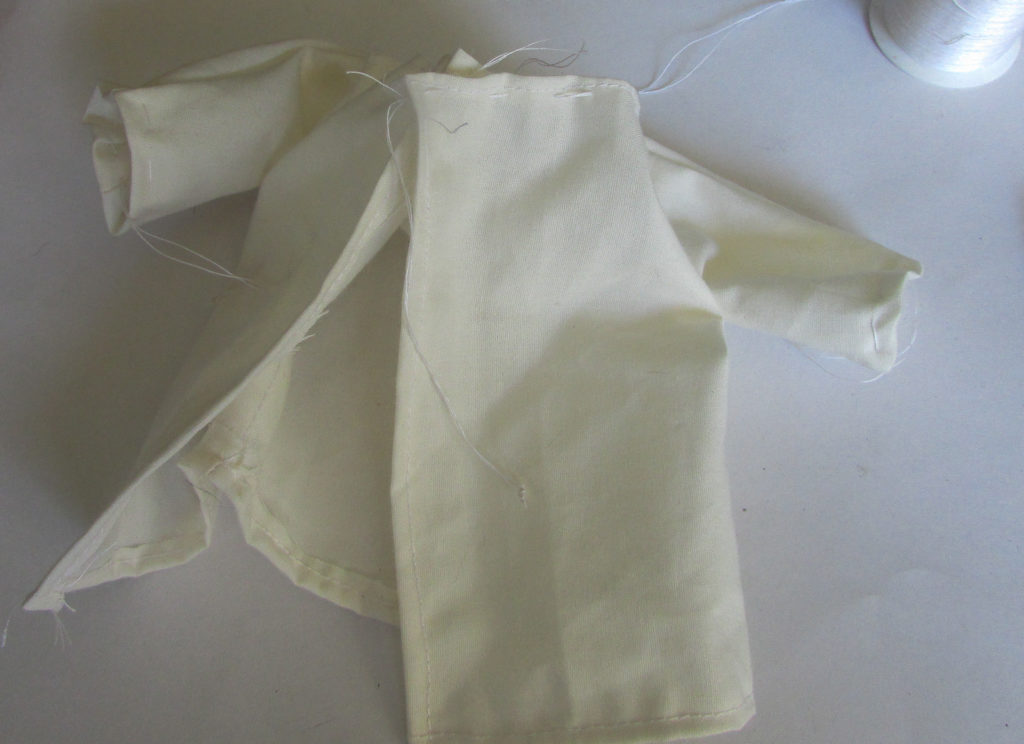
Before putting the shirt on, I gathered the neckline and the sleeves with white thread. This way, when I put it on, I can just pull on the thread to make it fit well.
There it is! I put it on so that the open flaps are in the back. I gathered the fabric around the neck and arms, and secured the back with a simple stitch.
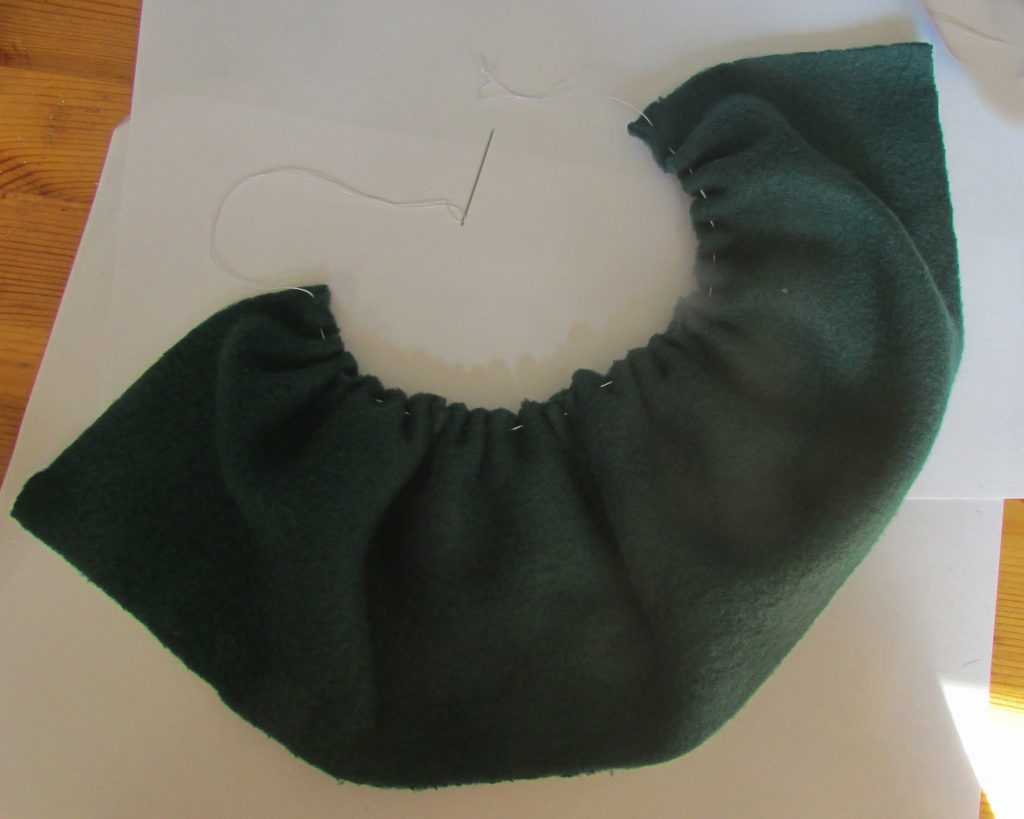
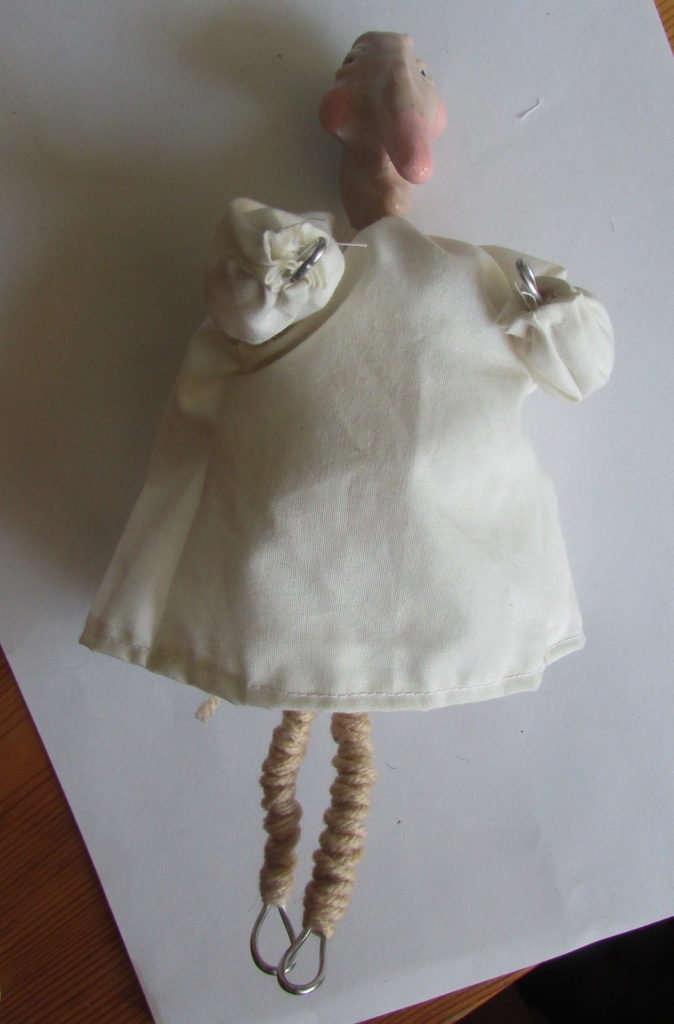
The skirt is a long rectangle. It was a good size to be able to gather it, and wrap it around the waist of the witch.
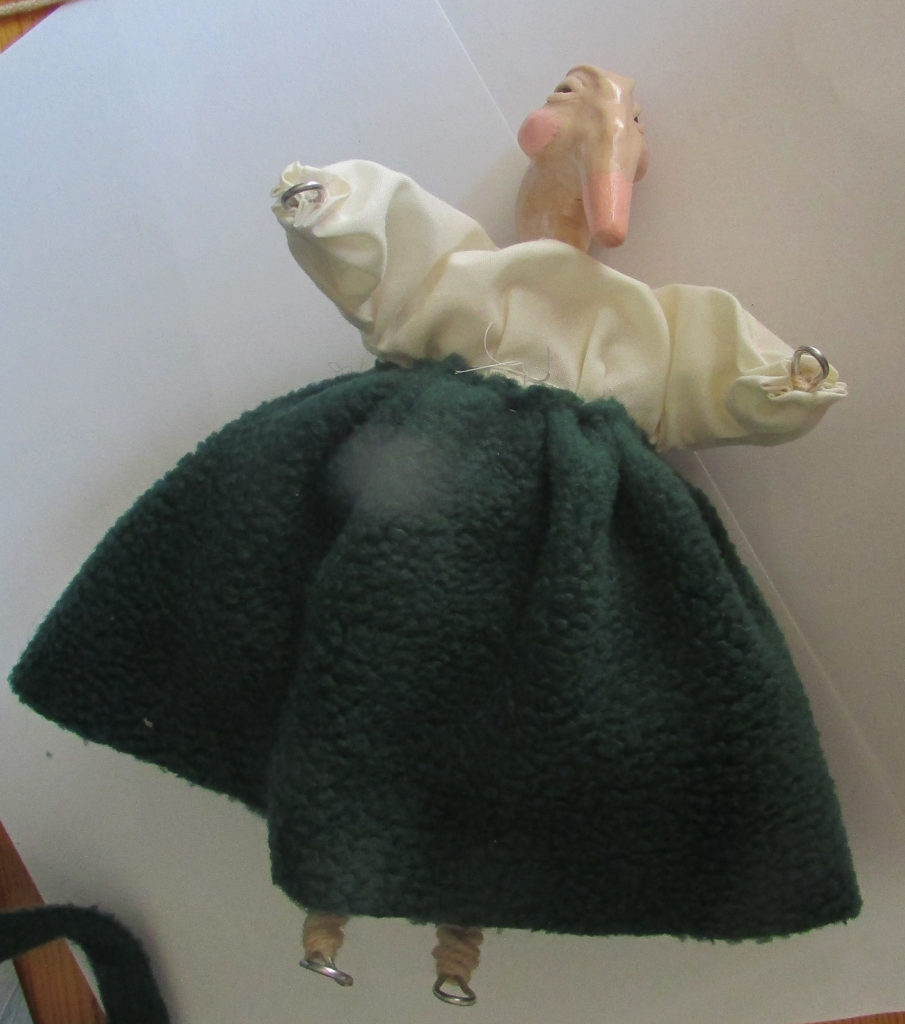
There it is, on and attached. I used my sewing machine and attached the two ends together, but didn’t bother trimming the edge.
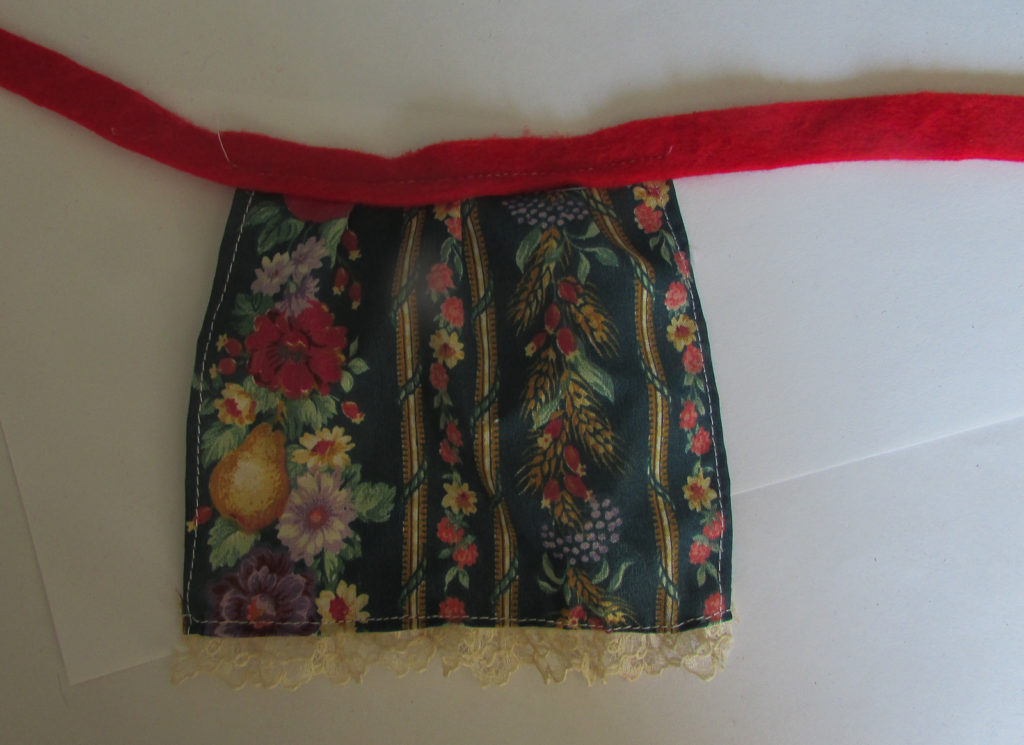
Apron was super easy, just a little rectangle of fabric, attached to a felt strip, with some lace on the bottom.
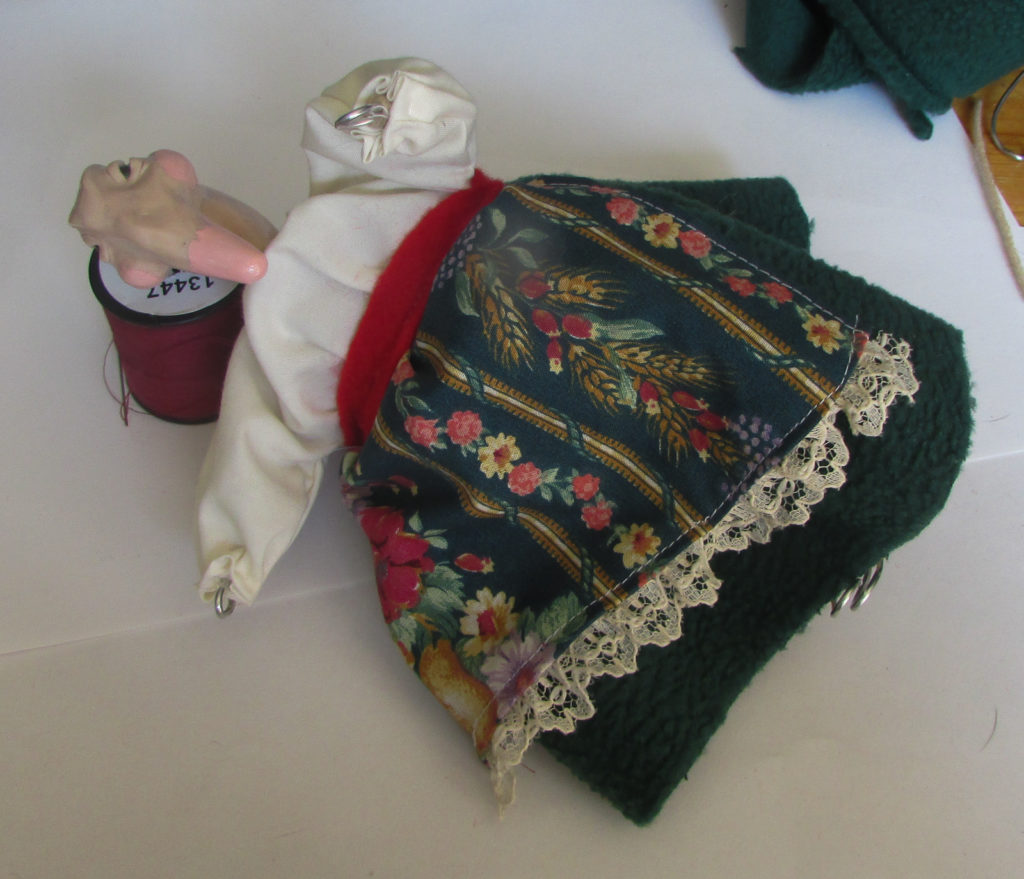
I handstitched the apron around the witches waist.
Hair
Her hair is made out of white roving wool. I just took a pinch and shaped it roughly into hair. Attaching the hair to the head was rough. I did a few points of hot glue, but next time I think fabric glue would work better.
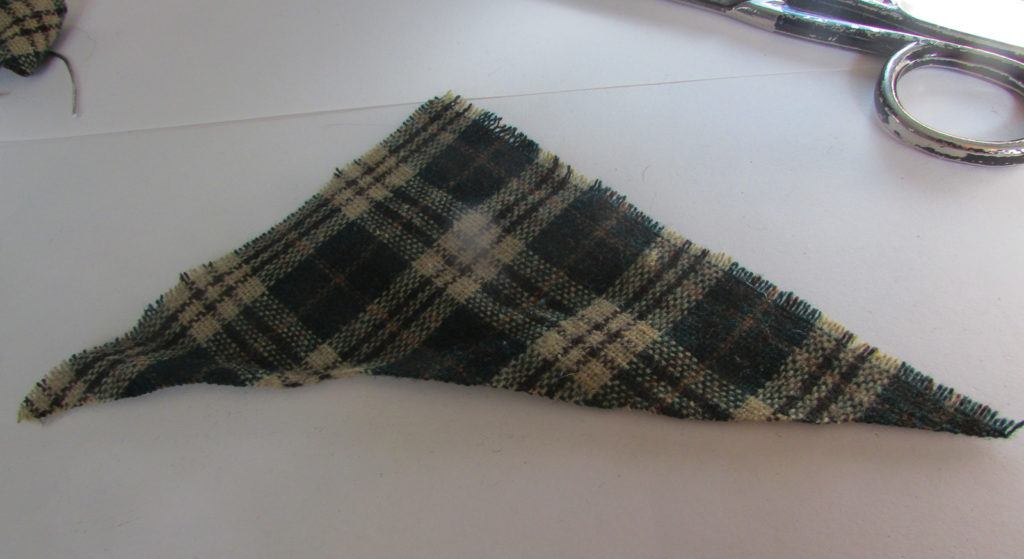
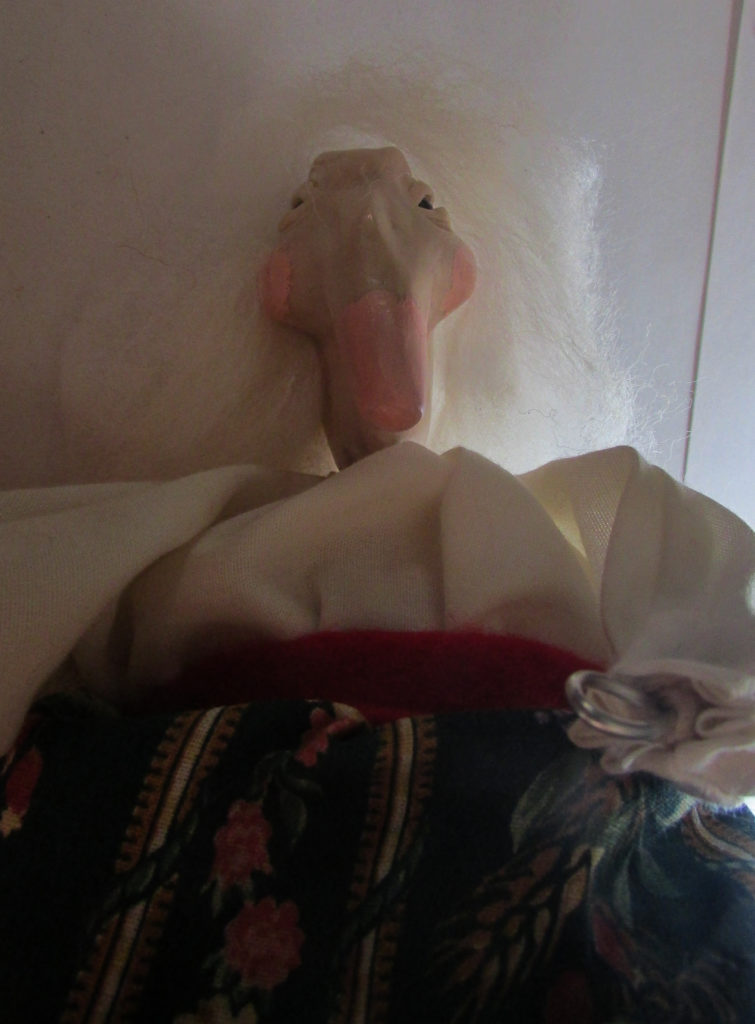
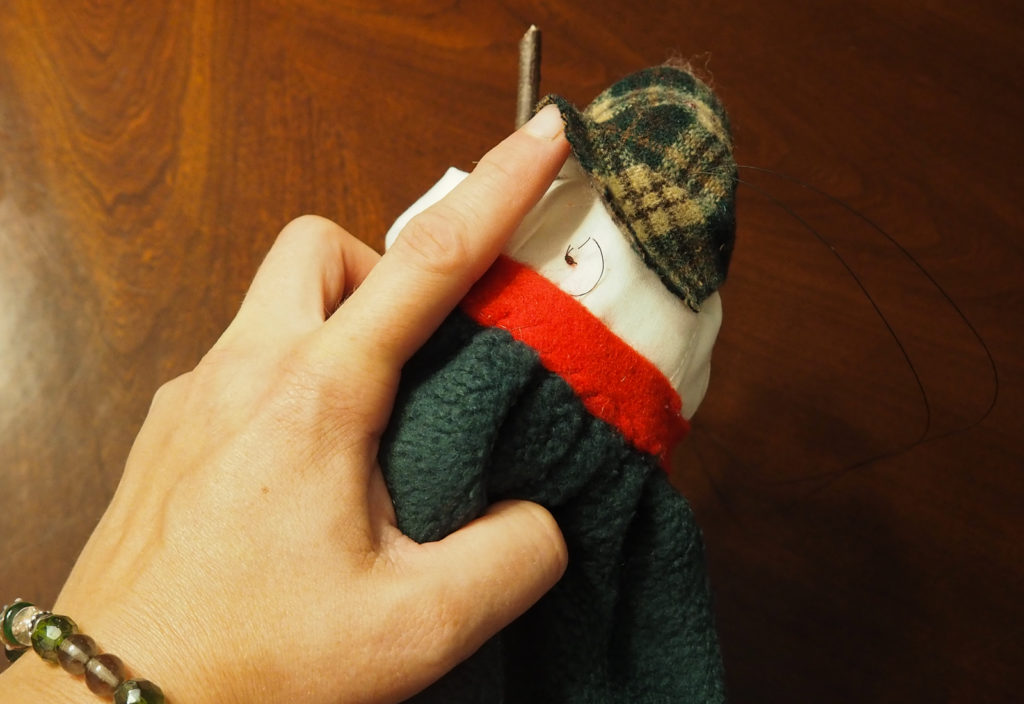
For the shawl, I cut a triangle at first, but quickly realized that it won’t work, as too much bunched up under her chin.
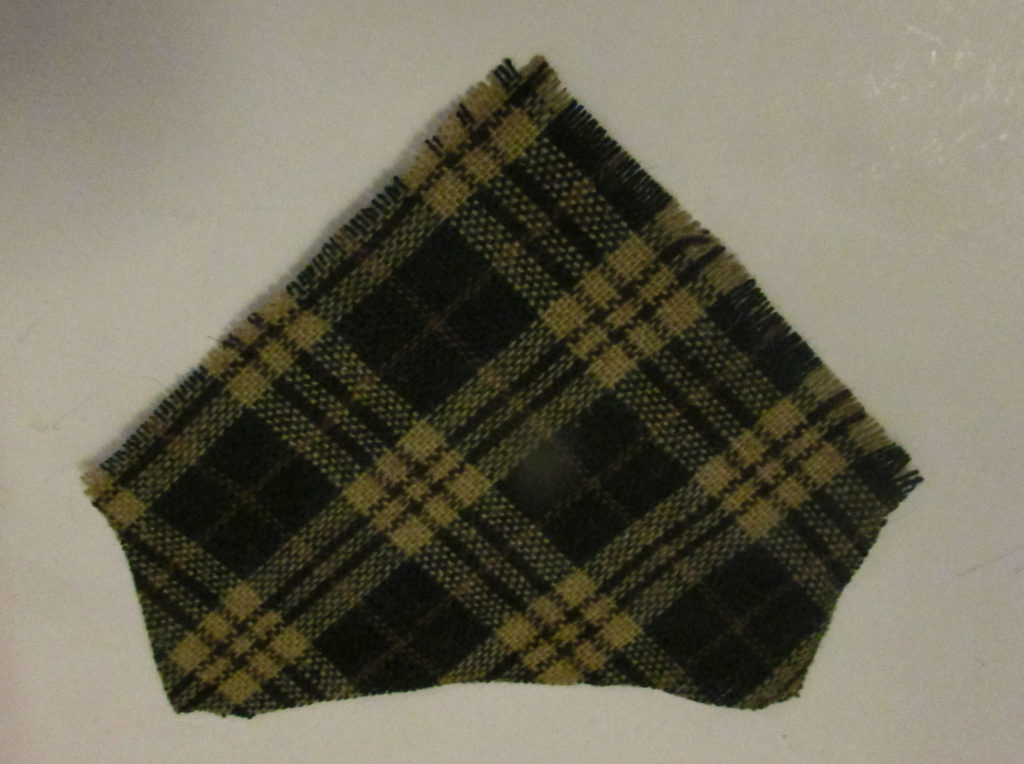
I quickly cut off the corners to make this little shape.
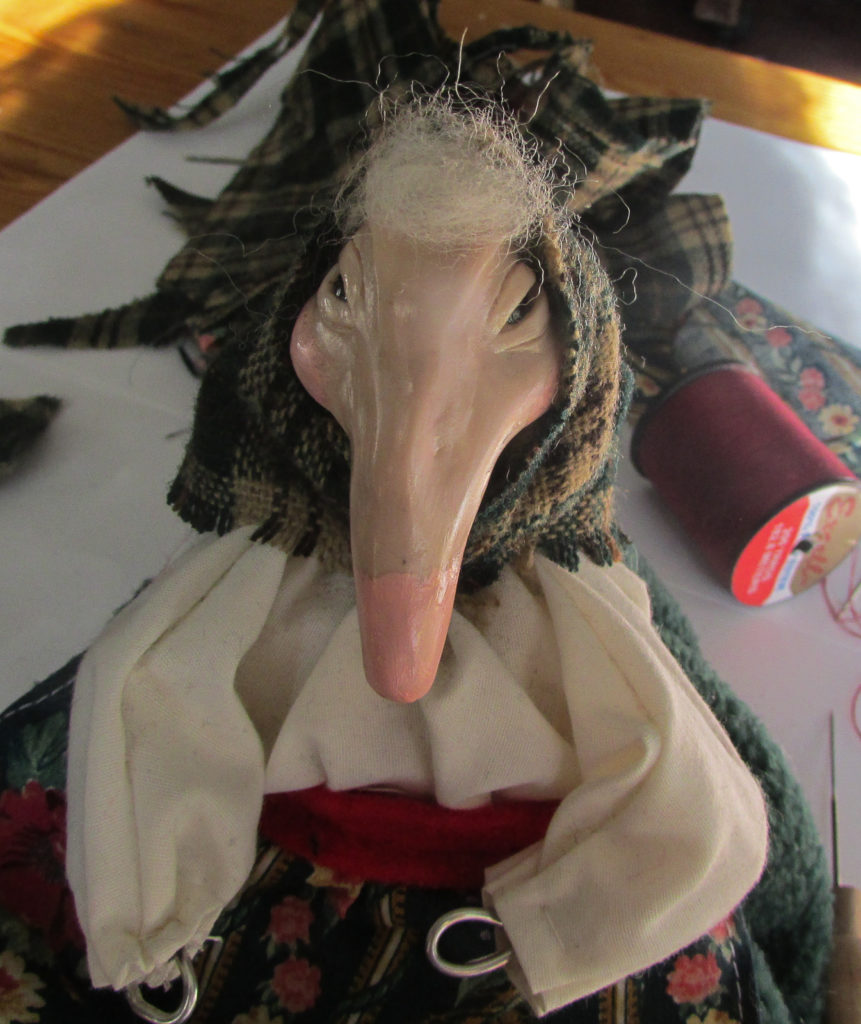
I wrapped it around her head, and secured it under her chin with a few stiches, then with small invisible stitches around her hair.
Shoes
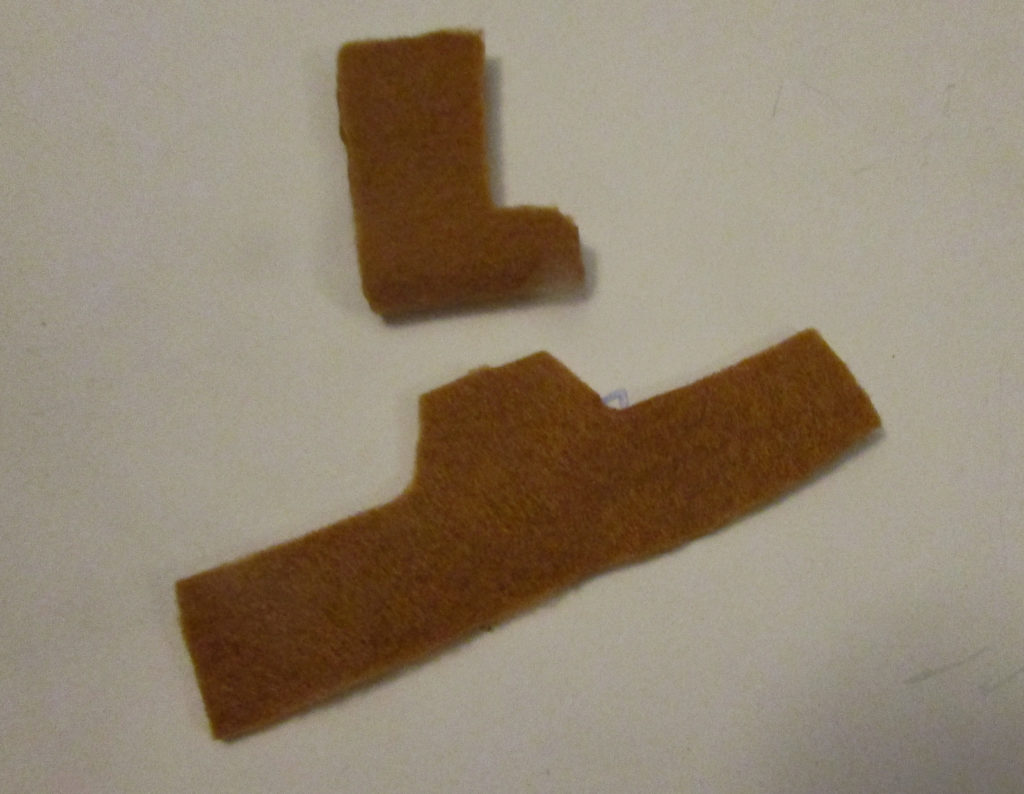
Her shoes: just two shoe shape sizes cut along the fold of a tiny piece of felt.
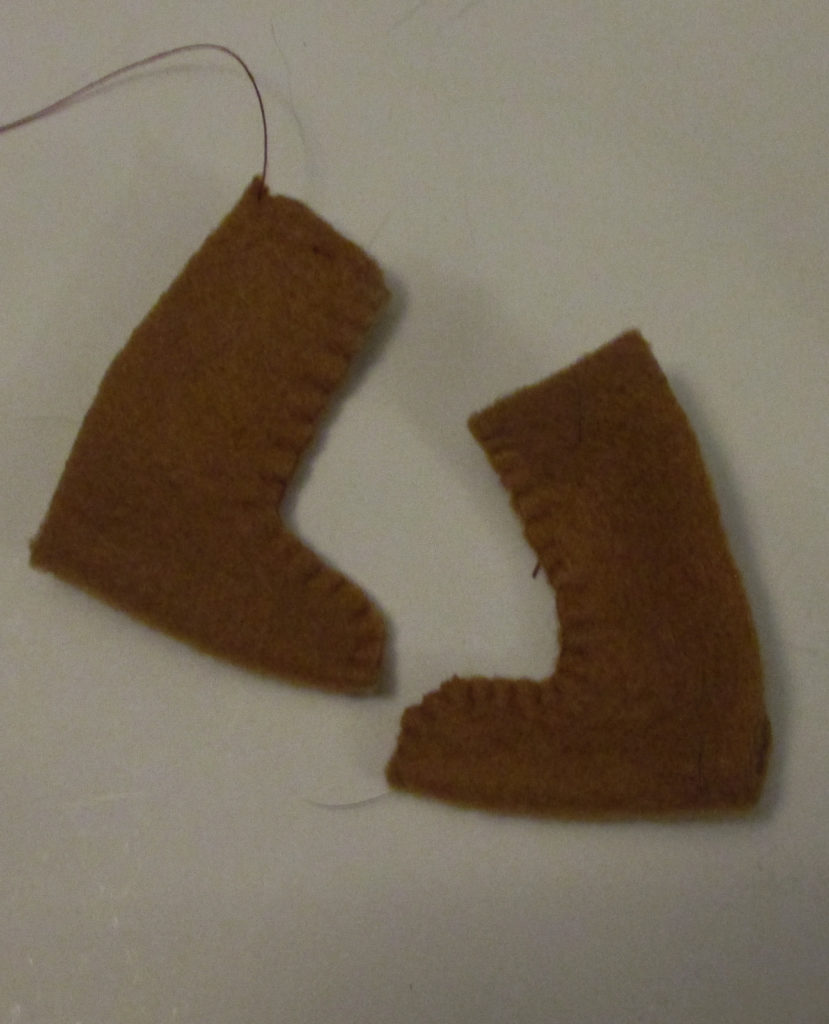
Sewn along the edge.
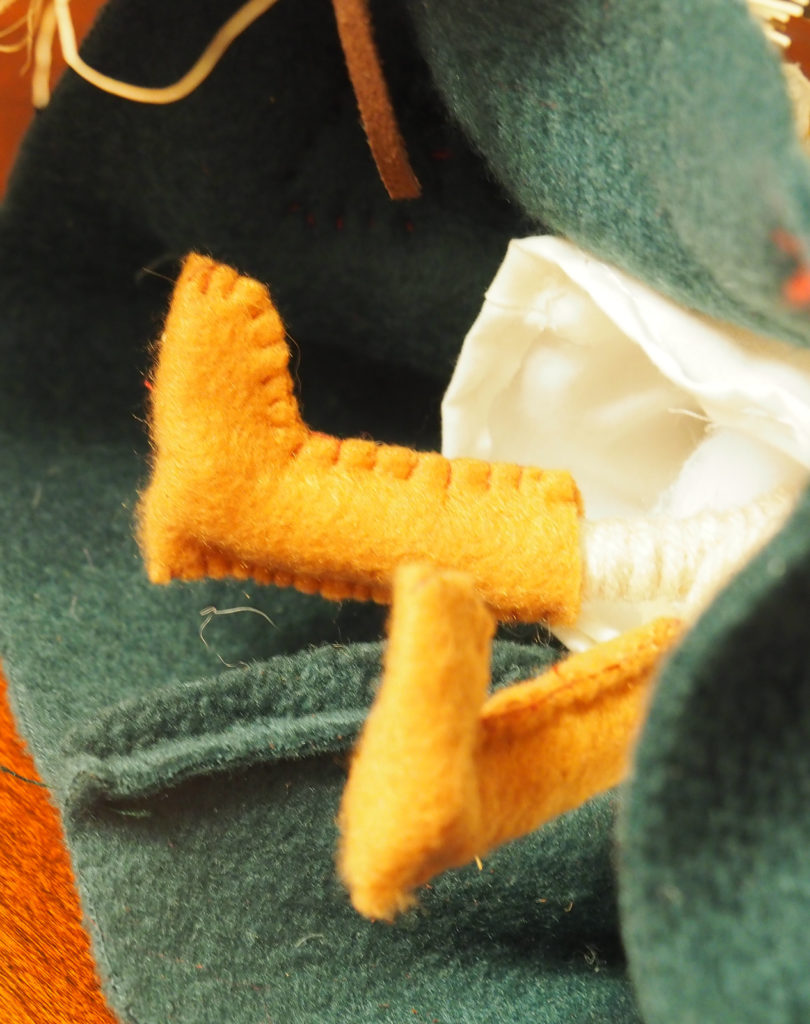
There they are, on her glorious little feet.
Other odds and ends:
The broomstick required some innovative thinking. I found nice straight sticks in the forest. Since I was making these in October, there were plenty of dried out plants around the neighborhood for me to choose from. I found one that roughly looked like the bottom of the broomstick. Trimmed it, hot glued it to the stick, and then tied around with a piece of yarn or a strip of leather.
To make her fly, I threaded some black tough beading string. From under her head scarf.
All done!
Next, make more clay garden creatures.