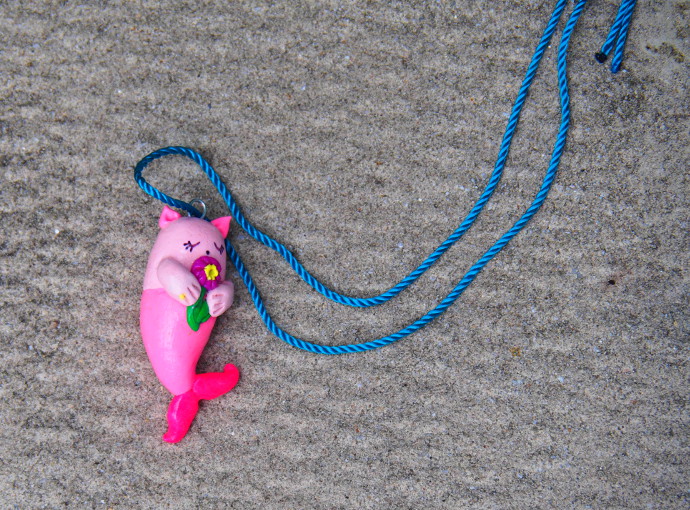
Is it a kitten? Is it a mermaid? Nope. It is merkitten! My kiddo and I made these adorable merkittens for his group of friends for Valentines day and they were a hit. The kids loved them! So, here is how to make them if you want to share the merkitten with your friends.
***This page contains affiliate links.***
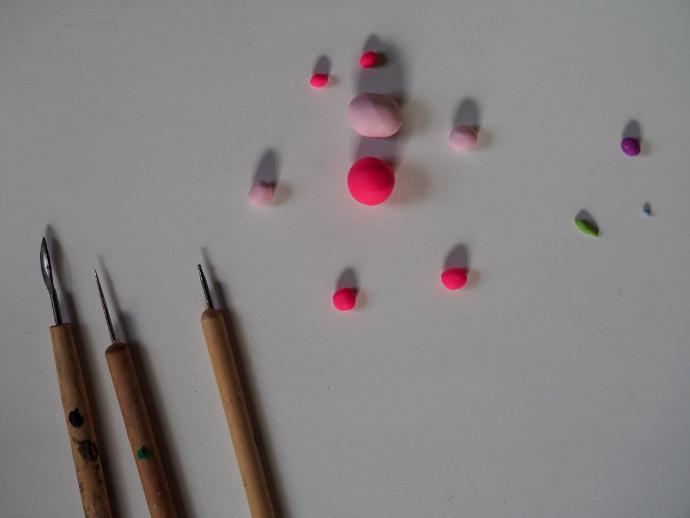
First you will need some oven bake clay. I use Sculpey. There is other clay out there, like Fimo. Also, some simple tools to work with clay are nice, but I have also gotten away with using stuff around my house, such as a knife, toothpick, etc. Modge Podge, a bit of wire, fine sandpaper, and a pair of bottle-nose pliers.
Shameless self promotion: I have been asked to sell a few. I have them in the works, and soon will put them into my Etsy shop: Lovely Inappropriate .
How To Make a Clay Merkitten
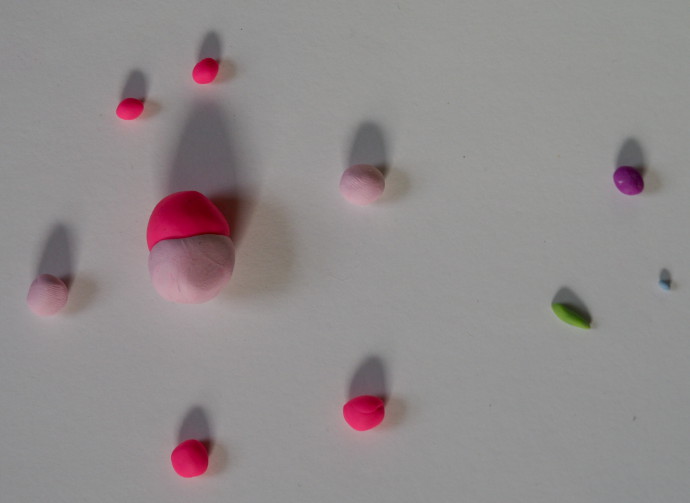
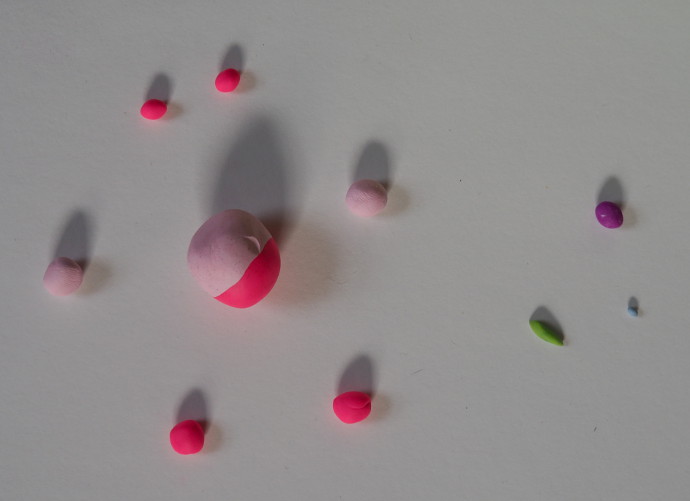
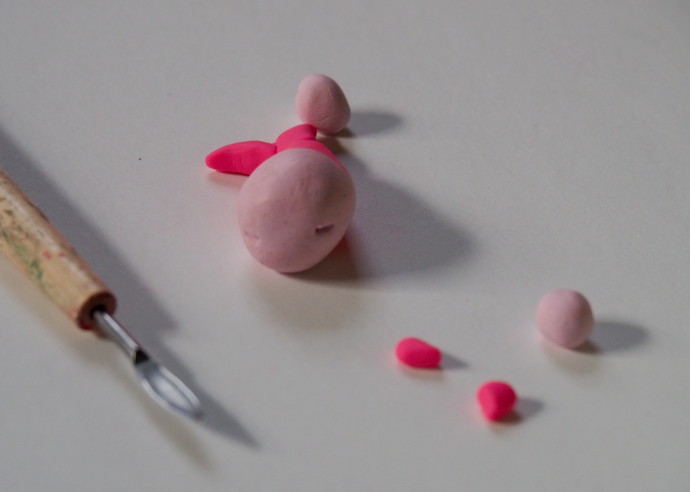
Start with two colors of clay, body and arms is one; tail, ears, and fins the other. Plus a tiny bit of a clay for the flower. I chose to do green for the stem, and a bit of purple for the flower part, plus the blue center. The clay for the body and tail are about equal in size. I rolled each piece of clay into a ball, it all starts from a circle.
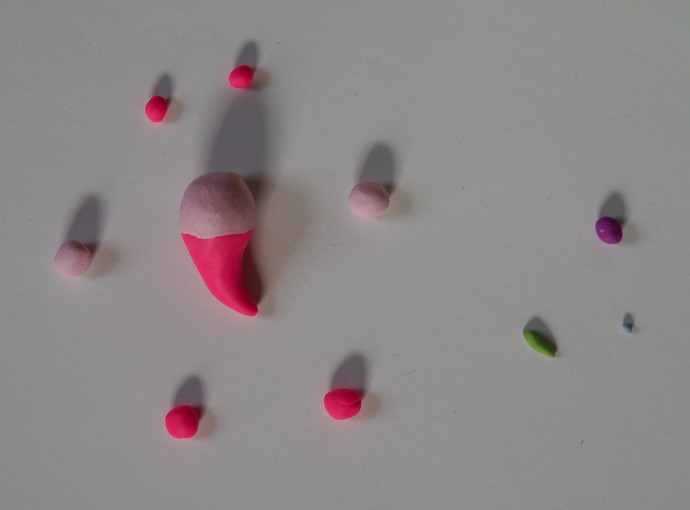
Put the body and tail clay together as you see in the photo below.
Smooth it out by rolling it in your hands. The trick is to make the clay connect seamlessly in the middle, but without mixing the colors together.
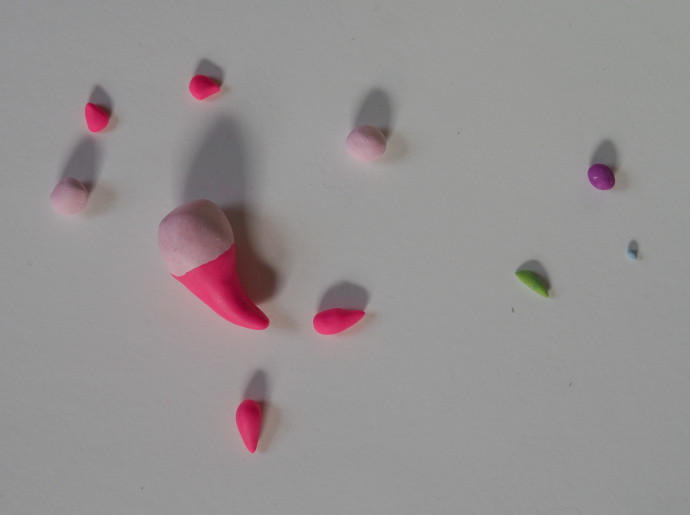
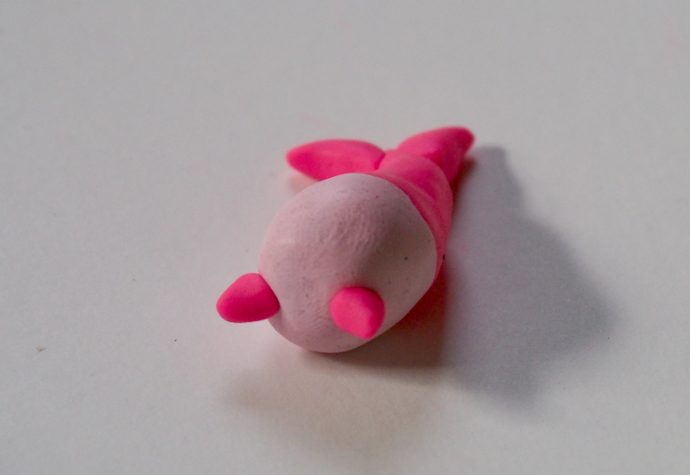
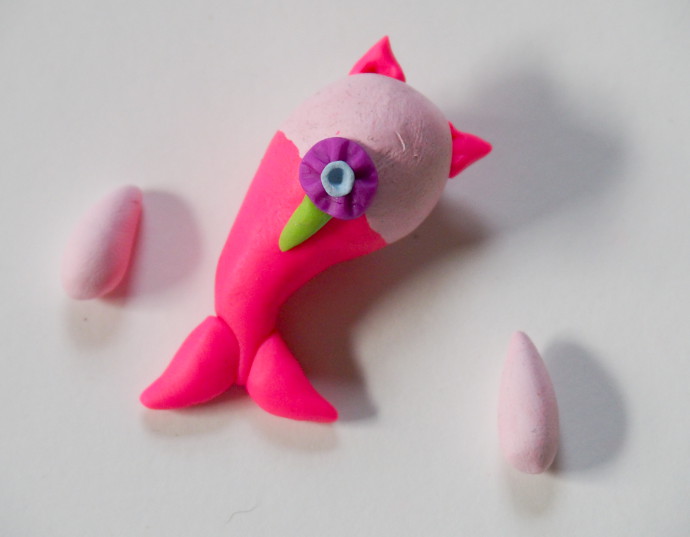
Now work with it to extend the tail into a point, and make the body a bit more oval shaped.
Shape the tail fins into two drops.
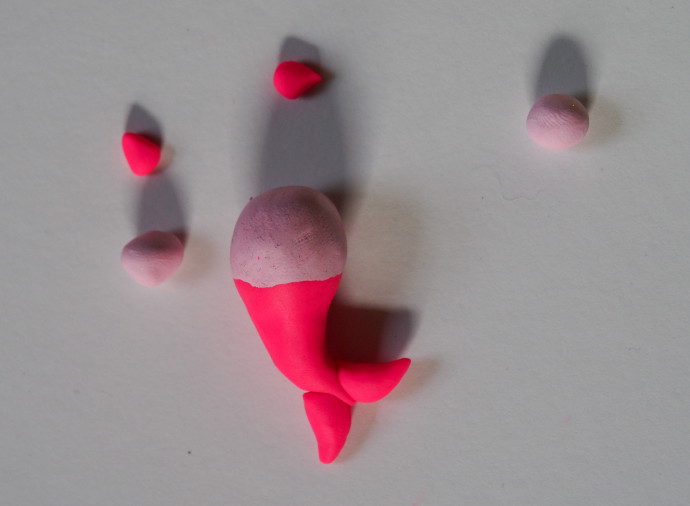
Attach the tail fins to the end of the tail. Ideally, I would use a tiny bit of wire to attach them, or just work it in really well. This is pretty tiny, so wire can be tricky.
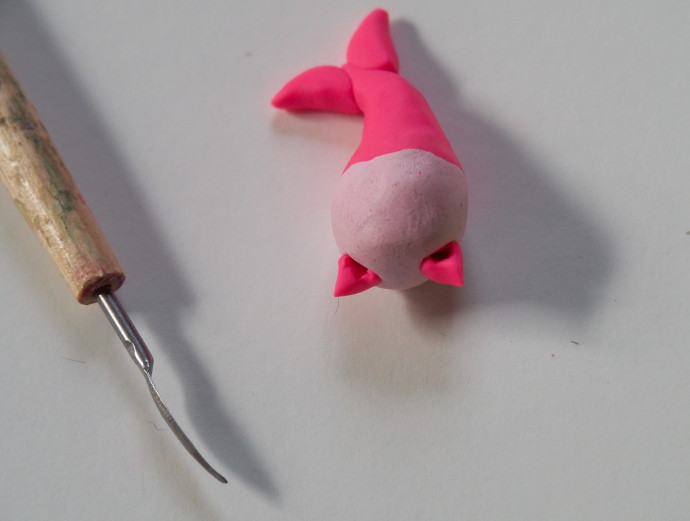
Using a clay tool, make two incisions at the top of the head for the ears, and shape the ears into little drops.
Place the ears over the incisions.
Use a tool to push them in and pinch to make them pointy.
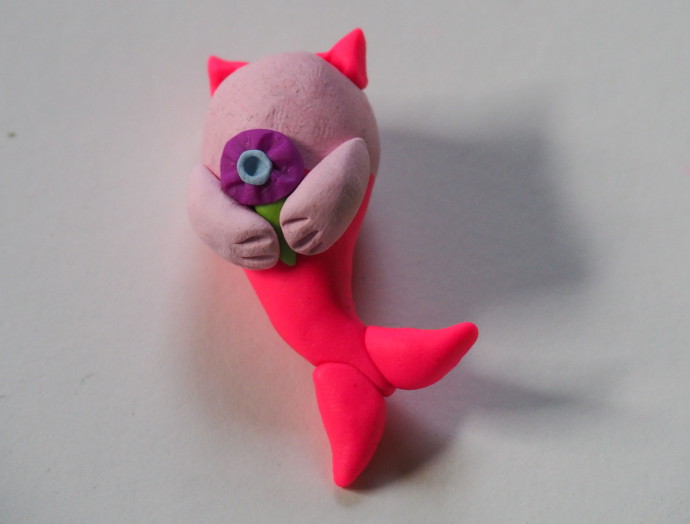
For the flower, roll the stem into a small stem, and place it against the body. Then roll the flower part into a ball, and flatten it over the top of the stem.
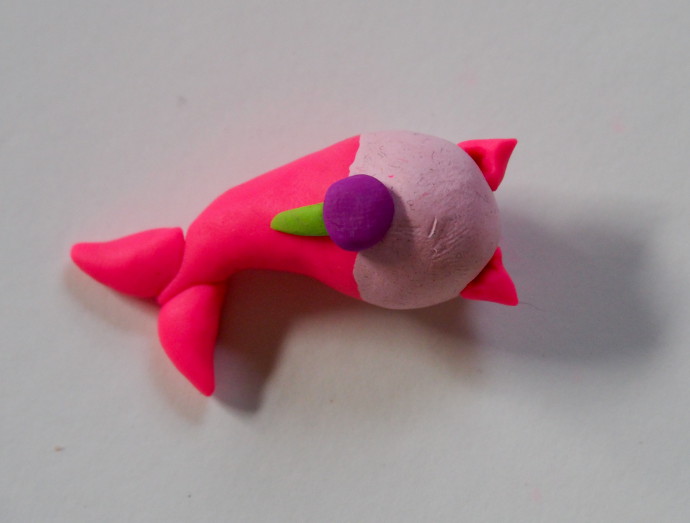
I used a pointy tool (or a toothpick) to make the pattern on the flower, and push the center in. Shape the arms into drops.
Attach the arms to the body on one end, and use a toothpick to make “fingers”.
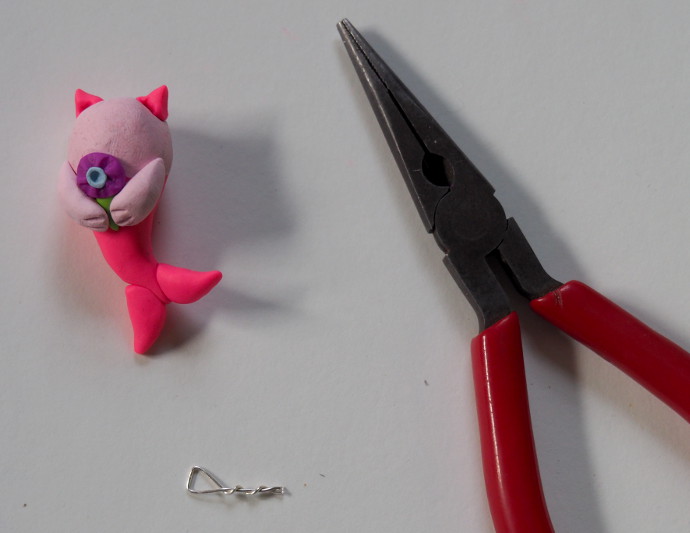
Twist a bit of wire for the necklace loop. Put it in between the ears, then bake the merkitten according to the clay instructions. Once it’s baked, you can sand down any fingerprints and imperfections.
For the eyes and nose, I thought the easiest thing would be to use an ultra thin permanent marker and just gently draw them. The great thing is, if you mess up the eyes or nose, just use some sandpaper to sand it away and try again.
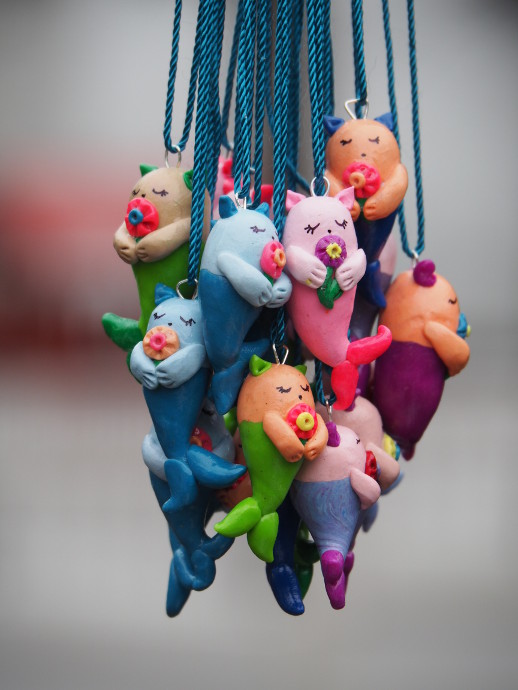
Here is my group of Merkittens for the kids.