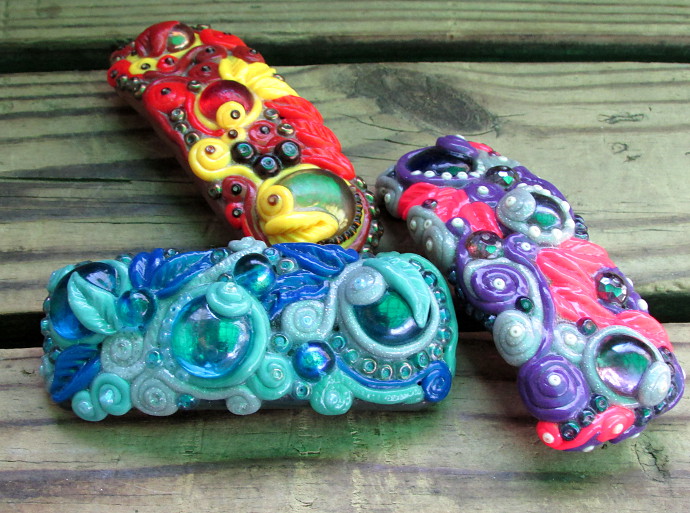
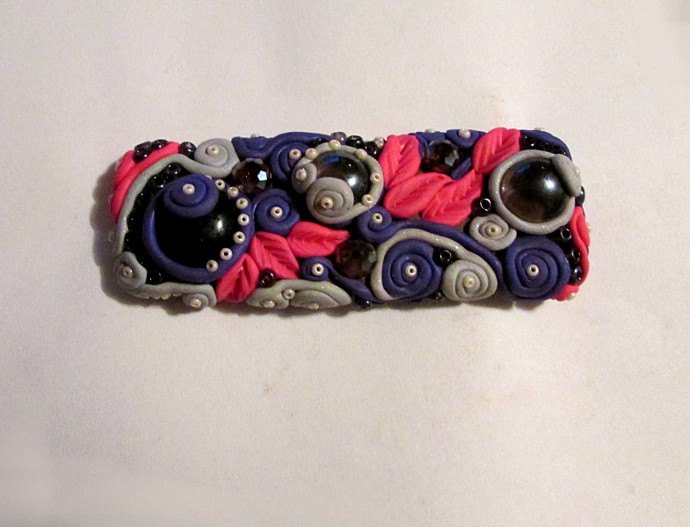
My big kid is amazing with clay. He has this awesome way of seeing it in his mind and just being able to realize it in clay very quickly. It is no joke. I bought air drying clay for us to play with. Half an hour into it my child made an amazing dragon fighting a minotaur, and all I had was a ball. “What did you make, mom?”, I quickly slapped two ear looking lumps of clay on the ball: “A puppy!!”. I have finally found a project that I can make and enjoy! It is simple, and yet very pretty. When my kids do things with polymer, there are always a lot of left over little bits and pieces. Now I know exactly what to do with these left overs! It was also a good way to use up some of the little glass things I kept throwing in a jar every time I cleaned up my house. Polymer clay hair clips:
***This post contains affiliate links.***
We usually use FIMO SOFT CLAY around here, but sometimes we buy other brands, especially if they are on sale. I also had some French Style Barrette Hair Clips like THESE laying around the house from a previous project. If you want to make these you would also need MOD PODGE and TACKY GLUE. While basic clay working tools are not necessary, they are extremely useful. I have THIS BASIC SET, and like working with them.
Here is the Polymer Clay Hair Clips Tutorial:
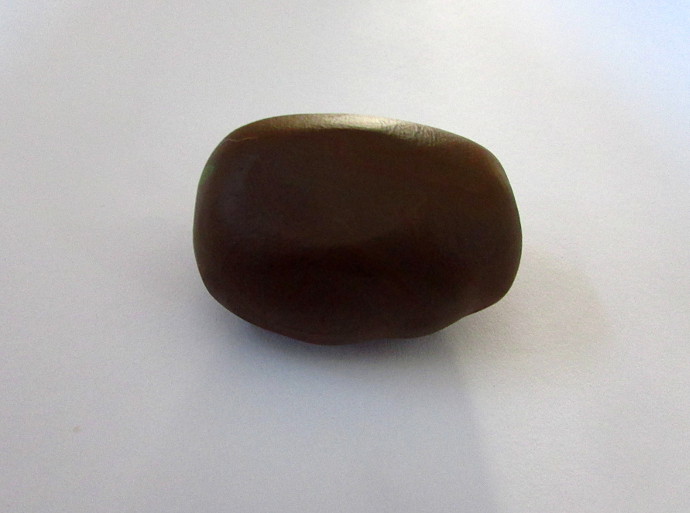
Gather as many chunks of discarded clay. After a while my kids always have pieces of clay that got mixed together and get dirty with other colors. Take all of them, mix them into whatever shade of brown they will make. That will be the base of the hair clip.
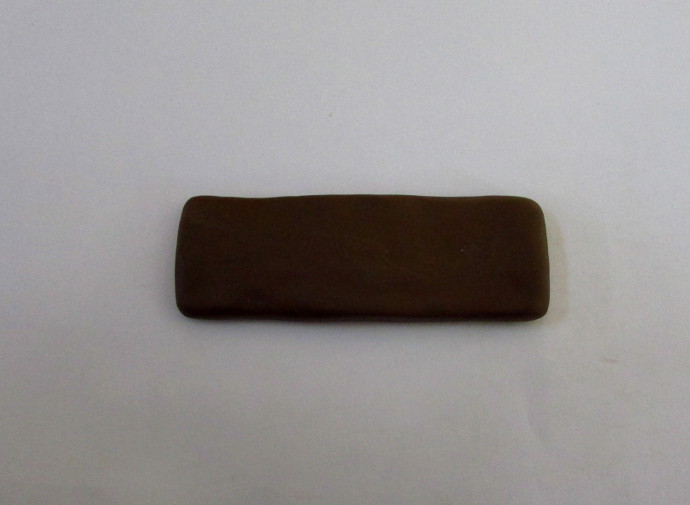
Flatten your brown lump of clay into a thin, flat rectangle shape.
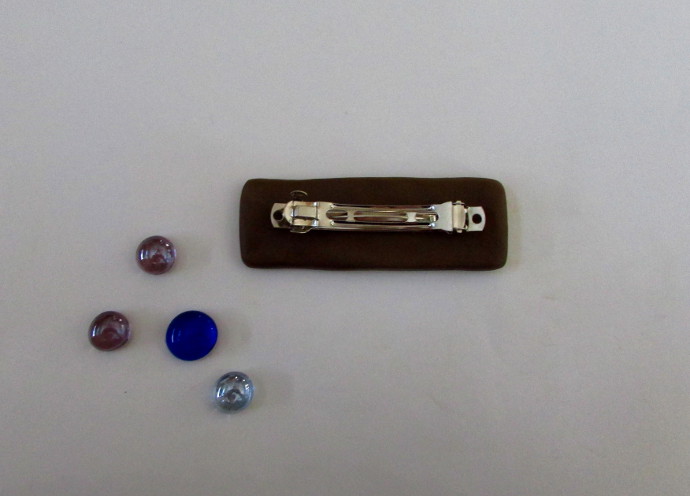
The rectangle should cover the barrette completely. Decide which class pieces you will use, and the general color combination.
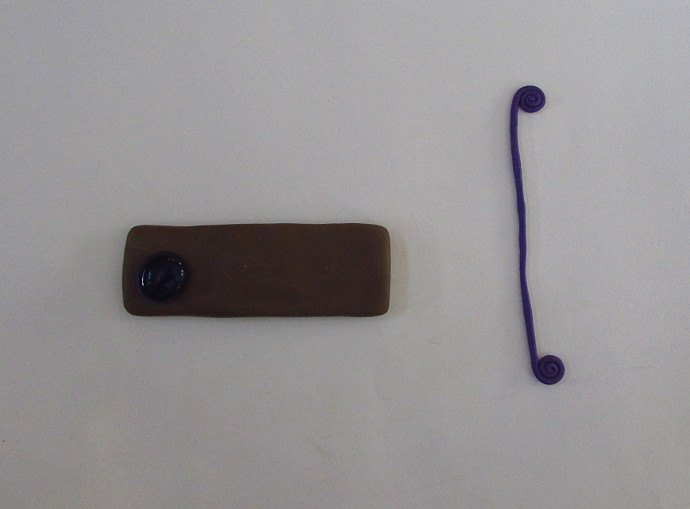
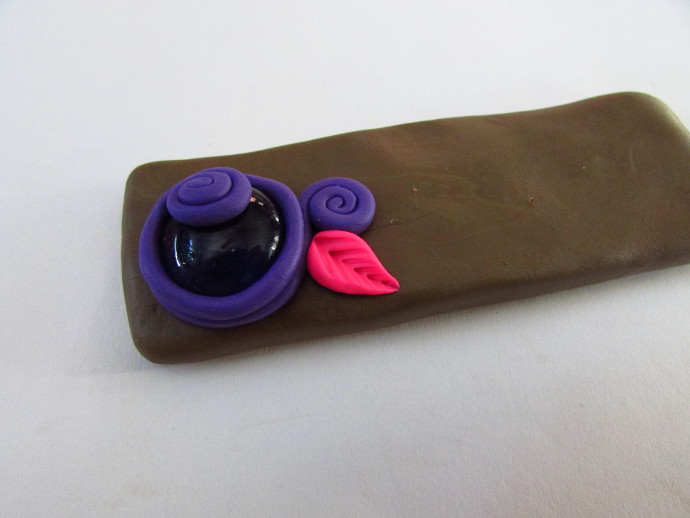
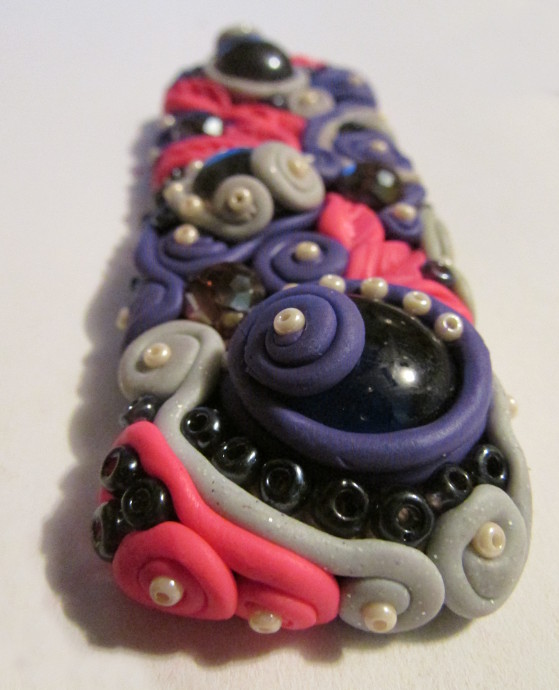
Start by gently pressing the glass piece into your base. Take a small bit of clay, roll it out into a long, thin strand. Curl the edges together in a spiral, like in the photo above.
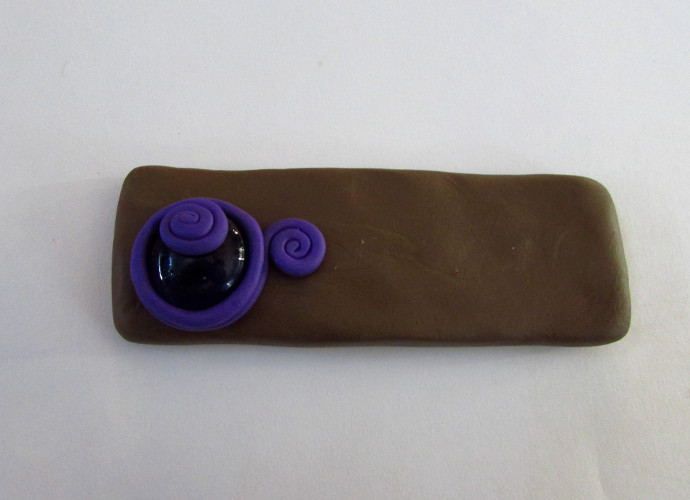
Gently put the spiral around the glass piece, helping secure the glass to the base even more.
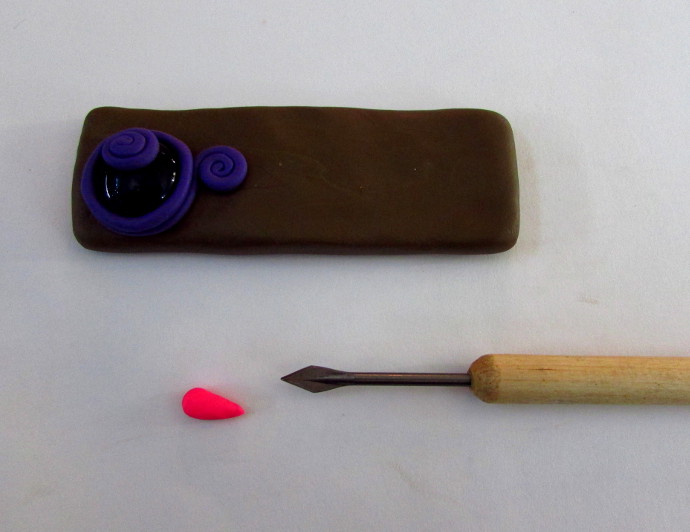
To make leaves and petals, first take a small bit of clay and shape it like a drop.
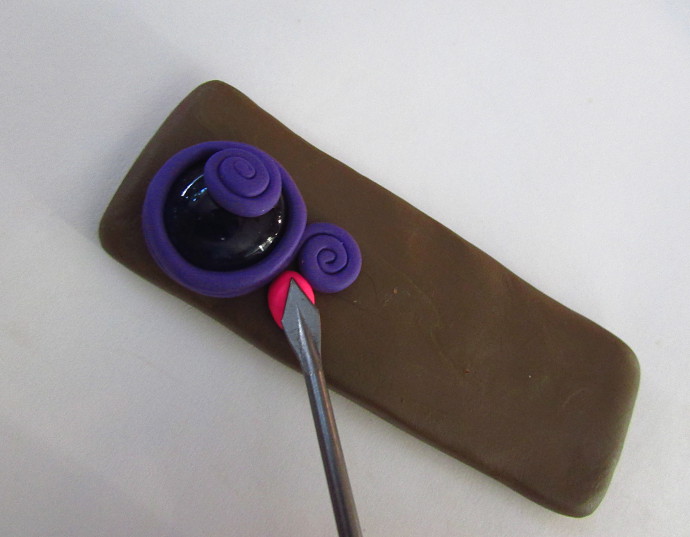
Use a triangle tip clay tool to press it into the spot you want it to be in.
Make a few more impressions with the tool, moving it closer to the leaf end as you go.
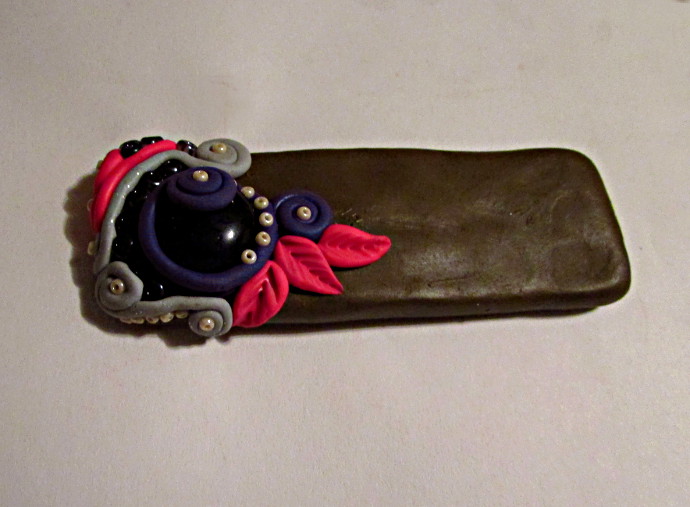
Add more leaves, more swirly spirals, and press some beads into your clay.
Even more spiral things. I made spiral things go on the edges of the base as well.
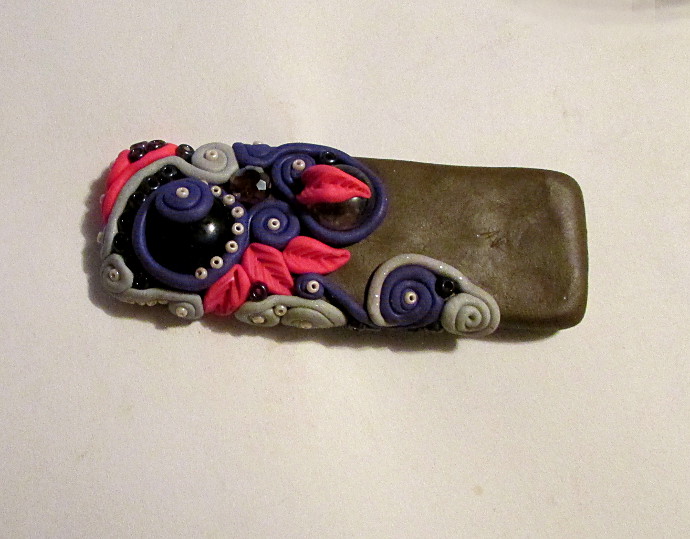
More glass pieces, beads, leaves and swirls. I kept it to three glass pieces, so as not to make the thing too heavy.
Finish covering the entire surface of the base.
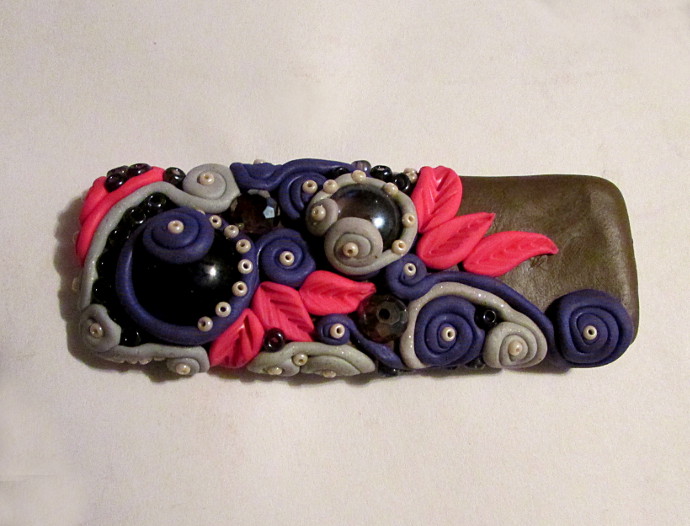
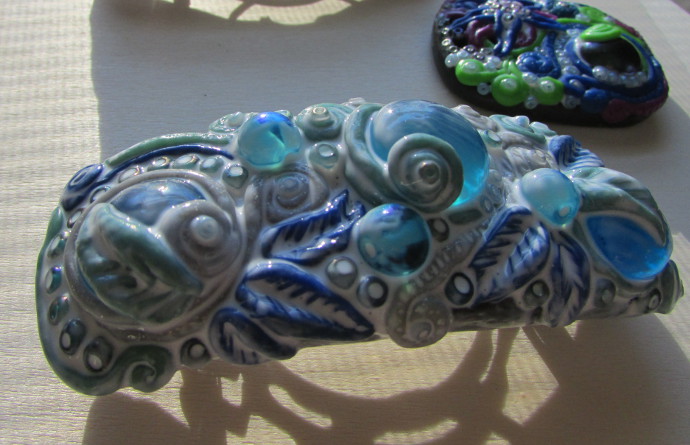
Here it is, all covered, but not baked yet.
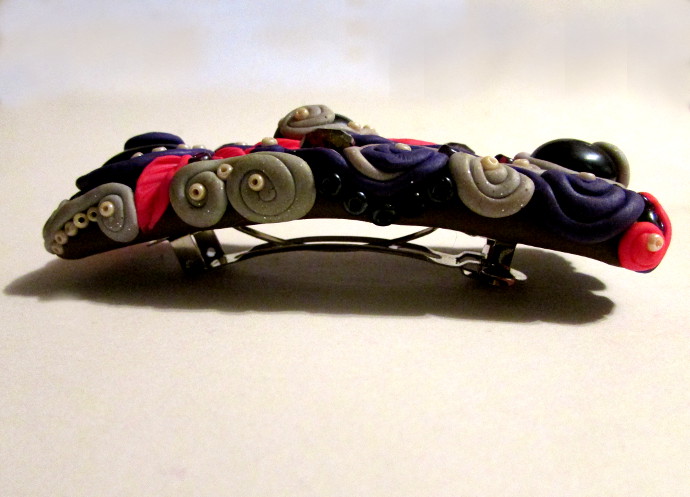
Before baking, put it on the barrette. It needs to bend the same way, so what I did was put the clay on the barrette, and baked the whole thing put together. Follow instructions on the clay, and be sure not to burn the clay (or your fingers).
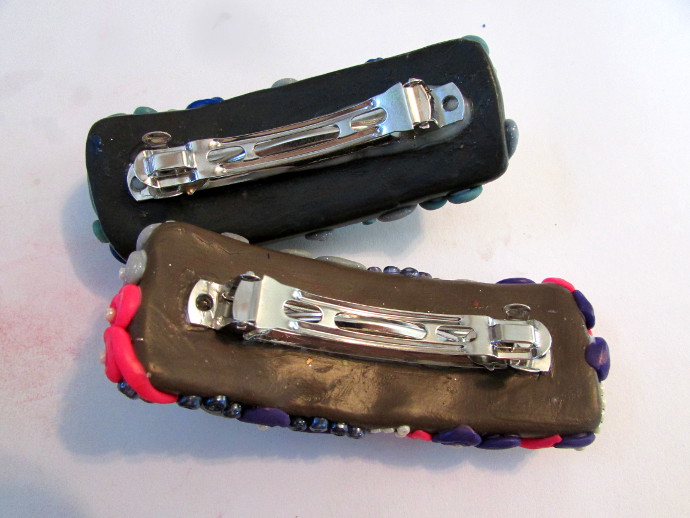
Once they are out, use Tacky Glue to glue the clips to
the clay.
Mod Podge the whole thing!
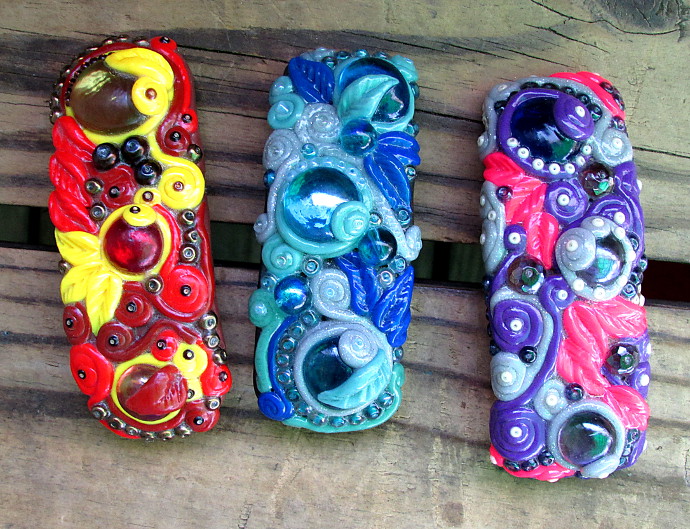
Here they are. I even put leaves on the glass on the other two clips.
I like this project, because there is so much you can make: necklaces, pins, earrings, the possibilities are endless.
Here is the heart pins I made for Valentines day this year:

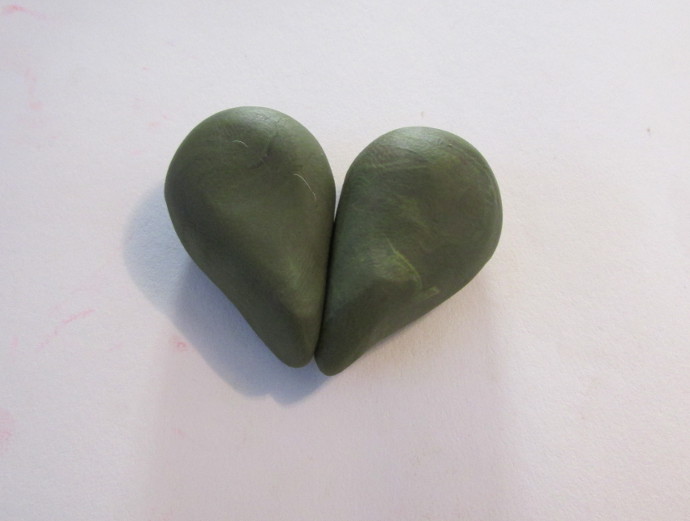
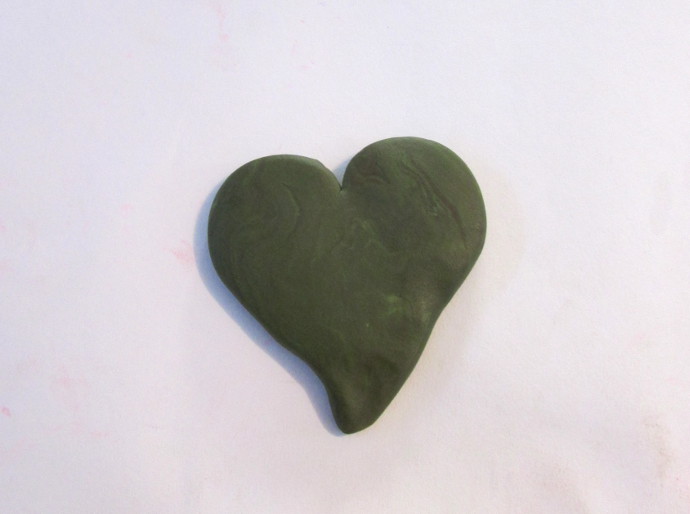
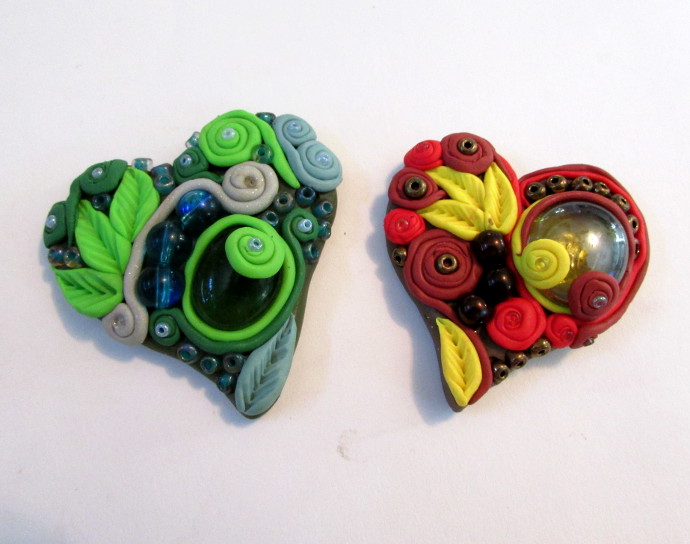
After baking them I just glued them on to a pin, and mod podged the whole thing.