I do enjoy working with leather. Every so once in a while an awesome company, Endless Leather, sends me some of their products to make jewelry with. It is a lot of fun to work with them. Here is the leather jewelry DIY for this year.

***This page contains affiliate links***
Full disclaimer: Folks at Endless Leather sent me some fantastic supplies to try out and to make jewelry with. They supplied me with the leather and the hardware for this project, and before I go on, I would like to note that everything that I got from them was excellent.
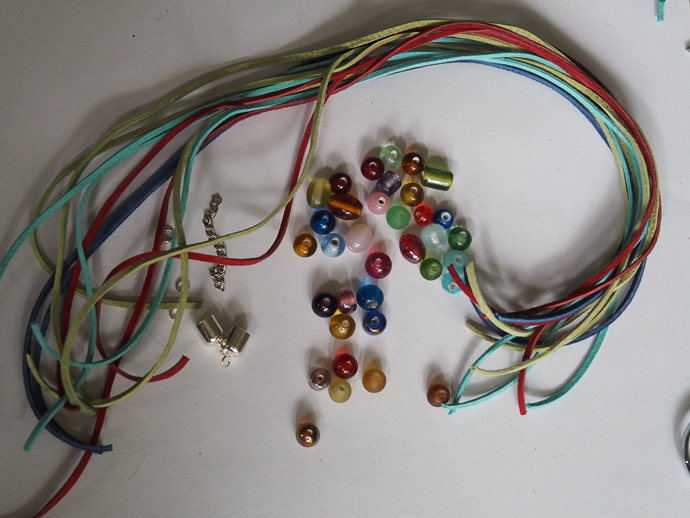
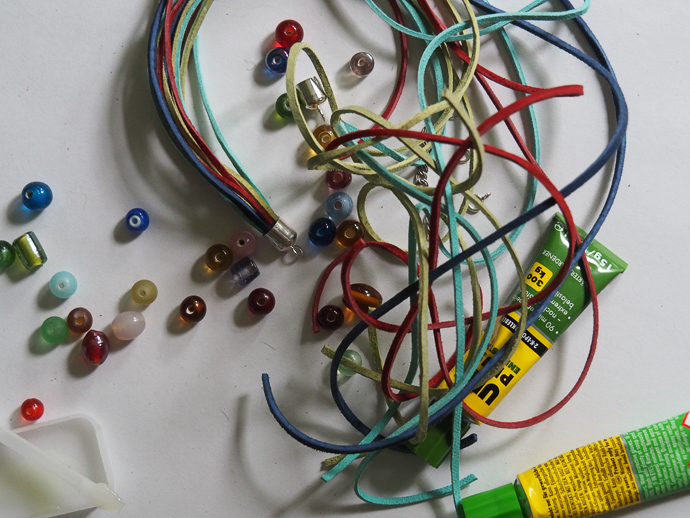
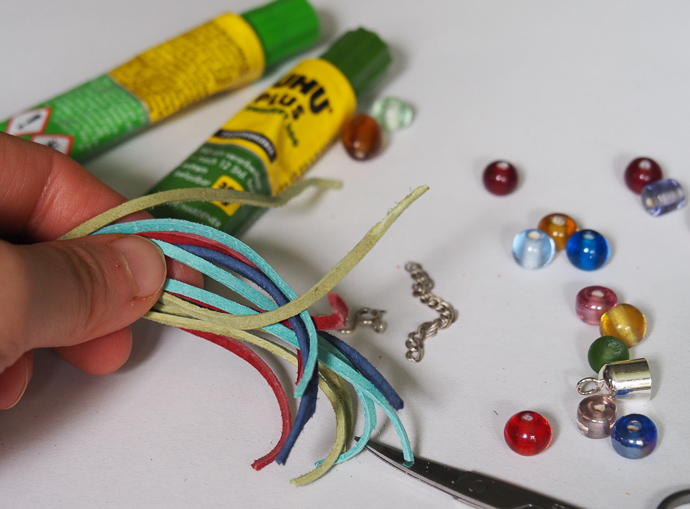
Let me talk about supplies for a minute. I got the leather cord from Endless Leather. They have an awesome selection of leather clasps, and every clasp here is from them, also the glue (the glue was amazing and so versatile!). Outside of that, it was me, and my trusty old bottlenosed pliers, some lampwork beads I had at home, and embroidery floss. Also, I am a big fan of these collapsible eye needles, the get a lot of use around here.
Leather, embroidery floss and bead fun bracelet
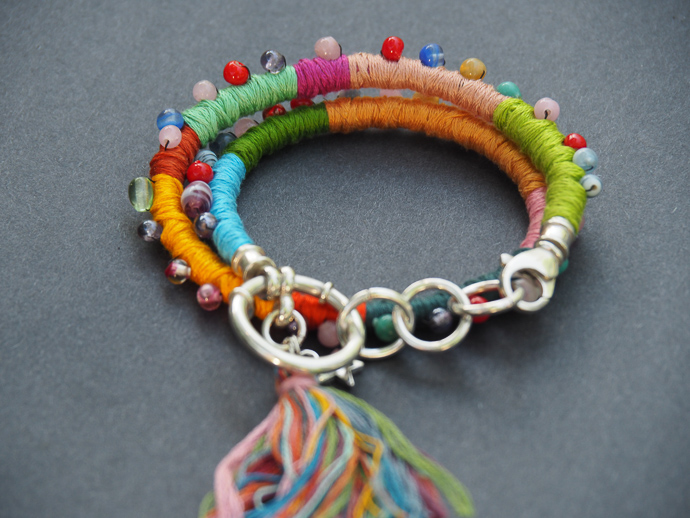
This one was a lot of fun to make, and I want to make more of them! Last year I inherited a lot of embroidery floss in all kinds of colors, and here I put them to good use! The inside is the round stitched nappa cord glued directly into the clasp hardware.
I started with measuring out the cord and gluing it right into the clasp. I got the measurement just right this time.
Next, I tied the first color floss to the very end of the bracelet.
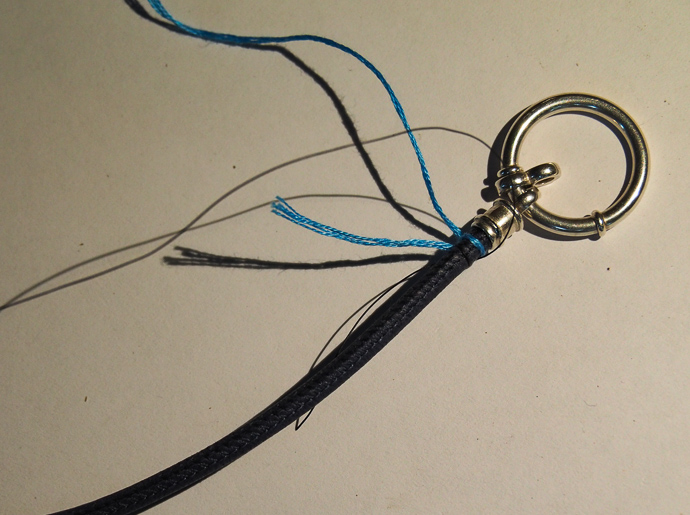
Then I tied on the string to put the beads on as I go.
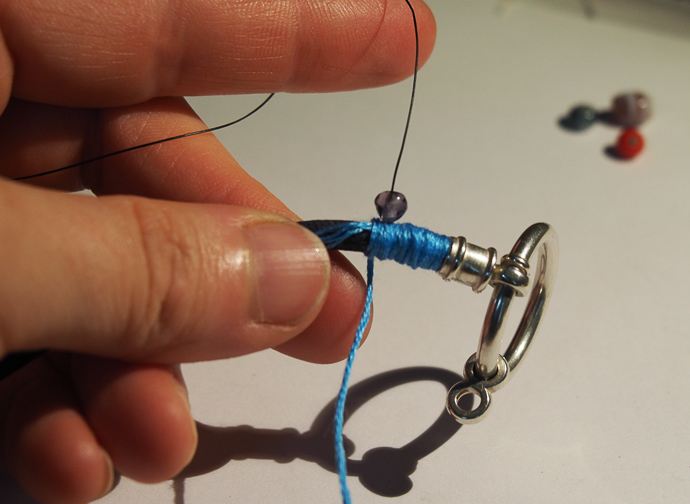
Wrap the floss around, put a bead on the string.
Before putting the bead on the string, you might want to wrap a bit of floss around in the space that will be under the bead.
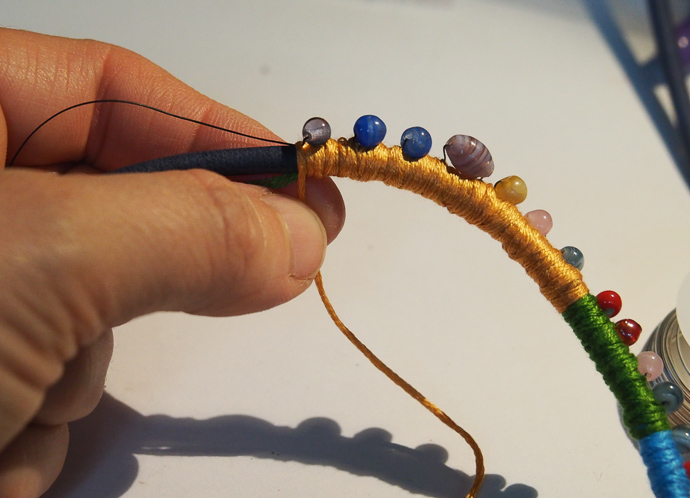
Then wrap the cord around the leather and the string together.
Keep repeating the previous step.
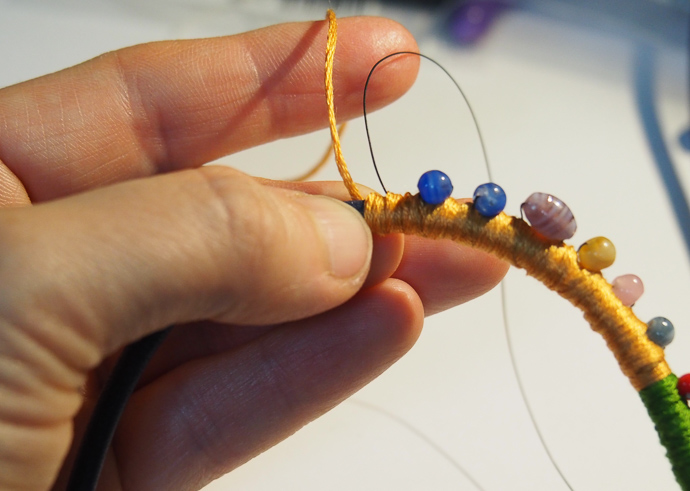
Keep going until you are at the end of the floss. Once you are almost at the end, split the floss line, and secure it with a simple double knot.

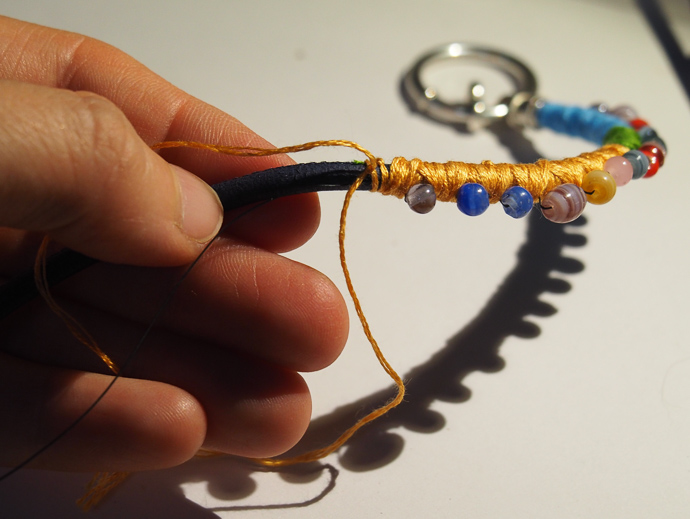
To switch colors, simply tie on the next color floss, and wrap carefully around until there is a seamless transition. The ends of the previous color (in this case yellow) will simply get wrapped as you keep going.
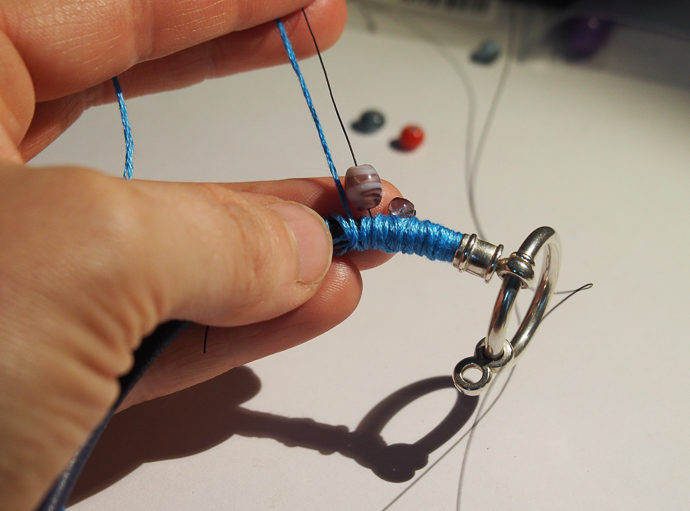
Once you reach the end, secure the floss, then thread it through backwards using a needle. Cut off the ends.
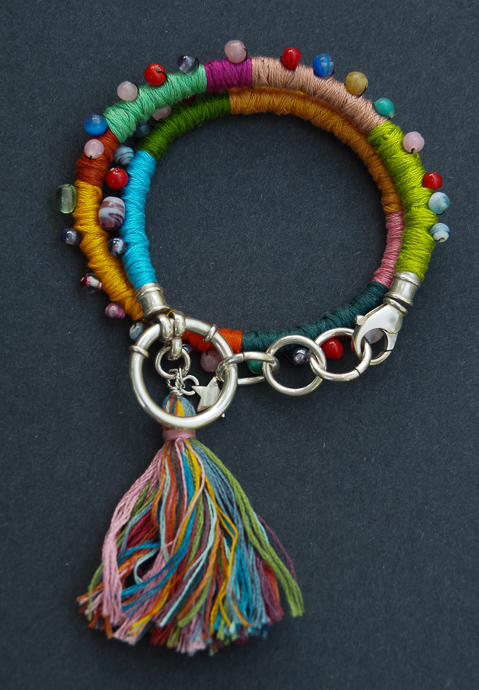
At the end I decided to change up the way the clasp works, and used the loose part to attach a colorful tassel made of leftover floss.
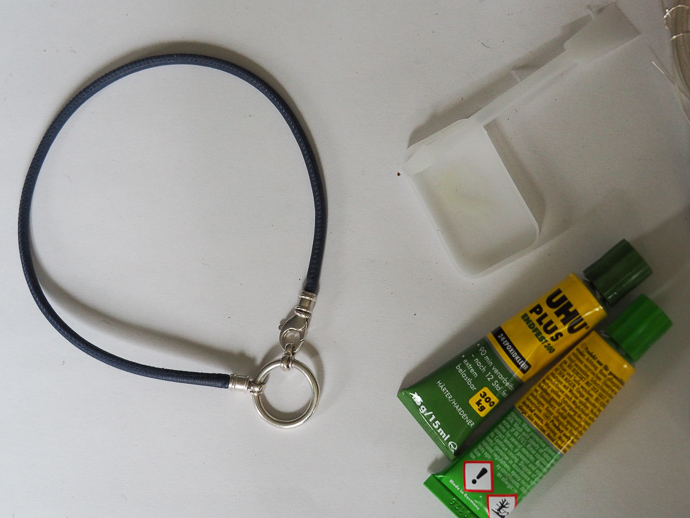
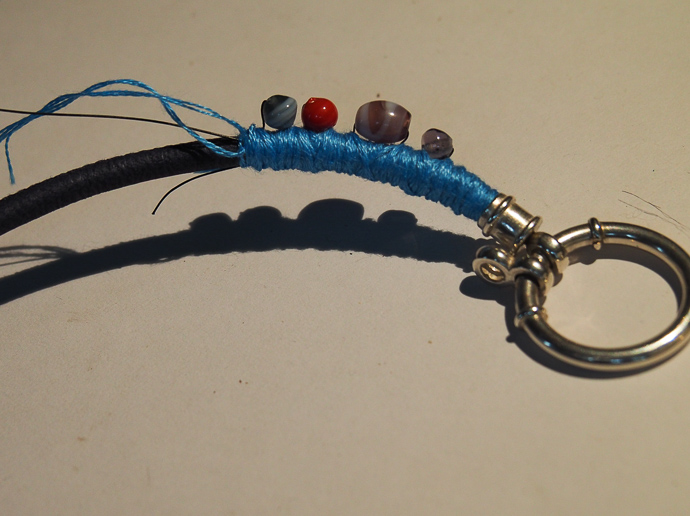
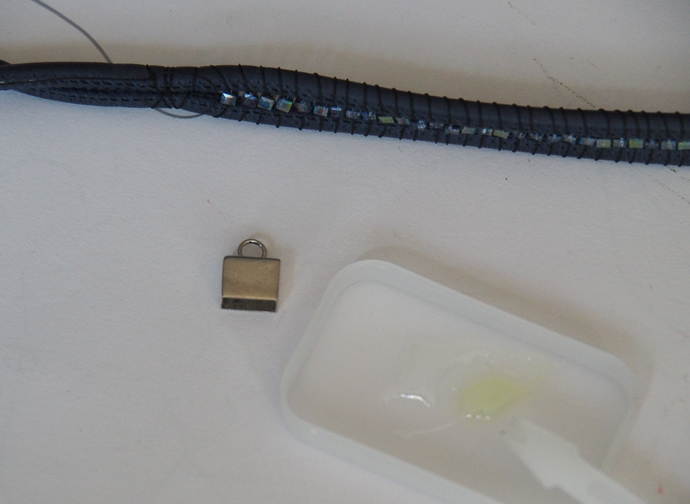
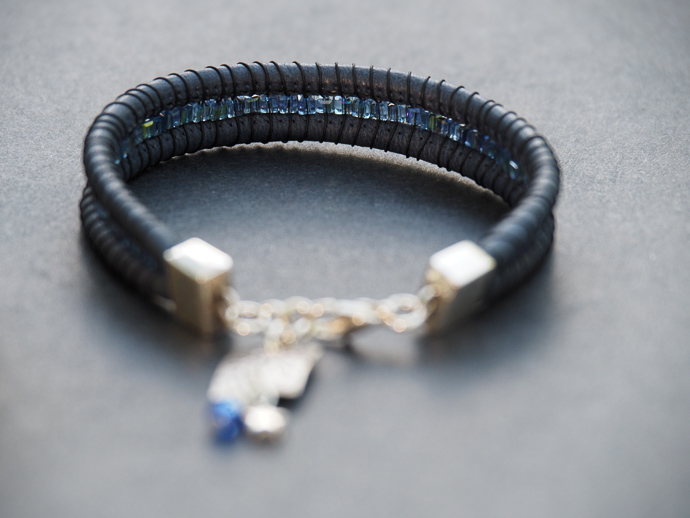
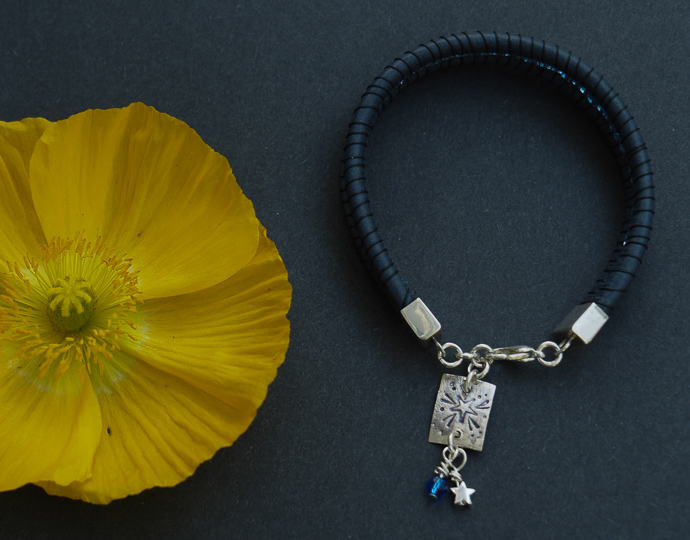
Blue Bead and Leather Bracelet
This one is probably my favorite of the bunch. First, I measured it just right (which I don’t do often!). Secondly, I love the way it came out.
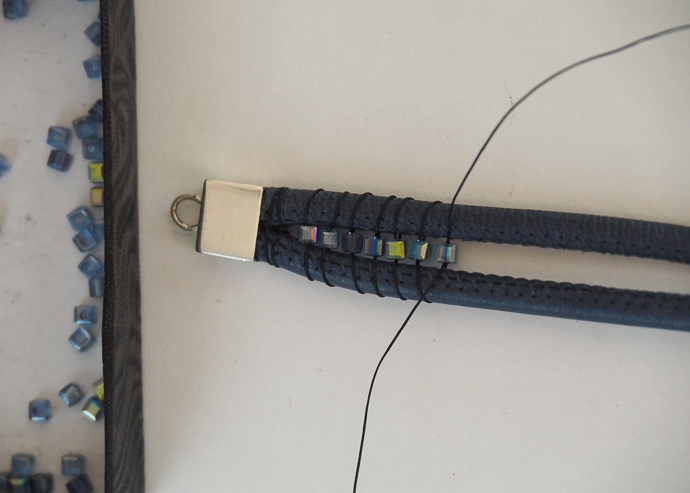
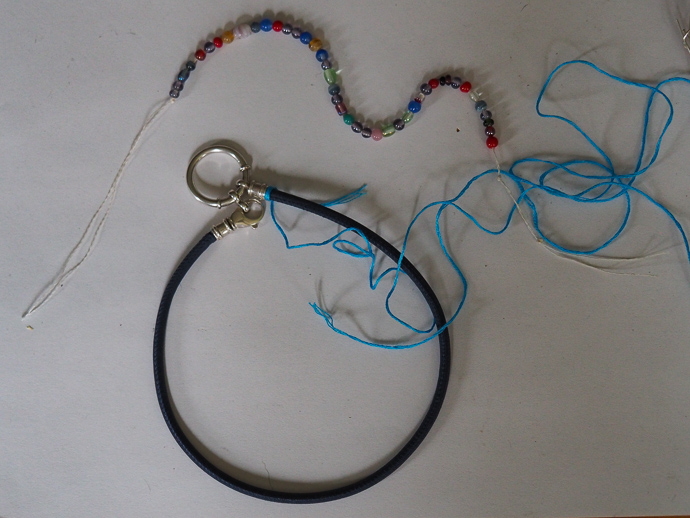
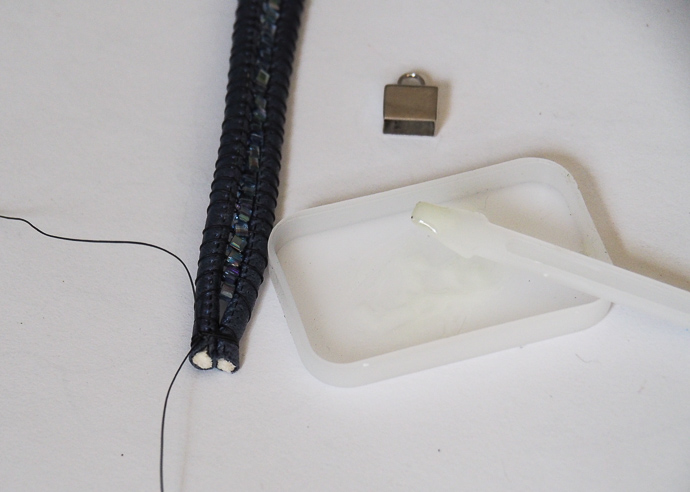
I started by gluing both ends of the leather into a clasp end. Then I began threading the beads. You can see how to thread the beads through here.
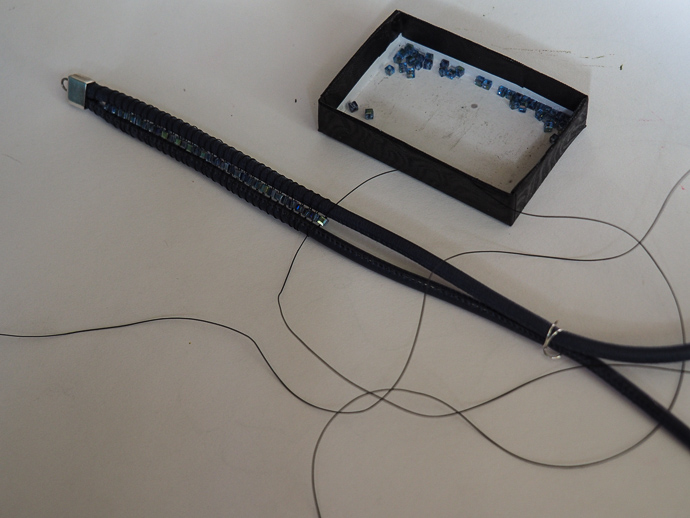
The only thing I would like to note is that you need to make sure the string for the beads is long enough. It is better if it is too long then not long enough. I also secured the leather cord at the end with a piece of wire to prevent it from twisting.
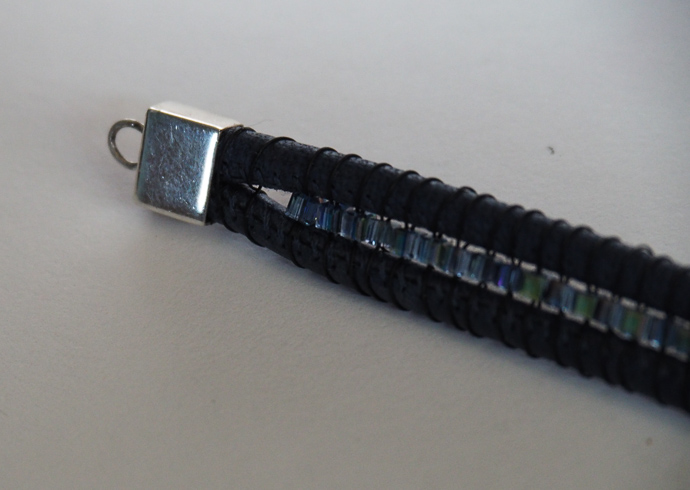
Here is a close up.
When I got to the end, to my desired length, I used the bead thread to tie the leather together, got the glue ready.
Trim the leather so it is nice and even.
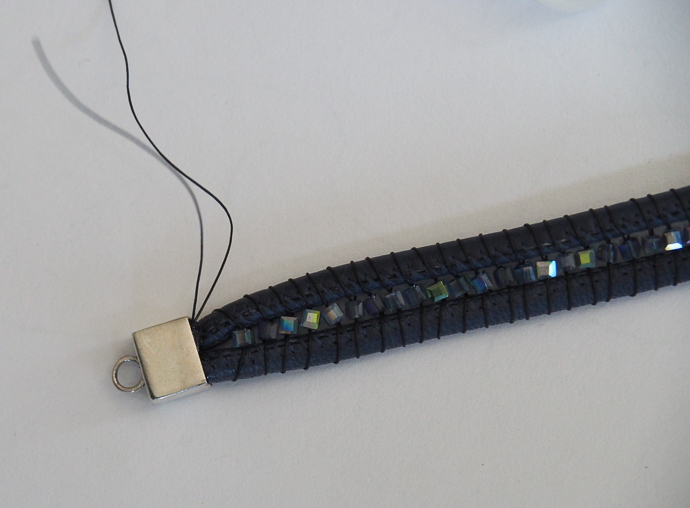
Using tiny metal scissors, I shoved the leather into the hardware. After the glue has dried, I just trimmed the thread that was still showing.
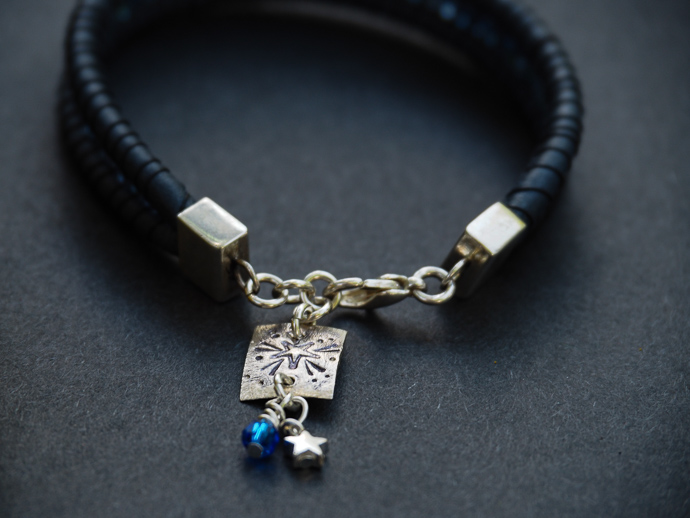
I attached the rest of the hardware, and a little fun charm, and all done.
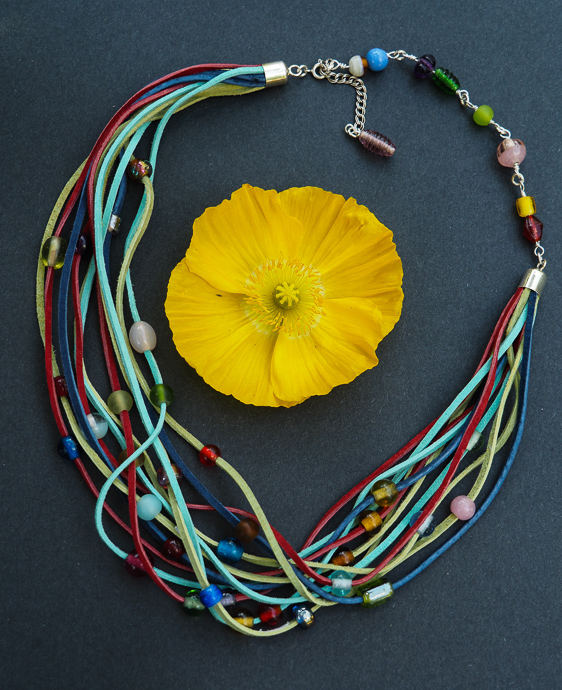
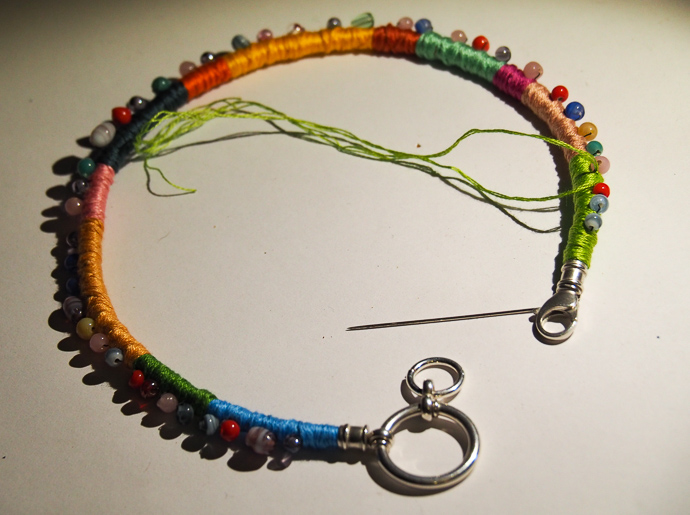
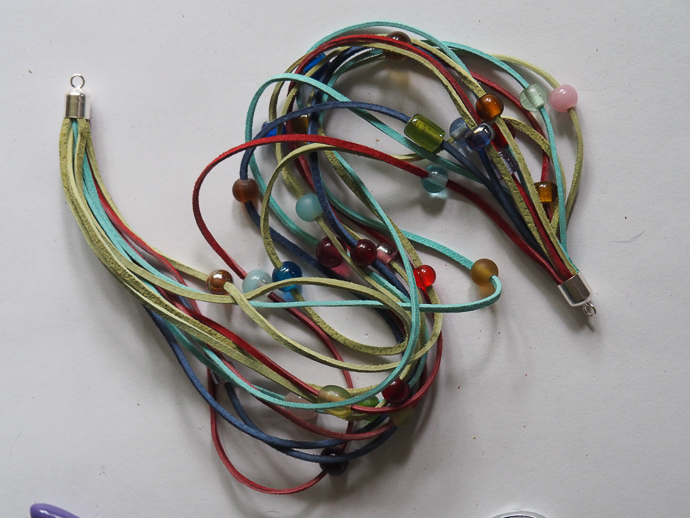
Colorful Leather Necklace
Being stuck at home with the current situation in the world made me crave colors. Lots and lots of spring colors.
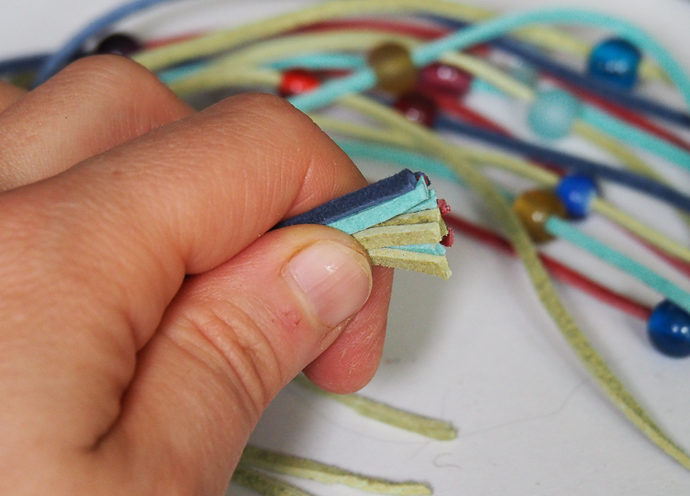
At first, I gathered as much of the leather lace as I could fit into the clasp opening. It was 12 strands, to be exact.
Gathering them tightly together, and clipping the ends to make all the strands even, I glued them into the clasp.
I wanted to include the colorful and happy lampwork beads, but some of the openings were too small for the leather. Using tiny metal scissors, I trimmed about 1 inch of the leather in half, to make it easier for me to put the beads on.
Once all the beads were on, I made sure all the cords were equal in size, and trimmed the leather nice and even.
Finally, I put glue inside the clasp cup, then coaxed the leather in using all kinds of implements: scissors, knife, tiny screw driver.
I miscalculated the length, so I added a few beads at the end.

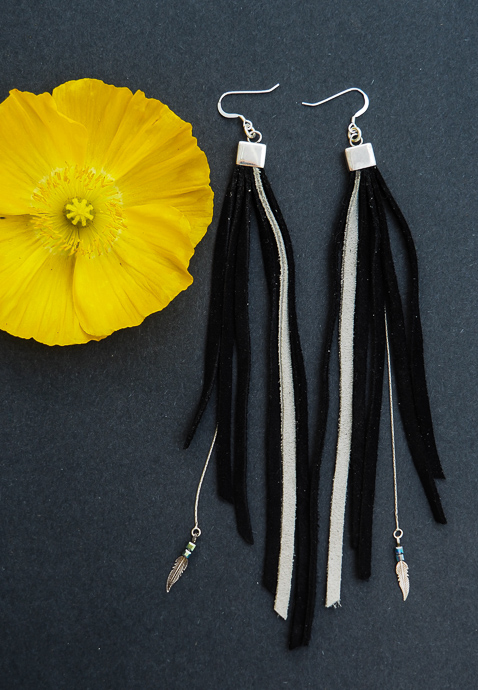
Leather Earrings
These are my second favorite here. I wound up using a chain that I had at home that broke in half, and couldn’t really be re-used, and I could use it here.
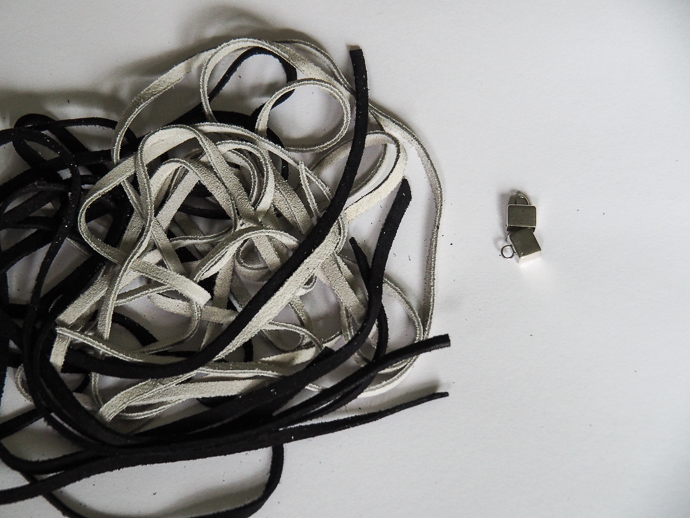
For these earrings, I used black and gray leather, and two silver ends that fit the leather perfectly if it is stacked up.
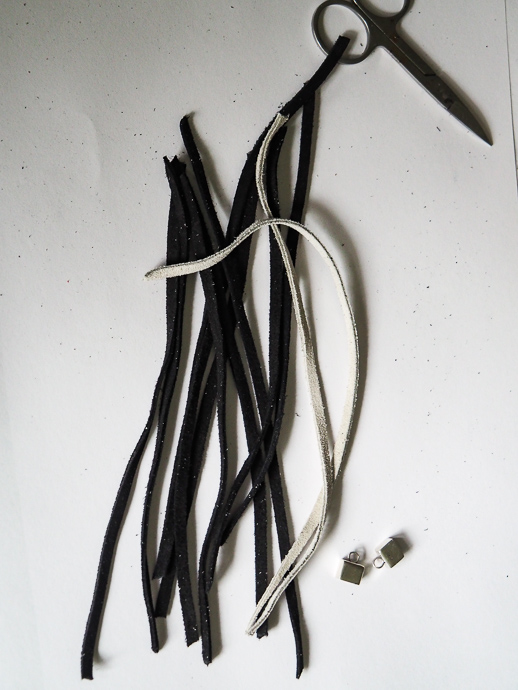
I wanted them to be extra long, and that is how I cut them: about 7 inches long each.
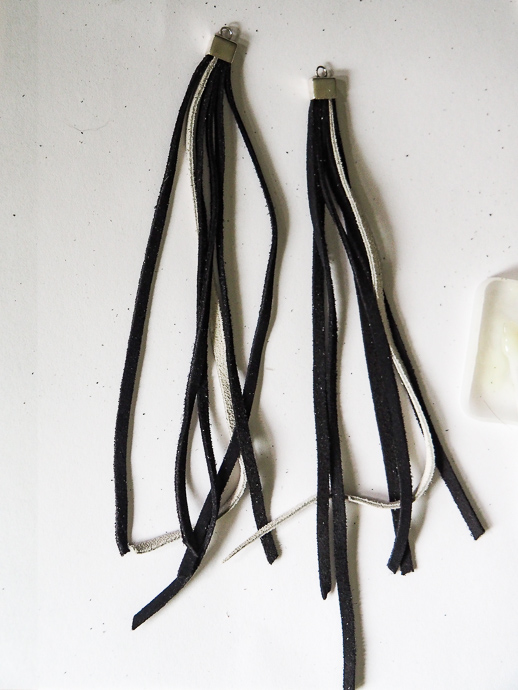
First things first, I just glued them right in.
Trim them diagonally.
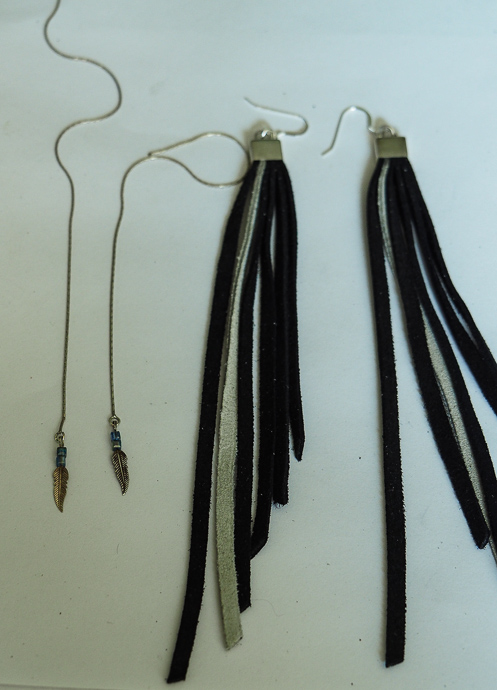
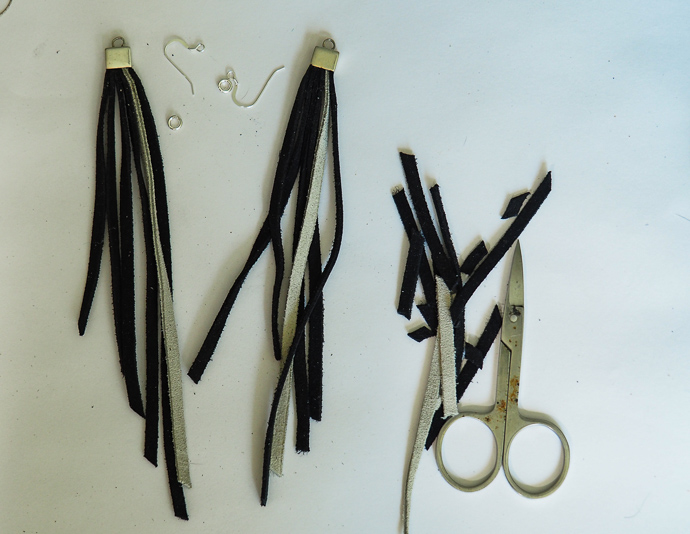
At this point I realized I could add something fun with the broken chain, and the little silver feather’s from a broken pendant.
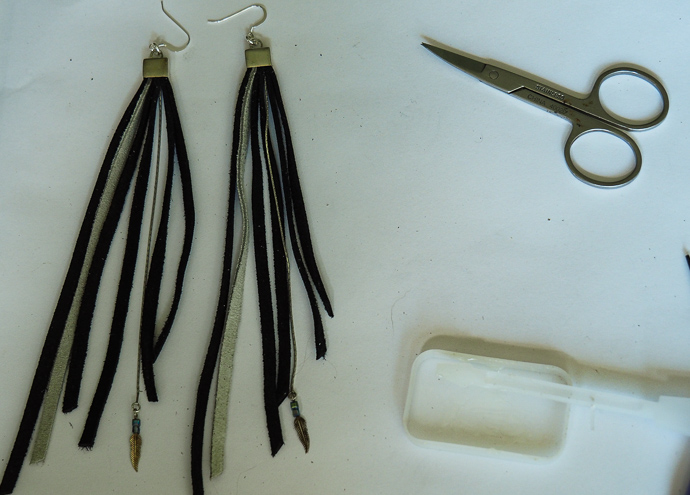
I mixed a bit more glue, then made a space for the chain to go into by wiggling my tiny scissors in between the leather. I put glue on the edge of the chain and stuck in between the leather.
You might also like to see the project from last year.