WHAT YOU WILL NEED for this seashell picture frame is an unfinished wooden frame of your choice. I had the one you see in the picture, it is 8×10 inches and has glass inside.
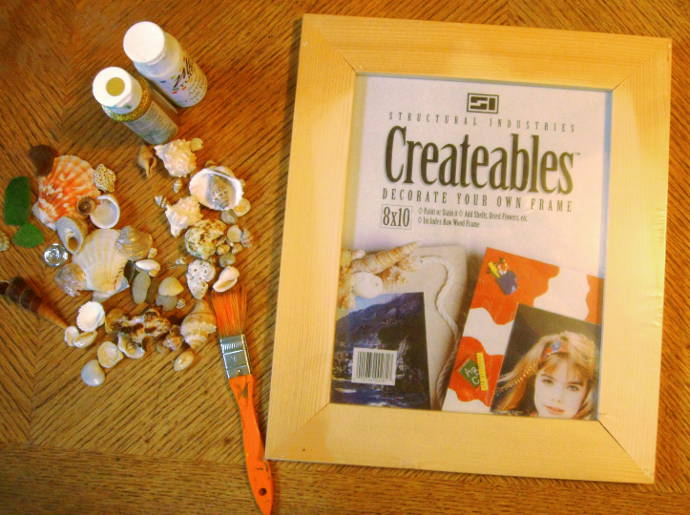 You’ll also need some seashells, sea glass and other treasures, those can be easily found in a craft store, or if you live near the beach you can find them there. This particular project was for a gift for a friend who loves the ocean. I found many of the shells and sea glass from her favorite beach, the fancier shells I bought at the craft store.
The other things you will need is acrylic white paint and sparkle paint. Here I am using a “My Studio” white paint, and “DecoArt” Twinkles paint, but, in truth, any acrylic paint will do. A medium to large brush is necessary to apply the paint with. Also, Tacky glue to glue the seashells.
 To paint the frame mix a bit of the sparkly paint with the white paint. It gives a grainy quality to the paint, and almost sand-like texture.
If your frame has a glass and backing, remove them before painting.
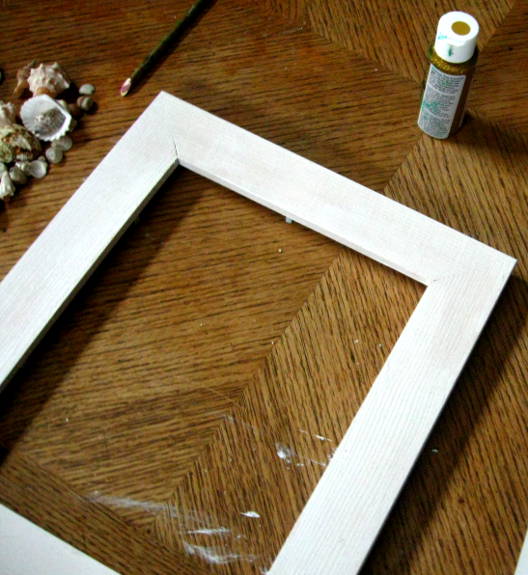 Paint the picture frame on one side, let it dry. Then turn over and paint the other side. You can do another layer if the paint looks thin.
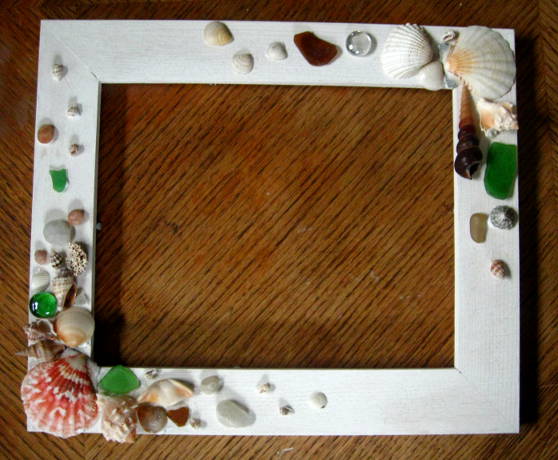
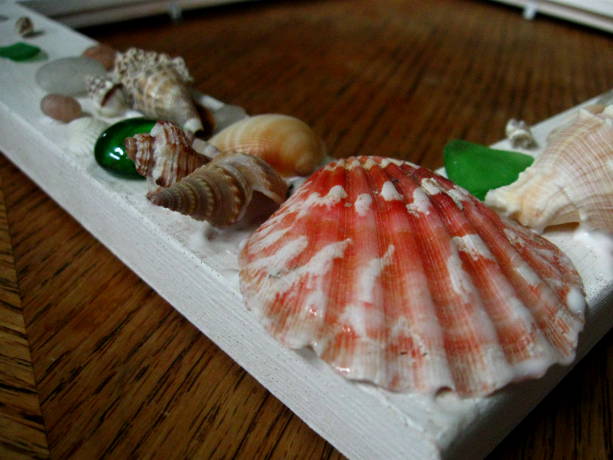
Before gluing the seashells you should try arranging them on the frame to see how you would like it. I must have tried five different ways before I liked the result.
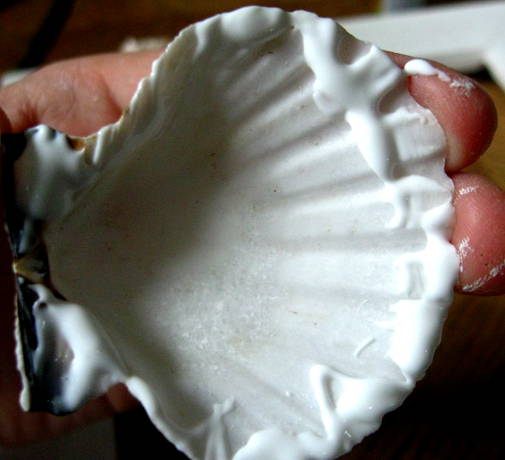
Glue the seashells to the picture frame one at a time. Apply the glue only to the part of the shell that will be touching the frame. Don’t put too much glue on or it will stick out from under the shells too much. What is great about Tacky glue is that it dries clear.
Finish gluing the shells and the rocks and let the glue dry for a few hours.
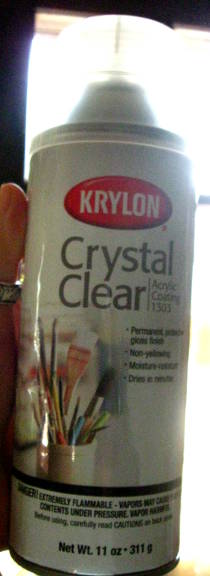 After the seashells are the frame on if you would like you could spray them down with a finishing spray. It is up to you. If you’re doing this with a young child, I don’t recommend spraying it down at all. Since I was giving this as a gift and wanted the frame to last a long time, I did spray it. It gives it a nice shine, and makes it waterproof. I used the Krylon Crystal Clear spray.
Now that your seashell picture frame is done, replace the backing and the glass, put a picture in it that you like and enjoy!
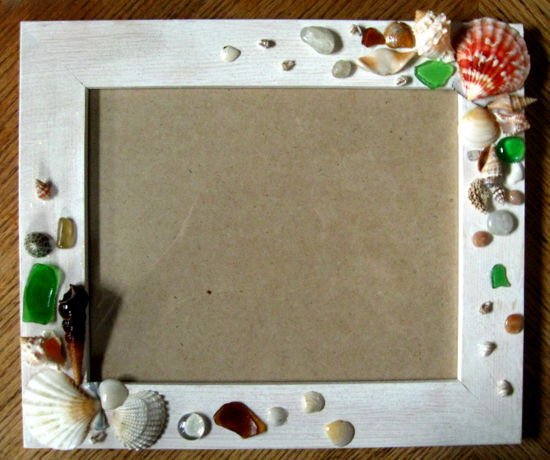
The possibilities with this project are endless!
3 replies on “Seashell Picture Frame Tutorial”
I tried using several different kinds of glue and none of them work but shells fell off I feel like I need a thick gummy kind of putty Like Glue to hold them securely and fill in the empty spaces. Any suggestions?
I used tacky glue for these, it is a lot more effective than regular white glue. Another thing you might like to try is hot a hot glue gun.
[…] Full tutorial: Happyfamilyart […]