I am calling it Beginners Guide to Lino Cutting and Printmaking because, well, I am a beginner. It took me some trial and error to be able to do it with my little art class. The process is super fun, and now I am in love! So much so that I bought myself a few more large printing blocks.
I purchased all the supplies for this project a Blick Art Supplies.
***This page contains affiliate links.***
Over the course of the projects I tried several different kinds of different printing blocks and tools, and I will talk about all of them.
Actual Linoleum
Before I get into it, let me talk about the tools that I got for it. Now, mind you, I got these in sets of 12, because it was meant for a class.
- Blades for carving the lino.
- Blade handles.
- While we used gouache for the practice run, I got fancy printing ink for the actual prints.
- Rollers: I bought more expensive rollers that did not work for me. However, these two cheaper ones from Scratch-Art did wonderfully. I got both hard and soft, to try both.
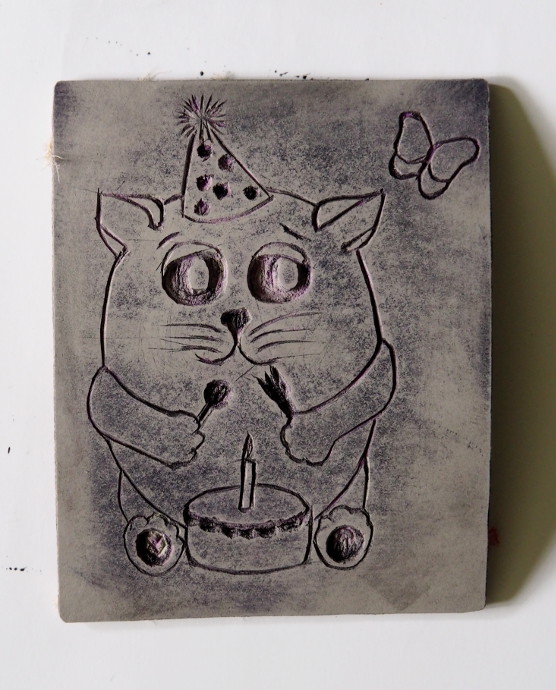
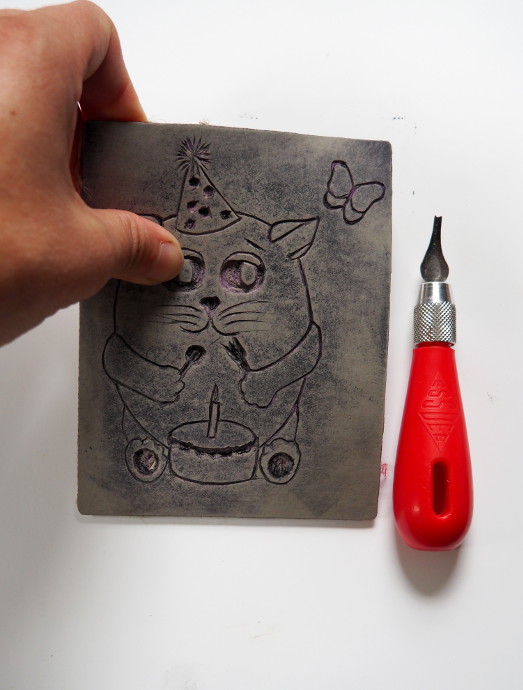
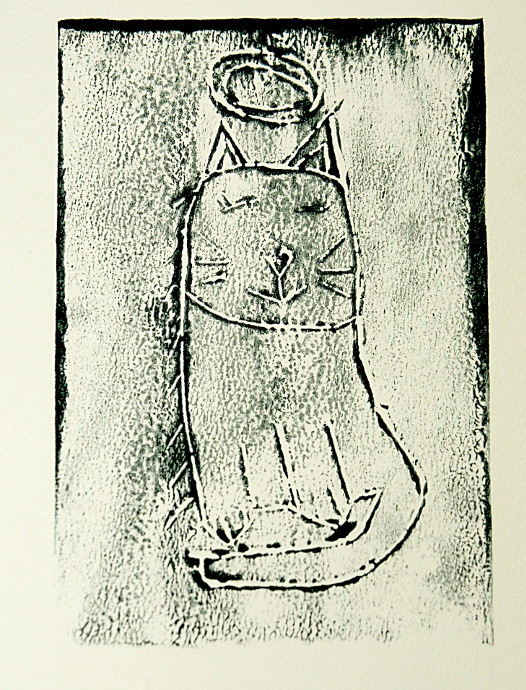
At first I got actual linoleum. I had the best time with it. However it was way too hard to use with the kids. It was not soft enough, and I foresaw a lot of cut fingers, and bend aid use. However, when I purchased them, I had no clue what they would feel like. Here is the link to the linoleum I am talking about.
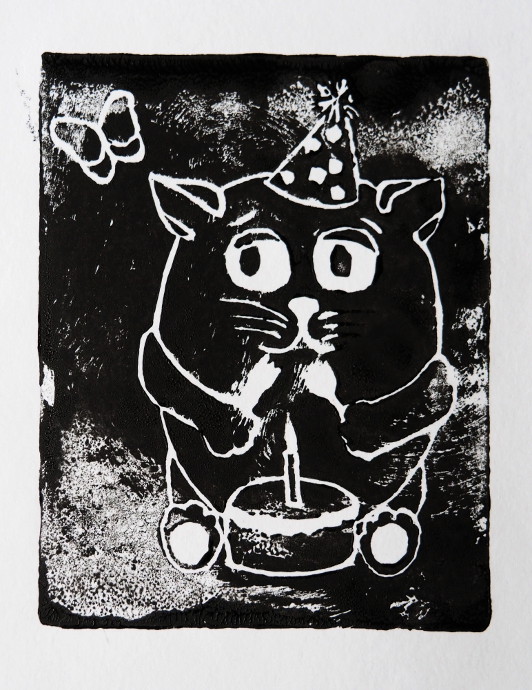
I made a little birthday cat:
Here is a photo of me trying to bend it. It simply doesn’t bend:
It wasn’t bad for my first try, but could be a lot better!
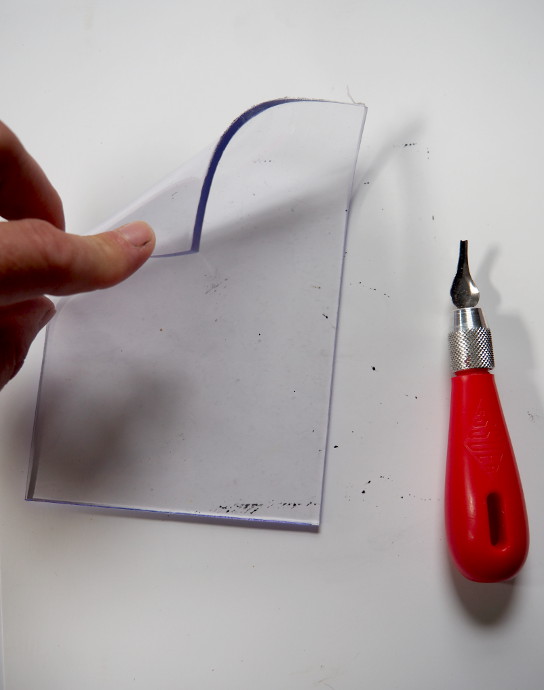
The Clear Printmaking Blocks
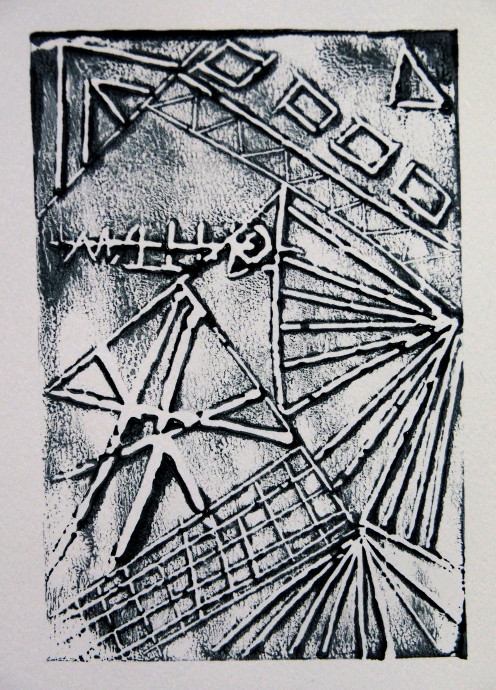
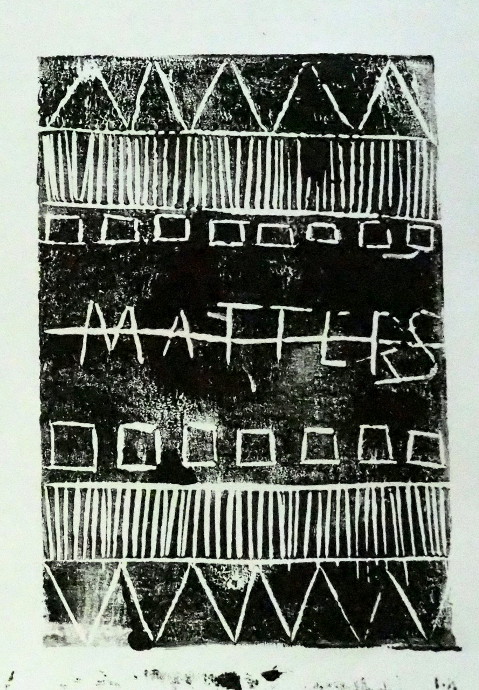
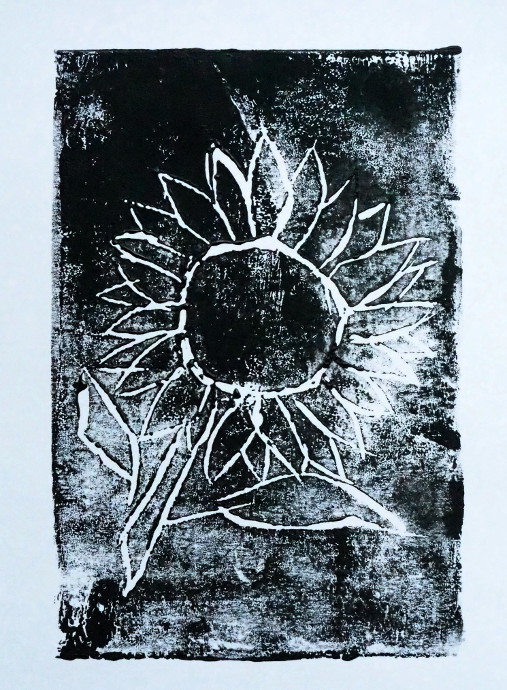
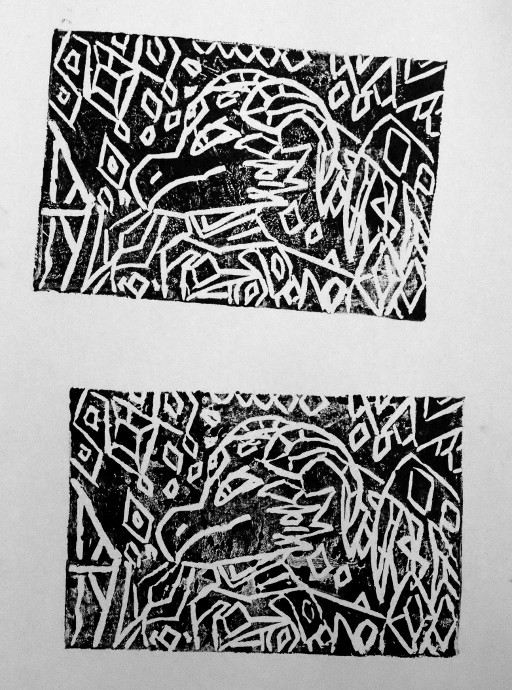
These were not my favorite set of blocks. I liked the idea that they were see through, so you could draw something and put it underneath to carve. I found them difficult. Less difficult than linoleum in how hard it is to carve, but more difficult in making turns, circles, and details. It was also very easy to cut right through to the other side. Since I bought 30 of them, we used them as a practice round. Just gave them to the kids and let them practice using the carving tools, and getting their hands used to the motion. They came up with some pretty cool designs. We used gouache to make the prints with these.
If you look in the photo above, they look a lot more flexible than the linoleum. Here is what some of the kids’ prints looked like using those printing blocks.
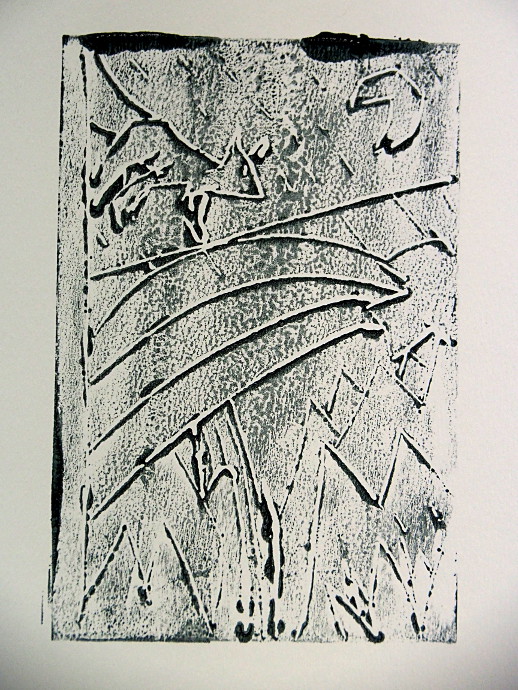
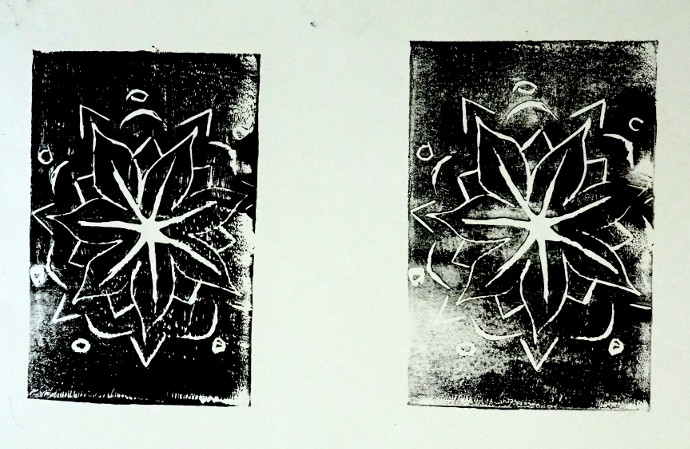
Finally, Soft-Kut Printing Blocks
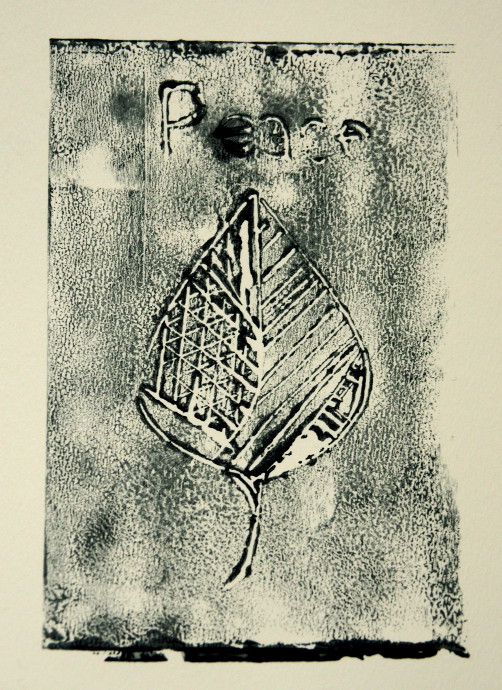
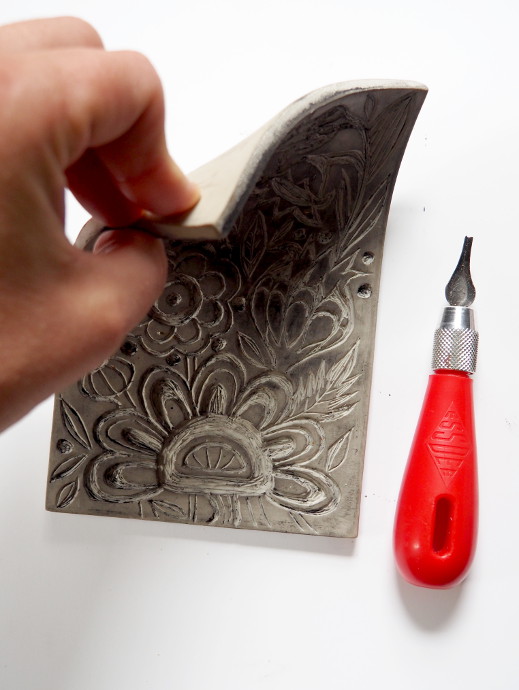
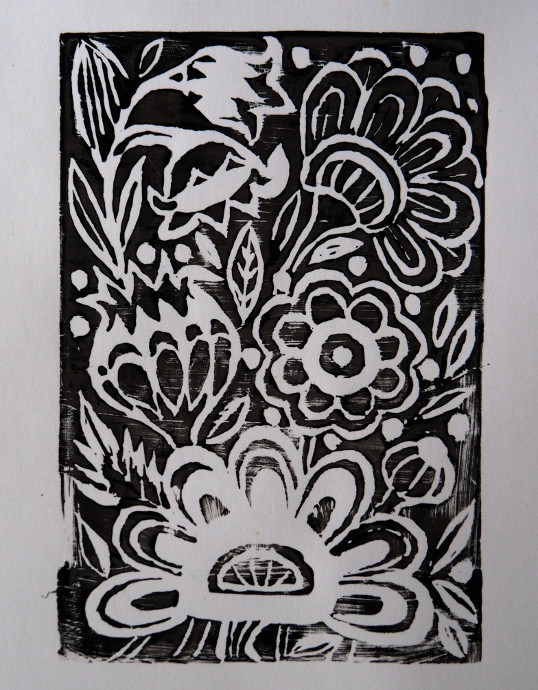
These worked fantastically! They were soft enough and flexible enough and were as easy to carve as butter. Once I completed the flowers you see below, I realized that due to how soft they were you do lose some of the detail (unlike linoleum), but overall these worked great for the art class!
You can see how the prints turned out below.
I enjoyed this lesson so much, I went ahead and ordered some printing plates for myself. I got this Inovart Eco Karve 9 by 12 one, Speedball 4 by 6, and this Softball 6 by 12. Some are larger than others! I am looking forward to populating them with gnomes, seahorses and mermaids.
Looking for a less expensive way to do printmaking? Check out these Styrofoam prints:
Printmaking with Styrofoam
Again, I will allow comments if there is anyone that has a question.
I’m a Mom of 2 (13 and 9). I’d like to know if your kids were older than this when they first tried Lino cuts? Any safety tips/suggestions/ experience to share? Thank you
Hi Kristy, the group I taught were right about that age. I would say 10 to 14. Middle school to early high school.
Just a thank you for this overview from a complete newbie.
Lorraine! I am so glad you found it helpful. 🙂