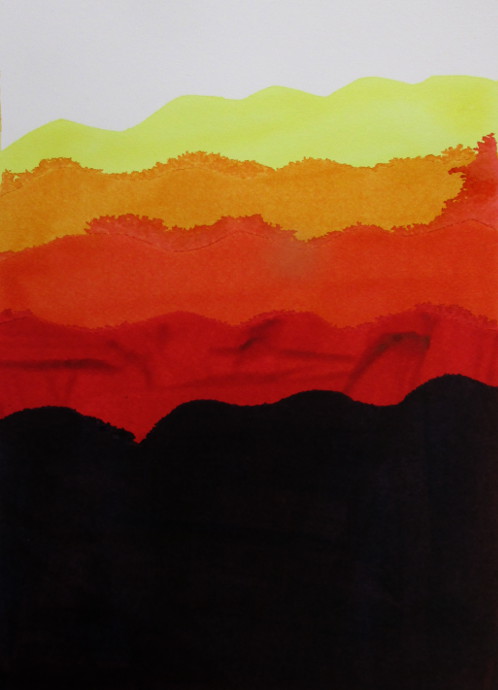
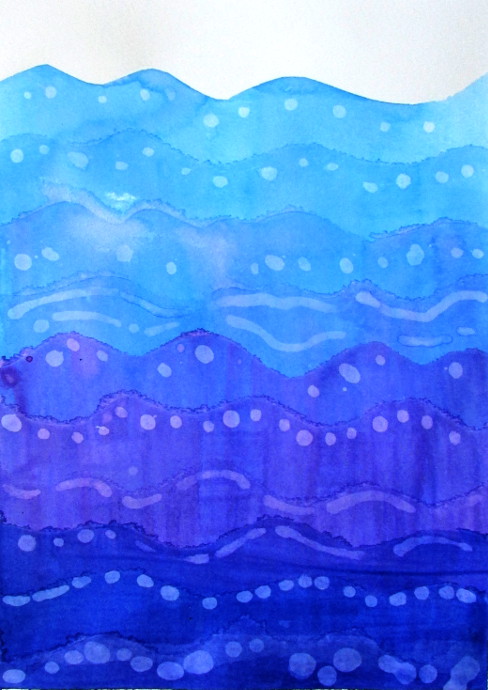
I tend to get very excited about exploring the idea of negative space with the kids. Over the years, I have done so in many ways. Sometimes I need a lesson that is explores a concept in a fun way, and lasts exactly one hour, and doesn’t carry over into the following week, and so this is exactly what this was. It was a fun and easy way to explore atmospheric perspective and negative space together.
***This post contains affiliate links.***
One of my favorite places to purchase art supplies is DickBlick. Seriously, their deals are amazing, and the products are always great. For this project I used their brand liquid watercolor paint, and watercolor paper. I had also purchased some contact paper on Amazon.
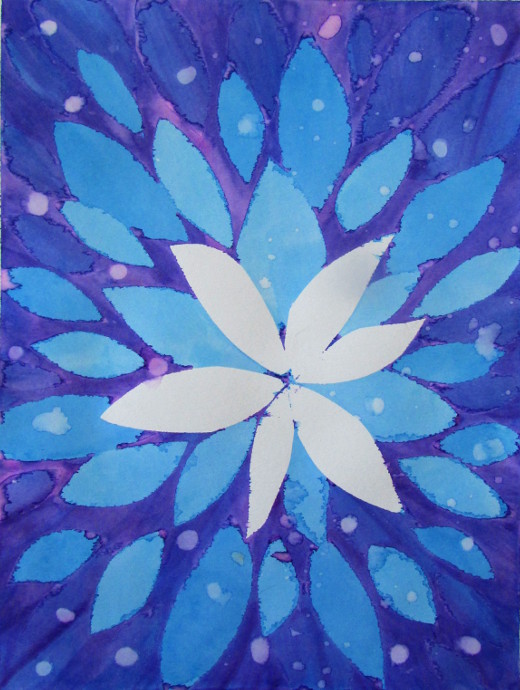
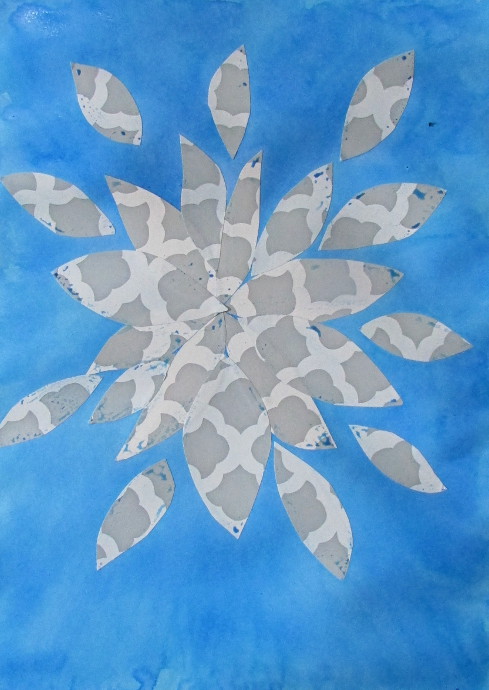
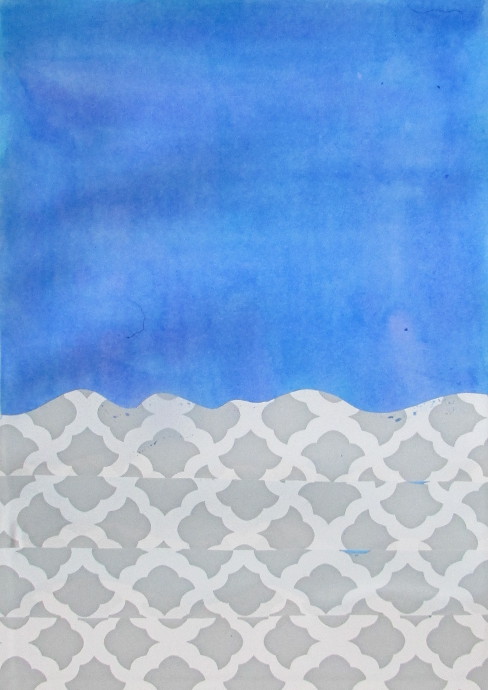
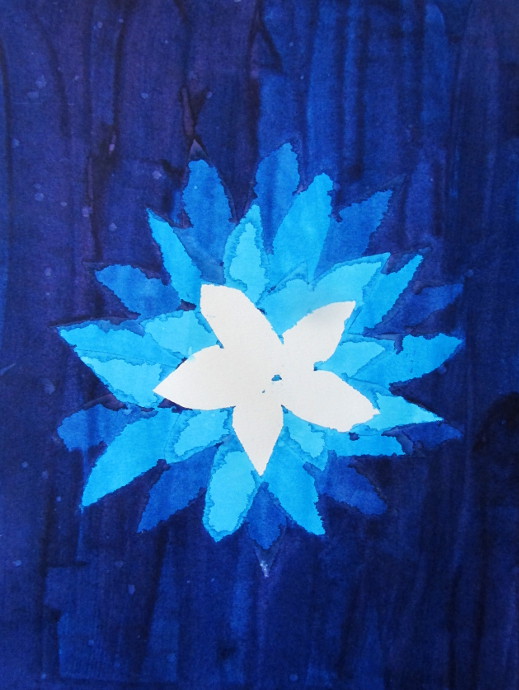
In the past, I have allowed this project to be more open ended, and it has had some fantastic results. This time, however, I wanted to be more specific, so the kids had a choice between atmospheric perspective, or a radial design.
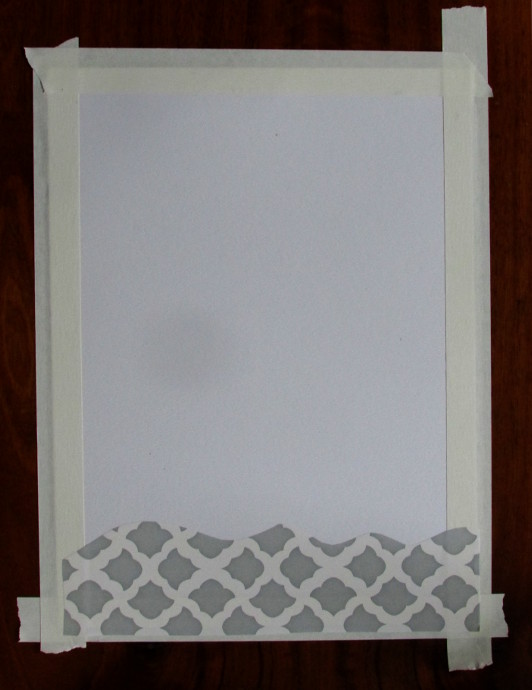
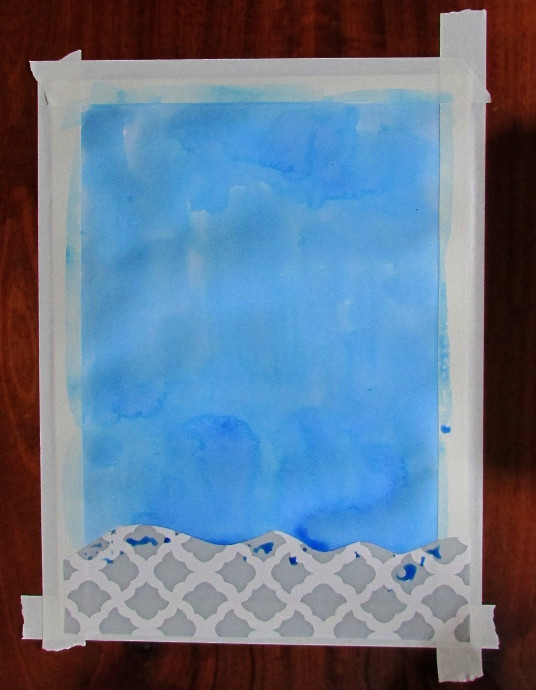
We started by taping our paper with masking tape. As well as our first wave or the initial layer of the radial design.
Then on goes the first layer of paint.
For this, I brought with me a hair dryer (which I had to borrow from a friend since I don’t have one), so that we can quickly dry the paint in between layers as opposed to waiting for it to dry on it’s own.
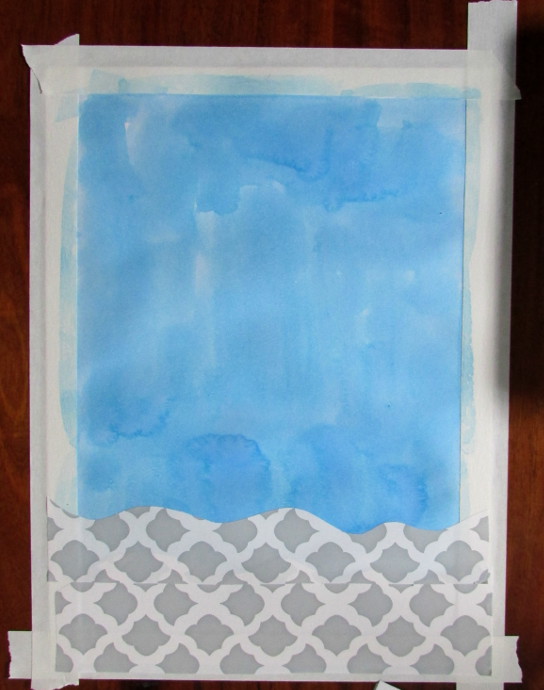
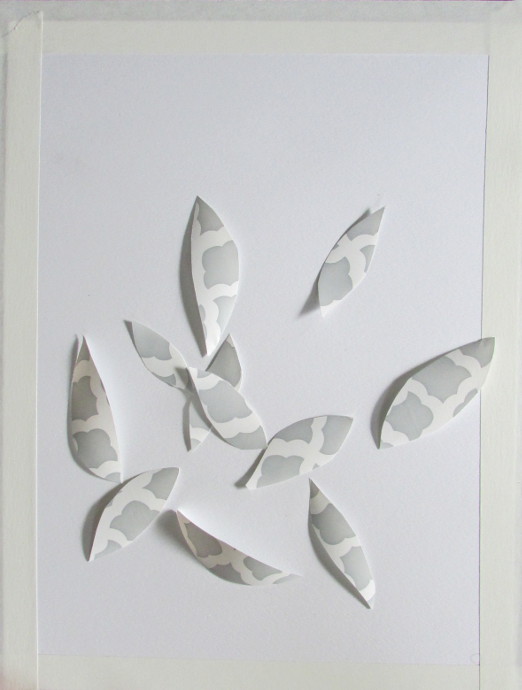
In between watercolor layers, I would wipe the excess liquid from the contact paper.
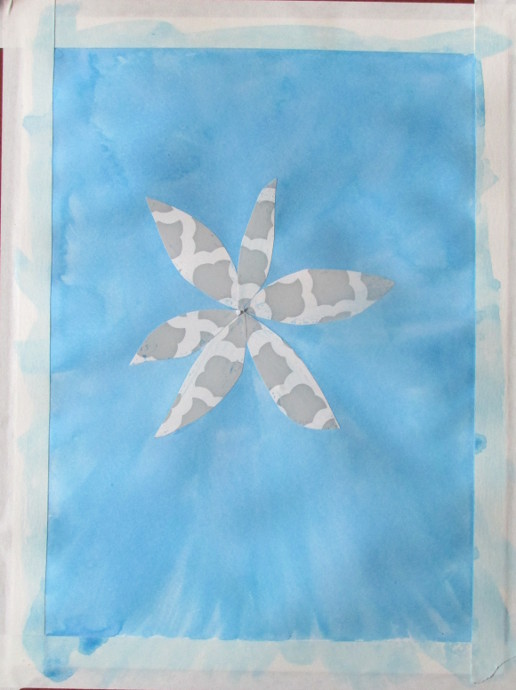
Keep going:
Keep going:
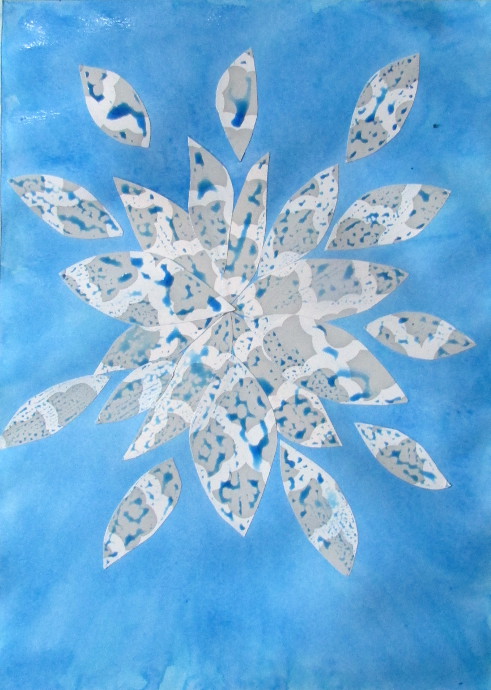
Finally, allow it to dry, and take off the contact paper.

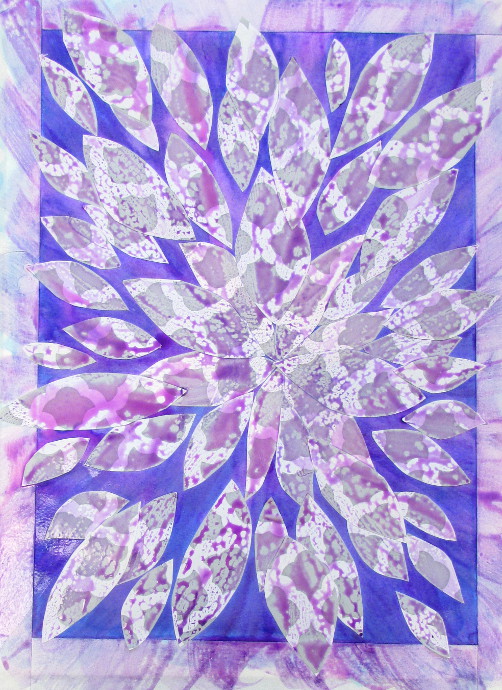
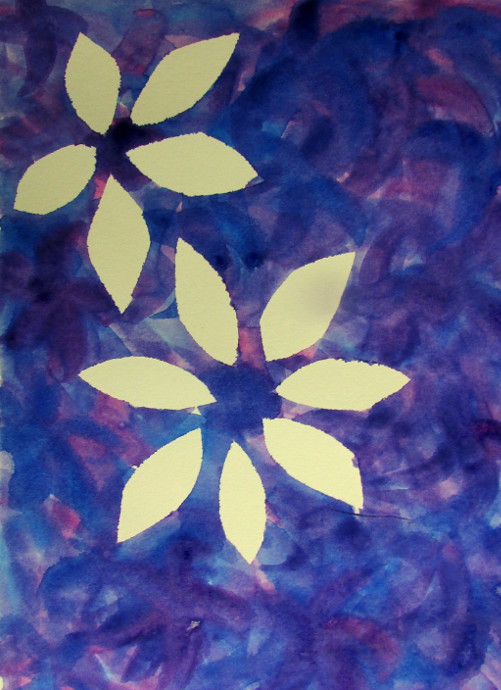
I noticed that washing bits of this watercolor paint worked especially well, so we used that to add some details. Here are a few finished paintings:
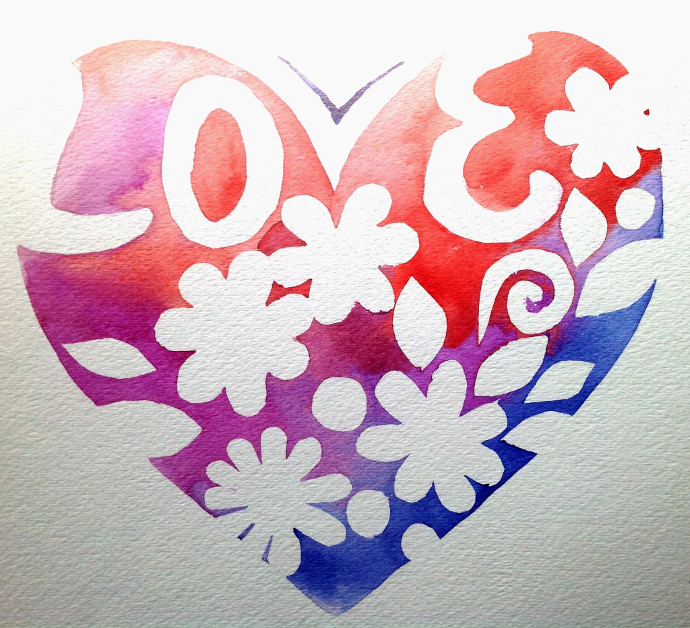
I have used contact paper before, in this negative space word project. You also might like this art project.